2014 KIA Sedona sunroof
[x] Cancel search: sunroofPage 9 of 382

23
Your vehicle at a glance
INSTRUMENT PANEL OVERVIEW
1. Driver’s airbag ................................3-93
2. Light control / Turnsignals ...............................3-137, 3-139
3. Instrument cluster.........................3-116
4. Wiper/Washer ...............................3-141
5. Auto cruise control* ........................4-11
6. Audio controls* .............................3-197
7. Steering wheel .............................3-106
8. Ignition switch ...................................4-3
9. Digital clock ..................................3-193
10. Climate control system* ..3-147, 3-159
11. Hazard warning flasher switch ...3-146
12. Seat warmer* ...............................3-45
13. Shift lever .......................................4-5
14. Cigar lighter or Power outlet* .....3-189
15. Power outlet................................3-193
16. Ashtray* ......................................3-189
17. Passenger’s airbag .......................3-94
18. Vent controls ...................3-151, 3-166
19. Glove box ...................................3-187
20. Sunglass holder* ........................3-187
21. Sunvisor .....................................3-192
22. Power sliding door and power tailgate controls* ...........................3-17
23. Sunroof* .......................................3-33
24. Conversation mirror ....................3-115
25. Trip computer* ............................3-121
26. Day/night rearview mirror ...........3-110
* : if equipped
OVQ029002N
Page 10 of 382

3
Keys / 3-3
Remote keyless entry / 3-4
Theft-alarm system / 3-7
Immobilizer system / 3-9
Door locks / 3-11
Power sliding door and power tailgate / 3-17
Window / 3-26
Hood / 3-29
Fuel filler lid / 3-30
Sunroof / 3-33
Seat / 3-37
Driver position memory system / 3-59
Power adjustable pedals / 3-61
Safety belts / 3-62
Child restraint system / 3-76
Air bags-advanced restraint system / 3-83
Steering wheel / 3-106
Mirrors / 3-108
Instrument cluster / 3-116
Gauges / 3-117
Trip computer / 3-121
Warnings and indicators / 3-127
Features of your vehicle
Page 36 of 382
327
Features of your vehicle
The ignition switch must be in the ON
position for power windows to operate.
Each door has a power window switch
that controls that door’s window.
However, the driver has a power window
lock switch which can block the operation
of passenger windows.
The power windows can be operated for
approximately 30 seconds after the igni-
tion key is removed or turned to the ACC
or LOCK position. However, if the front
doors are opened, the power windows
cannot be operated even within the 30
seconds after the ignition key removal.
✽ ✽NOTICE
While driving with the rear windows
down or with the sunroof in an open (or
partially open position), your vehicle
may demonstrate a wind buffeting or
pulsation noise. This noise is a normal
occurrence and can be reduced or elim-
inated by taking the following actions.
If the noise occurs with one or both of
the rear windows down, partially lower
both front windows approximately one
inch. If you experience the noise with
the sunroof open, slightly reduce the size
of the sunroof opening.
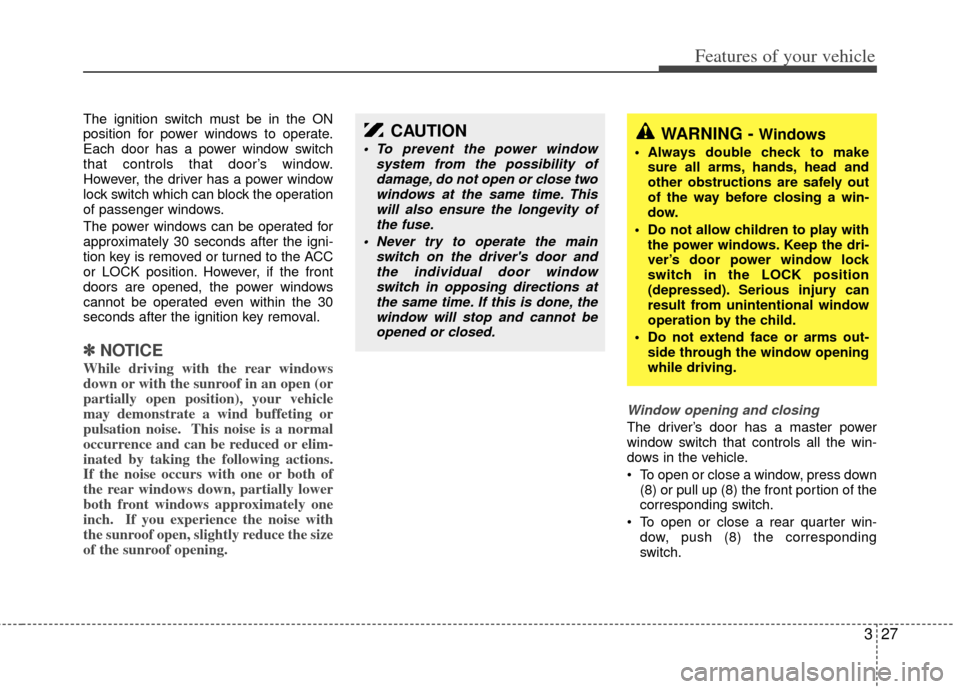
Window opening and closing
The driver’s door has a master power
window switch that controls all the win-
dows in the vehicle.
To open or close a window, press down
(8) or pull up (8) the front portion of the
corresponding switch.
To open or close a rear quarter win- dow, push (8) the corresponding
switch.
CAUTION
To prevent the power window system from the possibility ofdamage, do not open or close twowindows at the same time. This will also ensure the longevity ofthe fuse.
Never try to operate the main switch on the driver's door andthe individual door windowswitch in opposing directions atthe same time. If this is done, the window will stop and cannot beopened or closed.WARNING - Windows
Always double check to make sure all arms, hands, head and
other obstructions are safely out
of the way before closing a win-
dow.
Do not allow children to play with the power windows. Keep the dri-
ver’s door power window lock
switch in the LOCK position
(depressed). Serious injury can
result from unintentional window
operation by the child.
Do not extend face or arms out- side through the window opening
while driving.
Page 42 of 382
333
Features of your vehicle
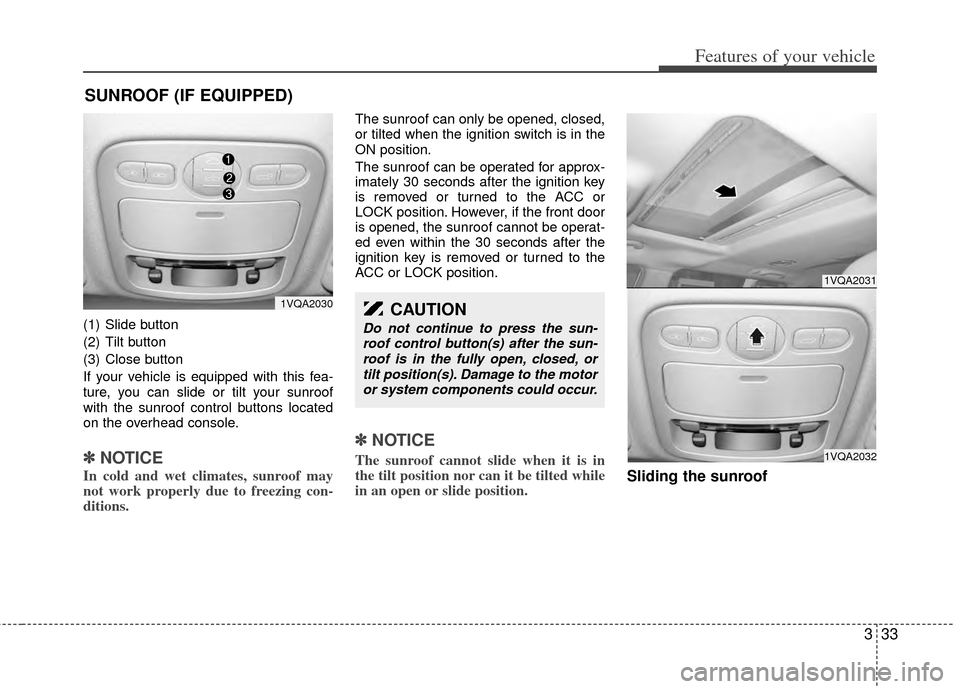
(1) Slide button
(2) Tilt button
(3) Close button
If your vehicle is equipped with this fea-
ture, you can slide or tilt your sunroof
with the sunroof control buttons located
on the overhead console.
✽ ✽NOTICE
In cold and wet climates, sunroof may
not work properly due to freezing con-
ditions.
The sunroof can only be opened, closed,
or tilted when the ignition switch is in the
ON position.
The sunroof can be operated for approx-
imately 30 seconds after the ignition key
is removed or turned to the ACC or
LOCK position. However, if the front door
is opened, the sunroof cannot be operat-
ed even within the 30 seconds after the
ignition key is removed or turned to the
ACC or LOCK position.
✽ ✽NOTICE
The sunroof cannot slide when it is in
the tilt position nor can it be tilted while
in an open or slide position.
Sliding the sunroof
SUNROOF (IF EQUIPPED)
1VQA2031
1VQA2032
CAUTION
Do not continue to press the sun-
roof control button(s) after the sun-roof is in the fully open, closed, ortilt position(s). Damage to the motoror system components could occur.
1VQA2030
Page 43 of 382
Features of your vehicle
34
3
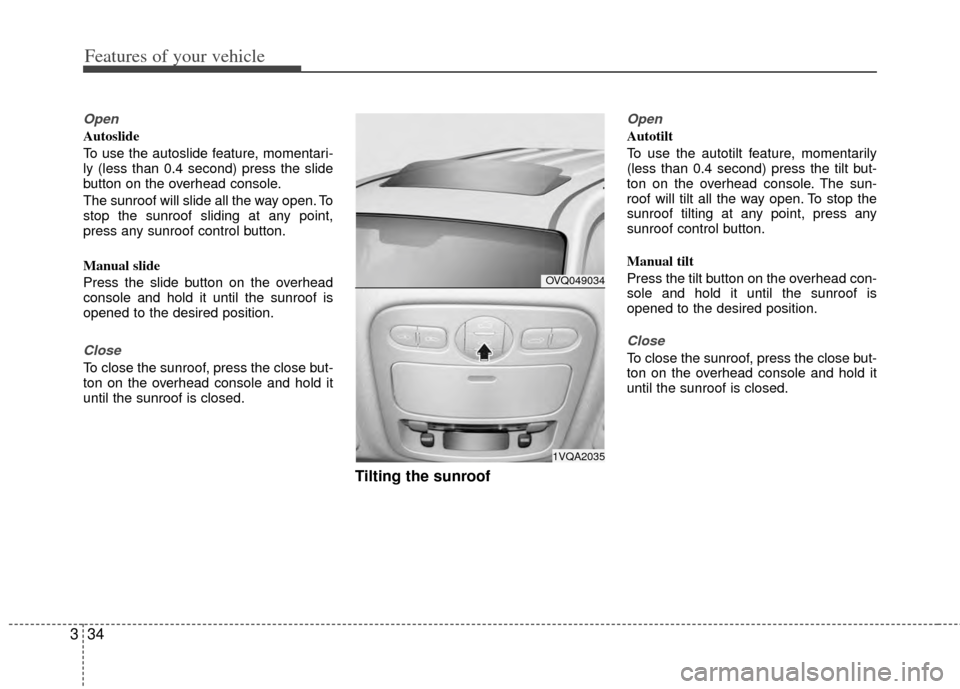
Open
Autoslide
To use the autoslide feature, momentari-
ly (less than 0.4 second) press the slide
button on the overhead console.
The sunroof will slide all the way open. To
stop the sunroof sliding at any point,
press any sunroof control button.
Manual slide
Press the slide button on the overhead
console and hold it until the sunroof is
opened to the desired position.
Close
To close the sunroof, press the close but-
ton on the overhead console and hold it
until the sunroof is closed.
Tilting the sunroof
Open
Autotilt
To use the autotilt feature, momentarily
(less than 0.4 second) press the tilt but-
ton on the overhead console. The sun-
roof will tilt all the way open. To stop the
sunroof tilting at any point, press any
sunroof control button.
Manual tilt
Press the tilt button on the overhead con-
sole and hold it until the sunroof is
opened to the desired position.
Close
To close the sunroof, press the close but-
ton on the overhead console and hold it
until the sunroof is closed.
OVQ049034
1VQA2035
Page 44 of 382
335
Features of your vehicle
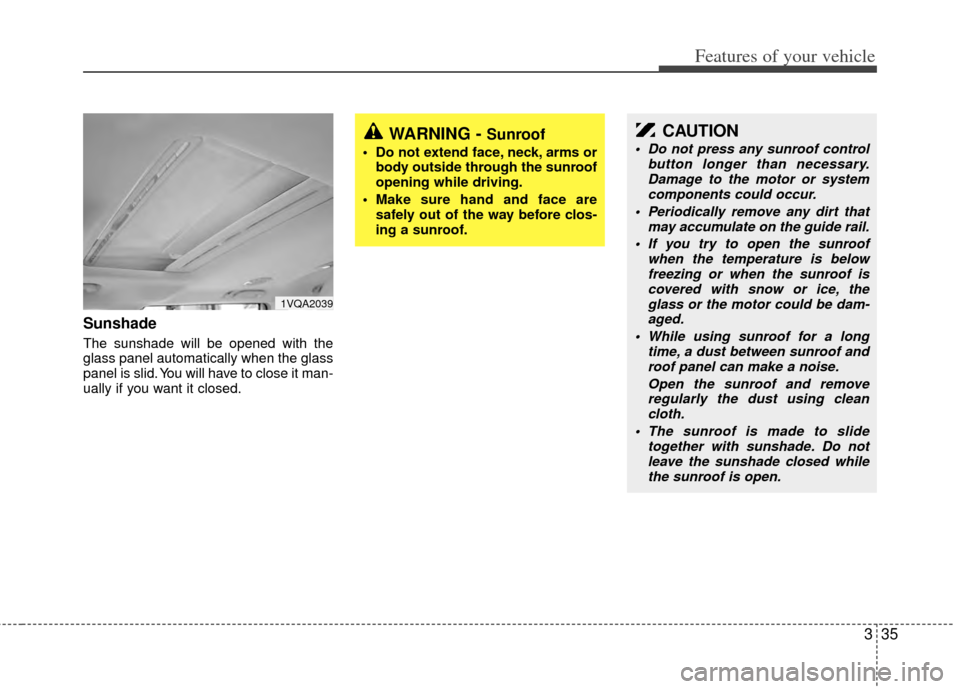
Sunshade
The sunshade will be opened with the
glass panel automatically when the glass
panel is slid. You will have to close it man-
ually if you want it closed.
1VQA2039
WARNING - Sunroof
Do not extend face, neck, arms orbody outside through the sunroof
opening while driving.
Make sure hand and face are safely out of the way before clos-
ing a sunroof.
CAUTION
Do not press any sunroof control button longer than necessary.Damage to the motor or system components could occur.
Periodically remove any dirt that may accumulate on the guide rail.
If you try to open the sunroof when the temperature is belowfreezing or when the sunroof iscovered with snow or ice, the glass or the motor could be dam-aged.
While using sunroof for a long time, a dust between sunroof androof panel can make a noise.
Open the sunroof and removeregularly the dust using cleancloth.
The sunroof is made to slide together with sunshade. Do notleave the sunshade closed whilethe sunroof is open.
Page 45 of 382
Features of your vehicle
36
3
Resetting the sunroof
Whenever the vehicle battery is discon-
nected or discharged, you have to reset
your sunroof system as follows:
1. Turn the ignition key to the ON posi-
tion.
2. According to the position of the sun- roof, do as follows.
1) in case that the sunroof has closedcompletely or been tilted :
Press the tilt button until the sun-
roof has tilted upward completely.
2) in case that the sunroof has slide- opened:
Press and hold the close button
(for more than 5 seconds) until the
sunroof has closed completely.
Press the tilt button until the sun-
roof has tilted upward completely.
3. Release the tilt button. 4. Press and hold the tilt button (for
more than 10 seconds) until the sun-
roof has returned to the original posi-
tion of tilt after it is raised a little high-
er than the maximum tilt position.
Then, release the button.
5. Press and hold the tilt button (for more than 5 seconds) until the sun-
roof is operated as follows;
TILT DOWN → SLIDE OPEN →
SLIDE CLOSE
Then, release the button.
When this is complete, the sunroof sys-
tem is reset.
Page 186 of 382

3177
Features of your vehicle
If the vehicle has a roof rack, you can
load cargo on top of your vehicle.
Crossbars and fixing components need-
ed to install the roof rack on your vehicle
may be obtained from an authorized Kia
dealer.
ROOF RACK (IF EQUIPPED)
OVQ069206
CAUTION
The crossbars should be placedin the proper load carrying posi-tions prior to placing items ontothe roof rack.
If the vehicle is equipped with a sunroof, be sure not to positioncargo onto the roof rack in such away that it could interfere with sunroof operation.
(Continued)
WARNING
The following specification is themaximum weight that can be
loaded onto the roof rack.
Distribute the load as evenly as
possible across the crossbars
and roof rack and secure the load
firmly.
The vehicle center of gravity will be higher when items are loaded
onto the roof rack. Avoid sudden
starts, braking, sharp turns,
abrupt maneuvers or high speeds
that may result in loss of vehicle
control or rollover causing an
accident.
(Continued)
(Continued)
Always drive slowly and turn cor-ners carefully when carrying
items on the roof rack. Severe
wind updrafts, caused by passing
vehicles or natural causes, can
cause sudden upward pressure
on items loaded on the roof rack.
This is especially true when car-
rying large, flat items such as
wood panels or mattresses. This
could cause the items to fall off
the roof rack and cause damage
to your vehicle or those around
you.
To prevent damage or loss of cargo while driving, check fre-
quently before or while driving to
make sure the items on the roof
rack are securely fastened.
CAUTION
If the vehicle has a sunroof, do not position the roof rack loadsso that they could interfere with the sunroof.
Loading cargo or luggage above specification on the roof rack maydamage your vehicle.
(Continued)
When carrying cargo on the roof rack, take the necessary precau-tions to make sure the cargo doesnot damage the roof of the vehicle.
When carrying large objects on the roof rack, make sure they donot exceed the overall roof lengthor width.
ROOF 165 lbs. (75 kg)
RACK EVENLY DISTRIBUTED