Page 113 of 446

Features of your vehicle
42
4
Inside rearview mirror
Adjust the rearview mirror so that the
center view through the rear window
is seen. Make this adjustment before
you start driving.
Do not place objects in the rear seat
which would interfere with your vision
through the rear window.
Day/night rearview mirror
(if equipped)
Make this adjustment before you
start driving and while the day/night
lever is in the day position.
Pull the day/night lever toward you to
reduce the glare from the headlights
of the vehicles behind you during
night driving.
Remember that you lose somerearview clarity in the night position.
Outside rearview mirror
Be sure to adjust the mirror angles
before driving.
Your vehicle is equipped with both
left-hand and right-hand outside
rearview mirrors. The mirrors can be
adjusted remotely with the remote
switch (if equipped). The mirror
heads can be folded to prevent dam-
age during an automatic car wash or
when passing through a narrow
street.
MIRRORS
WARNING - Mirror adjustment
Do not adjust the rearview mir-
ror while the vehicle is moving.
This could result in loss of con-
trol.
OAM049023
Day Night
Page 148 of 446

477
Features of your vehicle
Parking light position ( )
When the light switch is in the park-
ing light position (1st position), the
tail, position, license and instrument
panel lights will turn ON.
Headlight position ( )
When the light switch is in the head-
light position (2nd position) the head,
tail, position, license and instrument
panel lights will turn ON.
The ignition switch must be in the ON
position to turn on the headlights.
Auto light position (if equipped)
When the light switch is in the AUTO
light position, the taillights and head-
lights will turn ON or OFF automati-
cally depending on the amount of
light outside the vehicle.
Never place anything over sensor (1)
located on the instrument panel. This
will ensure better auto-light system
control.
Don’t clean the sensor using a win-
dow cleaner. The cleaner may leave
a light film which could interfere with
sensor operation.
If your vehicle has window tint or
other types of metallic coating on the
front windshield, the Auto light sys-
tem may not work properly.
OAM049041OAM049042OFS040084
Page 154 of 446
483
Features of your vehicle
Rear window wiper and wash-
er switch (5 door)
The rear window wiper and washer
switch is located at the end of the
wiper and washer switch lever. Turn
the switch to the desired position to
operate the rear wiper and washer.
ON - Normal wiper operation
INT - Intermittent wiper operation
(if equipped)
OFF - Wiper is not in operation Push the lever away from you to
spray rear washer fluid and to run the
rear wipers 1~3 cycles. The spray
and wiper operation will continue
until you release the lever.
CAUTION- Wipers &
windshields
To prevent possible damage
to the wipers or windshield,do not operate the wiperswhen the windshield is dry.
To prevent damage to the wiper blades, do not use gaso-line, kerosene, paint thinner,or other solvents on or nearthem.
To prevent damage to the wiper arms and other compo-nents, do not attempt to movethe wipers manually.
OAM049103NOXM049125
Page 157 of 446

Features of your vehicle
86
4
If you want to defrost and defog the
front windshield, refer to “Windshield
Defrosting and Defogging” in this
section.
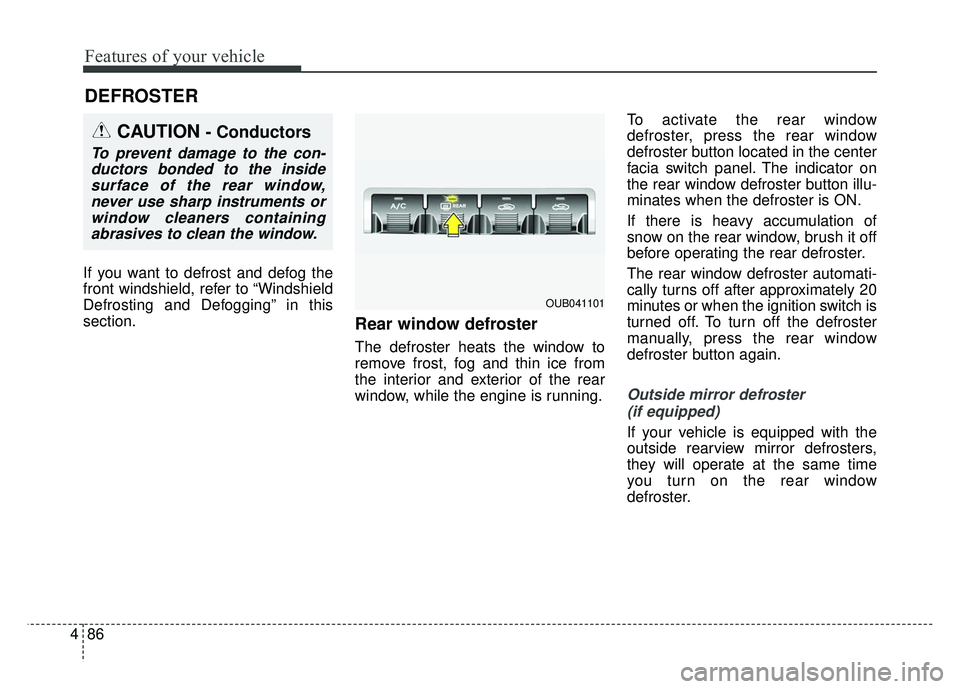
Rear window defroster
The defroster heats the window to
remove frost, fog and thin ice from
the interior and exterior of the rear
window, while the engine is running. To activate the rear window
defroster, press the rear window
defroster button located in the center
facia switch panel. The indicator on
the rear window defroster button illu-
minates when the defroster is ON.
If there is heavy accumulation of
snow on the rear window, brush it off
before operating the rear defroster.
The rear window defroster automati-
cally turns off after approximately 20
minutes or when the ignition switch is
turned off. To turn off the defroster
manually, press the rear window
defroster button again.
Outside mirror defroster
(if equipped)
If your vehicle is equipped with the
outside rearview mirror defrosters,
they will operate at the same time
you turn on the rear window
defroster.
DEFROSTER
CAUTION- Conductors
To prevent damage to the con-ductors bonded to the insidesurface of the rear window,never use sharp instruments orwindow cleaners containingabrasives to clean the window.
OUB041101
Page 158 of 446
487
Features of your vehicle
MANUAL CLIMATE CONTROL SYSTEM
1. Fan speed control knob
2. Mode selection knob
3. Temperature control knob
4. Air conditioning button (if equipped)
5. Rear window defroster button
6. Air intake control button
OUB041103
Page 160 of 446

489
Features of your vehicle
Mode selection
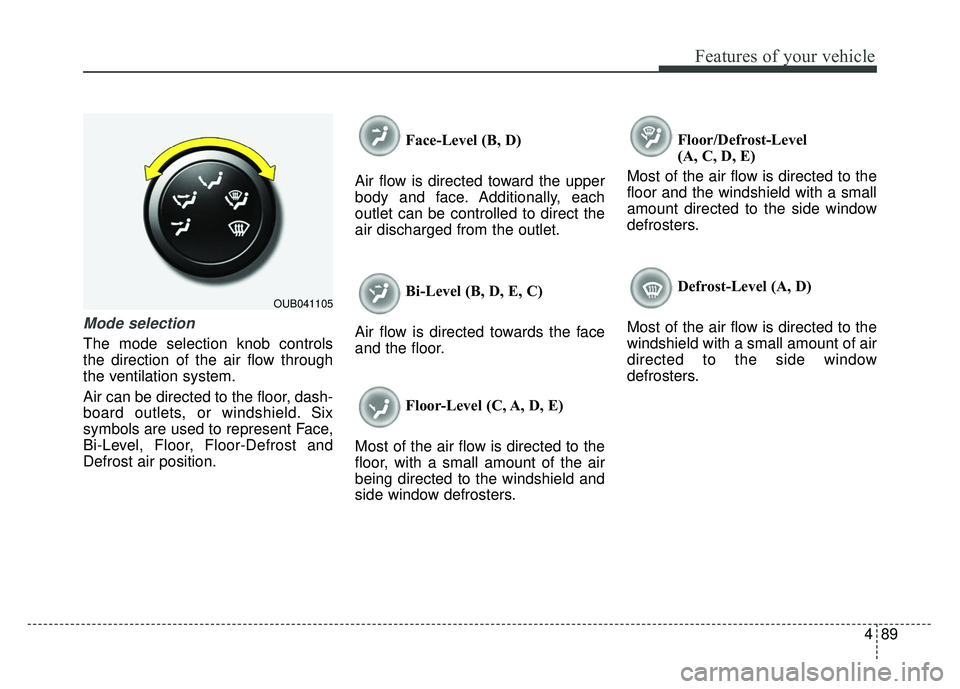
The mode selection knob controls
the direction of the air flow through
the ventilation system.
Air can be directed to the floor, dash-
board outlets, or windshield. Six
symbols are used to represent Face,
Bi-Level, Floor, Floor-Defrost and
Defrost air position.Face-Level (B, D)
Air flow is directed toward the upper
body and face. Additionally, each
outlet can be controlled to direct the
air discharged from the outlet.
Bi-Level (B, D, E, C)
Air flow is directed towards the face
and the floor.
Floor-Level (C, A, D, E)
Most of the air flow is directed to the
floor, with a small amount of the air
being directed to the windshield and
side window defrosters. Floor/Defrost-Level
(A, C, D, E)
Most of the air flow is directed to the
floor and the windshield with a small
amount directed to the side window
defrosters.
Defrost-Level (A, D)
Most of the air flow is directed to the
windshield with a small amount of air
directed to the side window
defrosters.
OUB041105
Page 162 of 446

491
Features of your vehicle
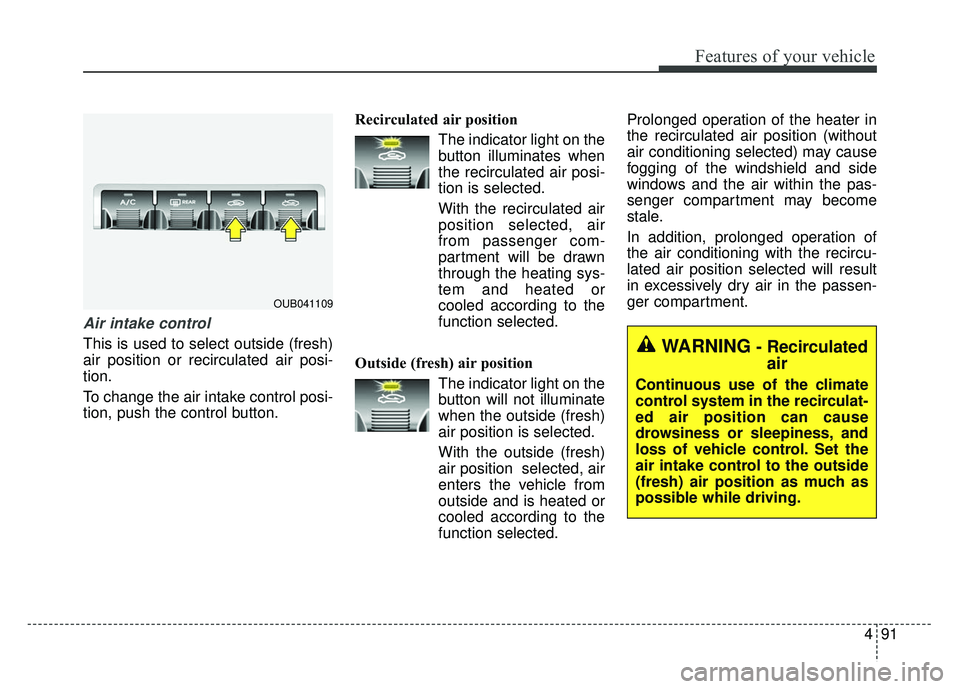
Air intake control
This is used to select outside (fresh)
air position or recirculated air posi-
tion.
To change the air intake control posi-
tion, push the control button.Recirculated air position
The indicator light on the
button illuminates when
the recirculated air posi-
tion is selected.
With the recirculated air position selected, air
from passenger com-
partment will be drawn
through the heating sys-
tem and heated or
cooled according to the
function selected.
Outside (fresh) air position The indicator light on the
button will not illuminate
when the outside (fresh)
air position is selected.
With the outside (fresh)
air position selected, air
enters the vehicle from
outside and is heated or
cooled according to the
function selected. Prolonged operation of the heater in
the recirculated air position (without
air conditioning selected) may cause
fogging of the windshield and side
windows and the air within the pas-
senger compartment may become
stale.
In addition, prolonged operation of
the air conditioning with the recircu-
lated air position selected will result
in excessively dry air in the passen-
ger compartment.
OUB041109
WARNING- Recirculated
air
Continuous use of the climate
control system in the recirculat-
ed air position can cause
drowsiness or sleepiness, and
loss of vehicle control. Set the
air intake control to the outside
(fresh) air position as much as
possible while driving.
Page 165 of 446

Features of your vehicle
94
4
Air conditioning (if equipped)
Kia Air Conditioning Systems are
filled with environmentally friendly
R-134a refrigerant.
1.Start the engine. Push the air con-
ditioning button.
2.Set the mode to the position.
3.Set the air intake control to the recirculated air position. However,
prolonged operation of the reticu-
lated air position will excessively
dry the air. In this case, change the
air position.
4.Adjust the fan speed control and temperature control to maintain
maximum comfort.
When maximum cooling is desired, set the temperature control to the
extreme left position, set the mode
control to the MAX A/C position,
then set the fan speed control to
the highest speed. Air conditioning system operation tips
If the vehicle has been parked in
direct sunlight during hot weather,
open the windows for a short time
to let the hot air inside the vehicle
escape.
To help reduce moisture inside of the windows on rainy or humid
days, decrease the humidity inside
the vehicle by operating the air
conditioning system. During air conditioning system
operation, you may occasionally
notice a slight change in engine
speed as the air conditioning com-
pressor cycles. This is a normal
system operation characteristic.
Use the air conditioning system every month only for a few minutes
to ensure maximum system per-
formance.
When using the air conditioning system, you may notice clear water
dripping (or even puddling) on the
ground under the passenger side
of the vehicle. This is a normal sys-
tem operation characteristic.
Operating the air conditioning sys- tem in the recirculated air position
provides maximum cooling, how-
ever, continual operation in this
mode may cause the air inside the
vehicle to become stale.
During cooling operation, you may occasionally notice a misty air flow
because of rapid cooling and
humid air intake. This is a normal
system operation characteristic.CAUTION- ExcessiveAC
While using the air conditioning
system, monitor the tempera-ture gauge closely while drivingup hills or in heavy traffic whenoutside temperatures are high.Air conditioning system opera-tion may cause engine over-heating and potential enginedamage. Continue to use theblower fan but turn the air con-ditioning system off if the tem-perature gauge indicates engineoverheating.