2014 JEEP WRANGLER audio
[x] Cancel search: audioPage 3 of 148

INTRODUCTION/WELCOME
WELCOME FROM CHRYSLER
GROUP LLC.................. 3
CONTROLS AT A GLANCE
DRIVER COCKPIT .............. 6
INSTRUMENT CLUSTER .......... 8
GETTING STARTED
KEYFOB ................... 10
REMOTE START.............. 11
VEHICLE SECURITY ALARM ....... 11
SEATBELT .................. 12
SUPPLEMENTAL RESTRAINT
SYSTEM (SRS) — AIR BAGS ....... 13
CHILD RESTRAINTS ............ 14
HEAD RESTRAINTS ............. 18
FRONT SEATS ................ 19
REAR SEATS ................. 21
TILT STEERING COLUMN ......... 22
HEATEDSEATS ............... 23
OPERATING YOUR VEHICLE
ENGINE BREAK-IN
RECOMMENDATIONS ........... 24
TURN SIGNAL/LIGHTS LEVER ...... 24
WIPER/WASHER LEVER .......... 26
SPEED CONTROL .............. 27
MANUAL CLIMATE CONTROLS ...... 29
AUTOMATIC TEMPERATURE
CONTROLS (ATC) .............. 30
SUNRIDER
®AND SOFT TOP ....... 31
HARD TOP AND FREEDOM TOP®.... 42
DUAL TOP – IF EQUIPPED ........ 45
WIND BUFFETING ............. 45
ELECTRONICS
YOUR VEHICLE'S SOUND SYSTEM . . . 46
Uconnect®130 ............... 48
Uconnect®130 WITH SiriusXM
SATELLITE RADIO .............. 50
Uconnect
®230 ............... 53
Uconnect®430/430N ........... 56
Uconnect®730N .............. 66
SiriusXM SATELLITE RADIO/TRAVEL
LINK ...................... 77
STEERING WHEEL AUDIO
CONTROLS ................. 81
iPod
®/USB/MP3 CONTROL ........ 81
Uconnect®PHONE ............. 82
Uconnect®VOICE COMMAND ....... 85
Bluetooth®STREAMING AUDIO ..... 88ELECTRONIC VEHICLE INFORMATION
CENTER (EVIC)
............... 88
PROGRAMMABLE FEATURES ....... 90
POWER INVERTER ............. 91
POWER OUTLETS ............. 92
OFF-ROAD CAPABILITIES
(4WD OPERATION)
COMMAND-TRAC®/ROCK-TRAC®..... 93
AXLE LOCK (TRU-LOK®) RUBICON
ONLY ...................... 94
ELECTRONIC SWAY BAR DISCONNECT –
RUBICON ONLY ............... 94
UTILITY
TRAILER TOWING WEIGHTS (MAXIMUM
TRAILER WEIGHT RATINGS) ....... 95
RECREATIONAL TOWING (BEHIND
MOTORHOME, ETC.) ............ 97
WHAT TO DO IN EMERGENCIES
ROADSIDE ASSISTANCE ......... 100
INSTRUMENT CLUSTER WARNING
LIGHTS ................... 100
IF YOUR ENGINE OVERHEATS ..... 105
JACKING AND TIRE CHANGING .... 106
JUMP-STARTING ............. 111
EMERGENCY TOW HOOKS ....... 113
SHIFT LEVER OVERRIDE ........ 114
TOWING A DISABLED VEHICLE .... 114
FREEING A STUCK VEHICLE ...... 115
EVENT DATA RECORDER (EDR) .... 116
MAINTAINING YOUR VEHICLE
OPENING THE HOOD.......... 117
ENGINE COMPARTMENT ........ 118
FLUIDS AND CAPACITIES ........ 119
MAINTENANCE SCHEDULE ...... 121
MAINTENANCE RECORD ........ 126
FUSES .................... 127
TIRE PRESSURES ............ 130
WHEEL AND WHEEL TRIM CARE . . . 131
EXTERIOR BULBS ............ 131
CONSUMER ASSISTANCE
CHRYSLER GROUP LLC CUSTOMER
CENTER.................. 132
CHRYSLER CANADA INC. CUSTOMER
CENTER .................. 132
ASSISTANCE FOR THE HEARING
IMPAIRED ................. 132
PUBLICATIONS ORDERING ....... 132
REPORTING SAFETY DEFECTS IN THE
UNITED STATES .............. 133
TABLE OF CONTENTS
Page 8 of 148

DRIVER COCKPIT
1. Electronic Vehicle Information Center (EVIC) Controls pg. 88
2. Turn Signal/Lights Lever (behind steering wheel) pg. 24
3. Electronic Vehicle Information Center (EVIC) Display
4. Instrument Cluster pg. 8
5. Wiper/Washer Lever (behind steering wheel) pg. 26
6. Audio System pg. 46
7. Power Windows
8. Climate Controls pg. 30
9. Switch Panel• Heated Seats pg. 23
• Hazard Warning Light
• Electronic Stability Control (ESC) OFF pg. 103
CONTROLS AT A GLANCE
6
Page 13 of 148

REMOTE START
• Press the REMOTE START buttonx2on the Key Fob twice within five seconds.
Pressing the REMOTE START button a third time shuts the engine off.
• To drive the vehicle, press the UNLOCK button, insert the key in the ignition and turn to the ON/RUN position.
• With remote start, the engine will only run for 15 minutes (timeout) unless the ignition key is placed in the ON/RUN position.
• The vehicle must be started with the key after two consecutive timeouts.
WARNING!
• Do not start or run an engine in a closed garage or confined area. Exhaust gas contains Carbon Monoxide (CO) which is odorless and colorless. Carbon
Monoxide is poisonous and can cause you or others to be severely injured or
killed when inhaled.
• Keep Key Fob transmitters away from children. Operation of the Remote Start
System, windows, door locks or other controls could cause you and others to be
severely injured or killed.
VEHICLE SECURITY ALARM
This Vehicle Security Alarm monitors the doors, liftgate, and ignition switch for
unauthorized operation.
When the alarm is activated, the interior switches for door locks are disabled. The
Vehicle Security Alarm provides both audio and visual signals repeatedly for three
minutes. If the disturbance is still present (driver's door, passenger door, other doors,
ignition) after three minutes, the parking lights and tail lights will flash for an
additional 15 minutes.
To Arm:
• Lock the door using either the power door lock switch (one door must be open) orthe LOCK button on the Remote Keyless Entry (RKE) transmitter (doors can be
open or closed), and close all doors.
The Vehicle Security Light in the instrument cluster will flash for 16 seconds. This
shows that the Vehicle Security Alarm is arming. During this period, if a door is
opened, the ignition is cycled to ON/RUN, or the power door locks are unlocked in any
manner, the Vehicle Security Alarm will automatically disarm.
NOTE:
• The Vehicle Security Alarm will not arm if you lock the doors with the manual door lock plungers.
• Once armed, the Vehicle Security Alarm disables the unlock switch on the driver door trim panel and passenger door trim panel.
GETTING STARTED
11
Page 48 of 148

YOUR VEHICLE'S SOUND SYSTEM
1. Uconnect®Voice Command Button pg. 85
2. Uconnect
®Phone Button pg. 82
3. Steering Wheel Audio Controls (Left) pg. 81
4. Volume Knob/Audio Mute Button
5. Eject Button
ELECTRONICS
46
Page 49 of 148

6. Steering Wheel Audio Controls (Right) pg. 81
7. Uconnect
®Radio pg. 48
8. Tune/Scroll Knob/Browse/Enter Button
9. Audio Jack
10. USB Port, pg. 81
ELECTRONICS
47
Page 51 of 148

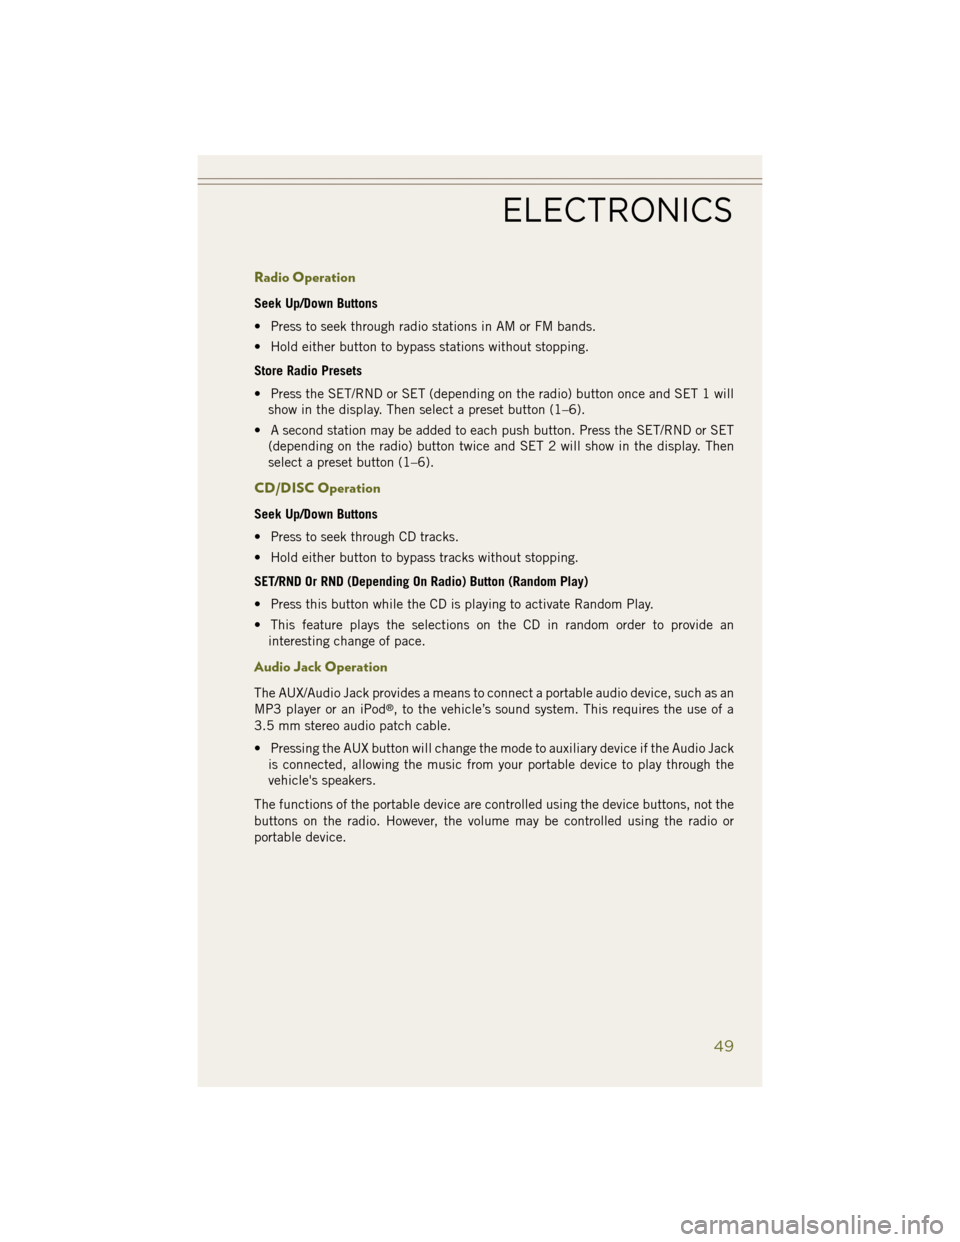
Radio Operation
Seek Up/Down Buttons
• Press to seek through radio stations in AM or FM bands.
• Hold either button to bypass stations without stopping.
Store Radio Presets
• Press the SET/RND or SET (depending on the radio) button once and SET 1 willshow in the display. Then select a preset button (1–6).
• A second station may be added to each push button. Press the SET/RND or SET (depending on the radio) button twice and SET 2 will show in the display. Then
select a preset button (1–6).
CD/DISC Operation
Seek Up/Down Buttons
• Press to seek through CD tracks.
• Hold either button to bypass tracks without stopping.
SET/RND Or RND (Depending On Radio) Button (Random Play)
• Press this button while the CD is playing to activate Random Play.
• This feature plays the selections on the CD in random order to provide aninteresting change of pace.
Audio Jack Operation
The AUX/Audio Jack provides a means to connect a portable audio device, such as an
MP3 player or an iPod®, to the vehicle’s sound system. This requires the use of a
3.5 mm stereo audio patch cable.
• Pressing the AUX button will change the mode to auxiliary device if the Audio Jack is connected, allowing the music from your portable device to play through the
vehicle's speakers.
The functions of the portable device are controlled using the device buttons, not the
buttons on the radio. However, the volume may be controlled using the radio or
portable device.
ELECTRONICS
49
Page 53 of 148

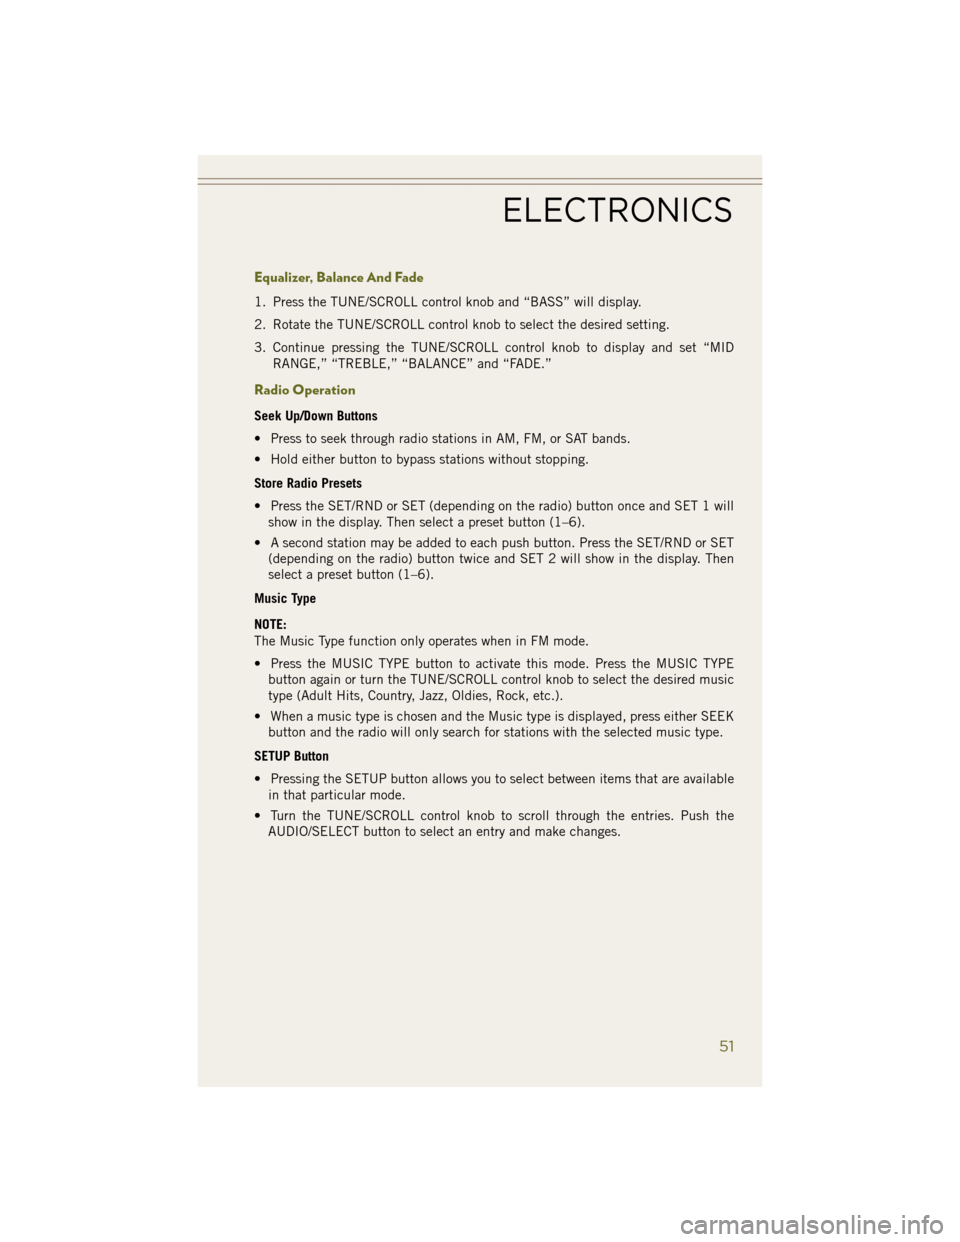
Equalizer, Balance And Fade
1. Press the TUNE/SCROLL control knob and “BASS” will display.
2. Rotate the TUNE/SCROLL control knob to select the desired setting.
3. Continue pressing the TUNE/SCROLL control knob to display and set “MIDRANGE,” “TREBLE,” “BALANCE” and “FADE.”
Radio Operation
Seek Up/Down Buttons
• Press to seek through radio stations in AM, FM, or SAT bands.
• Hold either button to bypass stations without stopping.
Store Radio Presets
• Press the SET/RND or SET (depending on the radio) button once and SET 1 willshow in the display. Then select a preset button (1–6).
• A second station may be added to each push button. Press the SET/RND or SET (depending on the radio) button twice and SET 2 will show in the display. Then
select a preset button (1–6).
Music Type
NOTE:
The Music Type function only operates when in FM mode.
• Press the MUSIC TYPE button to activate this mode. Press the MUSIC TYPE button again or turn the TUNE/SCROLL control knob to select the desired music
type (Adult Hits, Country, Jazz, Oldies, Rock, etc.).
• When a music type is chosen and the Music type is displayed, press either SEEK button and the radio will only search for stations with the selected music type.
SETUP Button
• Pressing the SETUP button allows you to select between items that are available in that particular mode.
• Turn the TUNE/SCROLL control knob to scroll through the entries. Push the AUDIO/SELECT button to select an entry and make changes.
ELECTRONICS
51
Page 54 of 148

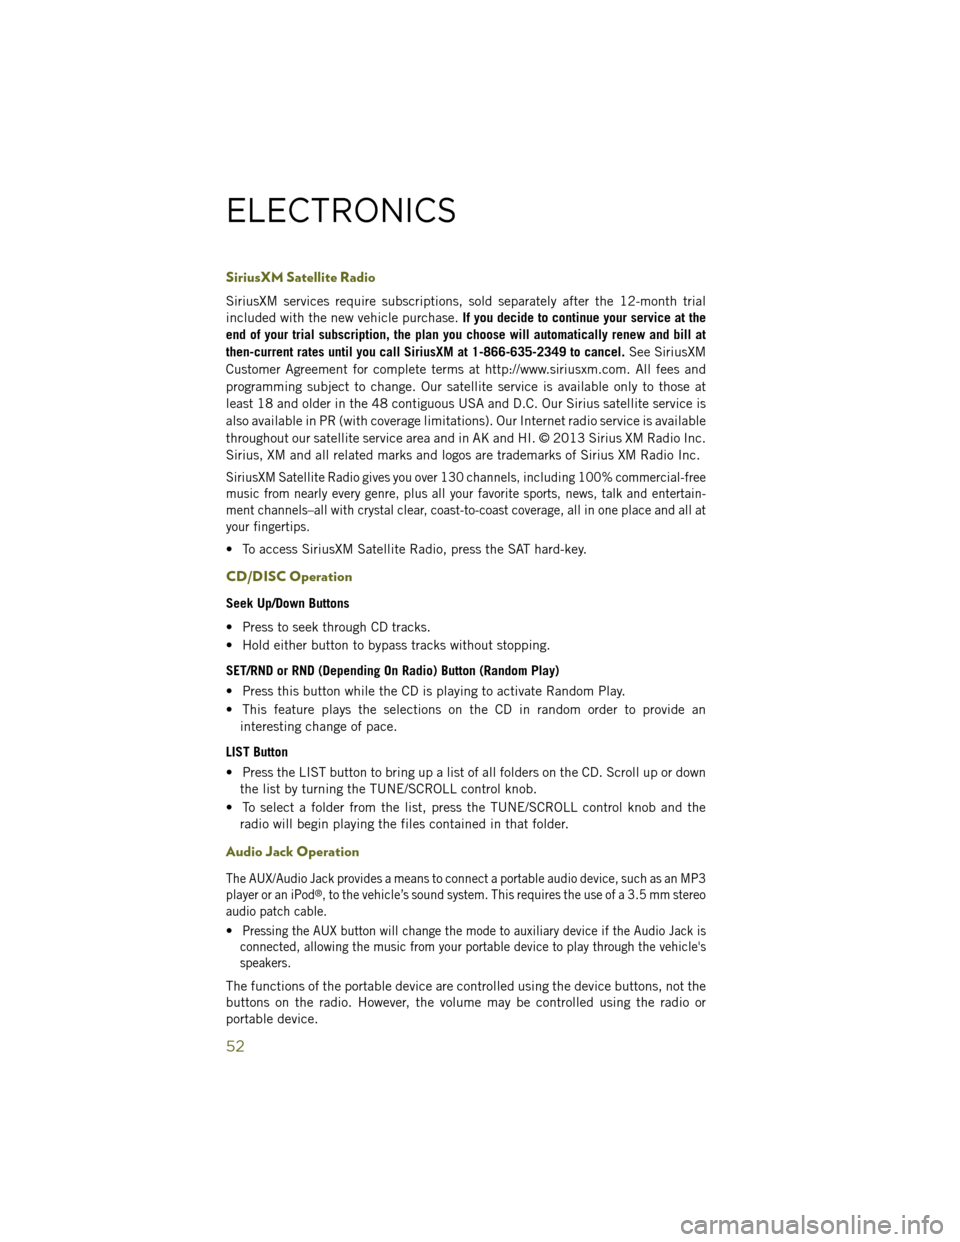
SiriusXM Satellite Radio
SiriusXM services require subscriptions, sold separately after the 12-month trial
included with the new vehicle purchase.If you decide to continue your service at the
end of your trial subscription, the plan you choose will automatically renew and bill at
then-current rates until you call SiriusXM at 1-866-635-2349 to cancel. See SiriusXM
Customer Agreement for complete terms at http://www.siriusxm.com. All fees and
programming subject to change. Our satellite service is available only to those at
least 18 and older in the 48 contiguous USA and D.C. Our Sirius satellite service is
also available in PR (with coverage limitations). Our Internet radio service is available
throughout our satellite service area and in AK and HI. © 2013 Sirius XM Radio Inc.
Sirius, XM and all related marks and logos are trademarks of Sirius XM Radio Inc.
SiriusXM Satellite Radio gives you over 130 channels, including 100% commercial-free
music from nearly every genre, plus all your favorite sports, news, talk and entertain-
ment channels–all with crystal clear, coast-to-coast coverage, all in one place and all at
your fingertips.
• To access SiriusXM Satellite Radio, press the SAT hard-key.
CD/DISC Operation
Seek Up/Down Buttons
• Press to seek through CD tracks.
• Hold either button to bypass tracks without stopping.
SET/RND or RND (Depending On Radio) Button (Random Play)
• Press this button while the CD is playing to activate Random Play.
• This feature plays the selections on the CD in random order to provide an interesting change of pace.
LIST Button
• Press the LIST button to bring up a list of all folders on the CD. Scroll up or down the list by turning the TUNE/SCROLL control knob.
• To select a folder from the list, press the TUNE/SCROLL control knob and the radio will begin playing the files contained in that folder.
Audio Jack Operation
The AUX/Audio Jack provides a means to connect a portable audio device, such as an MP3
player or an iPod®, to the vehicle’s sound system. This requires the use of a 3.5 mm stereo
audio patch cable.
•Pressing the AUX button will change the mode to auxiliary device if the Audio Jack is
connected, allowing the music from your portable device to play through the vehicle's
speakers.
The functions of the portable device are controlled using the device buttons, not the
buttons on the radio. However, the volume may be controlled using the radio or
portable device.
ELECTRONICS
52