Page 50 of 126

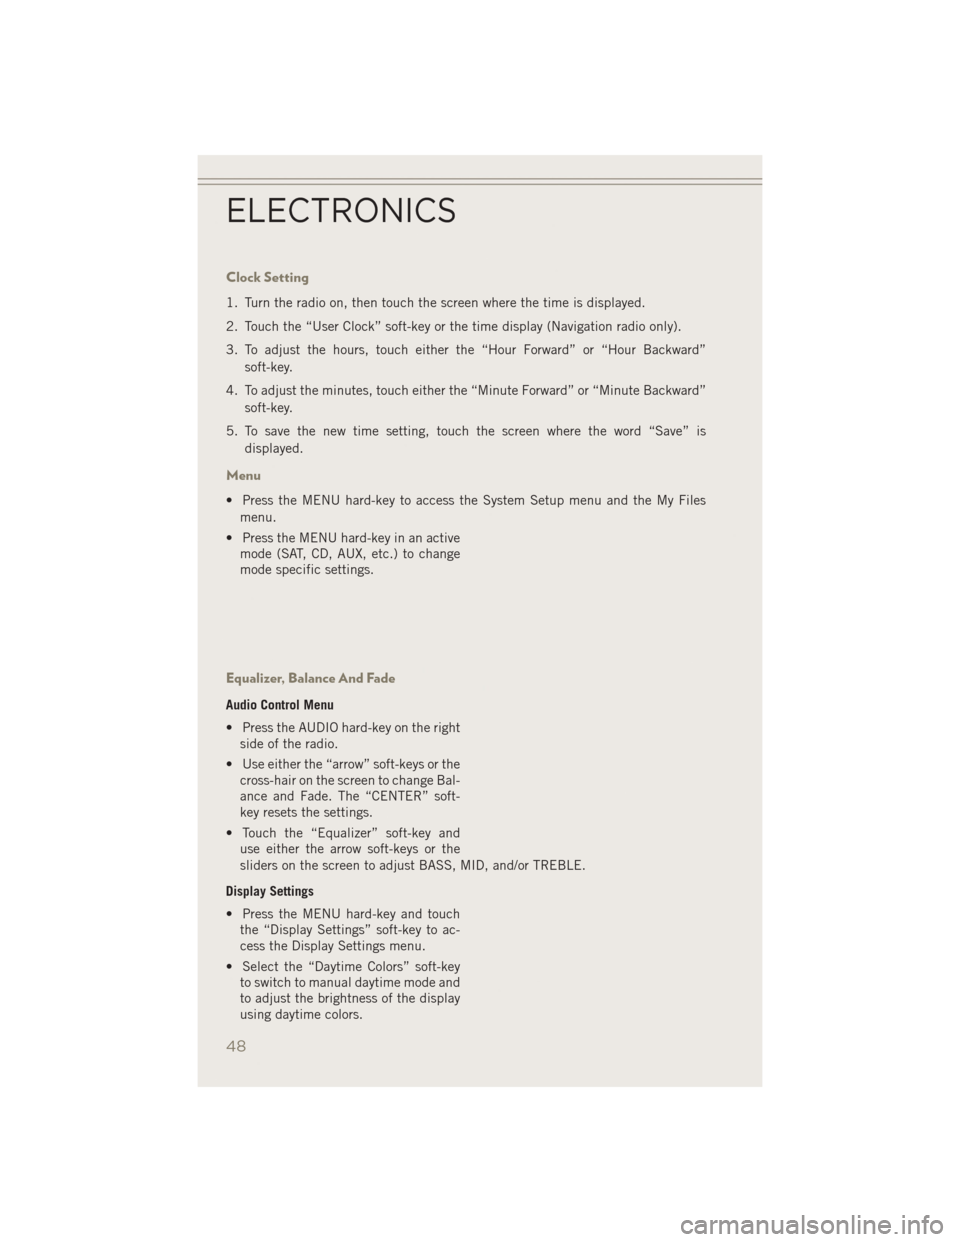
Clock Setting
1. Turn the radio on, then touch the screen where the time is displayed.
2. Touch the “User Clock” soft-key or the time display (Navigation radio only).
3. To adjust the hours, touch either the “Hour Forward” or “Hour Backward”soft-key.
4. To adjust the minutes, touch either the “Minute Forward” or “Minute Backward” soft-key.
5. To save the new time setting, touch the screen where the word “Save” is displayed.
Menu
• Press the MENU hard-key to access the System Setup menu and the My Filesmenu.
• Press the MENU hard-key in an active mode (SAT, CD, AUX, etc.) to change
mode specific settings.
Equalizer, Balance And Fade
Audio Control Menu
• Press the AUDIO hard-key on the rightside of the radio.
• Use either the “arrow” soft-keys or the cross-hair on the screen to change Bal-
ance and Fade. The “CENTER” soft-
key resets the settings.
• Touch the “Equalizer” soft-key and use either the arrow soft-keys or the
sliders on the screen to adjust BASS, MID, and/or TREBLE.
Display Settings
• Press the MENU hard-key and touch the “Display Settings” soft-key to ac-
cess the Display Settings menu.
• Select the “Daytime Colors” soft-key to switch to manual daytime mode and
to adjust the brightness of the display
using daytime colors.
ELECTRONICS
48
Page 59 of 126

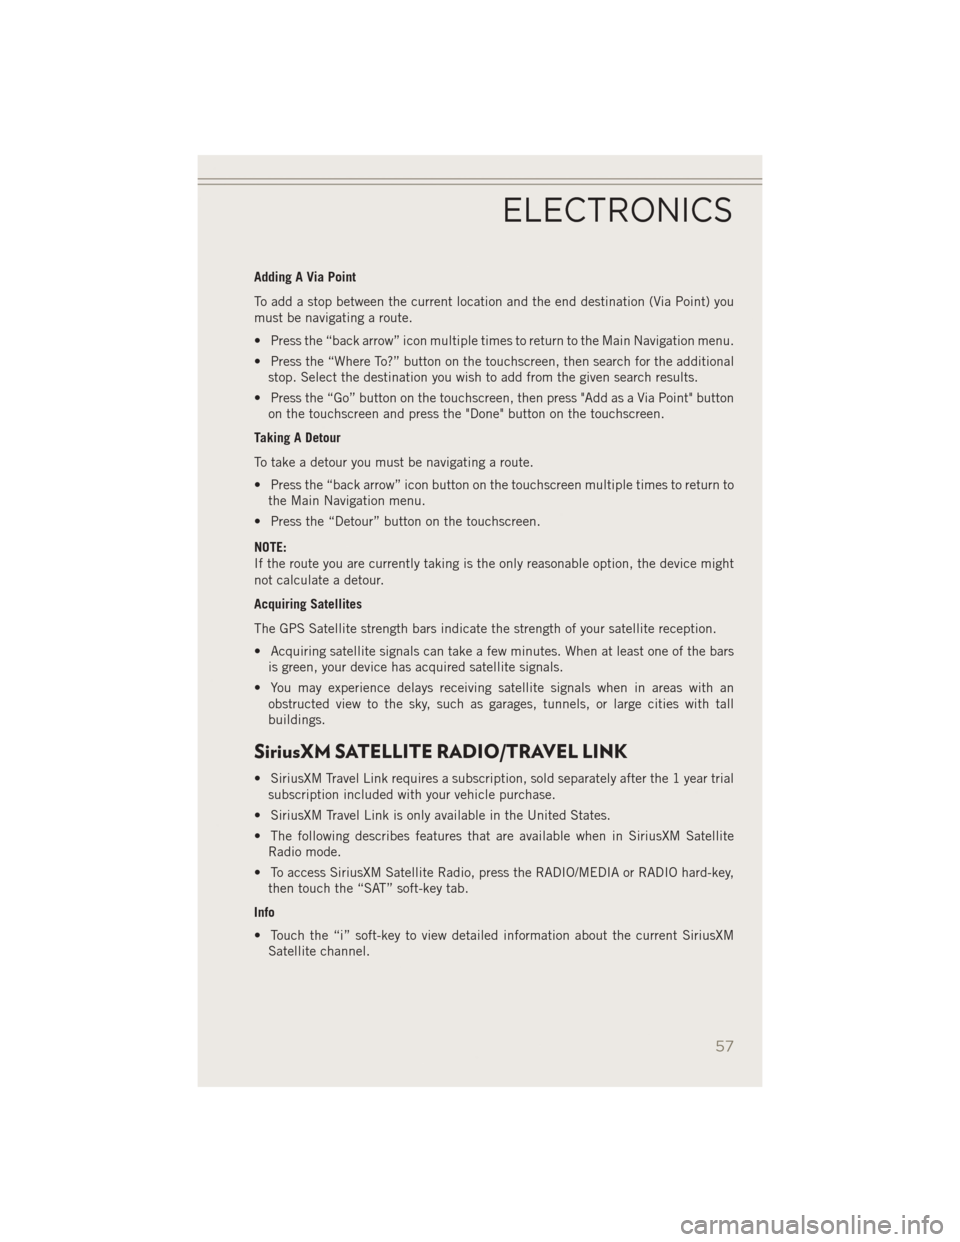
Adding A Via Point
To add a stop between the current location and the end destination (Via Point) you
must be navigating a route.
• Press the “back arrow” icon multiple times to return to the Main Navigation menu.
• Press the “Where To?” button on the touchscreen, then search for the additionalstop. Select the destination you wish to add from the given search results.
• Press the “Go” button on the touchscreen, then press "Add as a Via Point" button on the touchscreen and press the "Done" button on the touchscreen.
Taking A Detour
To take a detour you must be navigating a route.
• Press the “back arrow” icon button on the touchscreen multiple times to return to the Main Navigation menu.
• Press the “Detour” button on the touchscreen.
NOTE:
If the route you are currently taking is the only reasonable option, the device might
not calculate a detour.
Acquiring Satellites
The GPS Satellite strength bars indicate the strength of your satellite reception.
• Acquiring satellite signals can take a few minutes. When at least one of the bars is green, your device has acquired satellite signals.
• You may experience delays receiving satellite signals when in areas with an obstructed view to the sky, such as garages, tunnels, or large cities with tall
buildings.
SiriusXM SATELLITE RADIO/TRAVEL LINK
• SiriusXM Travel Link requires a subscription, sold separately after the 1 year trialsubscription included with your vehicle purchase.
• SiriusXM Travel Link is only available in the United States.
• The following describes features that are available when in SiriusXM Satellite Radio mode.
• To access SiriusXM Satellite Radio, press the RADIO/MEDIA or RADIO hard-key, then touch the “SAT” soft-key tab.
Info
• Touch the “i” soft-key to view detailed information about the current SiriusXM Satellite channel.
ELECTRONICS
57
Page 119 of 126
FREQUENTLY ASKED QUESTIONS
GETTING STARTED
How do I install my LATCH Equipped Child Seat? pg. 15
How do my heated seats operate? pg. 22
ELECTRONICS
Which radio is in my vehicle?
• Uconnect
®130 pg. 36
• Uconnect
®130 with Satellite Radio pg. 39
• Uconnect
®230 pg. 43
• Uconnect
®430/430N pg. 47
How do I activate the Audio Jack?
• Uconnect
®130 pg. 46
• Uconnect
®130 with Satellite Radio pg. 46
• Uconnect
®230 pg. 46
• Uconnect
®430/430N pg. 51
How do I set the clock on my radio?
• Uconnect
®130 pg. 44
• Uconnect
®130 with Satellite Radio pg. 44
• Uconnect
®230 pg. 44
• Uconnect
®430/430N pg. 48
How do I use the Navigation feature? pg. 54
How do I pair my cell phone via Bluetooth
®with the Uconnect®Hands-Free Voice
Activation System? pg. 63
How do I configure my Universal Garage Door Opener (HomeLink
®)? pg. 71
UTILITY
How do I know how much I can tow with my Jeep Patriot? pg. 78
FAQ (How To?)
117
Page 123 of 126

LocksLiftgate, Tailgate ..........10
Lumbar Support ............20
Maintenance Record .........109
MaintenanceSchedule........105
Malfunction Indicator Light (Check Engine)................83
MediaCenterRadio........43,47
MOPAR
®Accessories .........116
Navigation ................54
Navigation System (Uconnect
®
gps)..................55
Navigation Voice Prompt Volume . . .55
New Vehicle Break-In Period .....24
OilChangeIndicator..........85
Oil, Engine Capacity ..............104
Oil Pressure Light ...........84
Outlet Power ................75
Overheating, Engine ..........85
Panic Alarm ...............10
Phone (Uconnect
®) ..........63
Placard, Tire and Loading Information .............112
Power Inverter ...............74
Outlet (Auxiliary Electrical
Outlet) ...............75
Seats ................18
Steering ..............104
Power Sunroof .............32
Preparation for Jacking ........88
Programmable Electronic Features . .69
Radio Operation .....37,40,44,49
Rain Sensitive Wiper System .....26
Rear Seat, Folding ...........21
Rear Wiper/Washer ...........26
Remote Keyless Entry (RKE) Arm The Alarm ...........12
Disarm The Alarm .........12
Lock The Doors ...........10
Panic Alarm ............10 Remote Keyless Entry (RKE) . . .10
Unlock The Doors
.........10
Remote Starting How To Use Remote Start .....11
KeyFob ...............11
Remote Starting System .....11
Remote Starting System ........11
Replacement Bulbs ..........113
Reporting Safety Defects .......115
RollOverWarning ............4
Satellite Radio (Uconnect
®
studios) ...........39,41,45
Schedule,Maintenance .......105
Seat Belt Automatic Locking Retractor
(ALR) ................13
Child Restraints ........13,15
Energy Management Feature . . .13
Engage The Automatic
Locking Mode ...........16
Lap/Shoulder Belts .........13
Seat Belt Pretensioner ......13
Seat Belt Reminder ........13
Seats ................18,19
Adjustment .............19
Folding Front Passenger .....20
Heated ...............22
Height Adjustment ........19
Manual ...............19
Power ................18
Rear Folding ............21
Security Alarm Arm The System ..........12
Disarm The System ........12
Security Alarm ...........12
Shift Lever Override ..........97
Signals, Turn ..............26
SIRIUS Travel Link ...........57
SpareTire................87
SparkPlugs..............104
Speed Control Accel/Decel ............28
Cancel ...............28
Resume ...............28
Set .................27
Starting Remote ...............11
INDEX
121