2014 JEEP GRAND CHEROKEE remote start
[x] Cancel search: remote startPage 28 of 220

WARNING!
• Persons who are unable to feel pain to the skin because of advanced age,
chronic illness, diabetes, spinal cord injury, medication, alcohol use, exhaus-
tion or other physical conditions must exercise care when using the seat heater.
It may cause burns even at low temperatures, especially if used for long periods
of time.
• Do not place anything on the seat that insulates against heat, such as a blanket
or cushion. This may cause the seat heater to overheat. Sitting in a seat that
has been overheated could cause serious burns due to the increased surface
temperature of the seat.
HEATED STEERING WHEEL
The steering wheel contains a heating element that heats the steering wheel to one
temperature setting.
The heated steering wheel control button is located within the climate or controls
screen of the touchscreen.
• Press the heated steering wheel button
once to turn the heating element On.
• Press the heated steering wheel button
a second time to turn the heating
element Off.
Once the heated steering wheel has been turned on, it will operate for approximately
58 to 70 minutes before automatically shutting off. The heated steering wheel can
shut off early or may not turn on when the steering wheel is already warm.
NOTE:
Vehicle Equipped With Remote Start
On models that are equipped with remote start, this feature can be programmed to come
on during a remote start through the Uconnect®system. Refer to “Uconnect®Settings”
in “Understanding Your Instrument Panel” in the Owner's Manual on the DVD.
WARNING!
• Persons who are unable to feel pain to the skin because of advanced age,
chronic illness, diabetes, spinal cord injury, medication, alcohol use, exhaus-
tion, or other physical conditions must exercise care when using the steering
wheel heater. It may cause burns even at low temperatures, especially if used
for long periods.
• Do not place anything on the steering wheel that insulates against heat, such
as a blanket or steering wheel covers of any type and material. This may cause
the steering wheel heater to overheat.
GETTING STARTED
26
Page 53 of 220

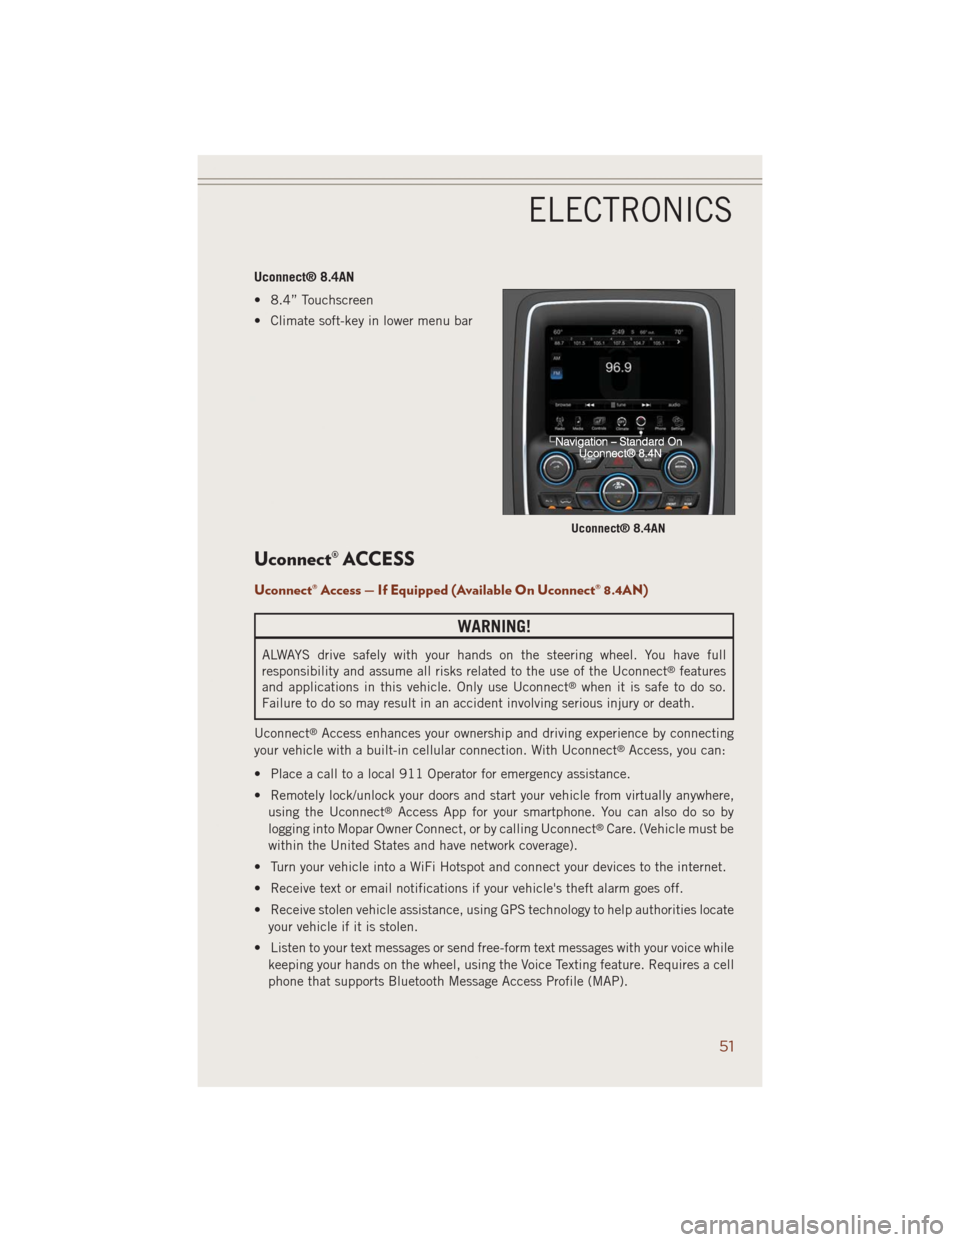
Uconnect® 8.4AN
• 8.4” Touchscreen
• Climate soft-key in lower menu bar
Uconnect® ACCESS
Uconnect® Access — If Equipped (Available On Uconnect® 8.4AN)
WARNING!
ALWAYS drive safely with your hands on the steering wheel. You have full
responsibility and assume all risks related to the use of the Uconnect®features
and applications in this vehicle. Only use Uconnect®when it is safe to do so.
Failure to do so may result in an accident involving serious injury or death.
Uconnect
®Access enhances your ownership and driving experience by connecting
your vehicle with a built-in cellular connection. With Uconnect®Access, you can:
• Place a call to a local 911 Operator for emergency assistance.
• Remotely lock/unlock your doors and start your vehicle from virtually anywhere,
using the Uconnect
®Access App for your smartphone. You can also do so by
logging into Mopar Owner Connect, or by calling Uconnect®Care. (Vehicle must be
within the United States and have network coverage).
• Turn your vehicle into a WiFi Hotspot and connect your devices to the internet.
• Receive text or email notifications if your vehicle's theft alarm goes off.
• Receive stolen vehicle assistance, using GPS technology to help authorities locate
your vehicle if it is stolen.
• Listen to your text messages or send free-form text messages with your voice while
keeping your hands on the wheel, using the Voice Texting feature. Requires a cell
phone that supports Bluetooth Message Access Profile (MAP).
Uconnect® 8.4AN
ELECTRONICS
51
Page 55 of 220

3. The Uconnect®Access Registration App will open and display step-by-step
instructions to start your registration.
4. Enter your email address into the radio touchscreen.
5. A message will display on the touchscreen indicating your email submission was
accepted.
6. At home, or wherever you access your email, look for an email from Uconnect
®
Access that contains your personalized registration link. If you don't see it, check
your spam or junk email folder. Open the email and click on the link to continue
registering online.
NOTE:
For security reasons, this link is valid for 72 hours from the time you submit your
email address into the radio touchscreen. If the link has expired, start the process
over (see step 1).
7. You are now registered for your Uconnect
®Access Trial! Apps will be downloaded
the next time you start your vehicle. It may take over 30 minutes for all of the
Apps to install. If the Apps have not appeared after 72 hours, please contact
Uconnect
®Care at 855-792-4241.
8. Get to know Uconnect
®Access! We recommend:
• Go to moparownerconnect.com and log in using the email address and password
you established while registering. Go to the Learn & Use tab for complete
information on using Uconnect
®Access.
• If you have a smartphone, download the Uconnect
®Access App and set up your
Via Mobile features. See instructions below.
Download The Uconnect® Access App
If you own a compatible Apple or Android®powered device, the Uconnect Access
App allows you to remotely lock or unlock your doors, start your engine or activate
your horn and lights from virtually anywhere (Vehicle must be within the United
States and have network coverage). You can download the App from Mopar Owner
Connect or from the Apple App or Google Play store. For Uconnect
®phone
compatibility - visit UconnectPhone.com or call 1–877–855–8400.
Set Up Your Via Mobile Profile — If Equipped
Setting up your Via Mobile profile means entering your login information for each app
so that they can work in your vehicle. Complete your Via Mobile Profile online during
registration of your Uconnect
®Access system. Access this page by logging into your
Mopar Owner Connect account (moparownerconnect.com), going to Edit Profile,
then Via Mobile Profile.
If you already have an account with these apps, click “SetUp” to enter your
information. If you do not have an account, you can create a new one.
ELECTRONICS
53
Page 57 of 220

6.The Uconnect®Store will ask you to “Confirm Payment” using your default payment
method on file in your Payment Account. Press the “Complete” key to continue.
7. The Uconnect®Payment Account will then ask for your “Payment Account PIN,”
which you established when setting up your Uconnect®payment account. After
entering this four digit PIN, press the “Complete” key to make the purchase.
8. You will receive a confirmation message that your purchase has been submitted.
Press the OK button to end the process.
Purchasing WiFi Hotspot While In Your Vehicle
You must set up a Uconnect
®Access Payment Account online (log in to
moparownerconnect.com, go to Edit Profile, then Uconnect®Payment Account,to
set up and manage your Payment Account).
1. To purchase WiFi while in your vehicle, ensure the vehicle is running and in Park.
Press the Apps button on the touchscreen, then select WiFi within the Tools
menu. Follow the on-screen instructions. When asked for your payment PIN, use
the 4-digit PIN you established when setting up your payment account on Mopar
Owner Connect.
NOTE:
This may be different than the Uconnect
®Security PIN you established for using
features such as Remote Vehicle Start. After purchasing WiFi, it may take up to
30 minutes (with the vehicle running) before the WiFi will be active in your vehicle.
2. Select WiFi again, then note the hotspot name. Select this network when
connecting devices to the hotspot. Also click on View/Edit Passphrase, then note
the security passphrase you will need to connect to the network on each device.
If your devices cannot see the WiFi Hotspot network after 30 minutes, please contact
Uconnect
®Care by pressing the Assist button on the rear view mirror, or by calling
855-792-4241.
Using Uconnect® Access
Getting Started With Apps
Applications (Apps) and features in your Uconnect
®Access system deliver services
that are customized for the driver and are certified by Chrysler Group, LLC. Two
different types are:
1.Built-In Features— use the built-in 3G Cellular Network on your Uconnect
®8.4A
or 8.4AN radio.
2.Uconnect® Access via Mobile (if equipped)— uses the Uconnect Access app and
your smartphone's data plan to access your personal Pandora
®, iHeartRadio,
Aha™ and Slacker accounts from the vehicle and control them using the vehicle
touchscreen. Customer's data plan charges will apply.
ELECTRONICS
55
Page 61 of 220

Uconnect® Access Remote Features
If you own a compatible iPhone®or Android®powered device, the Uconnect®Access
App allows you to remotely lock or unlock your doors, start your engine or activate your
horn and lights from virtually anywhere (Vehicle must be within the United States and
have network coverage). You can download the App from Mopar Owner Connect or from
the App Store (iPhone) or Google Play store. Visit UconnectPhone.com to determine
if your device is compatible. For Uconnect
®Phone customer support and to determine
if your device is compatible.
U.S. residents - visit UconnectPhone.com or call 1–877–855–8400
Remote Start— This feature provides the ability to start the engine on your vehicle,
without the keys and from virtually any distance. You can send a request to your
vehicle in one of two ways:
1. Using the Uconnect
®Access App from a compatible smartphone.
2. From the Mopar Owner Connect website.
• You can also send a command to turn-off an engine that has been remote
started.
• After 15 minutes if you have not entered your vehicle with the key, the engine
will shut off automatically.
• This remote function requires your vehicle to be equipped with a factory-
installed Remote Start system. To use this feature after the Uconnect
®Access
App is downloaded, login with your user name and Uconnect®Security PIN.
• You can set-up notifications for your account to receive an email or text (SMS)
message every time a command is sent. Login to Mopar Owner Connect
(moparownerconnect.com) and click on Edit Profile to manage Uconnect
®
Notifications.
Remote Door Lock/Unlock— This feature provides the ability to lock or unlock the door
on your vehicle, without the keys and from virtually any distance. You can send a
request to your vehicle in one of three ways:
1. Using the Uconnect
®Access App from a compatible smartphone.
2. From the Mopar Owner Connect website.
3. By contacting the Uconnect
®Care on the phone.
To use this feature after the Uconnect
®Access App is downloaded, login using your
user name and Uconnect®Security PIN. Press the “App” button on your smartphone
with the closed lock icon to lock the door, and press the “open lock” icon to unlock
the driver’s door.
You can set-up notifications for your account to receive an email or text (SMS) message
every time a command is sent. Login to Mopar Owner Connect (moparownerconnect.com)
and click on Edit Profile to manage Uconnect
®Notifications.
ELECTRONICS
59
Page 117 of 220

• Push the BACK/LEFTbutton to access the information screens or sub-menu
screens of a main menu item.
• Push theOKbutton to access/select the information screens or sub-menu screens
of a main menu item. Push and hold the OK button for two seconds to reset
displayed/selected features that can be reset.
Compass Calibration
This compass is self-calibrating, which eliminates the need to set the compass
manually. When the vehicle is new, the compass may appear erratic and the EVIC will
display “– –” until the compass is calibrated.
You may also calibrate the compass by completing one or more 360 degree turns (in
an area free from large metal or metallic objects) until the “– –” message displayed
in the EVIC turns off. The compass will now function normally.
PROGRAMMABLE FEATURES
EVIC Programmable Features
The EVIC can be used to view or change the following settings. Push the UPor
DOWN
button until System Setup displays, then push the RIGHTbutton.
Scroll through the settings using the UP or DOWN buttons. Push the OK button to
change the setting. Push the BACK/LEFT
button to scroll back to a previous
menu or sub menu.
• Radio Info • Trip Info
• Fuel Economy Info • Tire Pressure
• Cruise Control Info • Vehicle Info
• Digital Vehicle Speed • Stored Warning Messages
• Screen Setup
Uconnect® Customer Programmable Features
• The Uconnect®system allows you to access Customer Programmable feature
settings such as Display, Clock, Safety/Assistance, Lights, Doors & Locks, Auto-On
Comfort & Remote Start, Engine Off Operation, Compass Settings, Audio, Trailer
Brake, Phone/Bluetooth
®, Suspension and SiriusXM Setup and System Informa-
tion through soft-keys.
ELECTRONICS
115
Page 167 of 220

BATTERY LOCATION
The battery in your vehicle is located under the passenger's front seat. Remote
battery posts are located on the right side of the engine compartment for jump-
starting.
JUMP-STARTING
If your vehicle has a discharged battery it can be jump-started using a set of jumper
cables and a battery in another vehicle or by using a portable battery booster pack.
Jump-starting can be dangerous if done improperly so please follow the procedures
in this section carefully.
NOTE:
When using a portable battery booster pack follow the manufacturer’s operating
instructions and precautions.
Preparations For Jump-Start
The battery in your vehicle is located
under the passengers front seat. There
are remote locations under the hood to
assist in jump starting.
1. Set the parking brake, shift the auto-
matic transmission into PARK and
turn the ignition to LOCK.
2. Turn off the heater, radio, and all
unnecessary electrical accessories.
3. Remove the protective cover over the
remote positive (+) battery post. Pull
upward on the cover to remove it.
4. If using another vehicle to jump-start
the battery, park the vehicle within
the jumper cables reach, set the park-
ing brake and make sure the ignition
is OFF.
Remote Battery Posts
1 — Remote Positive(+)Post
2 — Remote Negative(-)Post
WHAT TO DO IN EMERGENCIES
165
Page 168 of 220

Jump-Starting Procedure
1. Connect the positive(+)end of the jumper cable to the remote positive(+)post
of the vehicle with discharged battery.
2. Connect the opposite end of the positive(+)jumper cable to the positive(+)post
of the booster battery.
3. Connect the negative(-)end of the jumper cable to the negative(-)post of the
booster battery.
4. Connect the opposite end of the negative(-)jumper cable to the remote
negative(-)post of the vehicle with the discharged battery.
5. Start the engine in the vehicle that has the booster battery, let the engine idle a
few minutes, and then start the engine in the vehicle with the discharged battery.
Once the engine is started, remove the jumper cables in the reverse sequence:
1. Disconnect the negative(-)end of the jumper cable from the remote negative(-)
post of the vehicle with the discharged battery.
2. Disconnect the opposite end of the negative(-)jumper cable from the negative(-)
post of the booster battery.
3. Disconnect the positive(+)end of the jumper cable from the positive(+)post of
the booster battery.
4. Disconnect the opposite end of the positive(+)jumper cable from the remote
positive(+)post of the discharged vehicle.
5. Reinstall the protective cover over the remote positive(+)post of the vehicle with
the discharged battery.
6. Reinstall the protective plug over the remote negative(-)post of the vehicle with
the discharged battery.
NOTE:
If frequent jump-starting is required to start your vehicle you should have the battery
and charging system inspected at your authorized dealer.
CAUTION!
• Do not use a portable battery booster pack or any other booster source with a
system voltage greater than 12 Volts or damage to the battery, starter motor,
alternator or electrical system may occur.
• Failure to follow these procedures could result in damage to the charging
system of the booster vehicle or the discharged vehicle.
• Accessories that can be plugged into the vehicle power outlets draw power from
the vehicle’s battery, even when not in use (e.g., cellular phones, etc.).
Eventually, if plugged in long enough, the vehicle’s battery discharges suffi-
ciently to degrade battery life and/or prevent the engine from starting.
WHAT TO DO IN EMERGENCIES
166