2014 JEEP GRAND CHEROKEE battery
[x] Cancel search: batteryPage 8 of 118

REMOTE STARTING SYSTEM
This system uses the Remote Keyless Entry
(RKE) transmitter to start the engine conve-
niently from outside the vehicle while still
maintaining security. The system has a range of
approximately 300 ft (91 m).
NOTE:
• The vehicle must be equipped with an automatic
transmission to be equipped with Remote Start.
• The Remote Start system will wait for the “Wait To
Start” amber telltale to extinguish before cranking the
engine. This allows time for the engine pre-heat cycle
to pre-heat the cylinder air, and is normal in cold
weather. Refer to “Electronic Vehicle Information Dis-
play (EVIC)” in “Understanding Your Instrument
Panel” for further information on the “Wait To Start”
amber telltale and the pre-heat cycle.
How To Use Remote Start
All of the following conditions must be met before the
engine will remote start:
• Shift lever in PARK
• Doors closed
• Hood closed
• HAZARD switch off
• BRAKE switch inactive (brake pedal not pressed)
• Battery at an acceptable charge level
• RKE PANIC button not pressed
• Fuel meets minimum requirement
• Water In Fuel Indicator Light is not illuminated
• “Wait To Start” telltale is not illuminated
6 THINGS TO KNOW BEFORE STARTING YOUR VEHICLE
Page 33 of 118
•Engine Will Not Start Service DEF System See Dealer
— This message will display when the fault detected is
not serviced after the Engine will not restart Service DEF
System See Dealer message is displayed on the next
subsequent restart. Your engine will not start unless you
vehicle is serviced by your authorized dealer. The mes-
sage will be accompanied by a single chime. Your
Malfunction Indicator Light will be continuously illumi-
nated. If the message appears and you can not start the
engine, we recommend you have your vehicle towed to
your nearest authorized dealer immediately.
NOTE:
• The gauge may take up to five seconds to update after
adding a gallon or more of Diesel Exhaust Fluid (DEF)
to the DEF tank. If you have a fault related to the DEF
system, the gauge may not update to the new level. See
your authorized dealer for service. •
The DEF gauge may also not immediately update after
a refill if the temperature of the DEF fluid is below
12°F (-11°C). The DEF line heater will possibly warm
up the DEF fluid and allow the gauge to update after
a period of run time. Under very cold conditions, it is
possible that the gauge may not reflect the new fill
level for several drives.
Vehicle Information (Customer Information
Features)
Press and release the UP or DOWN button until “Vehicle
Info” displays in the EVIC and press the OK button. Press
the UP and DOWN button to scroll through the available
information displays, then press OK to display anyone of
the following choices.
• Battery Voltage
Displays the actual battery voltage.
3
UNDERSTANDING YOUR INSTRUMENT PANEL 31
Page 62 of 118
Towing Tips
Before setting out on a trip, practice turning, stopping
and backing the trailer up in an area away from heavy
traffic.
Automatic Transmission
The DRIVE range can be selected when towing. The
transmission controls include a strategy to avoid frequent
shifting when towing. However, if frequent shifting does
occur while in DRIVE, you can use the Paddle Shift
switches to manually select a lower gear.
NOTE:Using a lower gear while operating the vehicle
under heavy loading conditions, will improve perfor-
mance and extend transmission life by reducing exces-
sive shifting and heat buildup. This action will also
provide better engine braking.
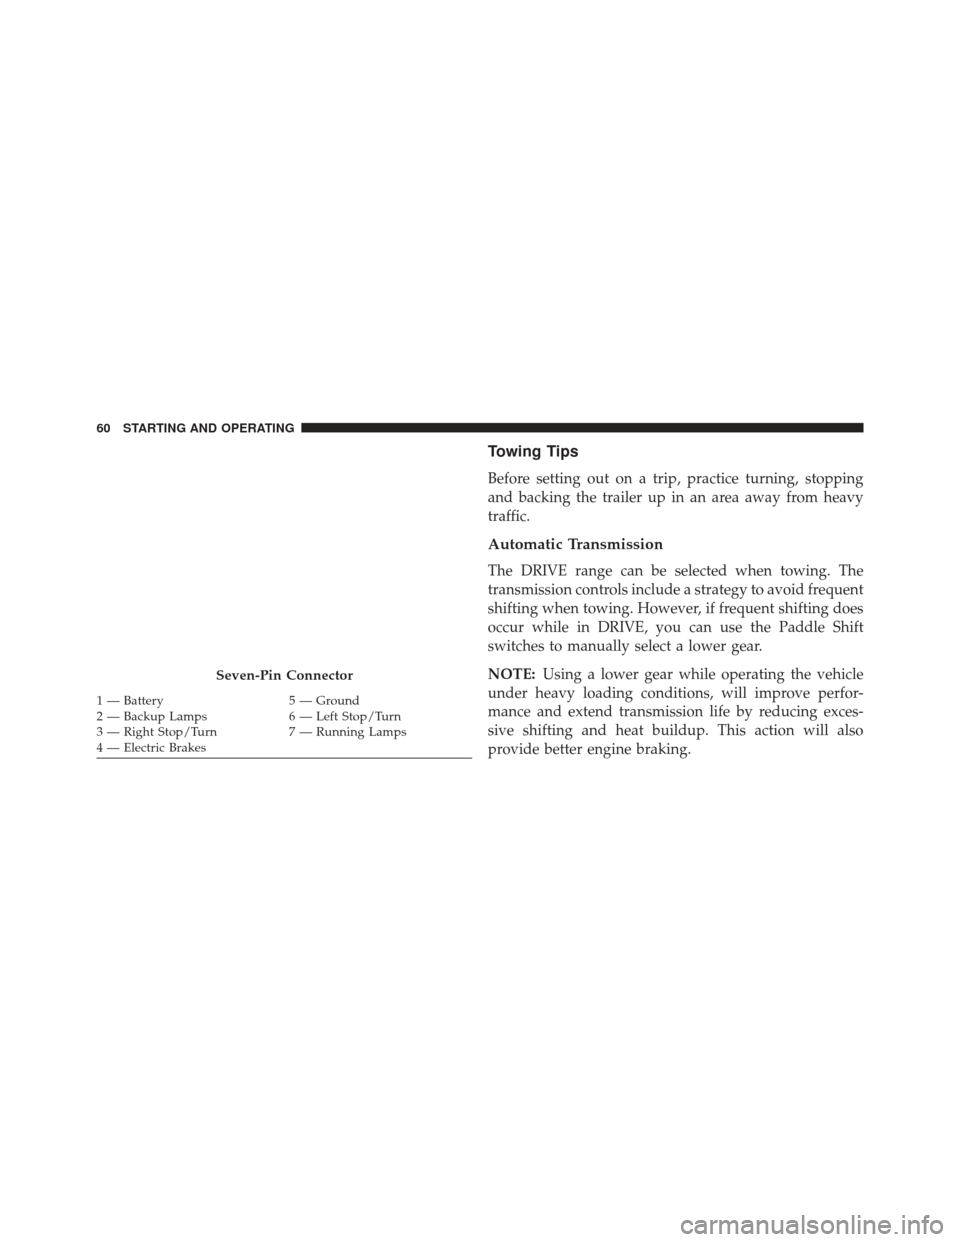
Seven-Pin Connector
1 — Battery 5 — Ground
2 — Backup Lamps 6 — Left Stop/Turn
3 — Right Stop/Turn 7 — Running Lamps
4 — Electric Brakes 60 STARTING AND OPERATING
Page 86 of 118
Maintenance-Free Batteries
Your vehicle is equipped with a maintenance-free battery.
The top of the maintenance-free battery is permanently
sealed. You will never have to add water, nor is periodic
maintenance required.
CAUTION!
It is essential when replacing the cables on the
battery that the positive cable is attached to the
positive post and the negative cable is attached to the
negative post. Battery posts are marked (+) positive
and negative (-) and are identified on the battery
case. Also, if a “fast charger” is used while the battery
is in vehicle, disconnect both vehicle battery cables
before connecting the charger to the battery. Do not
use a “fast charger” to provide starting voltage.
WARNING!
Battery posts, terminals, and related accessories con-
tain lead and lead compounds. Always wash hands
after handling the battery.
Cooling System
WARNING!
You or others can be badly burned by hot engine
coolant (antifreeze) or steam from your radiator. If
you see or hear steam coming from under the hood,
do not open the hood until the radiator has had time
to cool. Never try to open a cooling system pressure
cap when the radiator is hot.
84 MAINTAINING YOUR VEHICLE
Page 103 of 118
Once A Month Or Before A Long Trip:
•Check engine oil level
• Check windshield washer fluid level
• Check the tire inflation pressures and look for unusual
wear or damage
• Check the fluid levels of the coolant reservoir, brake
master cylinder, power steering and transmission as
needed
• Check function of all interior and exterior lights
Required Maintenance
Refer to the Maintenance Schedules on the following
pages for required maintenance.At Every Oil Change Interval As Indicated By Oil Change Indicator System:
•Change oil and filter.
• Completely fill the Diesel Exhaust Fluid tank.
• Rotate the tires. Rotate at the first sign of irregu-
lar wear, even if it occurs before the oil indicator
system turns on.
• Inspect battery and clean and tighten terminals as
required.
• Inspect automatic transmission fluid if equipped
with dipstick.
• Inspect brake pads, shoes, rotors, drums, hoses
and park brake.
•
Inspect engine cooling system protection and hoses.
• Inspect exhaust system.
• Inspect engine air cleaner if using in dusty or
off-road conditions.
6
MAINTENANCE SCHEDULE 101
Page 107 of 118
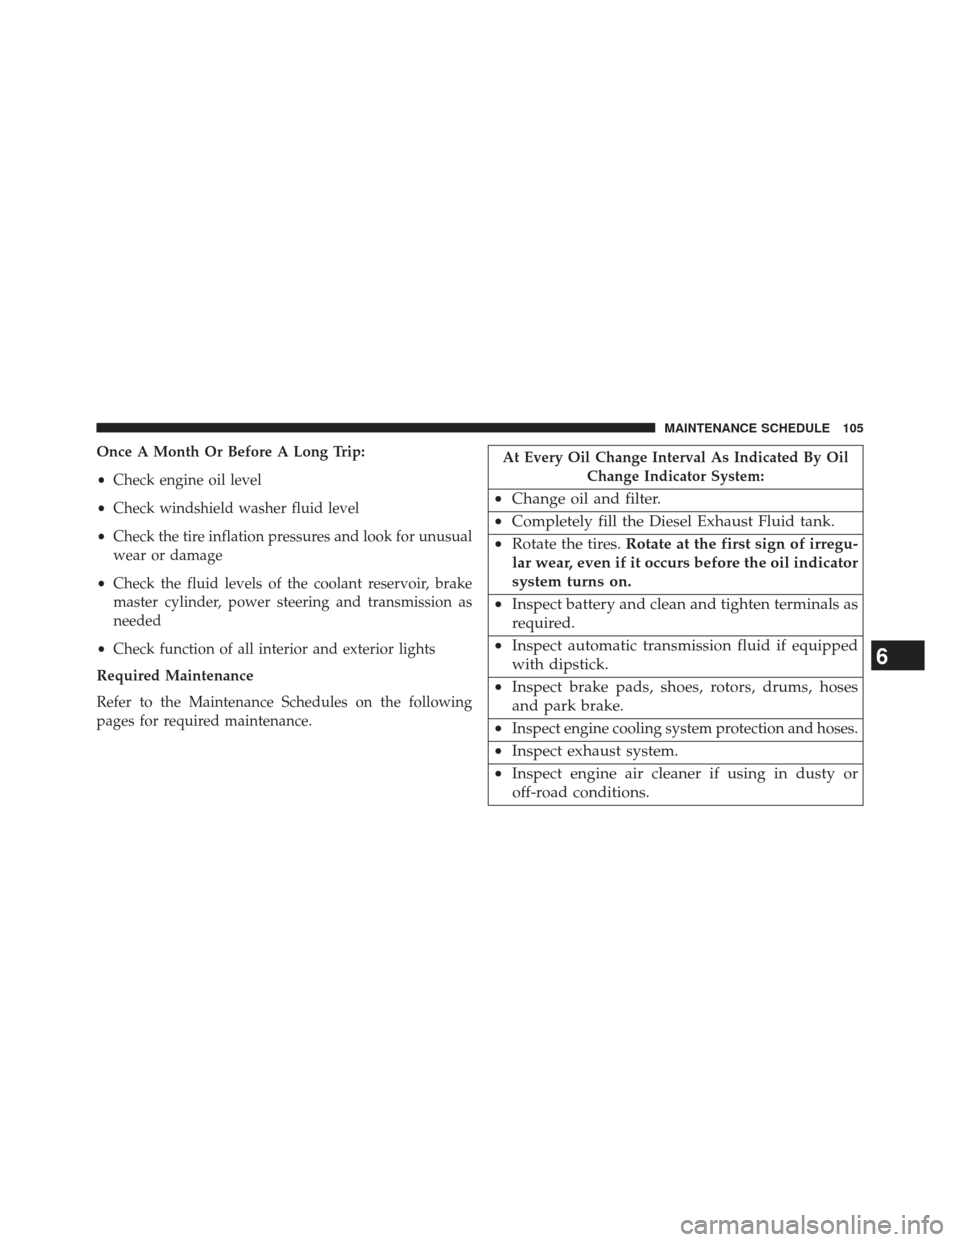
Once A Month Or Before A Long Trip:
•Check engine oil level
• Check windshield washer fluid level
• Check the tire inflation pressures and look for unusual
wear or damage
• Check the fluid levels of the coolant reservoir, brake
master cylinder, power steering and transmission as
needed
• Check function of all interior and exterior lights
Required Maintenance
Refer to the Maintenance Schedules on the following
pages for required maintenance.At Every Oil Change Interval As Indicated By Oil Change Indicator System:
•Change oil and filter.
• Completely fill the Diesel Exhaust Fluid tank.
• Rotate the tires. Rotate at the first sign of irregu-
lar wear, even if it occurs before the oil indicator
system turns on.
• Inspect battery and clean and tighten terminals as
required.
• Inspect automatic transmission fluid if equipped
with dipstick.
• Inspect brake pads, shoes, rotors, drums, hoses
and park brake.
•
Inspect engine cooling system protection and hoses.
• Inspect exhaust system.
• Inspect engine air cleaner if using in dusty or
off-road conditions.
6
MAINTENANCE SCHEDULE 105
Page 112 of 118
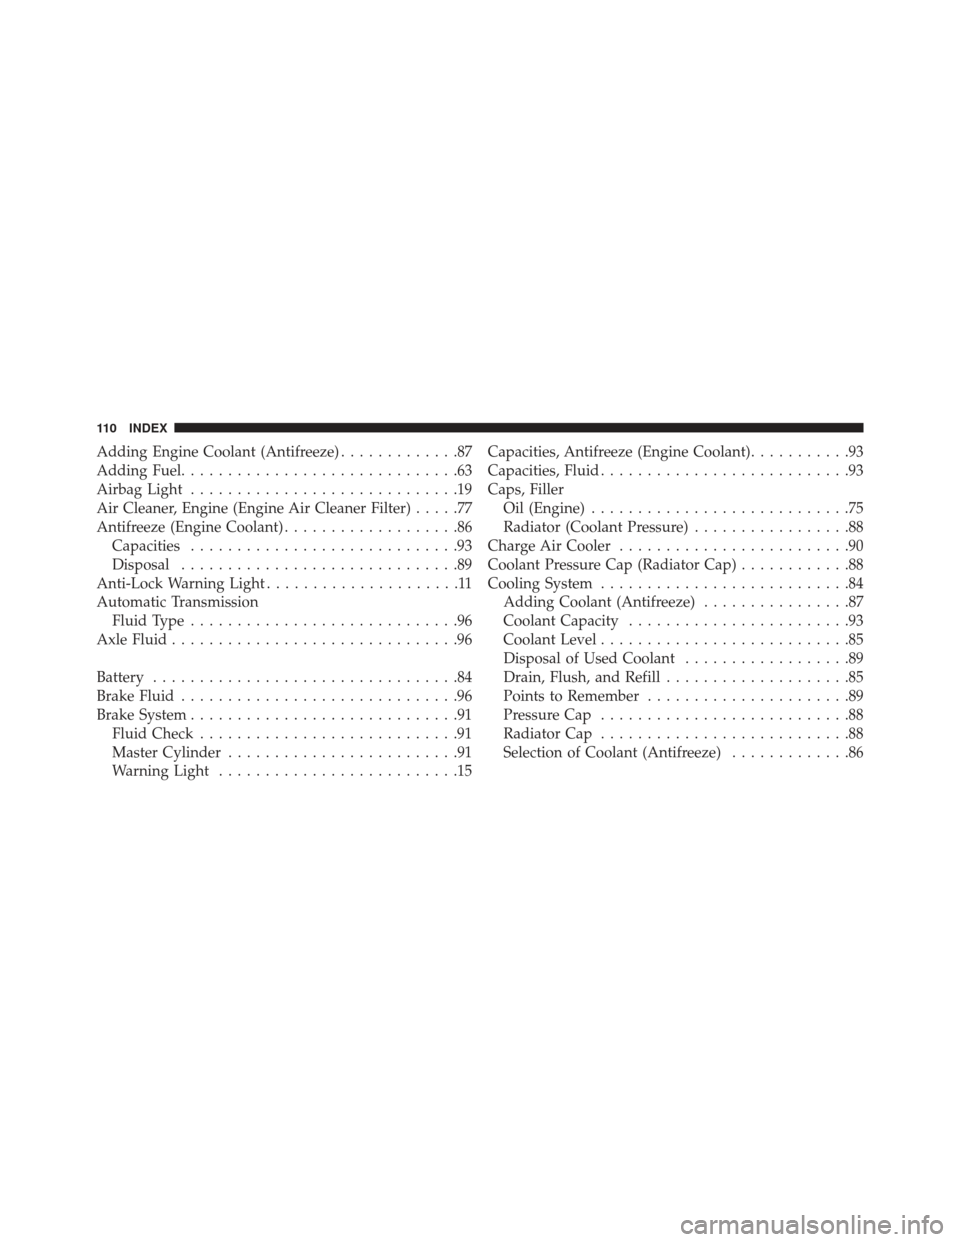
Adding Engine Coolant (Antifreeze).............87
Adding Fuel ..............................63
Airbag Light .............................19
Air Cleaner, Engine (Engine Air Cleaner Filter) .....77
Antifreeze (Engine Coolant) ...................86
Capacities .............................93
Disposal ..............................89
Anti-Lock Warning Light .....................11
Automatic Transmission Fluid Type .............................96
Axle Fluid ...............................96
Battery .................................84
Brake Fluid ..............................96
Brake System .............................91
Fluid Check ............................91
Master Cylinder .........................91
Warning Light ..........................15 Capacities, Antifreeze (Engine Coolant)
...........93
Capacities, Fluid ...........................93
Caps, Filler Oil (Engine) ............................75
Radiator (Coolant Pressure) .................88
Charge Air Cooler .........................90
Coolant Pressure Cap (Radiator Cap) ............88
Cooling System ...........................84
Adding Coolant (Antifreeze) ................87
Coolant Capacity ........................93
Coolant Level ...........................85
Disposal of Used Coolant ..................89
Drain, Flush, and Refill ....................85
Points to Remember ......................89
Pressure Cap ...........................88
Radiator Cap ...........................88
Selection of Coolant (Antifreeze) .............86
110 INDEX