2014 JEEP CHEROKEE steering
[x] Cancel search: steeringPage 119 of 204

Steering Wheel Buttons
• You can control many of your radiofeatures using your voice. Press either
the VR
or Phone Pick Up
button on your steering wheel.
Types of
VoiceCom-
mands
Available Steering
Wheel Buttons to Press: Radio
Mode Media
Mode Climate
Controls Naviga-
tion Phone
Mode APPS
Uconnect®
Voice Com-
mand (VR) Button AM/FM
& Satel- lite
Band
Control Media
Devices Control Te m -
perature Control Destina-
tion Se- lection
and View - Yelp®
GENERAL
Uconnect®
Phone Pick
Up Button ---- Call Ini-
tiation, Call
Manage- ment,Pre-
defined VoiceText
Reply -
ELECTRONICS
117
Page 120 of 204

Voice Command Examples – Uconnect® 8.4AN
While In:Voice Command Example:
GENERAL
Anytime “Go to Radio” (Media, Climate, Naviga-
tion, Phone, Apps) – Settings, and Con-
trols are not Voice Command accessible
“Cancel”
“Help” (to listen to suggested commands
specific to current need
“Repeat”
“Launch Yelp
®” – Required 1st voice
command to launch Yelp®app“Yelp®Search” – Required 2nd voice com-
mand to activate app functionality using
Steering Wheel Voice Control Button
“Hotel” (restaurant, gas station, mail,
hospital) – for nearest desired general POI
“Italian restaurants” – for nearest specified
POI category
RADIO
AM/FM “Tune to AM 950”, “Tune to 95.5 FM
(preset 5)
Satellite Band Control “Tune to Satellite Channel 80's on 8”,
Tune to Satellite Channel 32 (preset 4)
MEDIA
Media Devices Control (Functionality is
dependent on compatibility between
devices and radio) “Browse” (show) “artist” (albums, music)
“Show paired phones” (devices)
“Play song – Maple Leaf Rag” (artist -
Scott Joplin, genre - rock, album -
Ragtime Favorites)
“Shuffle” – available with iPod
®, USB
and SD Card
CLIMATE
Temperature Control “Set temperature to 70 degrees” – single
climate zone vehicles
“Set driver” (passenger) “temperature to
75 degrees” – dual climate zone vehicles
NAVIGATION
Destination Selection & View “Navigate to” (Destination) 123 Any
Street, Any town, Any State (any full
address)
“Go Home” – destination previously
defined by driver
“Repeat guidance” – hear the last
navigation prompt
“Cancel Route”
“View Map”
ELECTRONICS
118
Page 122 of 204

While In:Voice Command Example:
APPS
SiriusXM Travel Link (Traffic function is
not voice command accessible within
SiriusXM Travel Link “Show Fuel prices”
“Show Current Weather” – provides
access to Forecast as well
“Show Weather map” – multiple map
formats available
“Show Sports”
“Show Movie listings”
“Show My favorites”
Yelp® (Yelp
®adds it's own audible
prompts, and response time varies de-
pending on carrier coverage speed) “Launch Yelp
®” – Required 1st voice
command to launch Yelp®app
“Yelp®Search” – Required 2nd voice
command to activate app functionality
using Steering Wheel Voice Control
Button
“Hotel” (Restaurant, Gas Station, Hospi-
tal) – for nearest desired general POI
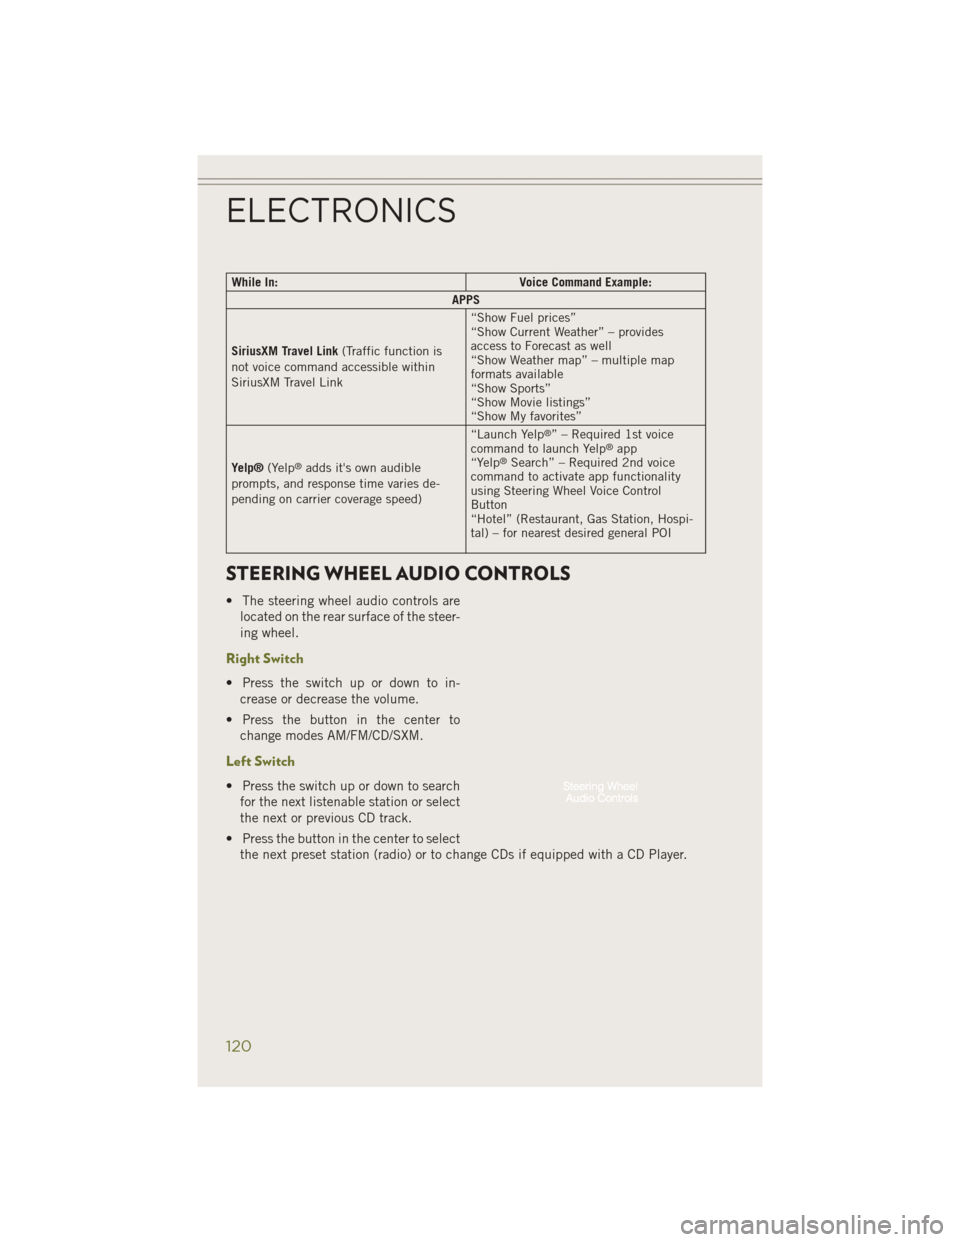
STEERING WHEEL AUDIO CONTROLS
• The steering wheel audio controls are
located on the rear surface of the steer-
ing wheel.
Right Switch
• Press the switch up or down to in-crease or decrease the volume.
• Press the button in the center to change modes AM/FM/CD/SXM.
Left Switch
• Press the switch up or down to searchfor the next listenable station or select
the next or previous CD track.
• Press the button in the center to select the next preset station (radio) or to change CDs if equipped with a CD Player.
ELECTRONICS
120
Page 123 of 204

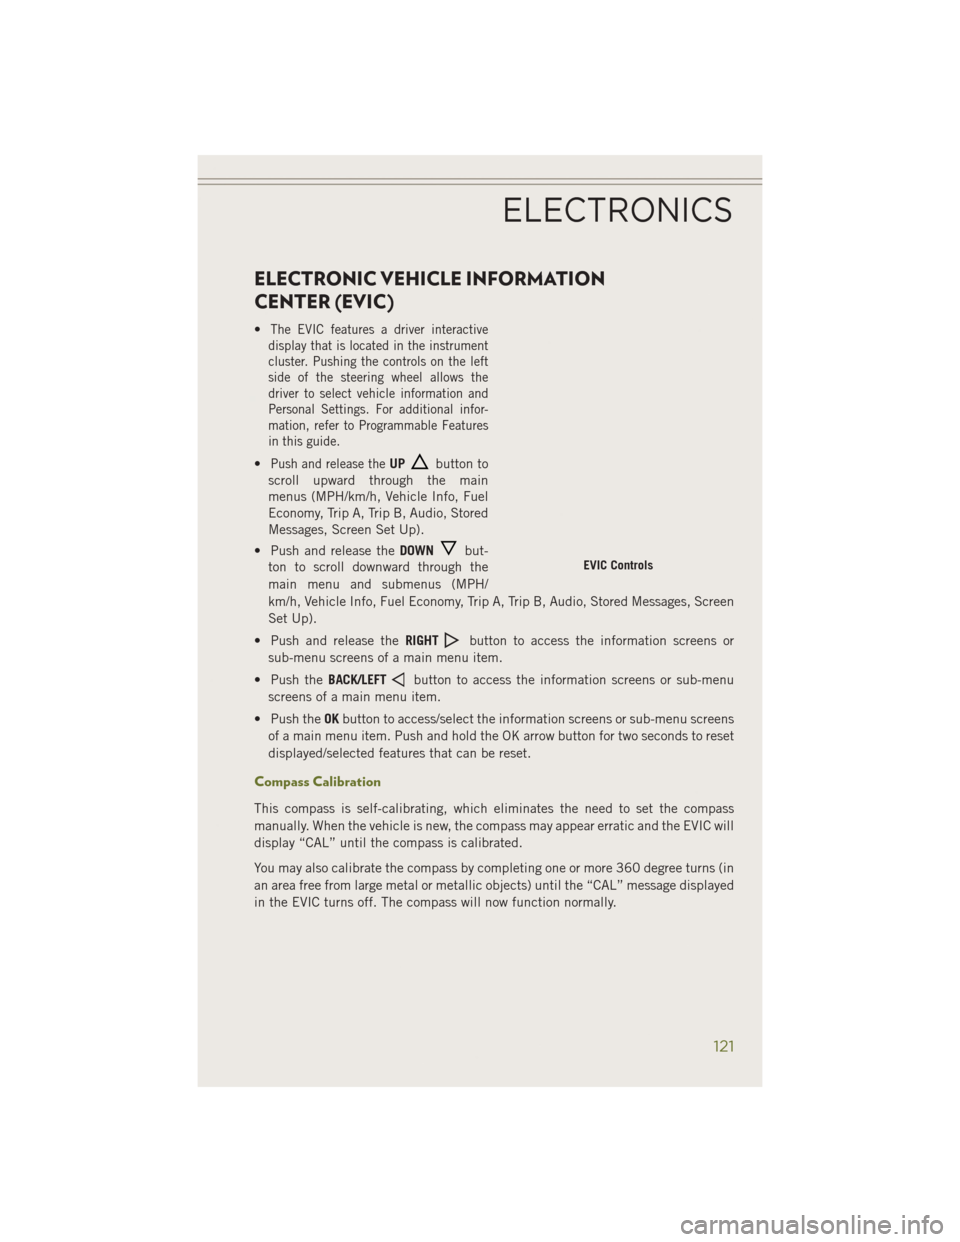
ELECTRONIC VEHICLE INFORMATION
CENTER (EVIC)
•The EVIC features a driver interactive
display that is located in the instrument
cluster. Pushing the controls on the left
side of the steering wheel allows the
driver to select vehicle information and
Personal Settings. For additional infor-
mation, refer to Programmable Features
in this guide.
•Push and release theUPbutton to
scroll upward through the main
menus (MPH/km/h, Vehicle Info, Fuel
Economy, Trip A, Trip B, Audio, Stored
Messages, Screen Set Up).
• Push and release the DOWN
but-
ton to scroll downward through the
main menu and submenus (MPH/
km/h, Vehicle Info, Fuel Economy, Trip A, Trip B, Audio, Stored Messages, Screen
Set Up).
• Push and release the RIGHT
button to access the information screens or
sub-menu screens of a main menu item.
• Push the BACK/LEFT
button to access the information screens or sub-menu
screens of a main menu item.
• Push the OKbutton to access/select the information screens or sub-menu screens
of a main menu item. Push and hold the OK arrow button for two seconds to reset
displayed/selected features that can be reset.
Compass Calibration
This compass is self-calibrating, which eliminates the need to set the compass
manually. When the vehicle is new, the compass may appear erratic and the EVIC will
display “CAL” until the compass is calibrated.
You may also calibrate the compass by completing one or more 360 degree turns (in
an area free from large metal or metallic objects) until the “CAL” message displayed
in the EVIC turns off. The compass will now function normally.
EVIC Controls
ELECTRONICS
121
Page 135 of 204

10. Release the brake pedal for five seconds and ensure that there is no vehiclemovement.
11. Shift the transmission to NEUTRAL.
12. Apply the parking brake.
NOTE:
Repeat these Steps to shift out of NEUTRAL.
REAR ELECTRONIC LOCKER (E-LOCKER) SYSTEM
• The Rear E-Locker System features a mechanical locking rear differential to provide better traction in the 4WD LOW position. The “REAR LOCK” button is on
the Selec-Terrain Knob
Activating The Rear E-Locker
• To activate the Rear E-Locker System, the following conditions must be met: • The 4WD system must be in 4WD LOW.
• The ignition switch in the ON position or the engine running.
• Vehicle speed must be below 15 MPH (24 km/h).
• To engage Rear E-Locker, press the REAR LOCK button once.
Deactivating The Rear E-Locker System
• To deactivate the Rear E-Locker System, the following conditions must be met: • Rear E-Locker must be engaged, and the REAR LOCK indicator light on.
• The ignition switch in the ON position or the engine running.
• To disengage Rear E-Locker , press the REAR LOCK button once.
NOTE:
• It may also be necessary to drive slowly steering back and forth to complete engagement and disengagement of the E- Locker.
• When engaging Rear E-Locker, the indicator lights in the instrument cluster and on the REAR LOCK button will begin to flash. When the shift is complete the REAR
LOCK indicator lights will remain on.
• When disengaging Rear E-Locker, the indicator lights in the instrument cluster and on the REAR LOCK button will begin to flash. When the shift is complete the
REAR LOCK indicator lights will remain off.
• Shifting into or out of Rear E-Locker is possible with the vehicle completely stopped; however, difficulty may occur due to the mating clutch teeth not being
properly aligned. Several attempts may be required for clutch teeth alignment and
shift completion to occur. The preferred method is for the vehicle to be rolling,
below 15 MPH (24 km/h), while including right and left steering maneuvers to
allow for the clutch teeth to align.
OFF-ROAD CAPABILITIES
133
Page 136 of 204

• The Rear E-Locker System must be disengaged prior to taking the vehicle out of4WD LOW range. If 4WD LOW shift conditions/interlocks are not met, a message
will flash from the Electronic Vehicle Information Center (EVIC) with instructions
on how to complete the requested shift.
SELEC-TERRAIN™
• Selec-Terrain™ combines the capa-bilities of the vehicle control systems,
along with driver input, to provide the
best performance for all terrains.
Rotate the mode control knob to select
the following Selec-Terrain™ positions:
• Auto — Fully automatic full time four-
wheel drive operation can be used on
and off road. Balances traction with
seamless steering feel to provide im-
proved handling and acceleration over
two-wheel drive vehicles.
• Snow — Tuning set for additional sta-
bility in inclement weather. Use on and
off road on loose traction surfaces such as snow. When in SNOW mode (depending
on certain operating conditions), the transmission may use second gear (rather
than first gear) during launches, to minimize wheel slippage.
• Sport — This mode alters the transmission's automatic shift schedule for sportier
driving. Upshift speeds are increased to make full use of available engine power.
• Sand/Mud — Off road calibration for use on low traction surfaces such as mud,
sand, or wet grass. Driveline is maximized for traction. Some binding may be felt
on less forgiving surfaces. The electronic brake controls are set to limit traction
control management of throttle and wheel spin.
• Rock — Off-road calibration only available in 4WD LOW range. Traction based
tuning with improved steer-ability for use on high traction off-road surfaces.
Activate the Hill Descent Control for steep downhill control. Use for low speed
obstacles such as large rocks, deep ruts, etc.
NOTE:
SPORT mode is not available when 4WD LOW is selected.
OFF-ROAD CAPABILITIES
134
Page 168 of 204

FREEING A STUCK VEHICLE
• If your vehicle becomes stuck in mud, sand or snow, it can often be moved by arocking motion. Turn your steering wheel right and left to clear the area around the
front wheels. Then shift back and forth between REVERSE and DRIVE. Using
minimal accelerator pedal pressure to maintain the rocking motion, without
spinning the wheels, is most effective.
NOTE:
If your vehicle is equipped with Traction Control or Electronic Stability Control (ESC),
turn the system OFF before attempting to “rock” the vehicle.
CAUTION!
• Racing the engine or spinning the wheels may lead to transmission overheating and failure. Allow the engine to idle with the shift lever in NEUTRAL for at least
one minute after every five rocking-motion cycles. This will minimize overheat-
ing and reduce the risk of transmission failure during prolonged efforts to free
a stuck vehicle.
• When “rocking” a stuck vehicle by moving between REVERSE and DRIVE, do
not spin the wheels faster than 15 mph (24 km/h), or drivetrain damage may
result.
• Revving the engine or spinning the wheels too fast may lead to transmission
overheating and failure. It can also damage the tires. Do not spin the wheels
above 30 mph (48 km/h) while in gear (no transmission shifting occurring).
WARNING!
Fast spinning tires can be dangerous. Forces generated by excessive wheel speeds
may cause damage, or even failure, of the axle and tires. A tire could explode and
injure someone. Do not spin your vehicle's wheels faster than 30 mph (48 km/h)
or for longer than 30 seconds continuously without stopping when you are stuck
and do not let anyone near a spinning wheel, no matter what the speed.
WHAT TO DO IN EMERGENCIES
166
Page 169 of 204

RECOVERY STRAP
• Your vehicle may be included with a recovery strap. Recovery straps do not act liketraditional tow straps, chains, or winch cables.
Using Recovery Strap
1. Review all warnings and instructions first.
2. Position the recovery vehicle.
3. Connect the recovery strap.
4. Add a recovery damper or blanket.
5. Clear the danger zone.
6. Safely and slowly start pulling.
7. Disconnect the recovery strap after both vehicles are secure and parked.
WARNING!
Recovery straps should only be used in emergencies to rescue stranded vehicles. Only
use Recovery straps on vehicles that fit within the recommended GVW of your
recovery strap. Only attach recovery straps to OE recommended anchor points or
emergency towing anchor points. Never attach to tow ball or vehicle tie down point,
these are not designed for this purpose. Never attach to vehicle steering, drive train,
or any other suspension components. NEVER pull a strap over sharp edges or abrasive
surfaces that can damage the recovery strap. NEVER use a damaged strap, it has
reduced strength. DO NOT attempt to repair straps. ONLY persons involved in the
recovery should be in either vehicle. No passengers. Anyone inside the vehicles can
be struck by strap recoil, causing serious injury. MOVE bystanders at least 40 feet
from the recovery area when using the recovery strap.
SHIFT LEVER OVERRIDE
• If a malfunction occurs and the shift lever cannot be moved out of the PARK position, you can use the following procedure to temporarily move the shift lever:• Turn the engine OFF.
• Apply the parking brake.
• Using a screwdriver or similar tool, carefully separate the shifter bezel and boot
assembly from the center console bezel.
• Press and maintain firm pressure on the brake pedal.
• Insert a small screwdriver or similar tool down into the shift lever override access hole (at the right front corner of the shift lever assembly), and push and
hold the override release lever down.
• Move the shift lever to the NEUTRAL position.
• The vehicle may then be started in NEUTRAL.
• Reinstall the shift lever boot.
WHAT TO DO IN EMERGENCIES
167