2014 Hyundai Sonata Tire pressure
[x] Cancel search: Tire pressurePage 535 of 665

What to do in an emergency
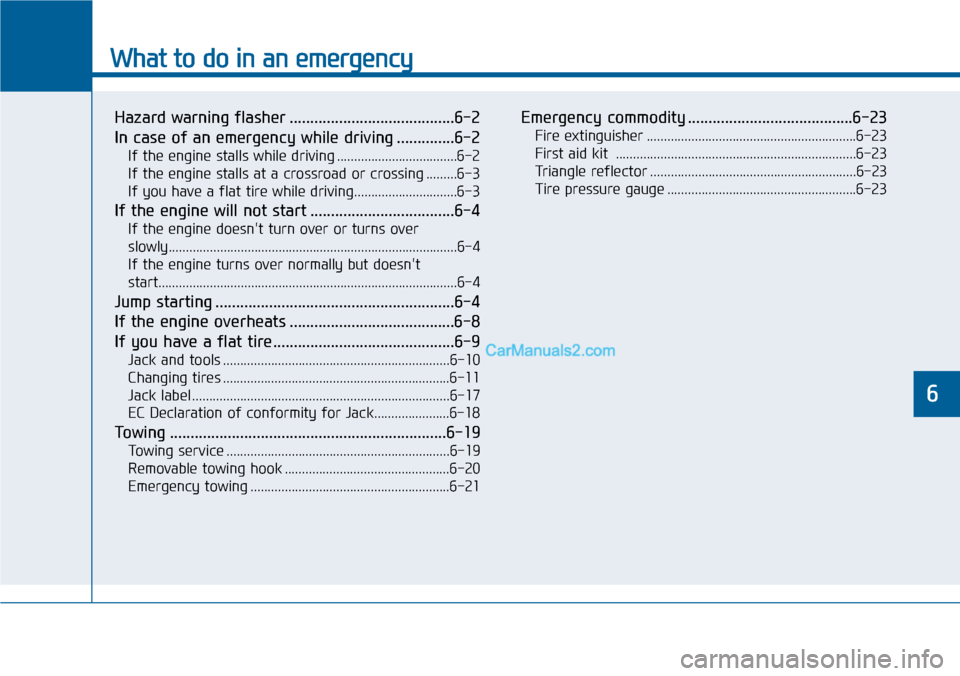
Hazard warning flasher ........................................6-2
In case of an emergency while driving ..............6-2
If the engine stalls while driving ...................................6-2
If the engine stalls at a crossroad or crossing .........6-3
If you have a flat tire while driving..............................6-3
If the engine will not start ...................................6-4
If the engine doesn't turn over or turns over
slowly....................................................................................6-4
If the engine turns over normally but doesn't
start.......................................................................................6-4
Jump starting ..........................................................6-4
If the engine overheats ........................................6-8
If you have a flat tire............................................6-9
Jack and tools ..................................................................6-10
Changing tires ..................................................................6-11
Jack label ...........................................................................6-17
EC Declaration of conformity for Jack......................6-18
To w i n g . . . . . . . . . . . . . . . . . . . . . . . . . . . . . . . . . . . . . . . . . . . . . . . . . . . . . . . . . . . . . . . . . . . 6 - 1 9
To w i n g s e r v i c e . . . . . . . . . . . . . . . . . . . . . . . . . . . . . . . . . . . . . . . . . . . . . . . . . . . . . . . . . . . . . . . . . 6 - 1 9
Removable towing hook ................................................6-20
Emergency towing ..........................................................6-21
Emergency commodity ........................................6-23
Fire extinguisher .............................................................6-23
First aid kit ......................................................................6-23
Tr i a n g l e r e f l e c t o r . . . . . . . . . . . . . . . . . . . . . . . . . . . . . . . . . . . . . . . . . . . . . . . . . . . . . . . . . . . . 6 - 2 3
Tire pressure gauge .......................................................6-23
6
Page 548 of 665

6-14
What to do in an emergency
10. Loosen the lug nuts with the
wheel lug nut wrench and
remove them with your fingers.
Remove the wheel from the
studs and lay it flat on the ground
out of the way. Remove any dirt
or debris from the studs, mount-
ing surfaces, and wheel.
11. Install the spare tire onto the
studs of the hub.
12. Tighten the lug nuts with your fin-
gers onto the studs with the
smaller end of the lug nuts clos-
est to the wheel.
13. Lower the vehicle to the ground
by turning the jack handle coun-
terclockwise.
14. Use the wheel lug nut wrench to
tighten the lug nuts in the order
shown. Double-check each lug
nut until they are tight. After
changing tires, we recommend
that an authorized HYUNDAI
dealer tighten the lug nuts to their
proper torque as soon as possi-
ble.The wheel lug nut should
be tightened to 9~11 kg.m
(65~79 lb.ft).
If you have a tire gauge, check the
tire pressure (see “Tires and Wheels”
in chapter 8 for tire pressure instruc-
tions.). If the pressure is lower or
higher than recommended, drive
slowly to the nearest service station
and adjust it to the recommended
pressure. Always reinstall the valve
cap after checking or adjusting tire
pressure. If the cap is not replaced,
air may leak from the tire. If you lose
a valve cap, buy another and install it
as soon as possible. After changing
tires, secure the flat tire and return
the jack and tools to their proper stor-
age locations.
Check the tire pressure as soon
as possible after installing a spare
tire. Adjust it to the recommended
pressure.
NOTICE
OLF064013
Page 550 of 665

6-16
What to do in an emergency
When driving with the compact spare
tire mounted to your vehicle:
•Check the tire pressure after
installing the compact spare tire.
The compact spare tire should be
inflated to 420 kPa (60 psi).
•Do not take this vehicle through an
automatic car wash while the com-
pact spare tire is installed.
•Do not use the compact spare tire
on any other vehicle because this
tire has been designed especially
for your vehicle.
•The compact spare tire’s tread life
is shorter than a regular tire.
Inspect your compact spare tire
regularly and replace worn com-
pact spare tires with the same size
and design, mounted on the same
wheel.
•Do not use more than one compact
spare tire at a time.
•Do not tow a trailer while the com-
pact spare tire is installed.
When the original tire and wheel
are repaired and reinstalled on the
vehicle, the lug nut torque must be
set correctly. The correct lug nut
tightening torque is 9-11 kg.m (65-
79 lb.ft).
NOTICE
To prevent damaging the com-
pact spare tire and your vehicle:
•Drive slowly enough for the
road conditions to avoid all
hazards, such as a potholes
or debris.
•Avoid driving over obstacles.
The compact spare tire diame-
ter is smaller than the diame-
ter of a conventional tire and
reduces the ground clearance
approximately 25 mm (1 inch).
•Do not use tire chains on the
compact spare tire. Because
of the smaller size, a tire chain
will not fit properly.
•Do not use the compact spare
tire on any other wheels, nor
should standard tires, snow
tires, wheel covers or trim
rings be used with the com-
pact spare wheel.
CAUTION
Page 557 of 665

6-23
What to do in an emergency
6
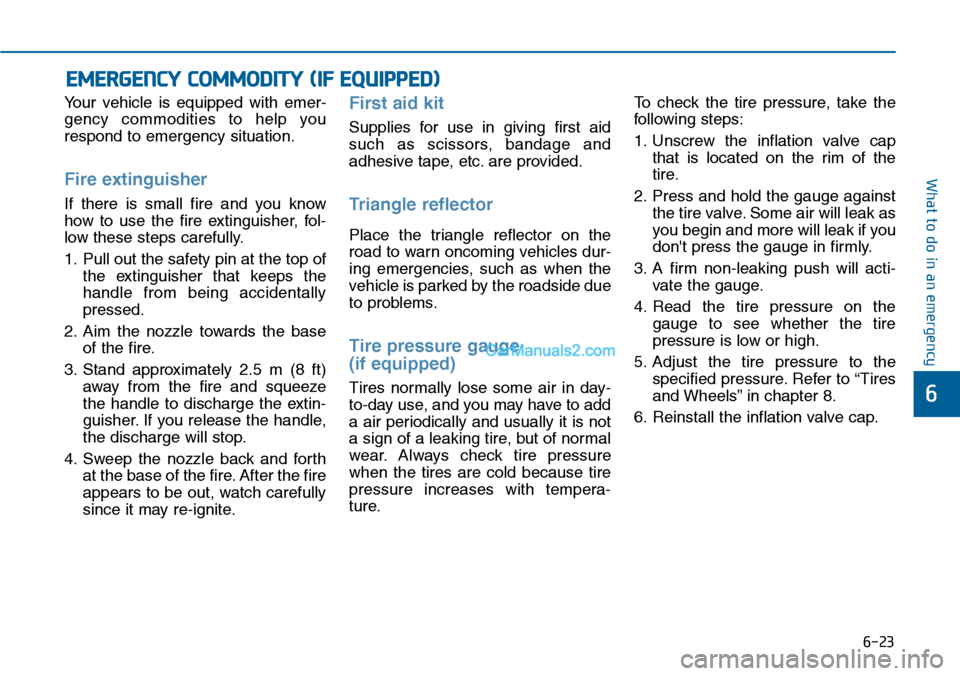
Yo u r v e h i c l e i s e q u i p p e d w i t h e m e r -
gency commodities to help you
respond to emergency situation.
Fire extinguisher
If there is small fire and you know
how to use the fire extinguisher, fol-
low these steps carefully.
1. Pull out the safety pin at the top of
the extinguisher that keeps the
handle from being accidentally
pressed.
2. Aim the nozzle towards the base
of the fire.
3. Stand approximately 2.5 m (8 ft)
away from the fire and squeeze
the handle to discharge the extin-
guisher. If you release the handle,
the discharge will stop.
4. Sweep the nozzle back and forth
at the base of the fire. After the fire
appears to be out, watch carefully
since it may re-ignite.
First aid kit
Supplies for use in giving first aid
such as scissors, bandage and
adhesive tape, etc. are provided.
Triangle reflector
Place the triangle reflector on the
road to warn oncoming vehicles dur-
ing emergencies, such as when the
vehicle is parked by the roadside due
to problems.
Tire pressure gauge
(if equipped)
Tires normally lose some air in day-
to-day use, and you may have to add
a air periodically and usually it is not
a sign of a leaking tire, but of normal
wear. Always check tire pressure
when the tires are cold because tire
pressure increases with tempera-
ture.
To check the tire pressure, take the
following steps:
1. Unscrew the inflation valve cap
that is located on the rim of the
tire.
2. Press and hold the gauge against
the tire valve. Some air will leak as
you begin and more will leak if you
don't press the gauge in firmly.
3. A firm non-leaking push will acti-
vate the gauge.
4. Read the tire pressure on the
gauge to see whether the tire
pressure is low or high.
5. Adjust the tire pressure to the
specified pressure. Refer to “Tires
and Wheels” in chapter 8.
6. Reinstall the inflation valve cap.
EMERGENCY COMMODITY (IF EQUIPPED)
Page 558 of 665

7
Maintenance
7
Maintenance
Engine compartment .............................................7-3
Maintenance services ...........................................7-6
Owner's responsibility ......................................................7-6
Owner maintenance precautions ..................................7-6
Owner maintenance ...............................................7-7
Owner maintenance schedule ........................................7-8
Scheduled maintenance services ......................7-10
Normal maintenance schedule (for Europe) ............7-11
Maintenance under severe usage and
low mileage conditions (for Europe) ..........................7-15
Normal maintenance schedule (except Europe) .....7-17
Maintenance under severe usage conditions
(except Europe) ...............................................................7-21
Explanation of scheduled maintenance items ..7-23
Engine oil ..............................................................7-27
Checking the engine oil level ....................................7-27
Checking the engine oil and filter ..............................7-29
Engine coolant......................................................7-30
Checking the coolant level ...........................................7-30
Changing the coolant .....................................................7-32
Brake/Clutch fluid ..............................................7-33
Checking the brake/clutch fluid level ........................7-33
Washer fluid .........................................................7-35
Checking the washer fluid level ...............................7-35
Parking brake .......................................................7-36
Checking the parking brake .........................................7-36
Air cleaner ............................................................7-37
Filter replacement ...........................................................7-37
Climate control air filter .....................................7-39
Filter inspection ...............................................................7-39
Filter replacement ...........................................................7-39
Wiper blades .........................................................7-40
Blade inspection ..............................................................7-40
Blade replacement ..........................................................7-40
Battery...................................................................7-42
For best battery service................................................7-42
Battery capacity label ...................................................7-44
Battery recharging .......................................................7-44
Reset items .......................................................................7-45
Tires and wheels ..................................................7-46
Tire care ............................................................................7-46
Recommended cold tire inflation pressures.............7-46
Checking tire inflation pressure ..................................7-48
Tire rotation ....................................................................7-49
Wheel alignment and tire balance ..............................7-50
Tire replacement .............................................................7-50
Wheel replacement ........................................................7-52
Tire traction ......................................................................7-52
Tire maintenance ...........................................................7-52
7
Page 565 of 665

7-8
Maintenance
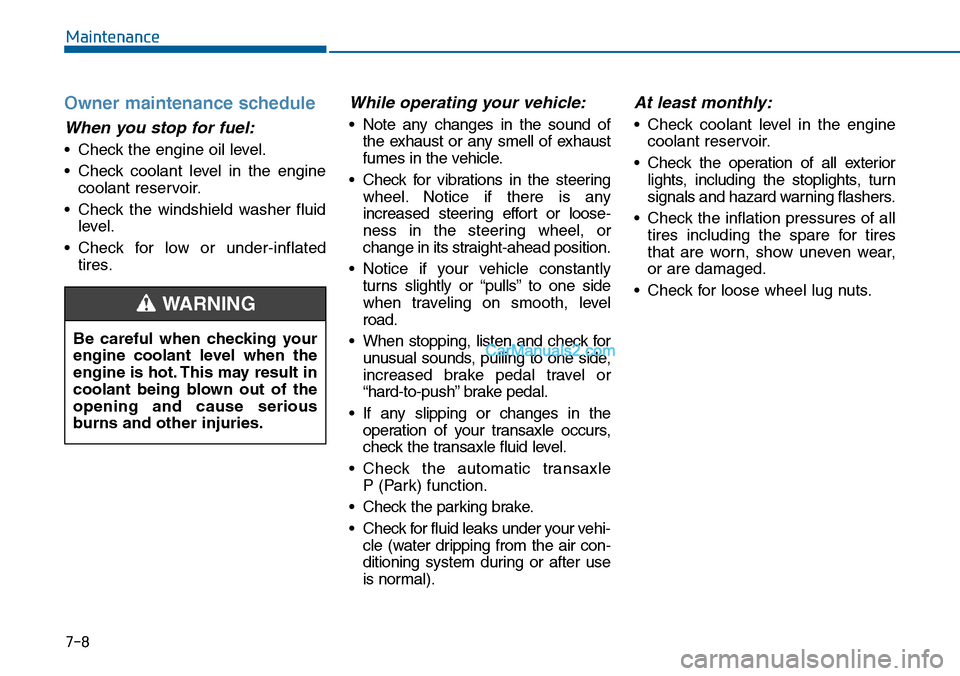
Owner maintenance schedule
When you stop for fuel:
•Check the engine oil level.
•Check coolant level in the engine
coolant reservoir.
•Check the windshield washer fluid
level.
•Check for low or under-inflated
tires.
While operating your vehicle:
•Note any changes in the sound of
the exhaust or any smell of exhaust
fumes in the vehicle.
•Check for vibrations in the steering
wheel. Notice if there is any
increased steering effort or loose-
ness in the steering wheel, or
change in its straight-ahead position.
•Notice if your vehicle constantly
turns slightly or “pulls” to one side
when traveling on smooth, level
road.
•When stopping, listen and check for
unusual sounds, pulling to one side,
increased brake pedal travel or
“hard-to-push” brake pedal.
•If any slipping or changes in the
operation of your transaxle occurs,
check the transaxle fluid level.
•Check the automatic transaxle
P (Park) function.
•Check the parking brake.
•Check for fluid leaks under your vehi-
cle (water dripping from the air con-
ditioning system during or after use
is normal).
At least monthly:
•Check coolant level in the engine
coolant reservoir.
•Check the operation of all exterior
lights, including the stoplights, turn
signals and hazard warning flashers.
•Check the inflation pressures of all
tires including the spare for tires
that are worn, show uneven wear,
or are damaged.
•Check for loose wheel lug nuts.
Be careful when checking your
engine coolant level when the
engine is hot. This may result in
coolant being blown out of the
opening and cause serious
burns and other injuries.
WARNING
Page 571 of 665

Maintenance
7-14
NORMAL MAINTENANCE SCHEDULE (CONT.) (FOR EUROPE)
I:Inspect and if necessary, adjust, correct, clean or replace.
R : Replace or change.
*8:Manual transaxle fluid should be changed anytime they have been submerged in water.
Number of months or driving distance, whichever comes first
Months1224364860728496
Miles×1,0001020304050607080
Km×1,000153045607590105120
Steering gear rack, linkage and bootsIIIIIIII
Driveshaft and bootsIIII
Tire (pressure & tread wear) IIIIIIII
Front suspension ball jointsIIIIIIII
Bolt and nuts on chassis and bodyIIIIIIII
Air conditioner refrigerant (if equipped)IIIIIIII
Air conditioner compressor (if equipped)IIIIIIII
Climate control air filter (if equipped)RRRR
Manual transaxle fluid (if equipped) *8II
Automatic transaxle fluid(if equipped)No check, No service required
Exhaust systemIIII
MAINTENANCE
INTERVALS
MAINTENANCE
ITEM
Page 577 of 665

Maintenance
7-20
NORMAL MAINTENANCE SCHEDULE (CONT.) (EXCEPT EUROPE)
I:Inspect and if necessary, adjust, correct, clean or replace.
R : Replace or change.
*10:Manual transaxle fluid should be changed anytime they have been submerged in water.
Number of months or driving distance, whichever comes first
Months1224364860728496
Miles×1,0001020304050607080
Km×1,000153045607590105120
Steering gear rack, linkage and bootsIIIIIIII
Driveshaft and bootsIIII
Tire (pressure & tread wear) IIIIIIII
Front suspension ball jointsIIIIIIII
Bolt and nuts on chassis and bodyIIIIIIII
Air conditioner refrigerant (if equipped)IIIIIIII
Air conditioner compressor (if equipped)IIIIIIII
Climate control air filter (if equipped)RRRRRRRR
Manual transaxle fluid (if equipped) *10II
Automatic transaxle fluid(if equipped) No check, No service required
Exhaust systemIIII
MAINTENANCE
INTERVALS
MAINTENANCE
ITEM