Page 180 of 711
479
Features of your vehicle
Overview
Description
The trip computer is a microcomput-
er-controlled driver information sys-
tem that displays information related
to driving.
✽NOTICE
Some driving information stored in
the trip computer (for example
Average Vehicle Speed) resets if the
battery is disconnected.
Trip Modes
TRIP COMPUTER
• Tripmeter [A]
• Average Vehicle Speed [A]
• Elapsed Time [A]
TRIP A
• Tripmeter [B]
• Average Vehicle Speed [B]
• Elapsed Time [B]
TRIP B
• Distance To Empty
• Average Fuel Economy
• Instant Fuel Economy
FUEL ECONOMY
Page 183 of 711

Features of your vehicle
82 4
Average Fuel Economy (2)
• The average fuel economy is calcu-
lated by the total driving distance
and fuel consumption since the last
average fuel economy reset.
- Fuel economy range: 0.0 ~ 99.9
L/100km or MPG
• The average fuel economy can be
reset both manually and automati-
cally.
Manual reset
To clear the average fuel economy
manually, press the SELECT/RESET
button on the steering wheel for
more than 1 second when the aver-
age fuel economy is displayed.Automatic reset
To make the average fuel economy
be reset automatically whenever refu-
eling, select the “Auto Reset” mode in
User Setting menu of the LCD display
(Refer to “LCD Display”).
Under “Auto Reset” mode, the aver-
age fuel economy will be cleared to
zero (---) when the vehicle speed
exceeds 1 km/h after refueling more
than 6 liters (1.6 gallons).
✽NOTICE
The average fuel economy is not dis-
played for more accurate calculation
if the vehicle does not drive more
than 10 seconds or 50 meters (0.03
miles) since the ignition switch or
Engine Start/Stop button is turned
to ON.
Instant Fuel Economy (3)
• This mode displays the instant fuel
economy during the last few sec-
onds when the vehicle speed is
more than 10 km/h (6.2 MPH).
- Fuel economy range: 0 ~ 30
L/100km or 0 ~ 50 MPG
Page 198 of 711

497
Features of your vehicle
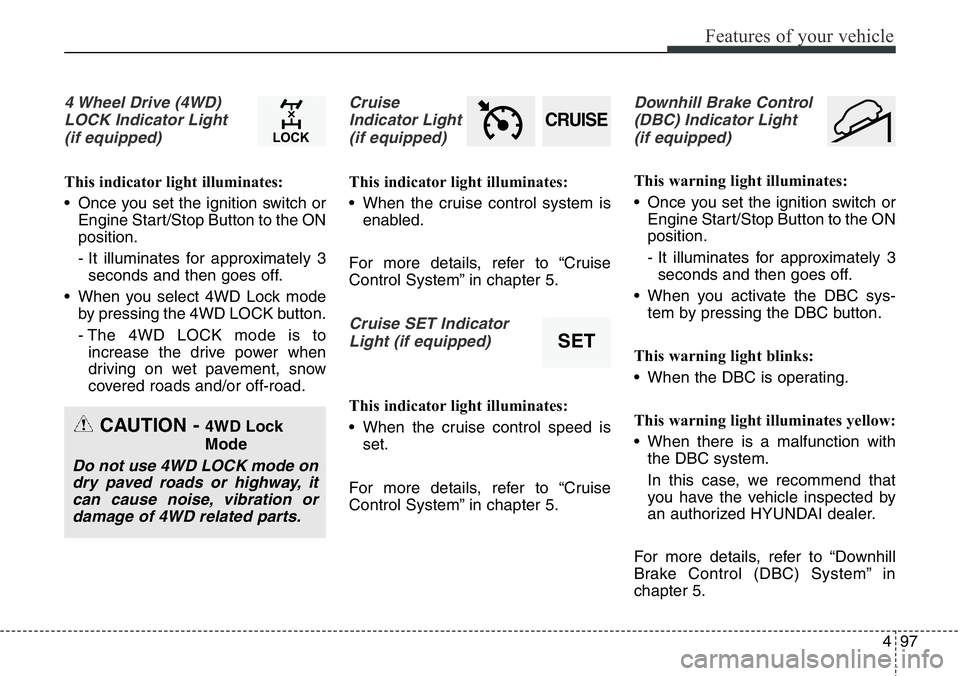
4 Wheel Drive (4WD)
LOCK Indicator Light
(if equipped)
This indicator light illuminates:
• Once you set the ignition switch or
Engine Start/Stop Button to the ON
position.
- It illuminates for approximately 3
seconds and then goes off.
• When you select 4WD Lock mode
by pressing the 4WD LOCK button.
- The 4WD LOCK mode is to
increase the drive power when
driving on wet pavement, snow
covered roads and/or off-road.
Cruise
Indicator Light
(if equipped)
This indicator light illuminates:
• When the cruise control system is
enabled.
For more details, refer to “Cruise
Control System” in chapter 5.
Cruise SET Indicator
Light (if equipped)
This indicator light illuminates:
• When the cruise control speed is
set.
For more details, refer to “Cruise
Control System” in chapter 5.
Downhill Brake Control
(DBC) Indicator Light
(if equipped)
This warning light illuminates:
• Once you set the ignition switch or
Engine Start/Stop Button to the ON
position.
- It illuminates for approximately 3
seconds and then goes off.
• When you activate the DBC sys-
tem by pressing the DBC button.
This warning light blinks:
• When the DBC is operating.
This warning light illuminates yellow:
• When there is a malfunction with
the DBC system.
In this case, we recommend that
you have the vehicle inspected by
an authorized HYUNDAI dealer.
For more details, refer to “Downhill
Brake Control (DBC) System” in
chapter 5.
CRUISE
SET
CAUTION - 4WD Lock
Mode
Do not use 4WD LOCK mode on
dry paved roads or highway, it
can cause noise, vibration or
damage of 4WD related parts.
Page 212 of 711
4111
Features of your vehicle
• Press the Smart Parking Assist
System button (the button indicator
will illuminate).
• The Parking Assist System will be
activated (the button indicator will
illuminate).
A warning sound will be heard if an
obstacle is detected.• Press the Smart Parking Assist
System button again for more than
2 seconds to turn off the system.
• The Smart Parking Assist System
defaults to the OFF position when-
ever the ignition switch is turned on.
2. Select parking assist mode
• Select the parking assist mode by
pressing the Smart Parking Assist
System button with the shift lever in
N (Neutral) or D(Drive) and the
brake pedal depressed.
ODMEDR2114 ■Right side
- parallel mode
ODMEDR2101 ■Left side
- parallel mode
ODMEDR2216R
ODMEDR2149R
■Type C
■ Type D
Page 225 of 711
Features of your vehicle
124 4
Traffic change (for Europe)
Use this function when you visit a
country with opposite traffic direction.
If the traffic change is activated when
you visit a country with opposite traf-
fic direction, it will decrease the daz-
zle on oncoming vehicle drivers.
Follow the below procedure.
1. Select “User Settings” by pressing
the mode button ( ) on the steer-
ing wheel.
2. Select “Lamp” by pressing the
move button ( ) and select but-
ton ( ) on the steering wheel.CAUTION
• Never place anything over the
sensor (1) located on the
instrument panel, this will
ensure better auto-light sys-
tem control.
• Don’t clean the sensor using a
window cleaner, the cleaner
may leave a light film which
could interfere with sensor
operation.
• If your vehicle has window tint
or other types of coating on
the front windshield, the Auto
light system may not work
properly.
ODMECO2072/ODMECO2073 ■Type A
■Type B
Page 226 of 711
4125
Features of your vehicle
3. Check “Travel Mode” by pressing
the move button ( ) and select
button ( ) on the steering wheel.✽NOTICE
If the engine is turned off with the
traffic change function activated,
and the engine turned on again, the
above message will appear. It is to
notify the driver the function is acti-
vated.
4. To cancel the change, follow the
steps 1 to 3 from the previous page.
High - beam operation
1. Turn the light switch to the head-
light position.
2. Push the lever away from you.
ODMECO2013
ODMECO2074/ODMECO2075 ■Type A
■Type BOMDECO2040/ODMECO2041 ■Type A
■Type B
Page 233 of 711

Features of your vehicle
132 4
Windshield wipers
Operates as follows when the igni-
tion switch is turned ON.
/MIST : For a single wiping cycle,
move the lever to this (
/MIST) position and
release it. The wipers will
operate continuously if the
lever is held in this position.
O/OFF : Wiper is not in operation
---/INT : Wiper operates intermittently
at the same wiping intervals.
Use this mode in light rain or
mist. To vary the speed set-
ting, turn the speed control
knob.
1/LO : Normal wiper speed
2/HI : Fast wiper speed
✽NOTICE
If there is heavy accumulation of snow
or ice on the windshield, defrost the
windshield for about 10 minutes, or
until the snow and/or ice is removed
before using the windshield wipers to
ensure proper operation.
If you do not remove the snow and/or
ice before using the wiper and washer,
it may damage the wiper and washer
system.
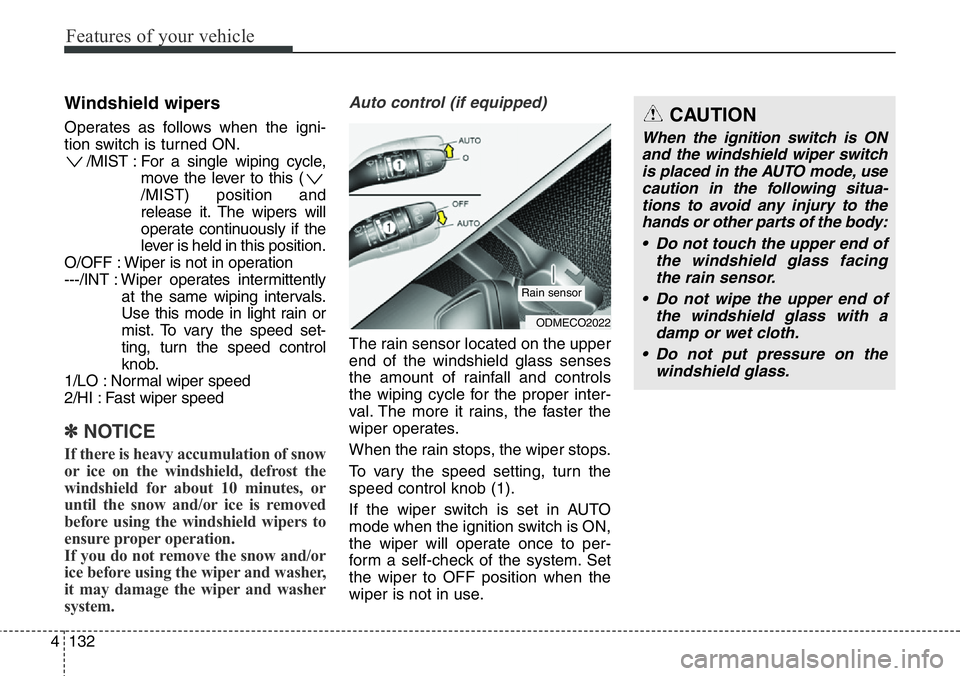
Auto control (if equipped)
The rain sensor located on the upper
end of the windshield glass senses
the amount of rainfall and controls
the wiping cycle for the proper inter-
val. The more it rains, the faster the
wiper operates.
When the rain stops, the wiper stops.
To vary the speed setting, turn the
speed control knob (1).
If the wiper switch is set in AUTO
mode when the ignition switch is ON,
the wiper will operate once to per-
form a self-check of the system. Set
the wiper to OFF position when the
wiper is not in use.
ODMECO2022
Rain sensor
CAUTION
When the ignition switch is ON
and the windshield wiper switch
is placed in the AUTO mode, use
caution in the following situa-
tions to avoid any injury to the
hands or other parts of the body:
• Do not touch the upper end of
the windshield glass facing
the rain sensor.
• Do not wipe the upper end of
the windshield glass with a
damp or wet cloth.
• Do not put pressure on the
windshield glass.
Page 234 of 711

4133
Features of your vehicle
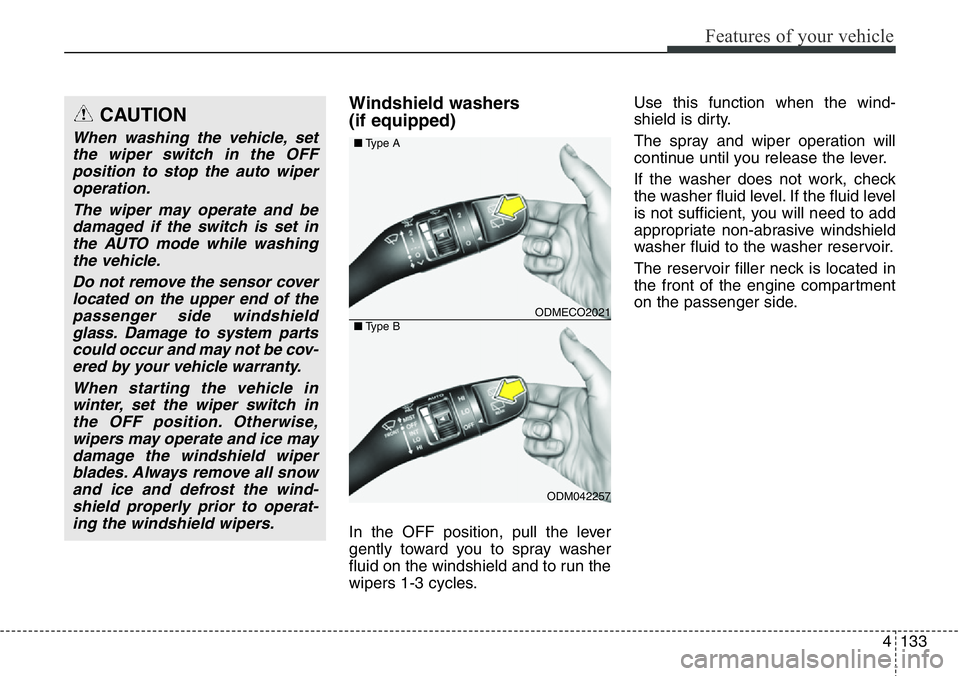
Windshield washers
(if equipped)
In the OFF position, pull the lever
gently toward you to spray washer
fluid on the windshield and to run the
wipers 1-3 cycles.Use this function when the wind-
shield is dirty.
The spray and wiper operation will
continue until you release the lever.
If the washer does not work, check
the washer fluid level. If the fluid level
is not sufficient, you will need to add
appropriate non-abrasive windshield
washer fluid to the washer reservoir.
The reservoir filler neck is located in
the front of the engine compartment
on the passenger side.
CAUTION
When washing the vehicle, set
the wiper switch in the OFF
position to stop the auto wiper
operation.
The wiper may operate and be
damaged if the switch is set in
the AUTO mode while washing
the vehicle.
Do not remove the sensor cover
located on the upper end of the
passenger side windshield
glass. Damage to system parts
could occur and may not be cov-
ered by your vehicle warranty.
When starting the vehicle in
winter, set the wiper switch in
the OFF position. Otherwise,
wipers may operate and ice may
damage the windshield wiper
blades. Always remove all snow
and ice and defrost the wind-
shield properly prior to operat-
ing the windshield wipers.
ODMECO2021
ODM042257 ■Type A
■Type B