Page 1414 of 1534

What to do in an emergency
6
6
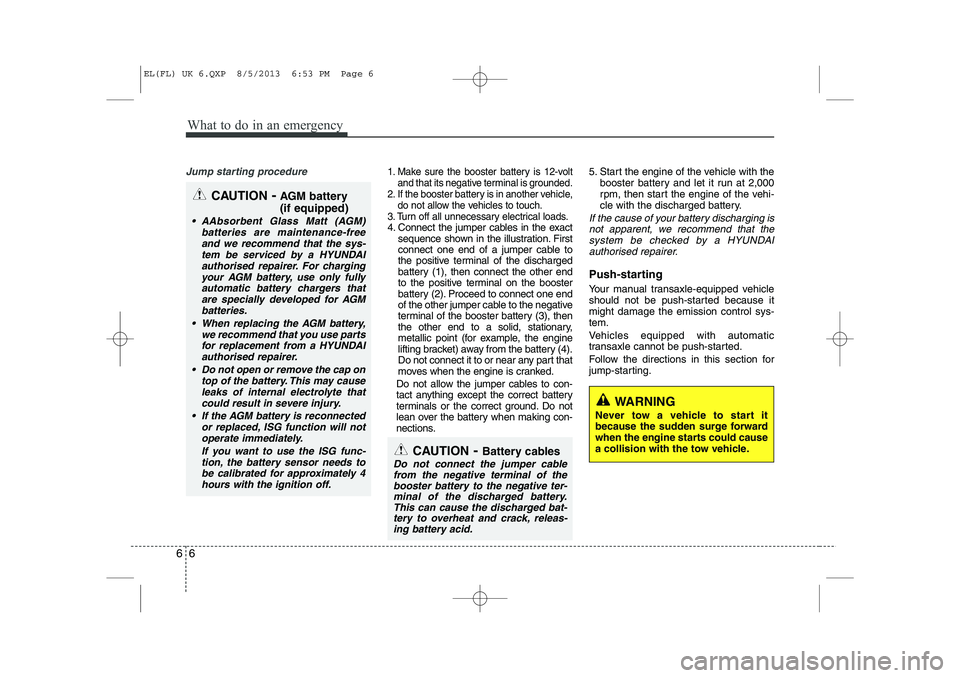
Jump starting procedure 1. Make sure the booster battery is 12-volt
and that its negative terminal is grounded.
2. If the booster battery is in another vehicle, do not allow the vehicles to touch.
3. Turn off all unnecessary electrical loads.
4. Connect the jumper cables in the exact sequence shown in the illustration. First
connect one end of a jumper cable to
the positive terminal of the discharged
battery (1), then connect the other end
to the positive terminal on the booster
battery (2). Proceed to connect one end
of the other jumper cable to the negative
terminal of the booster battery (3), then
the other end to a solid, stationary,
metallic point (for example, the engine
lifting bracket) away from the battery (4).
Do not connect it to or near any part that
moves when the engine is cranked.
Do not allow the jumper cables to con-
tact anything except the correct battery
terminals or the correct ground. Do not
lean over the battery when making con-
nections. 5. Start the engine of the vehicle with the
booster battery and let it run at 2,000
rpm, then start the engine of the vehi-
cle with the discharged battery.If the cause of your battery discharging is
not apparent, we recommend that the system be checked by a HYUNDAI
authorised repairer.
Push-starting
Your manual transaxle-equipped vehicle
should not be push-started because itmight damage the emission control sys-tem.
Vehicles equipped with automatic
transaxle cannot be push-started.
Follow the directions in this section for
jump-starting.
WARNING
Never tow a vehicle to start it
because the sudden surge forward
when the engine starts could cause
a collision with the tow vehicle.
CAUTION - Battery cables
Do not connect the jumper cable
from the negative terminal of the booster battery to the negative ter-minal of the discharged battery. This can cause the discharged bat-tery to overheat and crack, releas-ing battery acid.
CAUTION -AGM battery (if equipped)
AAbsorbent Glass Matt (AGM)
batteries are maintenance-free
and we recommend that the sys-tem be serviced by a HYUNDAIauthorised repairer. For chargingyour AGM battery, use only fully
automatic battery chargers thatare specially developed for AGM batteries.
When replacing the AGM battery, we recommend that you use partsfor replacement from a HYUNDAIauthorised repairer.
Do not open or remove the cap on top of the battery. This may cause
leaks of internal electrolyte thatcould result in severe injury.
If the AGM battery is reconnected or replaced, ISG function will not
operate immediately.
If you want to use the ISG func-tion, the battery sensor needs to be calibrated for approximately 4hours with the ignition off.
EL(FL) UK 6.QXP 8/5/2013 6:53 PM Page 6
Page 1434 of 1534

What to do in an emergency
26
6
It is possible that some tyres, espe- cially with larger punctures or dam-
age to the sidewall, cannot be sealed
completely.
Air pressure loss in the tyre may
adversely affect tyre performance.
For this reason, you should avoid
abrupt steering or other driving
manoeuvres, especially if the vehicle
is heavily loaded or if a trailer is in
use.
The TyreMobilityKit is not designed
or intended as a permanent tyre
repair method and is to be used for
one tyre only. This instruction shows
you step by step how to temporarily
seal the puncture simply and reliably.
Read the section "Notes on the safe
use of the TyreMobilityKit". Notes on the safe use of the
TyreMobilityKit
Park your car at the side of the
road so that you can work with the
TyreMobilityKit away from moving
traffic.
To be sure your vehicle won't move, even when you're on fairly
level ground, always set your park-
ing brake.
Only use the TyreMobilityKit for sealing/inflation passenger car
tyres. Only punctured areas locat-ed within the tread region of thetyre can be sealed using the tyremobility kit.
Do not use on motorcycles, bicy- cles or any other type of tyres.
When the tyre and wheel are dam- aged, do not use Tyre Mobility Kit
for your safety.
Use of the Tyre Mobility Kit may not be effective for tyre damage larger
than approximately 0.24 in (6 mm). If the tyre cannot be made road-
worthy with the Tyre Mobility Kit,
we recommend that you contact a
HYUNDAI authorised repairer. Do not use the Tyre Mobility Kit if a
tyre is severely damaged by driving
run flat or with insufficient air pres-
sure.
Do not remove any foreign objects- such as nails or screws that have
penetrated the tyre.
Provided the car is outdoors, leave the engine running. Otherwise
operating the compressor may
eventually drain the car battery.
Never leave the TyreMobilityKit unattended whilst it is being used.
Do not leave the compressor run- ning for more than 10 min. at a time
or it may overheat.
Do not use the TyreMobilityKit if the ambient temperature is below -30°C (-22°F).
WARNING
Do not use the TMK if a tyre is
severely damaged by drivingrun flat or with insufficient air
pressure.
Only punctured areas located within the tread region of thetyre can be sealed using theTMK.
EL(FL) UK 6.QXP 8/5/2013 6:54 PM Page 26
Page 1439 of 1534

631
What to do in an emergency
Notes on the safe use of the
Tyre Mobility Kit
Park your car at the side of theroad so that you can work with the
TMK away from moving traffic.
Place your warning triangle in a
prominent place to make passing
vehicles aware of your location.
To be sure your vehicle will not move, even when you're on fairly
level ground, always set your park-
ing brake.
Only use the TMK for sealing/infla- tion passenger car tyres. Do not
use on motorcycles, bicycles or
any other type of tyres.
Do not remove any foreign objects- such as nails or screws -that have
penetrated the tyre.
Before using the TMK, read the precautionary advice printed onthe sealant bottle!
Provided the car is outdoors, leave the engine running. Otherwise
operating the compressor may
eventually drain the car battery. Never leave the TMK unattended
whilst it is being used.
Do not leave the compressor run- ning for more than 10 min. at a time
or it may overheat.
Do not use the TMK if the ambient temperature is below -30°C (-22°F).
When both the tyre and wheel are damaged, do not use Tyre Mobility
Kit for your safety. Technical Data
System voltage: DC 12 V
Working voltage: DC 10 - 15 V
Amperage rating: max. 15 A
Suitable for use at temperatures:
-30 ~ +70°C (-22 ~ +158°F)
Max. working pressure: 87 psi (6 bar)
Size
Compressor: 6.6 x 5.9 x 2.7 in. (168 x 150 x 68 mm)
Sealant bottle: 4.1 x ø 3.3 in. (104 x ø 85 mm)
Compressor weight: 2.31 lbs (1.05 kg)
Sealant volume: 18.3 cu. in. (300 ml)
❈ Sealant and spare parts can be obtained and replaced at an
authorized vehicle or tyre dealer.
Empty sealant bottles may be dis-
posed of at home. Liquid residuefrom the sealant should be dis-
posed of by your vehicle or tyredealer or in accordance with local
waste disposal regulations.
EL(FL) UK 6.QXP 8/5/2013 6:54 PM Page 31
Page 1447 of 1534
73
Maintenance
ENGINE COMPARTMENT
OEL070301R
1. Engine coolant reservoir
2. Engine oil filler cap
3. Brake/clutch* fluid reservoir
4. Air cleaner
5. Fuse box
6. Negative battery terminal
7. Positive battery terminal
8. Radiator cap
9. Engine oil dipstick
10. Windscreen washer fluid reservoir
* : if equipped
■■Petrol Engine (1.6L)
❈ The actual engine room in the vehicle may differ from the illustration.
EL(FL) UK 7.QXP 8/5/2013 7:01 PM Page 3
Page 1448 of 1534
Maintenance
4
7
OEL073300R
1. Engine coolant reservoir
2. Engine oil filler cap
3. Brake/clutch* fluid reservoir
4. Air cleaner
5. Fuse box
6. Negative battery terminal
7. Positive battery terminal
8. Radiator cap
9. Engine oil dipstick
10. Windscreen washer fluid reservoir
* : if equipped
■■
Petrol Engine (2.0L) - MPI/GDI
❈ The actual engine room in the vehicle may differ from the illustration.
EL(FL) UK 7.QXP 8/5/2013 7:01 PM Page 4
Page 1449 of 1534
75
Maintenance
OEL070302R
1. Engine coolant reservoir
2. Fuse box
3. Fuel filter
4. Engine oil dipstick
5. Engine oil filler cap
6. Brake/clutch* fluid reservoir
7. Air cleaner
8. Negative battery terminal
9. Positive battery terminal
10. Radiator cap
11. Windscreen washer fluid reservoir
* : if equipped
■■Diesel Engine (1.7L)
❈ The actual engine room in the vehicle may differ from the illustration.
EL(FL) UK 7.QXP 8/5/2013 7:01 PM Page 5
Page 1450 of 1534
Maintenance
6
7
OEL079002R
1. Engine coolant reservoir
2. Fuse box
3. Fuel filter
4. Engine oil dipstick
5. Engine oil filler cap
6. Brake/clutch* fluid reservoir
7. Air cleaner
8. Negative battery terminal
9. Positive battery terminal
10. Radiator cap
11. Windscreen washer fluid reservoir
* : if equipped
■■
Diesel Engine (2.0L)
❈ The actual engine room in the vehicle may differ from the illustration.
EL(FL) UK 7.QXP 8/5/2013 7:01 PM Page 6
Page 1454 of 1534

Maintenance
10
7
At least monthly:
Check coolant level in the engine
coolant reservoir.
Check the operation of all exterior lights, including the stoplights, turn sig-
nals and hazard warning flashers.
Check the inflation pressures of all tyres including the spare.
At least twice a year
(i.e., every Spring and Fall) :
Check radiator, heater and air condi- tioning hoses for leaks or damage.
Check windscreen washer spray and wiper operation. Clean wiper blades
with clean cloth dampened with wash-er fluid.
Check headlight alignment.
Check muffler, exhaust pipes, shields and clamps.
Check the lap/shoulder belts for wear and function.
Check for worn tyres and loose wheel lug nuts.
At least once a year :
Clean body and door drain holes.
Lubricate door hinges and checks, andbonnet hinges.
Lubricate door and bonnet locks and latches.
Lubricate door rubber weatherstrips.
Check the air conditioning system.
Check the power steering fluid level.
Inspect and lubricate automatic transaxle linkage and controls.
Clean battery and terminals.
Check the brake (and clutch) fluid level.
EL(FL) UK 7.QXP 8/5/2013 7:02 PM Page 10