Page 202 of 422
When you press the eject button
while listening to the radio, or with
the audio system turned of f , the disc
that was last selected is ejected.
Af ter that disc is ejected, pressing
the eject button again will eject the
next disc in numerical order. By
doing this six times, you can remove
all the discs f rom the changer.
To eject one disc, press and release
the eject button. You can also eject discs when the
ignition switch is on or of f :
To eject all discs, press and hold the
eject button until the LOAD
indicator begins to blink.For inf ormation on how to handle
and protect discs, see page .
198
CD Changer (Models with navigation system)
Protecting Discs
197
12/08/09 16:25:12 31SJC670_204
Features
Page 208 of 422
�´
�µ
�´�µ
�Û�Ý
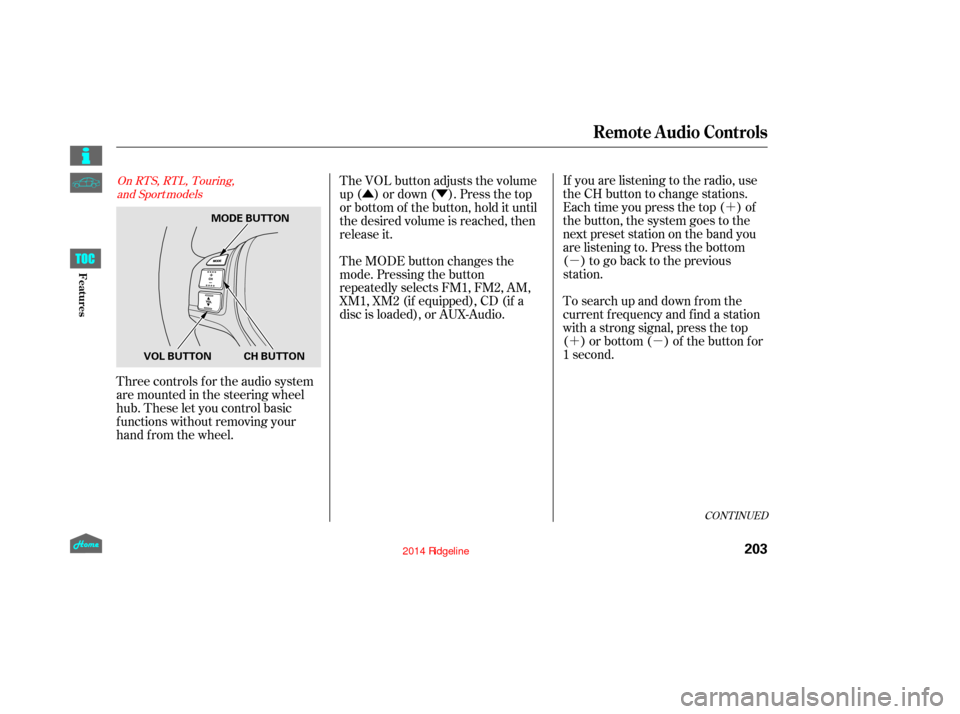
Three controls f or the audio system
are mounted in the steering wheel
hub. These let you control basic
f unctions without removing your
hand f rom the wheel. If you are listening to the radio, use
the CH button to change stations.
Each time you press the top ( ) of
the button, the system goes to the
next preset station on the band you
are listening to. Press the bottom
( ) to go back to the previous
station.
To search up and down from the
current f requency and f ind a station
with a strong signal, press the top
( ) or bottom ( ) of the button for
1 second.
The VOL button adjusts the volume
up ( ) or down ( ). Press the top
or bottom of the button, hold it until
the desired volume is reached, then
release it.
The MODE button changes the
mode. Pressing the button
repeatedly selects FM1, FM2, AM,
XM1, XM2 (if equipped), CD (if a
disc is loaded), or AUX-Audio.
CONT INUED
On RTS, RTL, Touring,
and Sport models
Remote Audio Controls
203
MODE BUTTON
CH BUTTON
VOL BUTTON
12/08/09 16:25:59 31SJC670_210
Features
Page 209 of 422
�´�µ �´
�µ
�´
�µ �´
�µ
�´ �µ
If you are playing a disc, the system
skips to the beginning of the next
track each time you press the top
( ) of the CH button. Press the
bottom ( ) to return to the
beginning of the current track. Press
it again to return to the previous
track. You will see the disc and track
numbers in the upper display.
To go to the next disc, press the top
( ) of the button for 1 second.
Press the bottom ( ) f or 1 second
to go back to the previous disc.
When you play an MP3/WMA disc,
press the top ( ) of the button for 1
second to go to the next folder. Press
the bottom ( ) for 1 second to go
back to the previous folder.If you are listening to XM Radio, use
the CH button to change channels.
Each time you press the top ( ) of
the button, the system goes to the
next preset channel. Press the
bottom( )togobacktothe
previous preset channel.
To go to the next channel of the
category you are listening to, press
the top ( ) of the button for 1
second. Press the bottom ( ) for
1 second to go back to the
previous channel.
On models without navigation system
Remote Audio Controls
204
12/08/09 16:26:05 31SJC670_211
Features
Page 210 of 422
When the appropriate audio unit is
connected to the auxiliary input jack,
press the CD/AUX or AUX button to
select the unit.
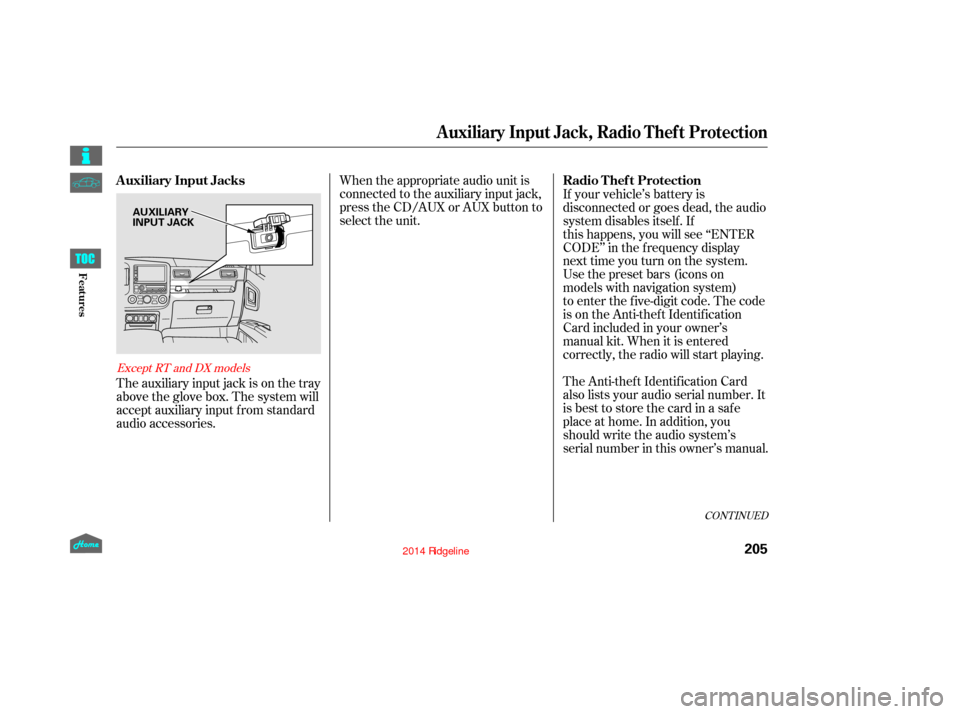
The auxiliary input jack is on the tray
above the glove box. The system will
accept auxiliary input f rom standard
audio accessories. The Anti-thef t Identif ication Card
also lists your audio serial number. It
is best to store the card in a saf e
place at home. In addition, you
should write the audio system’s
serial number in this owner’s manual. If your vehicle’s battery is
disconnected or goes dead, the audio
system disables itself. If
this happens, you will see ‘‘ENTER
CODE’’ in the frequency display
next time you turn on the system.
Use the preset bars (icons on
models with navigation system)
to enter the five-digit code. The code
is on the Anti-theft Identification
Card included in your owner’s
manual kit. When it is entered
correctly, the radio will start playing.
CONT INUED
Except RT and DX models
Auxiliary Input Jack, Radio Thef t Protection
Auxiliary Input Jacks
Radio Thef t Protection
205
AUXILIARY
INPUT JACK
12/08/09 16:26:12 31SJC670_212
Features
Page 211 of 422

If you make a mistake entering the
code, do not start over; complete the
f ive-digit sequence, then enter the
correct code. You have ten tries to
enter the correct code. If you are
unsuccessful in ten attempts, you
must then leave the system on for
one hour bef ore trying again.
The system will retain your AM and
FM presets even if power is
disconnected.We recommend that you register the
security code at Owner Link (owners.
honda.com). If you lose the Anti-
thef t Identif ication Card bef ore
registering the code at Owner Link,
you must obtain the code f rom your
dealer or
. To do this, you will need the
audio system’s serial number. If you
do not have the serial number with
you,askyourdealerorgoto for
inf ormation on how to retrieve it. If you lose the Anti-thef t
Identif ication Card, you must obtain
thecodefromyourdealer.Todothis,
you will need the audio system’s
serial number. If you do not have the
serial number with you, ask your
dealer how to retrieve it.
You need to enter the same code f or
the navigation system to reactivate.
Read the navigation system manual
f or details.
https://radio-navicode.honda.
com/
https://
radio-navicode.honda.com/ On models with navigation system
U.S. owners
Canadian owners
Radio T hef t Protection
206
12/08/09 16:26:18 31SJC670_213
Features
Page 212 of 422
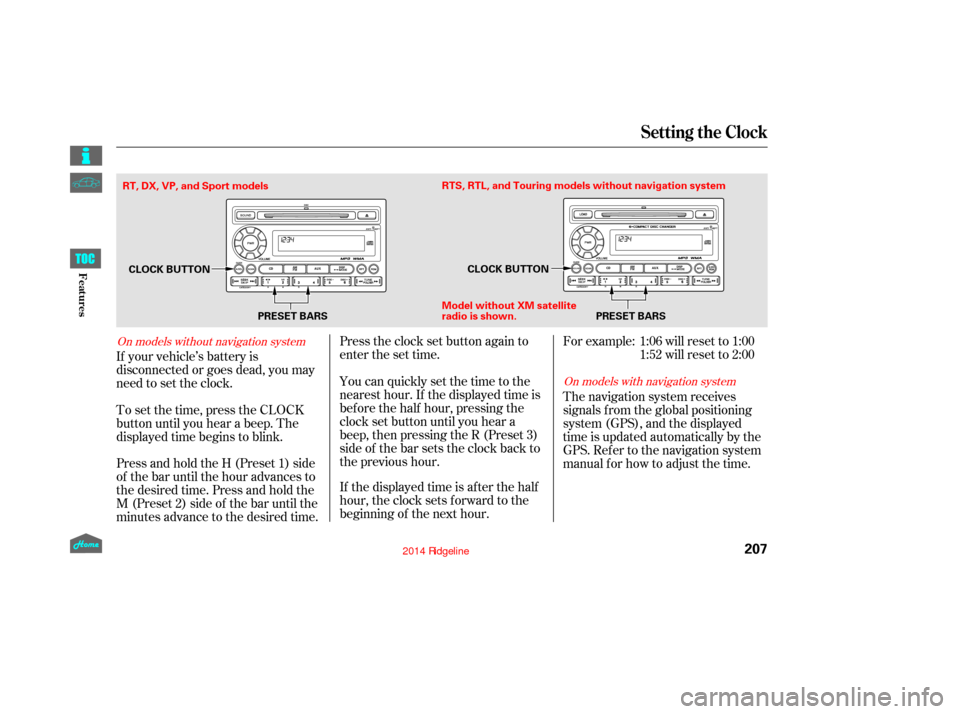
Press and hold the H (Preset 1) side
of the bar until the hour advances to
the desired time. Press and hold the
M (Preset 2) side of the bar until the
minutes advance to the desired time. To set the time, press the CLOCK
button until you hear a beep. The
displayed time begins to blink. If your vehicle’s battery is
disconnected or goes dead, you may
need to set the clock.You can quickly set the time to the
nearest hour. If the displayed time is
bef ore the half hour, pressing the
clock set button until you hear a
beep, then pressing the R (Preset 3)
side of the bar sets the clock back to
the previous hour.
If the displayed time is after the half
hour, the clock sets f orward to the
beginning of the next hour. Press the clock set button again to
enter the set time. For example:
The navigation system receives
signals f rom the global positioning
system (GPS), and the displayed
time is updated automatically by the
GPS. Ref er to the navigation system
manual f or how to adjust the time.1:06 will reset to 1:00
1:52 will reset to 2:00
On models with navigation system
On models without navigation system
Setting the Clock
207
PRESET BARS
CLOCK BUTTON
CLOCK BUTTON
Model without XM sate llite
radio is shown. PRESET BARS
RTS, RTL, and Touring models without navigation system
RT, DX, VP, and Sport models
12/08/09 16:26:26 31SJC670_214
Features
Page 213 of 422
If equipped
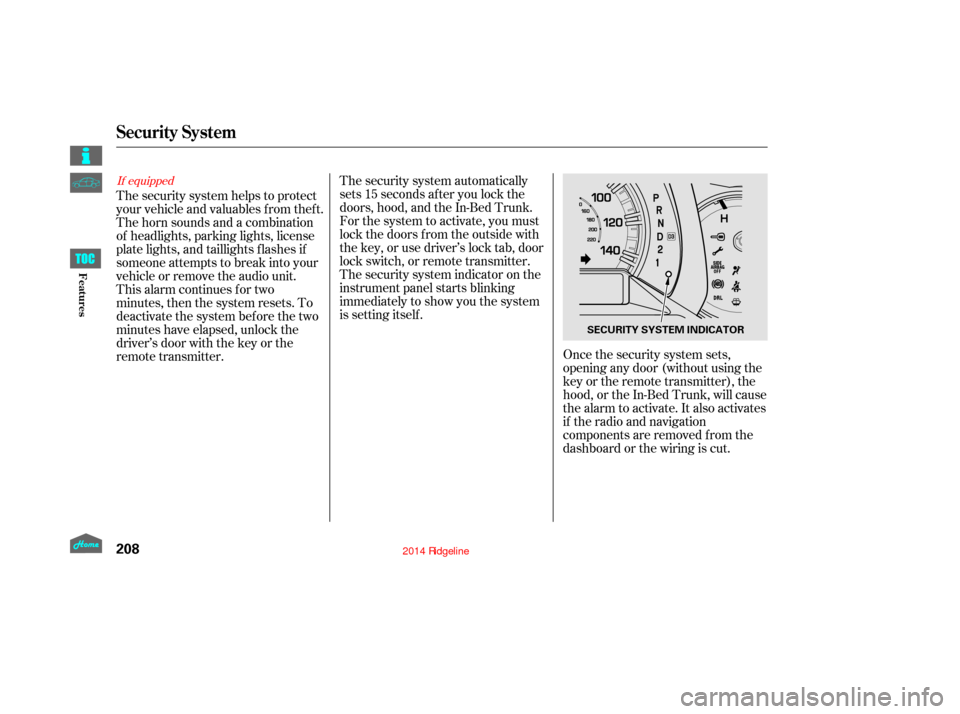
The security system helps to protect
your vehicle and valuables f rom thef t.
The horn sounds and a combination
of headlights, parking lights, license
plate lights, and taillights f lashes if
someone attempts to break into your
vehicle or remove the audio unit.
This alarm continues for two
minutes, then the system resets. To
deactivate the system before the two
minutes have elapsed, unlock the
driver’s door with the key or the
remote transmitter.Once the security system sets,
opening any door (without using the
key or the remote transmitter), the
hood,ortheIn-BedTrunk,willcause
the alarm to activate. It also activates
if the radio and navigation
components are removed f rom the
dashboard or the wiring is cut.
The security system automatically
sets 15 seconds after you lock the
doors, hood, and the In-Bed Trunk.
For the system to activate, you must
lock the doors f rom the outside with
the key, or use driver’s lock tab, door
lock switch, or remote transmitter.
The security system indicator on the
instrument panel starts blinking
immediately to show you the system
is setting itself .
Security System
208
SECURITY SYSTEM INDICATOR
12/08/09 16:26:31 31SJC670_215
Features
Page 260 of 422
Your dealer has Honda accessories
that allow you to personalize your
vehicle. These accessories have
been designed and approved f or your
vehicle, and are covered by warranty. Modif ying your vehicle, or installing
non-Honda accessories, may make
your vehicle unsaf e. Bef ore you
make any modif ications or add any
accessories,besuretoreadthe
f ollowing inf ormation.
Although non-Honda accessories
may f it on your vehicle, they may not
meet f actory specif ications, and
could adversely af f ect your vehicle’s
handling, stability, and reliability.If you install a truck cap, be sure it is
properly installed and does not
exceed your vehicle’s load limits (see
page ).When properly installed, cellular
phones, alarms, two-way radios, and
low-powered audio systems should
not interf ere with your vehicle’s
computer controlled systems, such
as your airbags, anti-lock brakes, and
tire pressure monitoring system.
Be sure electronic accessories do
not overload electrical circuits
(see page ) or interf ere with
the proper operation of your
vehicle. Make sure the accessory does not
obscure any lights, or interf ere
with proper vehicle operation or
perf ormance.
Bef ore installing any accessory:
258 376
CONT INUED
A ccessories
Your vehicle should not be used to
carry a slide-in camper.
A ccessories and Modif ications
255
Improper accessories or
modifications can affect your
vehicle’s handling, stability, and
performance, and cause a
crash in which you can be hurt
or killed.
Follow all instructions in this
owner’s manual regarding
accessories and modifications.
12/08/09 16:33:05 31SJC670_262
Bef ore Driving