Page 90 of 422

�¶�¶�µ�µ
�µ�µ�µ
�µ�µ�µ If the outside temperature is
incorrectly displayed, you can adjust
it up to 5°F in U.S. models ( 3°C
in Canadian models) warmer or
cooler.
The temperature must be
stabilized bef ore doing this
procedure.
To adjust the outside temperature
indicator, press and hold the SEL/
RESET button f or 10 seconds. The
f ollowing sequence will appear f or 1
secondeach:0,1,2,3,4,5, 5, 4, 3, 2, 1, 0 (U.S.) or 0, 1, 2, 3,
3, 2, 1, 0 (Canada).
When the temperature reaches the
desired value, release the SEL/
RESET button. You should see the
new outside temperature displayed.
The temperature sensor is in the
f ront bumper. The temperature
reading can be affected by heat
ref lection f rom the road surf ace,
engine heat, and the exhaust f rom
surrounding traf f ic. This can cause
an incorrect temperature reading
when your vehicle speed is under
19 mph (30 km/h). When you start
your trip, the sensor is not f ully
acclimatized, theref ore it may take
several minutes until the proper
temperature is displayed.
In certain weather conditions,
temperature readings near f reezing
(32°F, 0°C) could mean that ice is
f orming on the road surf ace.
This shows the outside temperature
in Fahrenheit (U.S. models), or in
Celsius (Canadian models). Outside Temperature
Multi-Inf ormation Display
85
NOTE:
OUTSIDE TEMPERATURE
U.S. model is shown.
12/08/09 16:10:20 31SJC670_092
Inst rument s and Cont rols
Page 91 of 422
This shows the remaining lif e of the
engine oil. It shows 100% af ter the
engine oil is replaced and the display
is reset. The engine oil lif e is
calculated based on engine operating
conditions and accumulated engine
revolutions. For more inf ormation,
see page .When the tire pressure monitor is
shown on the multi-information
display, press the SEL/RESET
button. The display changes
as shown.
You can see the pressure of each tire
in this monitor. If one or more tires
are low, inflate them to the correct
pressure. For more inf ormation, see
page .You can receive or make phone calls
f rom your cell phone through your
vehicle’s
HandsFreeLink
(HFL) system without touching your
cell phone.
311 280
Bluetooth
Engine Oil L if e T ire Pressure MonitorHandsFreeL inkBluet oot h
Multi-Inf ormation Display
86
ENGINE OIL LIFEU.S.
Canada
12/08/09 16:10:28 31SJC670_093
Inst rument s and Cont rols
Page 94 of 422
�Û�Ý
�Û�Ý
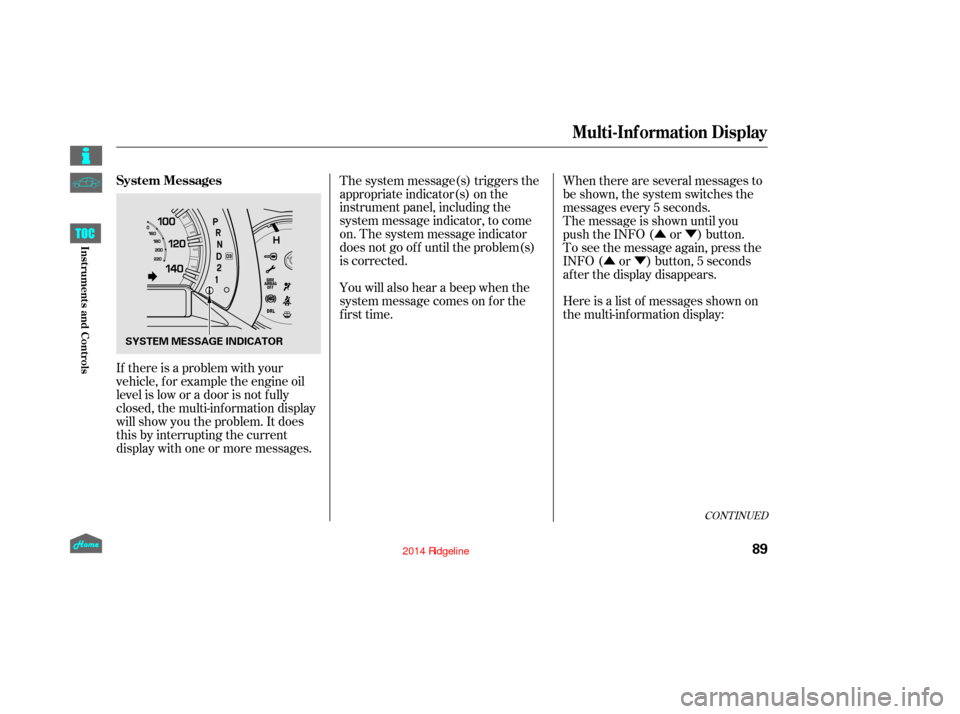
If there is a problem with your
vehicle, f or example the engine oil
level is low or a door is not f ully
closed, the multi-inf ormation display
will show you the problem. It does
this by interrupting the current
display with one or more messages. The system message(s) triggers the
appropriate indicator(s) on the
instrument panel, including the
system message indicator, to come
on. The system message indicator
does not go of f until the problem(s)
is corrected.
You will also hear a beep when the
system message comes on f or the
first time.
When there are several messages to
be shown, the system switches the
messages every 5 seconds.
The message is shown until you
push the INFO ( or ) button.
To see the message again, press the
INFO ( or ) button, 5 seconds
after the display disappears.
Here is a list of messages shown on
the multi-information display:
CONT INUED
System Messages
Multi-Inf ormation Display
89
SYSTEM MESSAGE INDICATOR
12/08/09 16:10:52 31SJC670_096
Inst rument s and Cont rols
Page 105 of 422
These keys contain electronic
circuits that are activated by the
immobilizer system. They will not
work to start the engine if the
circuits are damaged.Protect the keys f rom direct
sunlight, high temperature, and
high humidity.
Donotdropthekeysorsetheavy
objects on them.
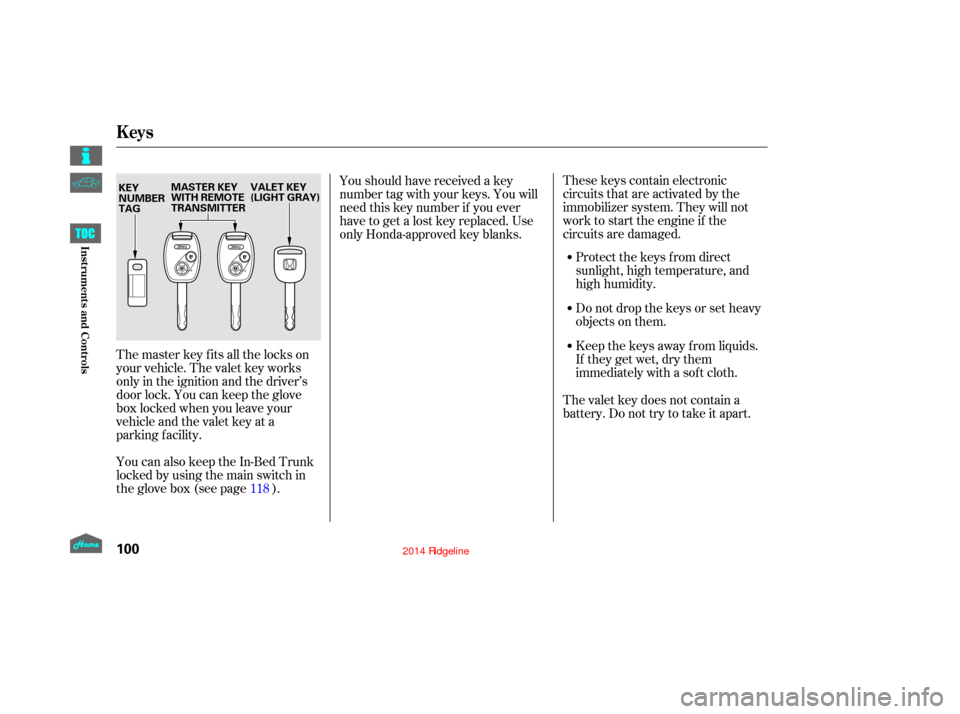
The master key fits all the locks on
your vehicle. The valet key works
only in the ignition and the driver’s
door lock. You can keep the glove
box locked when you leave your
vehicle and the valet key at a
parking facility.
You can also keep the In-Bed Trunk
locked by using the main switch in
theglovebox(seepage ). Youshouldhavereceivedakey
number tag with your keys. You will
need this key number if you ever
have to get a lost key replaced. Use
only Honda-approved key blanks.
Keep the keys away f rom liquids.
If they get wet, dry them
immediately with a sof t cloth.
The valet key does not contain a
battery. Do not try to take it apart.
118
Keys
100
VALET KEY
(LIGHT GRAY)
MASTER KEY
WITH REMOTE
TRANSMITTER
KEY
NUMBER
TAG
12/08/09 16:12:24 31SJC670_107
Inst rument s and Cont rols
Page 106 of 422

When you turn the ignition switch to
the ON (II) position, the immobilizer
system indicator should come on f or
a f ew seconds, then go of f . If the
indicator starts to blink, it means the
system does not recognize the
coding of the key. Turn the ignition
switch to the LOCK (0) position,
remove the key, reinsert it, and turn
the ignition switch to the ON (II)
position again.Do not attempt to alter this system
or add other devices to it. Electrical
problems could result that may make
your vehicle inoperable. If the system repeatedly does not
recognize the coding of your key,
contact your dealer.
The immobilizer system protects
your vehicle f rom thef t. If an
improperly coded key (or other
device) is used, the engine’s f uel
system is disabled.
If you have lost your key and cannot
start the engine, contact your dealer. The system may not recognize your
key’s coding if another immobilizer
key or other metal object (i.e. key
chain) is near the ignition switch
when you insert the key.This device complies with the
appropriate requirements or the
required standards. See page f or
more inf ormation.
400
Immobilizer System
101
Always take the ignition key with you
whenever you leave the vehicle alone.
12/08/09 16:12:31 31SJC670_108
Inst rument s and Cont rols
Page 107 of 422
�µ�µ
�µ �µ
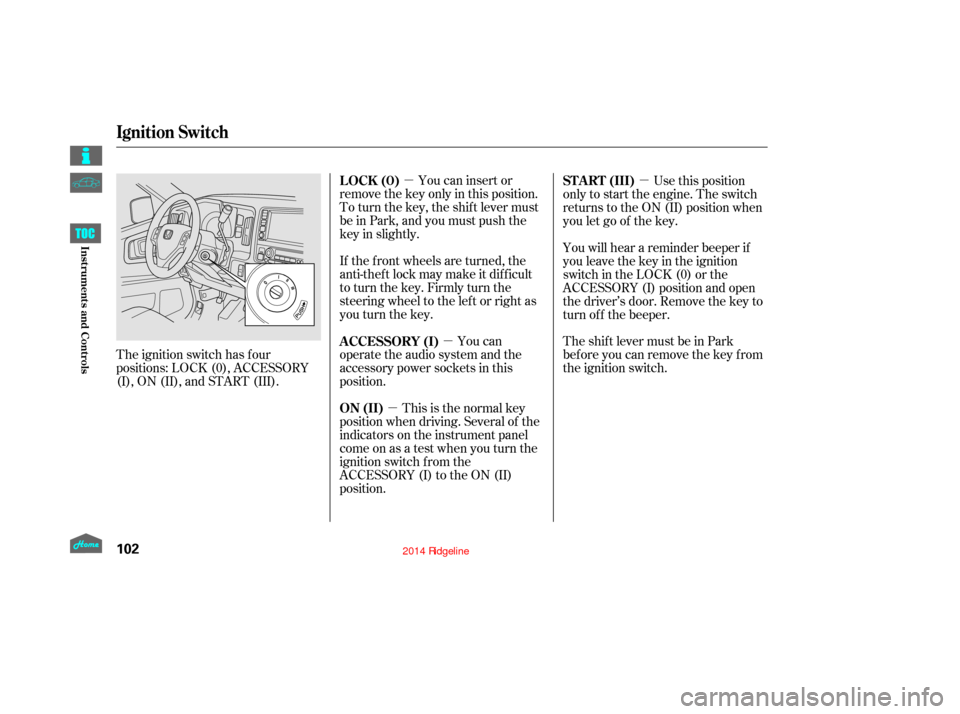
The ignition switch has f our
positions: LOCK (0), ACCESSORY
(I), ON (II), and START (III). You can insert or
remove the key only in this position.
To turn the key, the shift lever must
be in Park, and you must push the
key in slightly.
If the f ront wheels are turned, the
anti-theft lock may make it difficult
to turn the key. Firmly turn the
steering wheel to the lef t or right as
you turn the key.
You can
operate the audio system and the
accessory power sockets in this
position.
This is the normal key
position when driving. Several of the
indicators on the instrument panel
come on as a test when you turn the
ignition switch f rom the
ACCESSORY (I) to the ON (II)
position. Use this position
only to start the engine. The switch
returns to the ON (II) position when
you let go of the key.
You will hear a reminder beeper if
you leave the key in the ignition
switch in the LOCK (0) or the
ACCESSORY (I) position and open
the driver’s door. Remove the key to
turn of f the beeper.
TheshiftlevermustbeinPark
bef ore you can remove the key f rom
the ignition switch.
LOCK (0)
A CCESSORY (I)
ON (II) ST A RT (III)
Ignition Switch
102
12/08/09 16:12:39 31SJC670_109
Inst rument s and Cont rols
Page 109 of 422
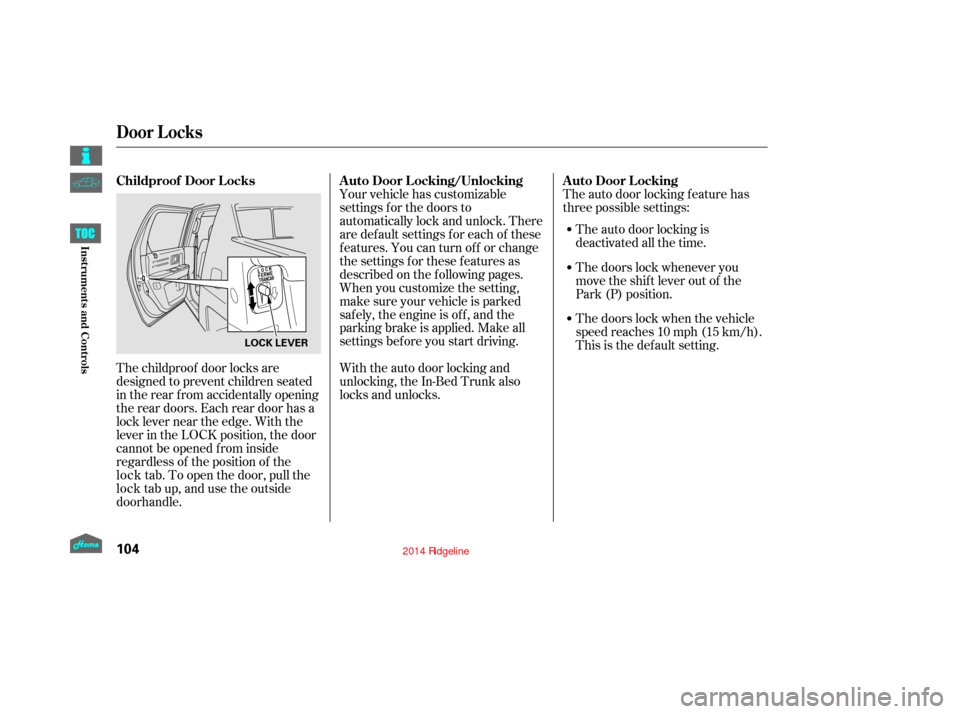
The childproof door locks are
designed to prevent children seated
in the rear from accidentally opening
the rear doors. Each rear door has a
lock lever near the edge. With the
lever in the LOCK position, the door
cannot be opened from inside
regardless of the position of theThe auto door locking f eature has
three possible settings:
The auto door locking is
deactivated all the time.
The doors lock whenever you
move the shift lever out of the
Park (P) position.
The doors lock when the vehicle
speedreaches10mph(15km/h).
This is the def ault setting.
Your vehicle has customizable
settings f or the doors to
automatically lock and unlock. There
are default settings for each of these
f eatures. You can turn of f or change
the settings for these features as
described on the f ollowing pages.
When you customize the setting,
make sure your vehicle is parked
saf ely, the engine is of f , and the
parking brake is applied. Make all
settings bef ore you start driving.
With the auto door locking and
unlocking, the In-Bed Trunk also
locks and unlocks. A uto Door L ocking/Unlocking
Childproof Door L ocks A uto Door L ocking
Door L ocks
104
LOCK LEVER
12/08/09 16:12:57 31SJC670_111
Inst rument s and Cont rols
lock tab. To open the door, pull the
lock tab up, and use the outside
door handle.
Page 132 of 422
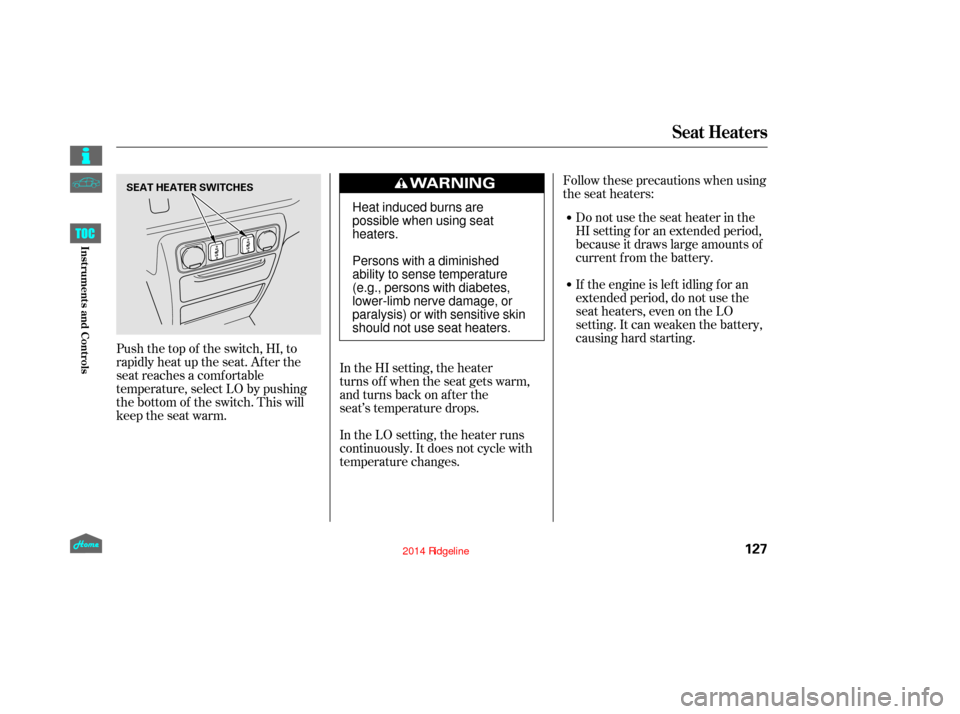
Follow these precautions when using
the seat heaters:Donotusetheseatheaterinthe
HI setting f or an extended period,
because it draws large amounts of
current from the battery.
If the engine is lef t idling f or an
extended period, do not use the
seat heaters, even on the LO
setting. It can weaken the battery,
causing hard starting.
Push the top of the switch, HI, to
rapidly heat up the seat. Af ter the
seat reaches a comfortable
temperature, select LO by pushing
the bottom of the switch. This will
keep the seat warm. In the HI setting, the heater
turns off when the seat gets warm,
and turns back on after the
seat’s temperature drops.
In the LO setting, the heater runs
continuously. It does not cycle with
temperature changes.
Seat Heaters
127
SEAT HEATER SWITCHES
Heat induced burns are
possible when using seat
heaters.
Persons with a diminished
ability to sense temperature
(e.g., persons with diabetes,
lower-limb nerve damage, or
paralysis) or with sensitive skin
should not use seat heaters.
12/08/09 16:16:07 31SJC670_134
Inst rument s and Cont rols