Page 408 of 573
407Features
Compass
*
When you turn the ignition switch to ON
(w*1, the compass self-calibrates, and the
compass display appears.
Compass CalibrationIf the compass indicates the wrong direction, or the CAL indicator blinks, you need
to manually calibrate the system.
1.Turn the ignition switch to ON
(w*1.
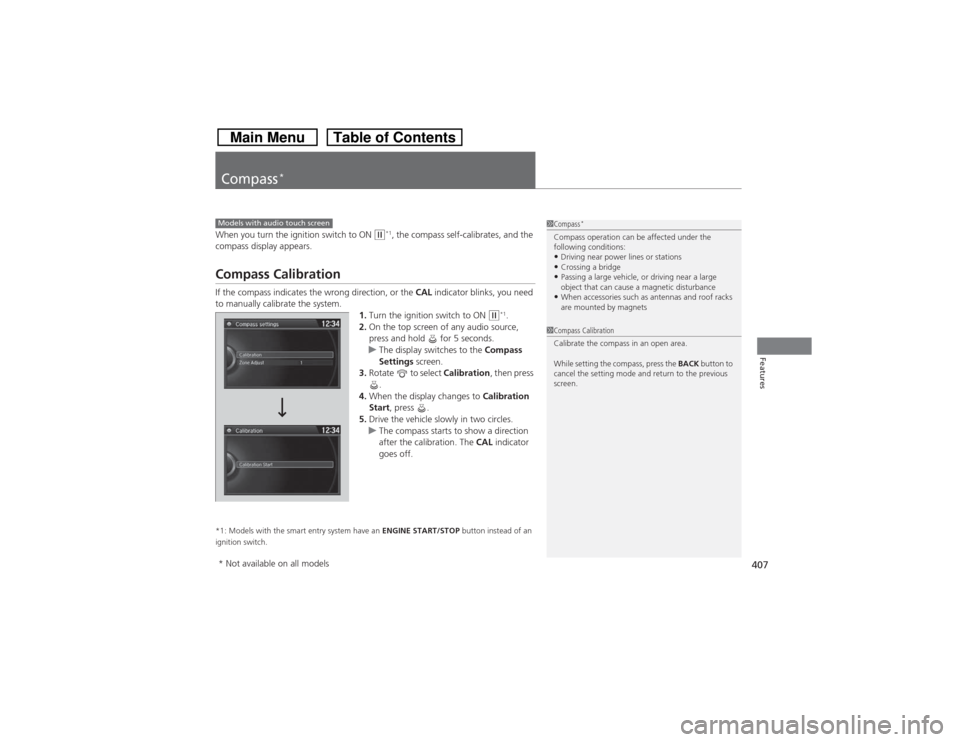
2.On the top screen of any audio source,
press and hold for 5 seconds.
uThe display switches to the Compass
Settings screen.
3.Rotate to select Calibration, then press
.
4.When the display changes to Calibration
Start, press .
5.Drive the vehicle slowly in two circles.
uThe compass starts to show a direction
after the calibration. The CAL indicator
goes off.
*1: Models with the smart entry system have an ENGINE START/STOP button instead of an
ignition switch.Models with audio touch screen
1Compass
*
Compass operation can be affected under the
following conditions:•Driving near power lines or stations•Crossing a bridge•Passing a large vehicle, or driving near a large
object that can cause a magnetic disturbance•When accessories such as antennas and roof racks
are mounted by magnets
1Compass Calibration
Calibrate the compass in an open area.
While setting the compass, press the BACK button to
cancel the setting mode and return to the previous
screen.
* Not available on all models
Page 409 of 573
408
uuCompass
*uCompass Zone Selection
Features
Compass Zone Selection
1.Turn the ignition switch to ON
(w*1.
2.On the top screen of any audio source,
press and hold for 5 seconds.
uThe display switches to the Compass
Settings screen.
3.Rotate to select Zone Adjust, then
press .
uThe display shows the current zone
number.
4.Rotate to select the zone number of
your area (See Zone Map), then press .
*1: Models with the smart entry system have an ENGINE START/STOP button instead of an
ignition switch.
2
3
4
5
6
78910111213 14 15
Zone Map
Guam Island: Zone 8
Puerto Rico: Zone 11
1Compass Zone Selection
The zone selection is done to compensate the
variation between magnetic north and true north.
If the calibration starts while the audio system is in
use, the display returns to normal after the calibration
is completed.
Page 424 of 573
423
uuWhen DrivinguStarting the Engine
Driving
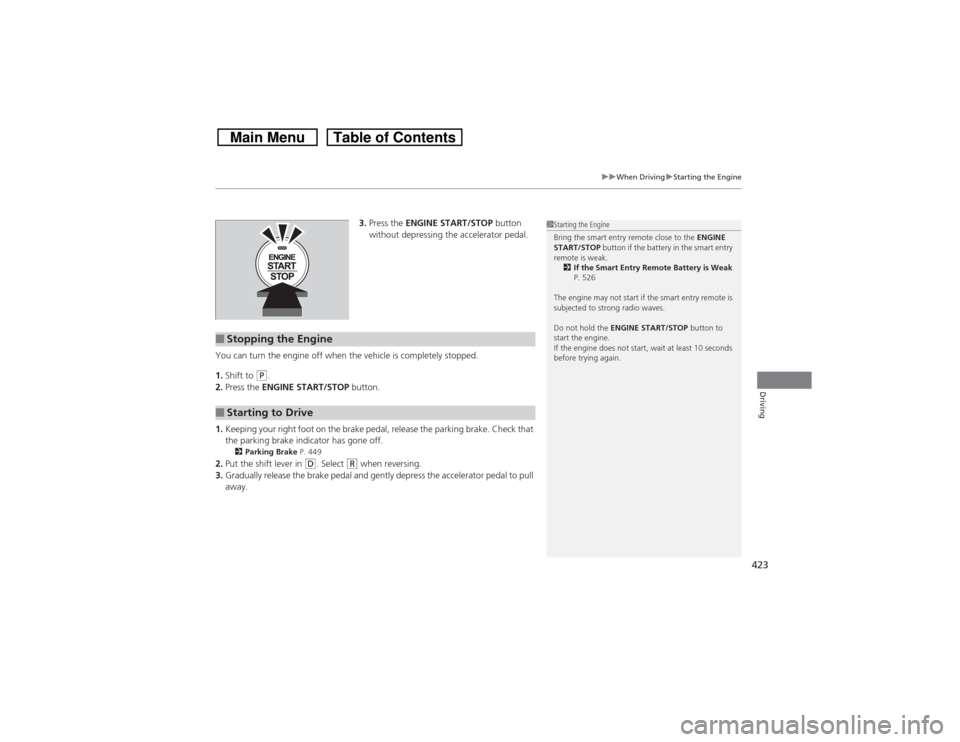
3.Press the ENGINE START/STOP button
without depressing the accelerator pedal.
You can turn the engine off when the vehicle is completely stopped.
1.Shift to
(P.
2.Press the ENGINE START/STOP button.
1.Keeping your right foot on the brake pedal, release the parking brake. Check that
the parking brake indicator has gone off.
2Parking Brake P. 449
2.Put the shift lever in
(D. Select
(R when reversing.
3.Gradually release the brake pedal and gently depress the accelerator pedal to pull
away.
■Stopping the Engine■Starting to Drive
1Starting the Engine
Bring the smart entry remote close to the ENGINE
START/STOP button if the battery in the smart entry
remote is weak.
2If the Smart Entry Remote Battery is Weak
P. 526
The engine may not start if the smart entry remote is
subjected to strong radio waves.
Do not hold the ENGINE START/STOP button to
start the engine.
If the engine does not start, wait at least 10 seconds
before trying again.
Page 425 of 573
424
uuWhen DrivinguPrecautions While Driving
Driving
Precautions While DrivingAvoid driving in deep water and on flooded roads. This can damage the engine or
driveline, or cause electrical component failure.
If there is a strong impact with something under the vehicle, stop in a safe location.
Check the underside of the vehicle for damage or any fluid leaks.*1: Models with the smart entry system have an ENGINE START/STOP button instead of an
ignition switch.■In Rain■Other Precautions
1Precautions While DrivingNOTICEDo not operate the shift lever while pressing the
accelerator pedal. You could damage the
transmission.NOTICEIf you repeatedly turn the steering wheel at an
extremely low speed, or hold the steering wheel on
the full left or right position for a while, the electric
power steering (EPS) system heats up. The system
goes into a protective mode, and limits its
performance. The steering wheel becomes harder
and harder to operate. Once the system cools down,
the EPS system is restored.
Repeated operation under these conditions can
eventually damage the system.
If the ignition switch is turned to ACCESSORY
(q or
LOCK
(0*1 while driving, the engine will shut down
and all steering and brake power assist functions will
stop, making it difficult to control the vehicle.
Do not put the shift lever in
(N, as you will lose
engine braking (and acceleration) performance.
Page 444 of 573

443
uuWhen DrivinguVSA® (Vehicle Stability Assist), aka ESC (Electronic Stability Control), System
Driving
This button is on the driver side control panel.
To turn the VSA® system on and off, press and
hold it until you hear a beep.
VSA® will stop and the indicator will come on.
To turn it on again, press the (VSA® OFF)
button until you hear a beep.
VSA® is turned on every time you start the
engine, even if you turned it off the last time
you drove the vehicle.
■VSA® On and Off
1VSA® (Vehicle Stability Assist), aka ESC (Electronic Stability Control), System
Without VSA®, your vehicle will have normal braking
and cornering ability, but it will not have VSA®
traction and stability enhancement.
In certain unusual conditions when your vehicle gets
stuck in shallow mud or fresh snow, it may be easier
to free it with the VSA® temporarily switched off.
When the VSA® system is off, the traction control
system is also off. You should only attempt to free
your vehicle with the VSA® off if you are not able to
free it when the VSA® is on.
Immediately after freeing your vehicle, be sure to
switch VSA® on again. We do not recommend driving
your vehicle with the VSA® and traction control
systems switched off.
If the low tire pressure, or TPMS indicator comes on
or blinks, the VSA® system comes on automatically. In
this case, you cannot turn the system off by pressing
the button.
You may hear a motor sound coming from the
engine compartment while system checks are being
performed immediately after starting the engine or
while driving. This is normal.
VSA® OFF Indicator
Page 466 of 573
465
Continued
Maintenance
Maintenance Minder
TM
If the engine oil life is less than 15%, you will see the Maintenance Minder messages
appear on the information display every time you turn the ignition switch to ON (w*1. The messages notify you when to change the engine oil, or when to bring your
vehicle to a dealer for indicated maintenance services.
To Use Maintenance Minder
TM
1.Turn the ignition switch to ON
(w*1.
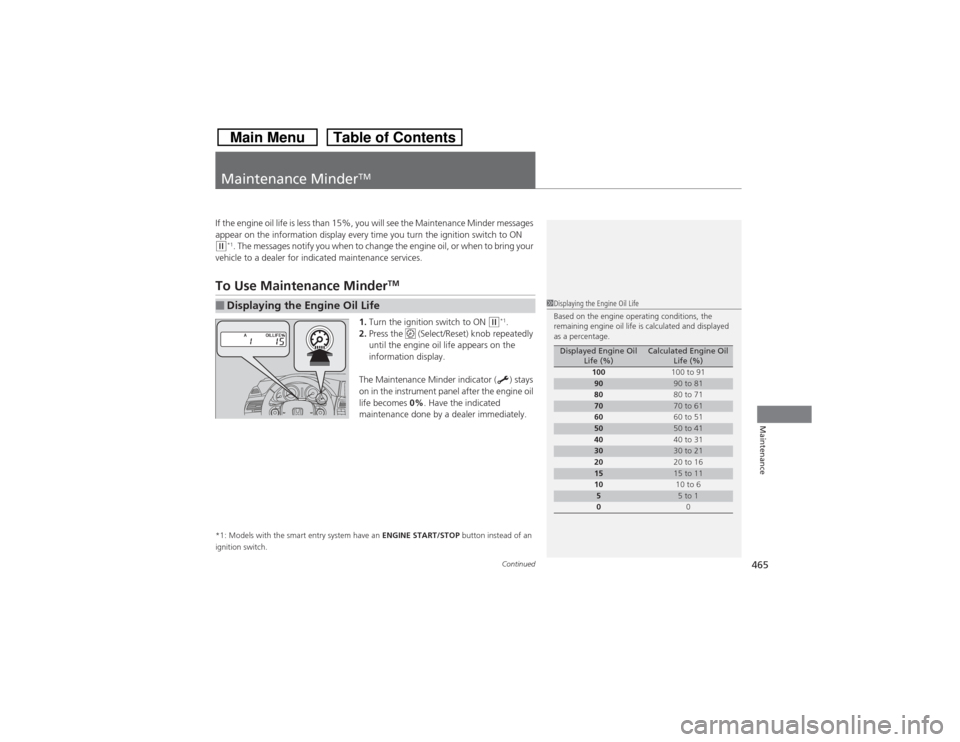
2.Press the (Select/Reset) knob repeatedly
until the engine oil life appears on the
information display.
The Maintenance Minder indicator ( ) stays
on in the instrument panel after the engine oil
life becomes 0%. Have the indicated
maintenance done by a dealer immediately.
*1: Models with the smart entry system have an ENGINE START/STOP button instead of an
ignition switch.■Displaying the Engine Oil Life
1Displaying the Engine Oil Life
Based on the engine operating conditions, the
remaining engine oil life is calculated and displayed
as a percentage.
Displayed Engine Oil
Life (%)
Calculated Engine Oil
Life (%)
100100 to 91
90
90 to 81
8080 to 71
70
70 to 61
6060 to 51
50
50 to 41
4040 to 31
30
30 to 21
2020 to 16
15
15 to 11
1010 to 6
5
5 to 1
00
Page 469 of 573

uuMaintenance Minder
TMuTo Use Maintenance Minder
TM
468Maintenance
Reset the engine oil life display if you have performed the maintenance service.
1.Turn the ignition switch to ON
(w*1.
2.Display the engine oil life by repeatedly
pressing the (Select/Reset) knob.
3.Press and hold the knob for ten seconds
or more.
uThe engine oil life indicator and the
maintenance item codes blink.
4.Press the knob for five seconds or more.
uThe displayed maintenance items
disappear, and the engine oil life display
returns to 100%.
*1: Models with the smart entry system have an ENGINE START/STOP button instead of an
ignition switch.■Resetting the Display
1Resetting the DisplayNOTICEFailure to reset the engine oil life after a maintenance
service results in the system showing incorrect
maintenance intervals, which can lead to serious
mechanical problems.
The dealer will reset the engine oil life display after
completing the required maintenance service. If
someone other than a dealer performs maintenance
service, reset the engine oil life display yourself.
You can reset the engine oil life display using the
audio/information screen.
2Customized Features
* P. 281
Models with audio/information screen
* Not available on all models
Page 518 of 573
517
Continued
Handling the Unexpected
If a Tire Goes FlatChanging a Flat TireIf a tire goes flat while driving, grasp the steering wheel firmly, and brake gradually
to reduce speed. Then, stop in a safe place. Replace the flat tire with a compact
spare tire. Go to a dealer as soon as possible to have the full-size tire repaired or
replaced.
1.Park the vehicle on firm, level, and non-slippery surface and apply the parking
brake.
2.Move the shift lever to
(P.
3.Turn on the hazard warning lights and turn the ignition switch to LOCK
(0*1.
*1: Models with the smart entry system have an ENGINE START/STOP button instead of an
ignition switch.
1Changing a Flat Tire
Periodically check the tire pressure of the compact
spare. It should be set to the specified pressure.
Specified Pressure: 60 psi (420 kPa, 4.2 kgf/cm
2)
When driving with the compact spare tire, keep the
vehicle speed under 50 mph (80 km/h). Replace with
a full-size tire as soon as possible.
The compact spare tire and wheel in your vehicle are
specifically for this model.
Do not use them with another vehicle.
Do not use another type of compact spare tire or
wheel with your vehicle.
Do not mount tire chains on a compact spare tire.
If a chain-mounted front tire goes flat, remove one of
the full-size rear tires and replace it with the compact
spare tire. Remove the flat front tire and replace it
with the full-size tire that was removed from the rear.
Mount the tire chains on the front tire.
Do not use a puncture-repairing agent on a flat tire,
as it can damage the tire pressure sensor.