2014 GMC TERRAIN light
[x] Cancel search: lightPage 1 of 20

Review this Quick Reference Guide for an overview of some important features in your GMC Terrain. More detailed information can be found in your Owner Manual. Some option\
al equipment described in this guide may not be included in your vehicle. For easy reference, keep this guide\
with your Owner Manual in your glove box.
www.gmc.com
Instrument Panel .............2Remote Keyless Entry Transmitter .................4Rear Door Safety Locks .......4Tilt/Telescopic Steering Wheel ..4Driver’s Seat Adjustments ......5Rear Seat Adjustments ........6Exterior/Interior Lighting .......6Wipers and Washers ..........7Power Programmable Liftgate ...7Audio System ...............8Bluetooth System ...........10Audio Steering Wheel Controls .10
GMC IntelliLink .............11Navigation System ..........13Rear Seat Entertainment System ....................13Cruise Control ..............14Forward Collision Alert/ Lane Departure Warning ......14Accessory Power Outlets .....15Passenger Presence System ..15Parking Brake ..............15Wind Noise ................15Driver Information Center .....16Vehicle Personalization .......16
Climate Controls ............17Automatic Transmission Features ..................18StabiliTrak/Traction Control Systems ............18Roof Rack Cross Rails .......19Tire Pressure Monitor ........19Engine Oil Life System .......19Refueling the Vehicle ........19Roadside Assistance .........20myGMC and OnStar Mobile Apps ................20GMC Owner Center ..........20
This Important Information To Be REMOVED AND READ BY THE CUSTOMER
Page 2 of 20

2
Turn Signal Lever/ Exterior Lamp Control
Driver Information Center
Tilt/Telescopic Steering Wheel Lever
Windshield Wipers Lever
Instrument Panel Illumination ControlCruise Control Buttons
Instrument Panel
Safety Belt Reminder
Check Engine
Low Tire Pressure
Brake System Warning
Antilock Brake System Warning
Charging System
Oil Pressure
Airbag Readiness
Security
Fog Lamps
Cruise Control On/Set
Traction Control Off
StabiliTrak/Traction Control Off
StabiliTrak/Traction Control Warning
Lights On
Audio Steering Wheel ControlsF
Symbols
Express-Down Power Windows (All)Power Door Locks Button
Page 3 of 20

3
Refer to your Owner Manual to learn about the information being relayed \
by the lights, gauges and indicators of the instrument cluster.
See In Brief in your Owner Manual.
Infotainment System/ Navigation SystemFPower Door Locks Button
StabiliTrak ButtonCenter Vent Open/Close
Control
Accessory Power Outlet
Rear Door Safety Locks ButtonHazard Warning Flashers Button
Driver Information Center Controls
Climate Controls/ Heated Seat ButtonsF
Center Vent Open/Close
Control
eco Button
F Optional equipment
Page 6 of 20

6
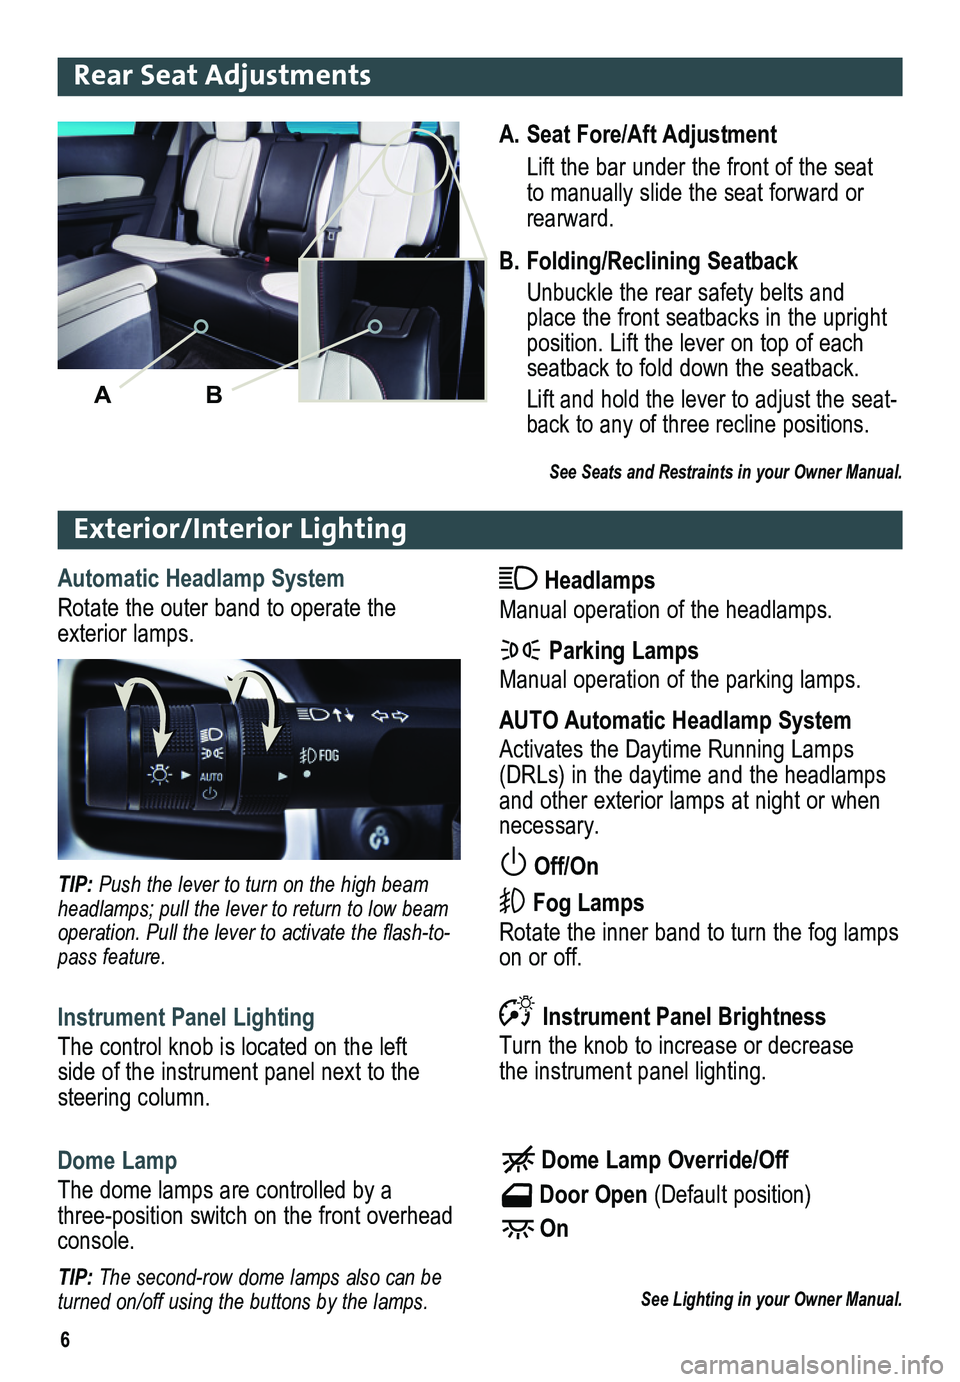
Exterior/Interior Lighting
Automatic Headlamp System
Rotate the outer band to operate the exterior lamps.
Headlamps
Manual operation of the headlamps.
Parking Lamps
Manual operation of the parking lamps.
AUTO Automatic Headlamp System
Activates the Daytime Running Lamps (DRLs) in the daytime and the headlamps and other exterior lamps at night or when necessary.
Off/On
Fog Lamps
Rotate the inner band to turn the fog lamps on or off.
TIP: Push the lever to turn on the high beam headlamps; pull the lever to return to low beam operation. Pull the lever to activate the flash-to-pass feature.
Instrument Panel Lighting
The control knob is located on the left side of the instrument panel next to the steering column.
Instrument Panel Brightness
Turn the knob to increase or decrease the instrument panel lighting.
Dome Lamp
The dome lamps are controlled by a three-position switch on the front overhead console.
Dome Lamp Override/Off
Door Open (Default position)
On
See Lighting in your Owner Manual.TIP: The second-row dome lamps also can be turned on/off using the buttons by the lamps.
A. Seat Fore/Aft Adjustment
Lift the bar under the front of the seat to manually slide the seat forward or rearward.
B. Folding/Reclining Seatback
Unbuckle the rear safety belts and place the front seatbacks in the upright position. Lift the lever on top of each seatback to fold down the seatback.
Lift and hold the lever to adjust the seat -back to any of three recline positions.
See Seats and Restraints in your Owner Manual.
AB
Rear Seat Adjustments
Page 11 of 20

11
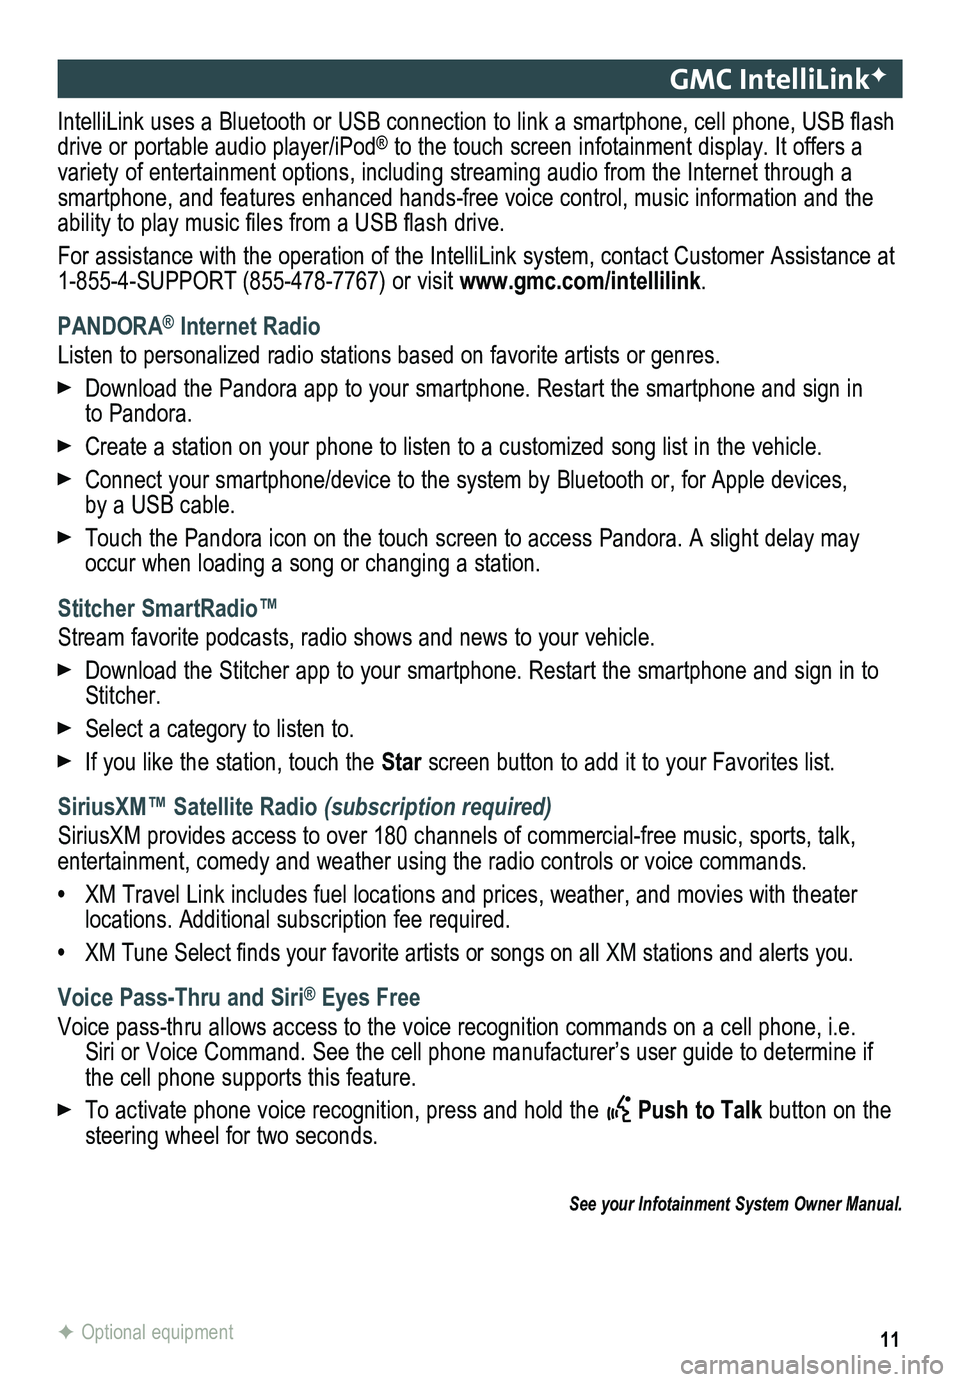
GMC IntelliLinkF
IntelliLink uses a Bluetooth or USB connection to link a smartphone, cell phone, USB flash drive or portable audio player/iPod® to the touch screen infotainment display. It offers a variety of entertainment options, including streaming audio from the Internet through a smartphone, and features enhanced hands-free voice control, music inform\
ation and the ability to play music files from a USB flash drive.
For assistance with the operation of the IntelliLink system, contact Customer Assistance at 1-855-4-SUPPORT (855-478-7767) or visit www.gmc.com/intellilink.
PANDORA® Internet Radio
Listen to personalized radio stations based on favorite artists or genres.
Download the Pandora app to your smartphone. Restart the smartphone and \
sign in to Pandora.
Create a station on your phone to listen to a customized song list in the vehicle.
Connect your smartphone/device to the system by Bluetooth or, for Apple devices, by a USB cable.
Touch the Pandora icon on the touch screen to access Pandora. A slight delay may occur when loading a song or changing a station.
Stitcher SmartRadio™
Stream favorite podcasts, radio shows and news to your vehicle.
Download the Stitcher app to your smartphone. Restart the smartphone and sign in to Stitcher.
Select a category to listen to.
If you like the station, touch the Star screen button to add it to your Favorites list.
SiriusXM™ Satellite Radio (subscription required)
SiriusXM provides access to over 180 channels of commercial-free music, sports, talk, entertainment, comedy and weather using the radio controls or voice comm\
ands.
• XM Travel Link includes fuel locations and prices, weather, and movies with theater locations. Additional subscription fee required.
• XM Tune Select finds your favorite artists or songs on all XM stations and alerts you.
Voice Pass-Thru and Siri® Eyes Free
Voice pass-thru allows access to the voice recognition commands on a cell phone, i.e. Siri or Voice Command. See the cell phone manufacturer’s user guide to determine if the cell phone supports this feature.
To activate phone voice recognition, press and hold the Push to Talk button on the steering wheel for two seconds.
F Optional equipment
See your Infotainment System Owner Manual.
Page 13 of 20

13
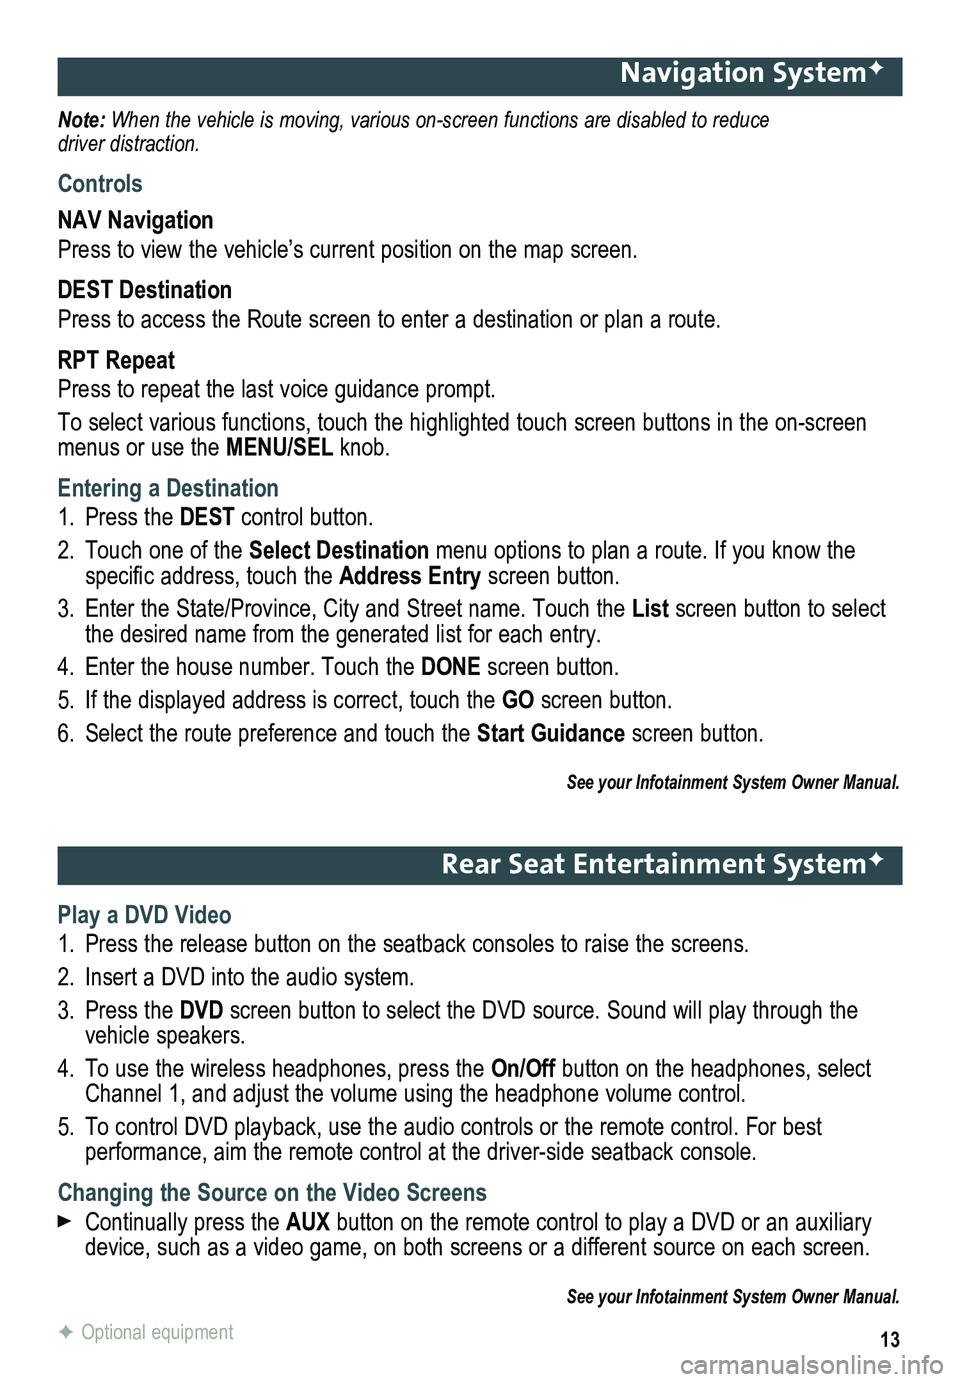
Navigation SystemF
Note: When the vehicle is moving, various on-screen functions are disabled to reduce driver distraction.
Controls
NAV Navigation
Press to view the vehicle’s current position on the map screen.
DEST Destination
Press to access the Route screen to enter a destination or plan a route.
RPT Repeat
Press to repeat the last voice guidance prompt.
To select various functions, touch the highlighted touch screen buttons in the on-screen menus or use the MENU/SEL knob.
Entering a Destination
1. Press the DEST control button.
2. Touch one of the Select Destination menu options to plan a route. If you know the
specific address, touch the Address Entry screen button.
3. Enter the State/Province, City and Street name. Touch the List screen button to select the desired name from the generated list for each entry.
4. Enter the house number. Touch the DONE screen button.
5. If the displayed address is correct, touch the GO screen button.
6. Select the route preference and touch the Start Guidance screen button.
See your Infotainment System Owner Manual.
Rear Seat Entertainment SystemF
Play a DVD Video
1. Press the release button on the seatback consoles to raise the screens.
2. Insert a DVD into the audio system.
3. Press the DVD screen button to select the DVD source. Sound will play through the vehicle speakers.
4. To use the wireless headphones, press the On/Off button on the headphones, select Channel 1, and adjust the volume using the headphone volume control.
5. To control DVD playback, use the audio controls or the remote control. For best
performance, aim the remote control at the driver-side seatback console.\
Changing the Source on the Video Screens
Continually press the AUX button on the remote control to play a DVD or an auxiliary device, such as a video game, on both screens or a different source on e\
ach screen.
See your Infotainment System Owner Manual.
F Optional equipment
Page 15 of 20

15
Passenger Presence System
The passenger’s frontal airbag On indicator located on the overhead c\
onsole may illuminate if an object, such as a handbag, briefcase, notebook computer or other elec\
tronic device, is on the unoccupied front seat. If this is not desired, remove the object \
from the seat.
See Seats and Restraints in your Owner Manual.
Wind Noise
If a rear window is open, there may be a buffeting wind noise inside the\
vehicle. Opening a front window slightly when a rear window is open will prevent this noise from occurring.
See Keys, Doors and Windows in your Owner Manual.
Accessory Power Outlets
There are four accessory power outlets in the vehicle — located below\
the audio system, inside the center console, on the rear of the center console, and in the\
rear cargo area. All of the outlets except the rear cargo area outlet are not powered when the v\
ehicle is off to avoid draining the battery. Always unplug electrical equipment when not in use\
.
See Instruments and Controls in your Owner Manual.
Parking Brake
To set the parking brake, hold down the regular brake pedal; then push d\
own the
parking brake pedal.
To release the parking brake, hold down the regular brake pedal; then pu\
sh down the parking brake pedal until you feel the pedal release.
See Driving and Operating in your Owner Manual.
Page 16 of 20

16
Driver Information Center
A. MENU
Press to display the:
– Vehicle Information menu (units, tire pressures, remaining oil life).
– Trip/Fuel menu (digital speed ometer, trip odometers, fuel range, average fuel economy, instantaneous fuel economy, average vehicle speed, timer, OnStar Turn-by-Turn guidanceF).
B.
Press the up or down button to scroll through the items of each menu.
C. SET/CLR
Press to set or clear the displayed menu item or warning message.
The Driver Information Center (DIC) on the instrument cluster displays a variety of vehicle system information and warning messages.
TIP: To display an easy-to-read digital speedometer, open the Trip/Fuel menu and scroll to tab 1.
DIC Controls
ABC
See Instruments and Controls in your Owner Manual.
ACB
Vehicle Personalization
1. Press the CONFIG button (A) to enter the Configuration Settings menu.
2. Turn the MENU knob (B) to highlight Vehicle Settings, and then press the knob to select it; or use the screen buttons.
3. Turn the MENU knob to highlight the desired menus and settings, and then press the knob to select the highlighted item; or use the screen buttons.
4. Press the BACK button (C) to move back within a menu.
See Instruments and Controls in your Owner Manual.
Vehicle personalization items may include climate and air quality, comfort and conven ience, collision/detection systems, language, lighting, power door locks, remot\
e lock/unlock/start, and factory settings. Use the controls on the audio system to change the settings.
F Optional equipment