2014 FORD SUPER DUTY tow
[x] Cancel search: towPage 66 of 458
WINDSHIELD WIPERS
Note:
Fully defrost the windshield before
switching on the windshield wipers.
Note: Make sure the windshield wipers are
switched off before entering a car wash.
Note: Clean the windshield and wiper
blades if they begin to leave streaks or
smears. If that does not resolve the issue,
install new wiper blades.
Note: Do not operate the wipers on a dry
windshield. This may scratch the glass,
damage the wiper blades or cause the wiper
motor to burn out. Always use the
windshield washers before wiping a dry
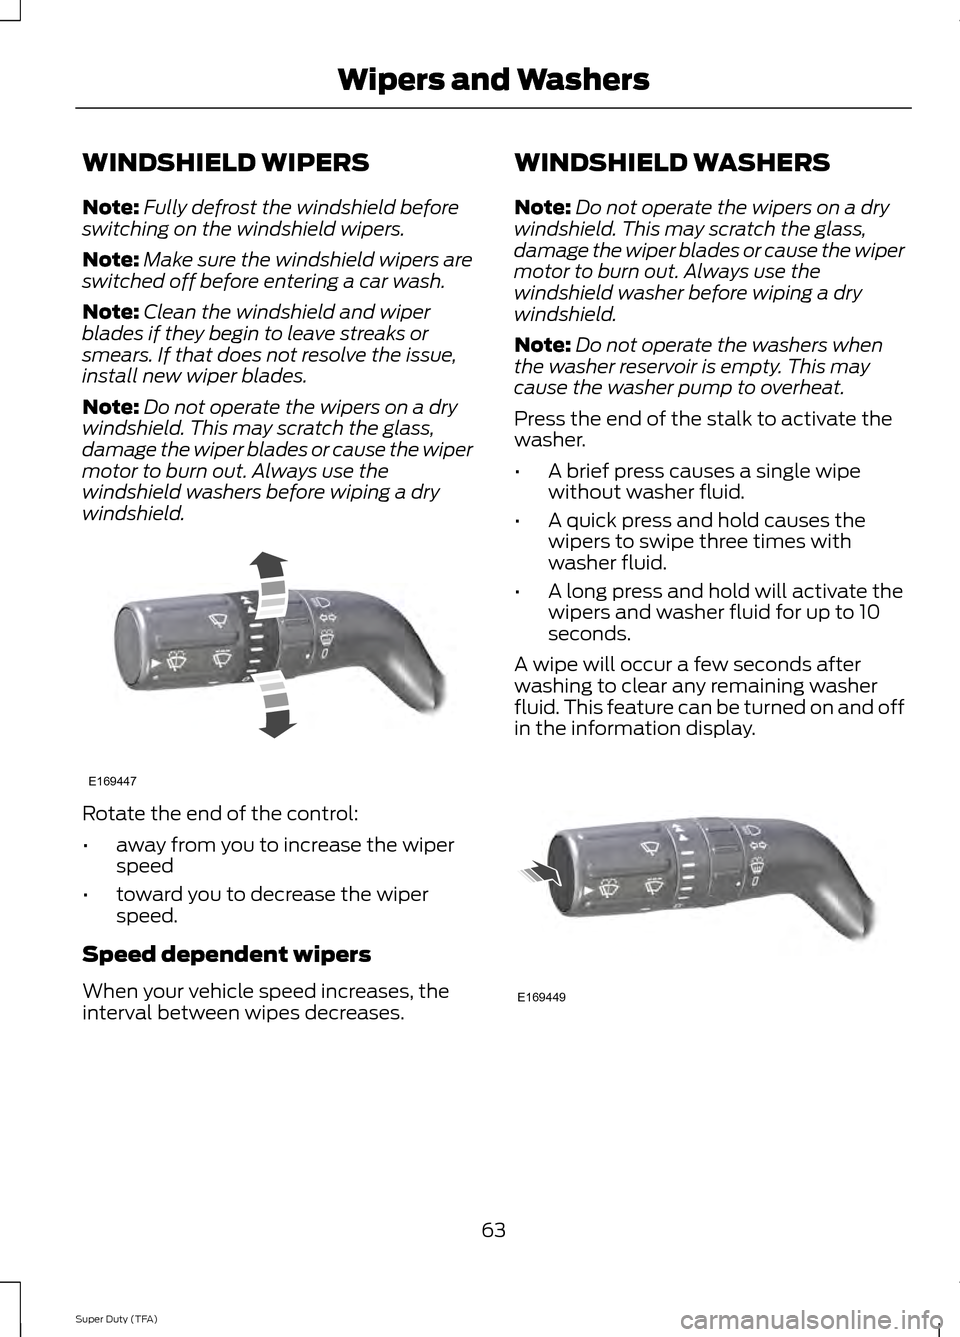
windshield. Rotate the end of the control:
•
away from you to increase the wiper
speed
• toward you to decrease the wiper
speed.
Speed dependent wipers
When your vehicle speed increases, the
interval between wipes decreases. WINDSHIELD WASHERS
Note:
Do not operate the wipers on a dry
windshield. This may scratch the glass,
damage the wiper blades or cause the wiper
motor to burn out. Always use the
windshield washer before wiping a dry
windshield.
Note: Do not operate the washers when
the washer reservoir is empty. This may
cause the washer pump to overheat.
Press the end of the stalk to activate the
washer.
• A brief press causes a single wipe
without washer fluid.
• A quick press and hold causes the
wipers to swipe three times with
washer fluid.
• A long press and hold will activate the
wipers and washer fluid for up to 10
seconds.
A wipe will occur a few seconds after
washing to clear any remaining washer
fluid. This feature can be turned on and off
in the information display. 63
Super Duty (TFA) Wipers and WashersE169447 E169449
Page 67 of 458
LIGHTING CONTROL
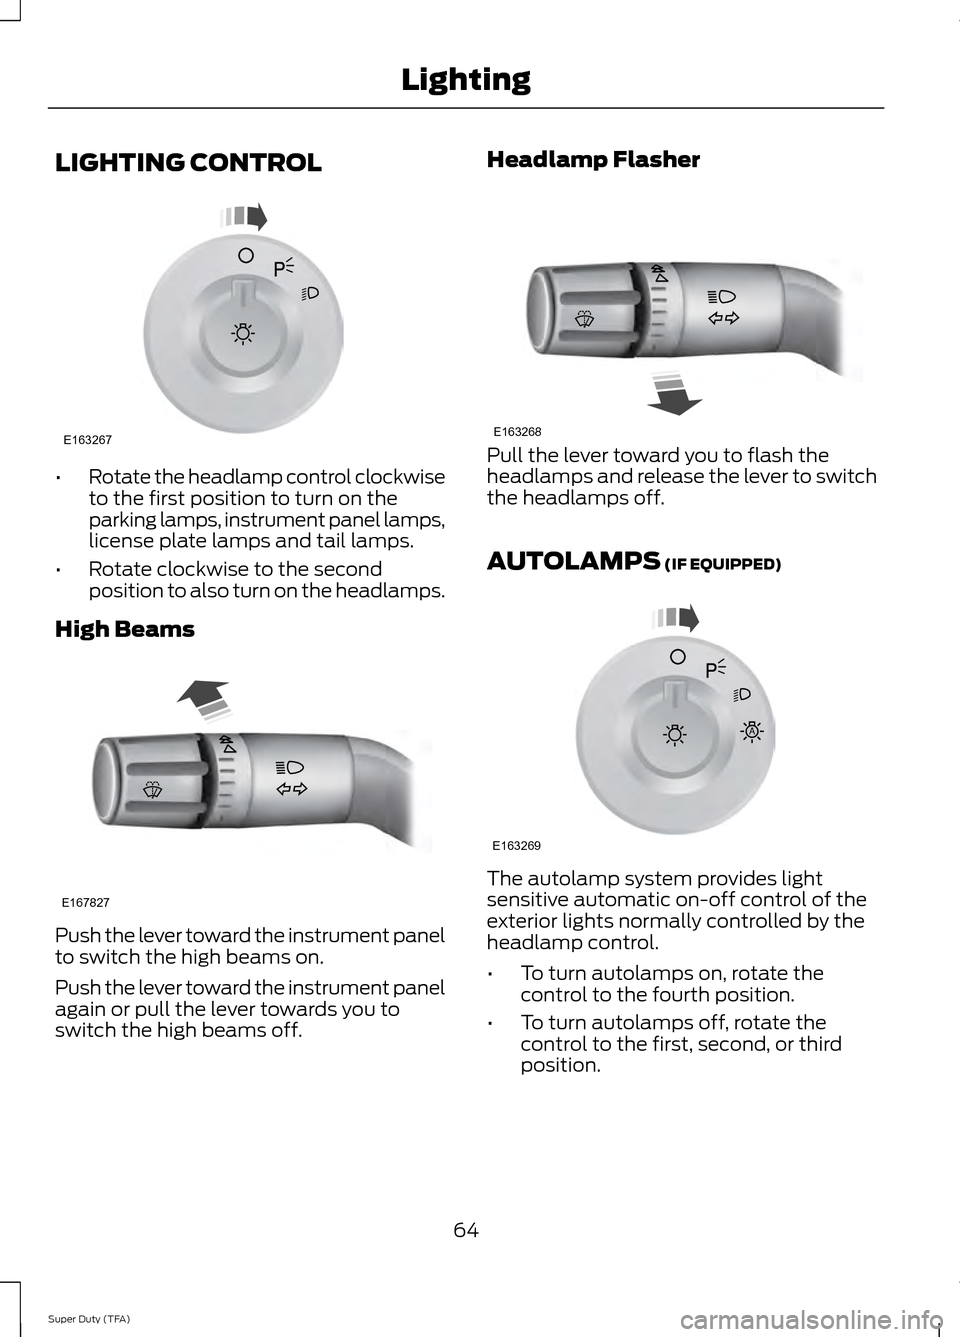
•
Rotate the headlamp control clockwise
to the first position to turn on the
parking lamps, instrument panel lamps,
license plate lamps and tail lamps.
• Rotate clockwise to the second
position to also turn on the headlamps.
High Beams Push the lever toward the instrument panel
to switch the high beams on.
Push the lever toward the instrument panel
again or pull the lever towards you to
switch the high beams off. Headlamp Flasher
Pull the lever toward you to flash the
headlamps and release the lever to switch
the headlamps off.
AUTOLAMPS (IF EQUIPPED)
The autolamp system provides light
sensitive automatic on-off control of the
exterior lights normally controlled by the
headlamp control.
•
To turn autolamps on, rotate the
control to the fourth position.
• To turn autolamps off, rotate the
control to the first, second, or third
position.
64
Super Duty (TFA) LightingE163267 E167827 E163268 E163269
A
Page 69 of 458
The system switches the headlamps on
with a reduced output in daylight
conditions.
To switch the system on:
1. Switch the ignition on.
2. Switch the lighting control to the off,
or parking lamp position.
3. Disengage the parking brake.
4. Make sure the transmission selector lever is not in position P.
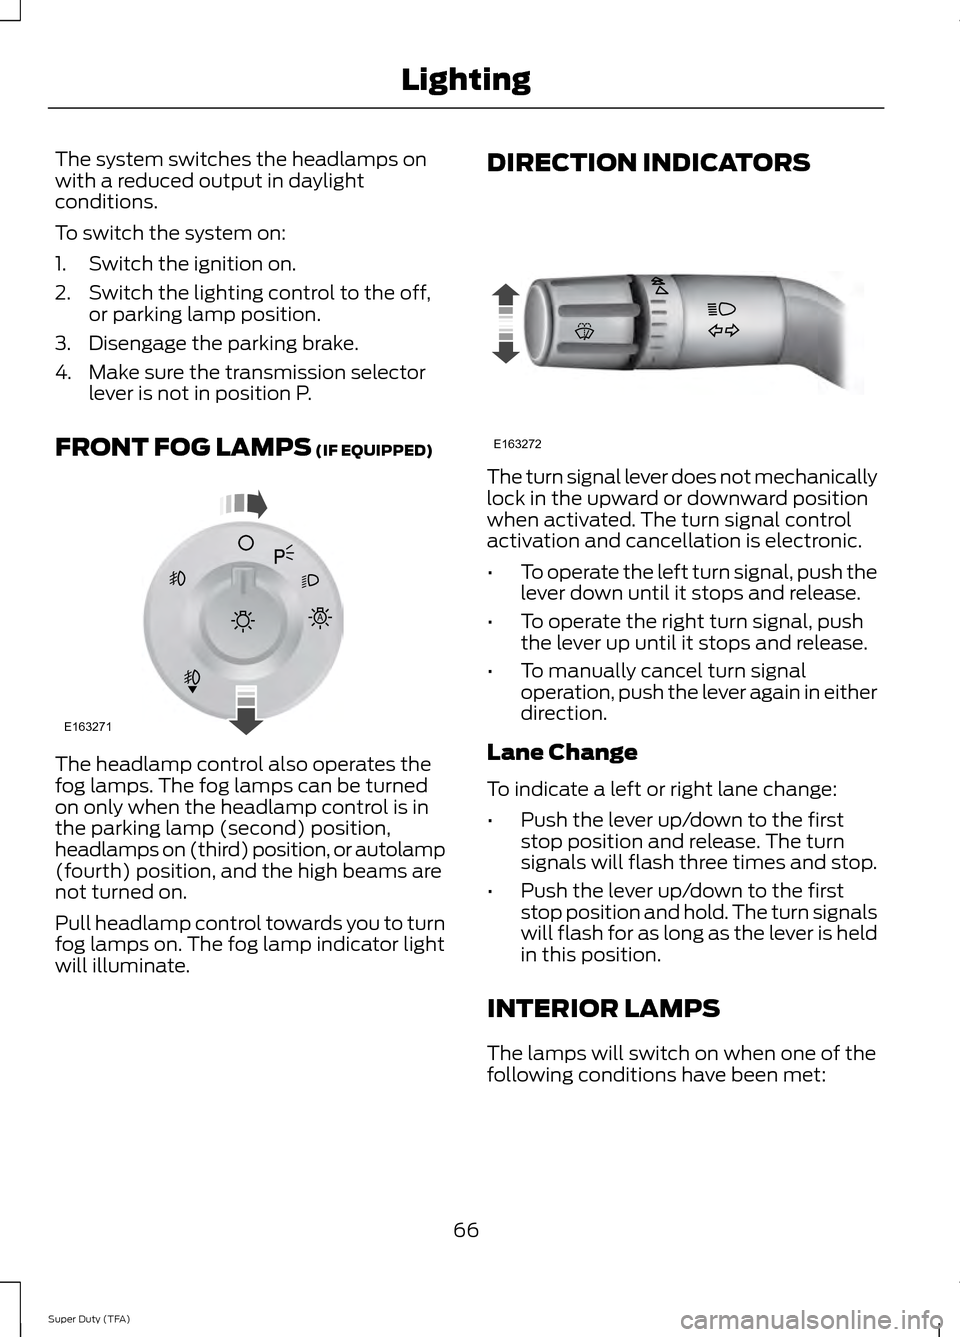
FRONT FOG LAMPS (IF EQUIPPED) The headlamp control also operates the
fog lamps. The fog lamps can be turned
on only when the headlamp control is in
the parking lamp (second) position,
headlamps on (third) position, or autolamp
(fourth) position, and the high beams are
not turned on.
Pull headlamp control towards you to turn
fog lamps on. The fog lamp indicator light
will illuminate. DIRECTION INDICATORS
The turn signal lever does not mechanically
lock in the upward or downward position
when activated. The turn signal control
activation and cancellation is electronic.
•
To operate the left turn signal, push the
lever down until it stops and release.
• To operate the right turn signal, push
the lever up until it stops and release.
• To manually cancel turn signal
operation, push the lever again in either
direction.
Lane Change
To indicate a left or right lane change:
• Push the lever up/down to the first
stop position and release. The turn
signals will flash three times and stop.
• Push the lever up/down to the first
stop position and hold. The turn signals
will flash for as long as the lever is held
in this position.
INTERIOR LAMPS
The lamps will switch on when one of the
following conditions have been met:
66
Super Duty (TFA) LightingE163271
A E163272
Page 73 of 458
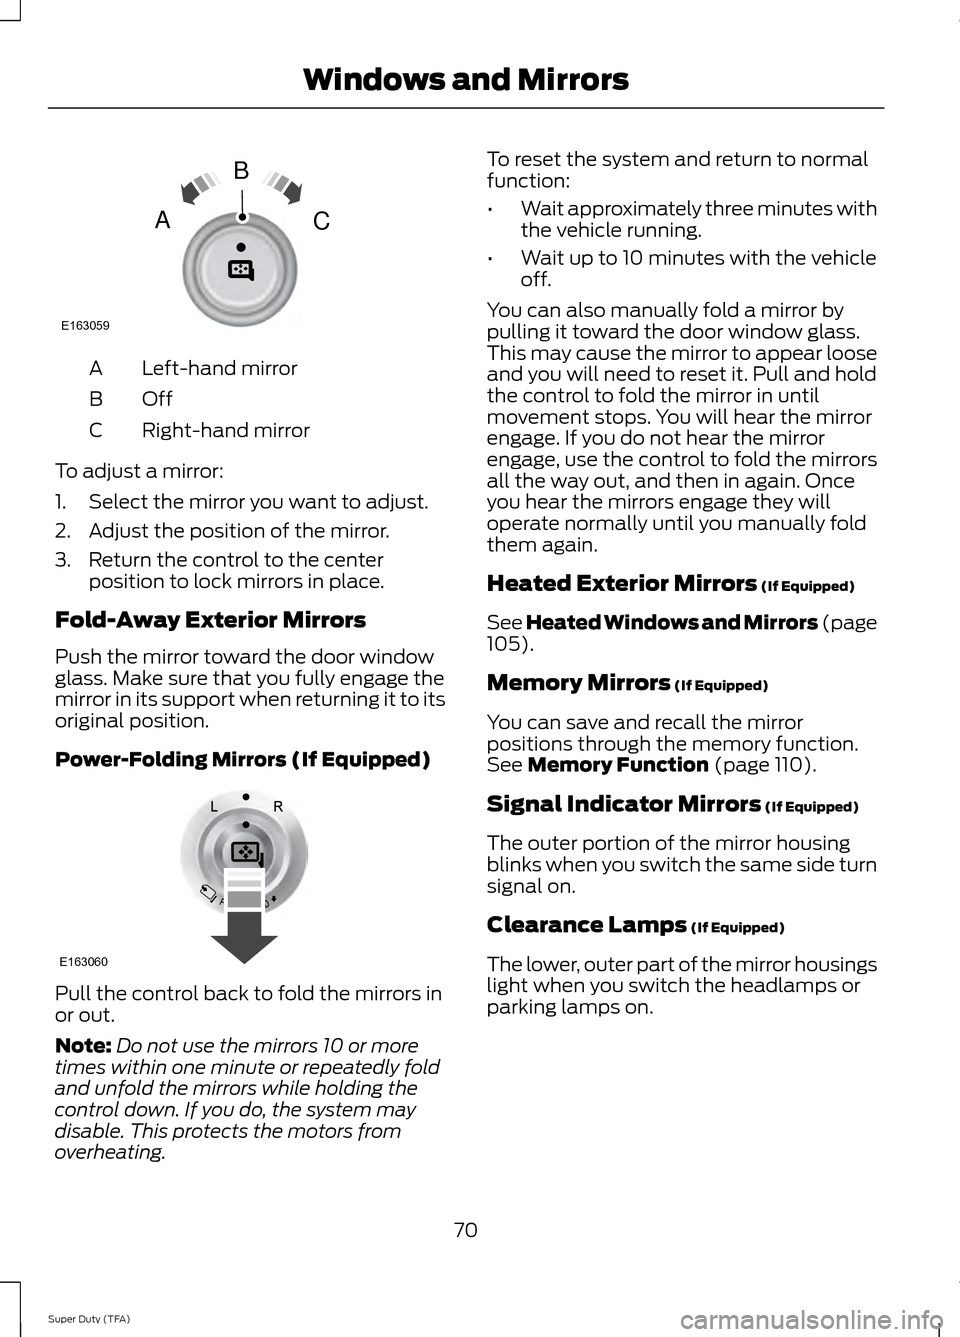
Left-hand mirror
A
OffB
Right-hand mirror
C
To adjust a mirror:
1. Select the mirror you want to adjust.
2. Adjust the position of the mirror.
3. Return the control to the center position to lock mirrors in place.
Fold-Away Exterior Mirrors
Push the mirror toward the door window
glass. Make sure that you fully engage the
mirror in its support when returning it to its
original position.
Power-Folding Mirrors (If Equipped) Pull the control back to fold the mirrors in
or out.
Note:
Do not use the mirrors 10 or more
times within one minute or repeatedly fold
and unfold the mirrors while holding the
control down. If you do, the system may
disable. This protects the motors from
overheating. To reset the system and return to normal
function:
•
Wait approximately three minutes with
the vehicle running.
• Wait up to 10 minutes with the vehicle
off.
You can also manually fold a mirror by
pulling it toward the door window glass.
This may cause the mirror to appear loose
and you will need to reset it. Pull and hold
the control to fold the mirror in until
movement stops. You will hear the mirror
engage. If you do not hear the mirror
engage, use the control to fold the mirrors
all the way out, and then in again. Once
you hear the mirrors engage they will
operate normally until you manually fold
them again.
Heated Exterior Mirrors (If Equipped)
See Heated Windows and Mirrors (page
105
).
Memory Mirrors
(If Equipped)
You can save and recall the mirror
positions through the memory function.
See
Memory Function (page 110).
Signal Indicator Mirrors
(If Equipped)
The outer portion of the mirror housing
blinks when you switch the same side turn
signal on.
Clearance Lamps
(If Equipped)
The lower, outer part of the mirror housings
light when you switch the headlamps or
parking lamps on.
70
Super Duty (TFA) Windows and MirrorsE163059
B
AC E163060
Page 74 of 458

Telescoping Mirrors (If Equipped)
This feature lets you extend the mirror
about 3 inches (75 millimeters). It is useful
when towing a trailer. You can manually
pull out or push in the mirrors to the desired
position.
PowerScope
™ Power Telescoping
Mirrors (If Equipped)
This feature lets you position both mirrors
at the same time. The switch is on the door
trim panel. Telescope Out
A
Telescope In
B
Press and hold the switch to move the
mirrors.
When you fully extend the mirrors, you will
hear the motors running as long as you
hold the switch. INTERIOR MIRROR WARNING
Do not adjust the mirror when your
vehicle is moving.
Note:
Do not clean the housing or glass of
any mirror with harsh abrasives, fuel or other
petroleum or ammonia-based cleaning
products.
You can adjust the interior mirror to your
preference. Some mirrors also have a
second pivot point. This lets you move the
mirror head up or down and from side to
side.
Pull the tab below the mirror toward you
to reduce glare at night.
Auto-Dimming Mirror
(If Equipped)
Note: Do not block the sensors on the front
and back of the mirror. Mirror performance
may be affected. A rear center passenger or
raised rear center head restraint may also
block light from reaching the sensor.
The mirror will dim automatically to reduce
glare when bright lights are detected from
behind your vehicle. It will automatically
return to normal reflection when you select
reverse gear to make sure you have a clear
view when backing up.
71
Super Duty (TFA) Windows and MirrorsE163061 E163062BA
Page 75 of 458
SUN VISORS
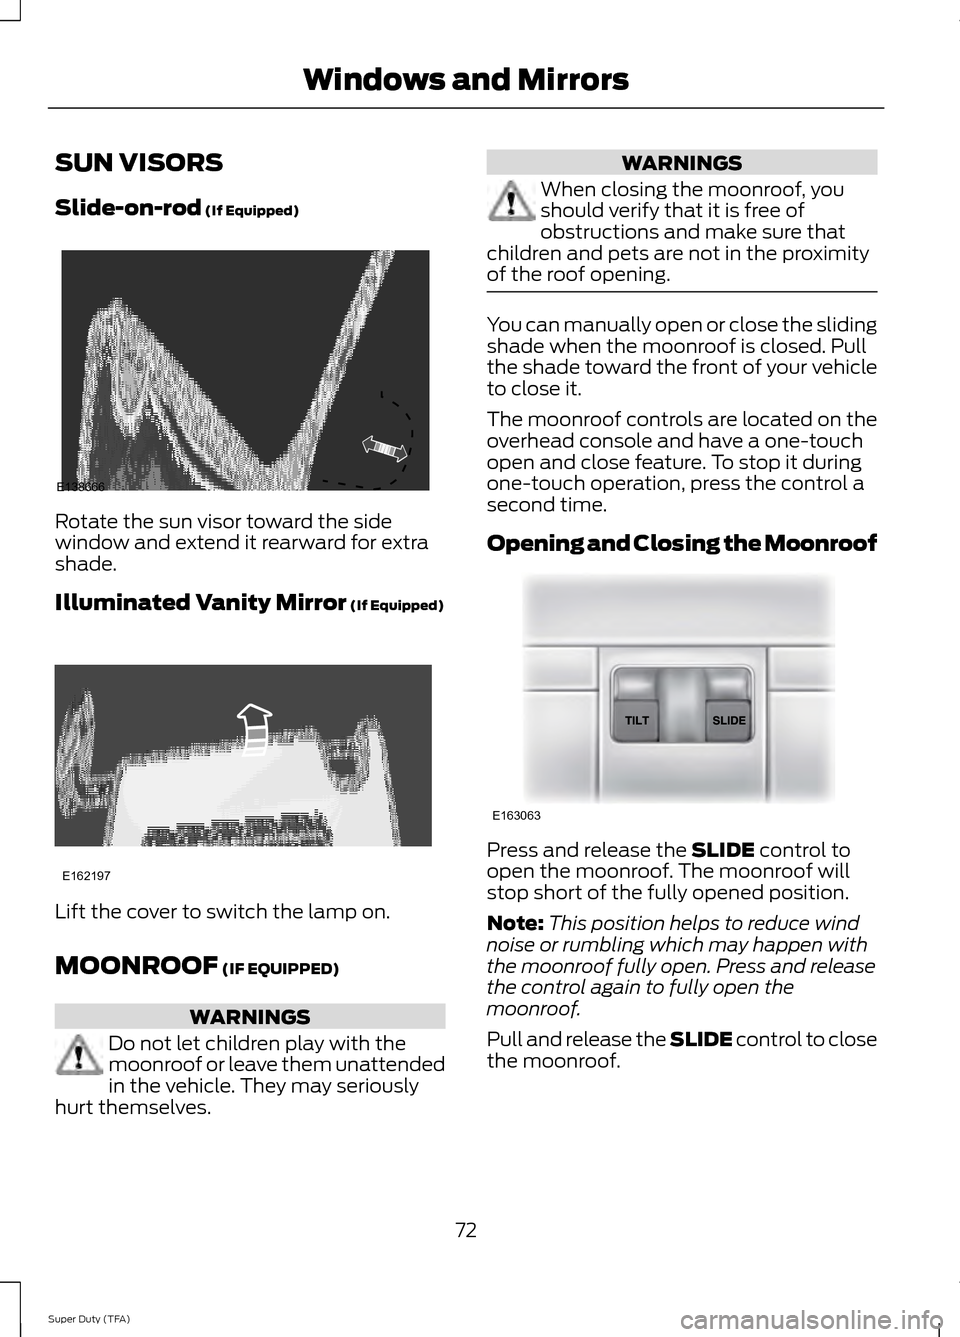
Slide-on-rod (If Equipped)
Rotate the sun visor toward the side
window and extend it rearward for extra
shade.
Illuminated Vanity Mirror
(If Equipped)
Lift the cover to switch the lamp on.
MOONROOF
(IF EQUIPPED)
WARNINGS
Do not let children play with the
moonroof or leave them unattended
in the vehicle. They may seriously
hurt themselves. WARNINGS
When closing the moonroof, you
should verify that it is free of
obstructions and make sure that
children and pets are not in the proximity
of the roof opening. You can manually open or close the sliding
shade when the moonroof is closed. Pull
the shade toward the front of your vehicle
to close it.
The moonroof controls are located on the
overhead console and have a one-touch
open and close feature. To stop it during
one-touch operation, press the control a
second time.
Opening and Closing the Moonroof
Press and release the
SLIDE control to
open the moonroof. The moonroof will
stop short of the fully opened position.
Note: This position helps to reduce wind
noise or rumbling which may happen with
the moonroof fully open. Press and release
the control again to fully open the
moonroof.
Pull and release the SLIDE control to close
the moonroof.
72
Super Duty (TFA) Windows and MirrorsE138666 E162197 E163063
Page 78 of 458

Engine Oil Pressure Gauge
Indicates engine oil pressure. The needle
should stay in the normal operating range
(between L and H). If the needle falls
below the normal range, stop the vehicle,
turn off the engine and check the engine
oil level. Add oil if needed. If the oil level is
correct, have your vehicle checked by your
authorized dealer.
Engine Coolant Temperature
Gauge
WARNING
Never remove the coolant reservoir
cap while the engine is running or hot.
Indicates engine coolant temperature. At
normal operating temperature, the level
indicator will be in the normal range. If the
engine coolant temperature exceeds the
normal range, stop the vehicle as soon as
safely possible, switch off the engine and
let the engine cool.
Transmission Fluid Temperature
Gauge
Indicates transmission fluid temperature.
At normal operating temperature, the level
indicator will be in the normal range. If the
transmission fluid temperature exceeds
the normal range, stop the vehicle as soon
as safely possible and verify the airflow is
not restricted such as snow or debris
blocking airflow through the grill. Also,
higher than normal operating temperature
can be caused by special operation
conditions (i.e. snowplowing, towing or
off-road use). Refer to Special operating
conditions in the scheduled maintenance
information for instructions. Operating the
transmission for extended periods of time
with the gauge in the higher than normal area may cause internal transmission
damage. Altering the severity of the driving
conditions is recommended to lower the
transmission temperature into the normal
range. If the gauge continues to show high
temperatures, see your authorized dealer.
Fuel Gauge
Switch the ignition on. The fuel gauge will
indicate approximately how much fuel is
left in the fuel tank. The fuel gauge may
vary slightly when your vehicle is moving
or on a gradient. The arrow adjacent to the
fuel pump symbol indicates on which side
of the vehicle the fuel filler door is located.
Information Display
Odometer
Located in the bottom of the information
display Registers the accumulated
distance your vehicle has traveled.
Trip Computer
See General Information (page 80).
Vehicle Settings and Personalization
See
General Information (page 80).
WARNING LAMPS AND
INDICATORS
The following warning lamps and
indicators will alert you to a vehicle
condition that may become serious. Some
lamps will illuminate when you start your
vehicle to make sure they work. If any
lamps remain on after starting your vehicle,
refer to the respective system warning
lamp for further information.
Note: Some warning indicators appear in
the information display and function the
same as a warning lamp but do not display
when you start your vehicle.
75
Super Duty (TFA) Instrument Cluster
Page 81 of 458
The service engine soon indicator light
illuminates when the ignition is first turned
on prior to engine start to check the bulb
and to indicate whether the vehicle is ready
for Inspection/Maintenance (I/M) testing.
Normally, the service engine soon light will
stay on until the engine is cranked, then
turn itself off if no malfunctions are
present. However, if after 15 seconds the
service engine soon light blinks eight times,
it means that the vehicle is not ready for
I/M testing. See Emission Control
System (page 137).
Stability Control Illuminates when the system is
active. If it remains illuminated
or does not illuminate when you
switch the ignition on, this indicates a
malfunction. During a malfunction the
system will switch off. Have the system
checked by your authorized dealer
immediately. See
Using Stability
Control (page 163).
Stability Control Off Illuminates when you switch the
system off. It will go out when
you switch the system back on
or when you switch the ignition off. See
Using Stability Control
(page 163).
Transmission Tow/Haul
(If Equipped) Illuminates when the tow/haul
feature has been activated. If the
light flashes steadily, have the
system serviced immediately, damage to
the transmission could occur. 4X2
(If Equipped) Illuminates momentarily when
two-wheel drive high is selected.
If the light fails to display when
the ignition is turned on, or remains on,
have the system serviced immediately by
your authorized dealer.
4X4 LOW
(If Equipped) Illuminates when four-wheel
drive low is engaged. If the light
fails to display when the ignition
is turned on, or remains on, have the
system serviced immediately by your
authorized dealer.
4X4 HIGH
(If Equipped) Illuminates when four-wheel
drive high is engaged. If the light
fails to display when the ignition
is turned on, or remains on, have the
system serviced immediately by your
authorized dealer.
Diesel Warning Lights
If your vehicle is equipped with a diesel
engine, it has some unique warning lights;
refer to your diesel supplement for detailed
information on their function.
Diesel exhaust fluid For more information see your
diesel supplement.
Glow plug pre-heat For more information see your
diesel supplement.
78
Super Duty (TFA) Instrument ClusterE138639 E161509 E163173 E163174 E163175 E163176