2014 FORD FUSION (AMERICAS) ABS
[x] Cancel search: ABSPage 86 of 458

Note:Some warning indicators appear inthe information display and function thesame as a warning lamp but do not displaywhen you start your vehicle.
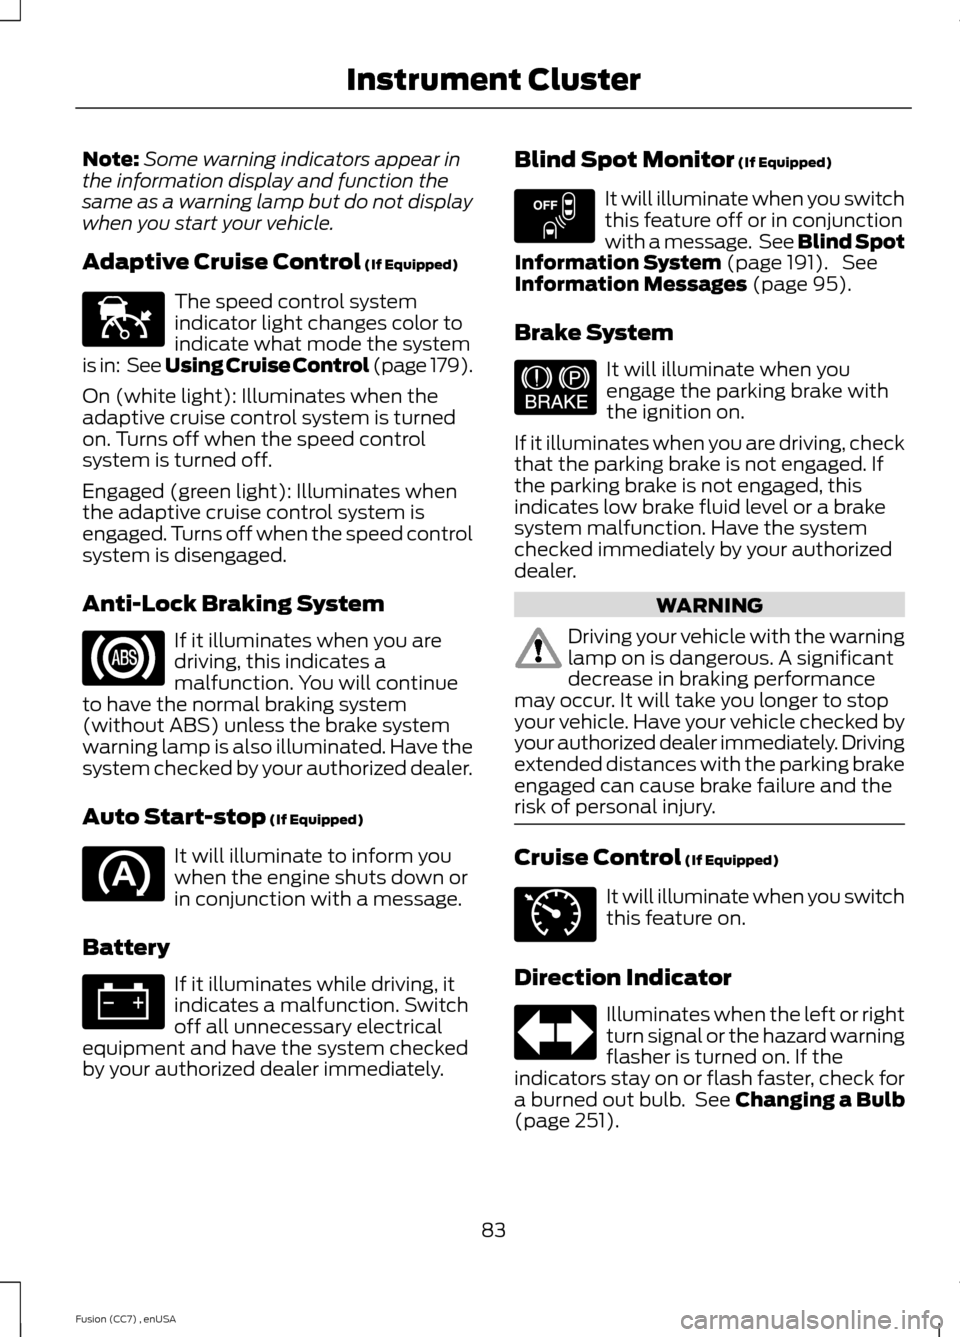
Adaptive Cruise Control (If Equipped)
The speed control systemindicator light changes color toindicate what mode the systemis in: See Using Cruise Control (page 179).
On (white light): Illuminates when theadaptive cruise control system is turnedon. Turns off when the speed controlsystem is turned off.
Engaged (green light): Illuminates whenthe adaptive cruise control system isengaged. Turns off when the speed controlsystem is disengaged.
Anti-Lock Braking System
If it illuminates when you aredriving, this indicates amalfunction. You will continueto have the normal braking system(without ABS) unless the brake systemwarning lamp is also illuminated. Have thesystem checked by your authorized dealer.
Auto Start-stop (If Equipped)
It will illuminate to inform youwhen the engine shuts down orin conjunction with a message.
Battery
If it illuminates while driving, itindicates a malfunction. Switchoff all unnecessary electricalequipment and have the system checkedby your authorized dealer immediately.
Blind Spot Monitor (If Equipped)
It will illuminate when you switchthis feature off or in conjunctionwith a message. See Blind SpotInformation System (page 191). SeeInformation Messages (page 95).
Brake System
It will illuminate when youengage the parking brake withthe ignition on.
If it illuminates when you are driving, checkthat the parking brake is not engaged. Ifthe parking brake is not engaged, thisindicates low brake fluid level or a brakesystem malfunction. Have the systemchecked immediately by your authorizeddealer.
WARNING
Driving your vehicle with the warninglamp on is dangerous. A significantdecrease in braking performancemay occur. It will take you longer to stopyour vehicle. Have your vehicle checked byyour authorized dealer immediately. Drivingextended distances with the parking brakeengaged can cause brake failure and therisk of personal injury.
Cruise Control (If Equipped)
It will illuminate when you switchthis feature on.
Direction Indicator
Illuminates when the left or rightturn signal or the hazard warningflasher is turned on. If theindicators stay on or flash faster, check fora burned out bulb. See Changing a Bulb(page 251).
83Fusion (CC7) , enUSAInstrument ClusterE144524 E151262 E144522 E71340
Page 125 of 458

WARNINGS
Install the head restraint properly tohelp minimize the risk of neck injuryin the event of a collision.
Note:Adjust the seat back to an uprightdriving position before adjusting the headrestraint. Adjust the head restraint so thatthe top of it is level with the top of your headand as far forward as possible. Make surethat you remain comfortable. If you areextremely tall, adjust the head restraint toits highest position.
Front seat and rear seat outboard headrestraints
Rear center head restraint
The head restraints consist of:
An energy absorbing headrestraintA
Two steel stemsB
Guide sleeve adjust and unlockbuttonC
Guide sleeve unlock and removebuttonD
Adjusting the Head Restraint
Raising the Head Restraint
Pull the head restraint up.
Lowering the Head Restraint
1.Press and hold button C.
2.Push the head restraint down.
Removing the Head Restraint
1.Pull the head restraint up until itreaches its highest position.
2.Press and hold buttons C and D.
3.Pull the head restraint up.
Installing the Head Restraint
Align the steel stems into the guide sleevesand push the head restraint down until inlocks.
Tilting Head Restraints
The front head restraints have a tiltingfeature for extra comfort. To tilt the headrestraint, do the following:
122Fusion (CC7) , enUSASeatsE138642 E138645
Page 147 of 458

SAFETY PRECAUTIONS
WARNINGS
Do not overfill the fuel tank. Thepressure in an overfilled tank maycause leakage and lead to fuel sprayand fire.
The fuel system may be underpressure. If you hear a hissing soundnear the fuel filler door (Easy Fuelcapless fuel system), do not refuel untilthe sound stops. Otherwise, fuel may sprayout, which could cause serious personalinjury.
Automotive fuels can cause seriousinjury or death if misused ormishandled.
The flow of fuel through a fuel pumpnozzle can produce static electricity,which can cause a fire if fuel ispumped into an ungrounded fuel container.
Fuel ethanol and gasoline maycontain benzene, which is acancer-causing agent.
When refueling always shut theengine off and never allow sparks oropen flames near the filler neck.Never smoke or use a cell phone whilerefueling. Fuel vapor is extremelyhazardous under certain conditions. Avoidinhaling excess fumes.
Observe the following guidelines whenhandling automotive fuel:
•Extinguish all smoking materials andany open flames before refueling yourvehicle.
•Always turn off the vehicle beforerefueling.
•Automotive fuels can be harmful orfatal if swallowed. Fuel such asgasoline is highly toxic and ifswallowed can cause death orpermanent injury. If fuel is swallowed,call a physician immediately, even if nosymptoms are immediately apparent.The toxic effects of fuel may not bevisible for hours.
•Avoid inhaling fuel vapors. Inhaling toomuch fuel vapor of any kind can leadto eye and respiratory tract irritation.In severe cases, excessive or prolongedbreathing of fuel vapor can causeserious illness and permanent injury.
•Avoid getting fuel liquid in your eyes. Iffuel is splashed in the eyes, removecontact lenses (if worn), flush withwater for 15 minutes and seek medicalattention. Failure to seek propermedical attention could lead topermanent injury.
•Fuels can also be harmful if absorbedthrough the skin. If fuel is splashed onthe skin, clothing or both, promptlyremove contaminated clothing andwash skin thoroughly with soap andwater. Repeated or prolonged skincontact with fuel liquid or vapor causesskin irritation.
•Be particularly careful if you are taking“Antabuse” or other forms of disulfiramfor the treatment of alcoholism.Breathing gasoline vapors, or skincontact could cause an adversereaction. In sensitive individuals, seriouspersonal injury or sickness may result.If fuel is splashed on the skin, promptlywash skin thoroughly with soap andwater. Consult a physician immediatelyif you experience an adverse reaction.
144Fusion (CC7) , enUSAFuel and Refueling
Page 165 of 458

Avoid sudden braking as well. Although anAWD vehicle may accelerate better thana two-wheel drive vehicle in snow and ice,it won’t stop any faster, because as in othervehicles, braking occurs at all four wheels.Do not become overconfident as to roadconditions.
Make sure you allow sufficient distancebetween you and other vehicles forstopping. Drive slower than usual andconsider using one of the lower gears. Inemergency stopping situations, apply thebrake steadily. Since your vehicle isequipped with a four wheel (ABS), do not“pump” the brakes. See Hints on DrivingWith Anti-Lock Brakes (page 163). formore information on the operation of theanti-lock brake system (ABS).
Maintenance and Modifications
The suspension and steering systems onyour vehicle have been designed andtested to provide predictable performancewhether loaded or empty and durable loadcarrying capability. For this reason, FordMotor Company strongly recommends thatyou do not make modifications such asadding or removing parts (such as loweringkits or stabilizer bars) or by usingreplacement parts not equivalent to theoriginal factory equipment.
Any modifications to a vehicle that raisethe center of gravity can make it more likelythe vehicle will rollover as a result of a lossof control. Ford Motor Companyrecommends that caution be used withany vehicle equipped with a high load ordevice (such as ladder or luggage racks).
Failure to maintain your vehicle properlymay void the warranty, increase your repaircost, reduce vehicle performance andoperational capabilities and adverselyaffect driver and passenger safety.Frequent inspection of vehicle chassiscomponents is recommended if the vehicleis subjected to off-highway usage.
162Fusion (CC7) , enUSAAll-Wheel Drive (If Equipped)
Page 175 of 458

For specific information on the reversesensing portion of the system, refer to thatsection.
ACTIVE PARK ASSIST (IF
EQUIPPED)
WARNING
Designed to be a supplementary parkaid, this system may not work in allconditions. This system cannotreplace the driver’s attention andjudgment. The driver is responsible foravoiding hazards and maintaining a safedistance and speed, even when the systemis in use.
Note:The driver is always responsible forcontrolling the vehicle, supervising thesystem and intervening if required.
The system detects an available parallelparking space and automatically steersyour vehicle into the space (hands-free)while you control the accelerator, gearshiftand brakes. The system visually andaudibly instructs you to park your vehicle.
The system may not function correctly ifsomething passes between the frontbumper and the parking space (apedestrian or cyclist) or if the edge of theneighboring parked vehicle is high off theground (for example, a bus, tow truck orflatbed truck).
Note:The sensors may not detect objectsin heavy rain or other conditions that causedisruptive reflections.
Note:The sensors may not detect objectswith surfaces that absorb ultrasonic waves.
Do not use the system if:
•You have attached a foreign object(bike rack or trailer) to the front or rearof your vehicle or attached close to thesensors.
•You have attached an overhangingobject (surfboard) to the roof.
•The front bumper or side sensors aredamaged or obstructed by a foreignobject (front bumper cover).
•A mini-spare tire is in use.
Using Active Park Assist
Press the button located on thecenter console near the gearshiftlever.
The touchscreen displays a message anda corresponding graphic to indicate it issearching for a parking space. Use thedirection indicator to indicate which sideof your vehicle you want the system tosearch.
Note:If the turn signal is not on, the systemautomatically searches on your vehicle'spassenger side.
172Fusion (CC7) , enUSAParking AidsE146186 AE130107
Page 193 of 458

Why is the feature not available (line markings are gray) when I can see the lane markingson the road?
Staying too close to the lane marking
Driving at high speeds in curves
Previous feature activation happened within the last one second
Ambiguous lane markings (mainly in construction zones)
Rapid transition from light to dark or vice versa
Sudden offset in lane markings
ABS or AdvanceTrac activation
Camera blockage due to dirt, grime, fog, frost or water on the windshield
Driving too close to the vehicle in front of you
Transitioning between no lane markings to lane markings or vice versa
Standing water on the road
Faint lane markings (partial yellow lane markings on concrete roads)
Lane width too narrow or too wide
Camera not calibrated after a windshield replacement
Driving on tight roads or on uneven roads
Why does the vehicle not come back into the middle of the lane always, as expected, inthe Aid or Aid + Alert mode?
High cross winds
Large road crown
Rough roads, grooves, shoulder drop-offs
Heavy uneven loading of the vehicle or improper tire inflation pressure
If the tires have been exchanged (including snow tires), or the suspension has beenmodified
190Fusion (CC7) , enUSADriving Aids
Page 255 of 458

Replacing the Low Beam HeadlampBulb
1.Remove the headlamp assembly.
2.Remove the service cap.
3.Disconnect the electrical connector.
4.Release the retainer spring and removeit from the headlamp assembly.
5.Install the new bulb in reverse order.
Replacing the Front Parking/TurnSignal Lamp Bulb
1.Remove the headlamp assembly.
2.Turn the bulb assemblycounterclockwise and remove it fromthe headlamp assembly.
3.Separate the bulb from the bulbsocket.
4.Install the new bulb in reverse order.
Replacing the Side Marker Lamp Bulb
1.Remove the headlamp assembly.
2.Remove the service cap.
3.Depress the tabs on the socket andremove the socket and bulb together.
4.Separate the bulb from the bulbsocket.
5.Install the new bulb in reverse order.
Replacing the Tail, Brake, High-Mount Brake Lamp, and TurnSignal Lamp Bulbs
These lamps are designed with LED lightsources. For replacement, see yourauthorized dealer.
Replacing a Reverse Lamp Bulb
1.Make sure the lighting control is in theoff position.
2.Open the trunk deck lid.
3.Remove the push pins and repositionthe inner body side trim.
4.Remove the three lamp assembly nuts.
5.Gently pull the lamp assembly awayfrom the vehicle.
252Fusion (CC7) , enUSAMaintenanceE145777 E145778
Page 314 of 458

System data cannot be accessed withoutspecial equipment and access to thevehicle's SYNC module. Ford MotorCompany and Ford of Canada will notaccess the system data for any purposeother than as described absent consent, acourt order, or where required by lawenforcement, other governmentauthorities, or other third parties actingwith lawful authority. Other parties mayseek to access the informationindependently of Ford Motor Company andFord of Canada. For further privacyinformation, see the sections on 911 Assist,Vehicle Health Report, and Traffic,Directions and Information.
USING VOICE RECOGNITION
This system helps you control manyfeatures using voice commands. Thisallows you to keep your hands on thewheel and focus on what is in front of you.
Initiating a Voice Session
Push the voice icon. A tonesounds and Listening appears inthe display. Say any of thefollowing:
If You Want ToSay
Stream audio from your phone."Bluetooth audio"
Cancel the requested action."Cancel"
Access the device connected to the auxiliary input jack."Line in"
Access mobile applications."Mobile apps" *
Make calls."Phone"
Access the SYNC Services portal."Services" *
Return to the main menu."SYNC"
Access the device connected to your USB port."USB"
Run a vehicle health report."Vehicle health report" *
Adjust the level of voice interaction and feedback."Voice settings"
Hear a list of voice commands available in the currentmode."Help"
* This is an optional feature and available in the United States only.
311Fusion (CC7) , enUSASYNC™E142599