2014 FORD F250 SUPER DUTY warning
[x] Cancel search: warningPage 51 of 460
Sounding a Panic Alarm
Note:The panic alarm will only operatewhen the ignition is off.
Press the button to activate thealarm. Press the button again orturn the ignition on to deactivateit.
Remote Start (If Equipped)
WARNING
To avoid exhaust fumes, do not useremote start if your vehicle is parkedindoors or areas that are not wellventilated.
Note:Do not use remote start if your vehicleis low on fuel.
The remote start button is on thetransmitter.
This feature allows you to start yourvehicle from outside the vehicle. Thetransmitter has an extended operatingrange.
Vehicles with automatic climate controlcan be set to operate when you remotestart the vehicle. See Climate Control(page 103). A manual climate controlsystem will run at the setting it was set towhen you switch the vehicle off.
Many states and provinces haverestrictions for the use of remote start.Check your local and state or provinciallaws for specific requirements regardingremote start systems.
The remote start system will not work if:
•the ignition is on
•the alarm system is triggered
•you disable the feature
•the hood is open
•the transmission is not in P
•the vehicle battery voltage is too low
•the service engine soon indicator is on.
Remote Starting the Vehicle
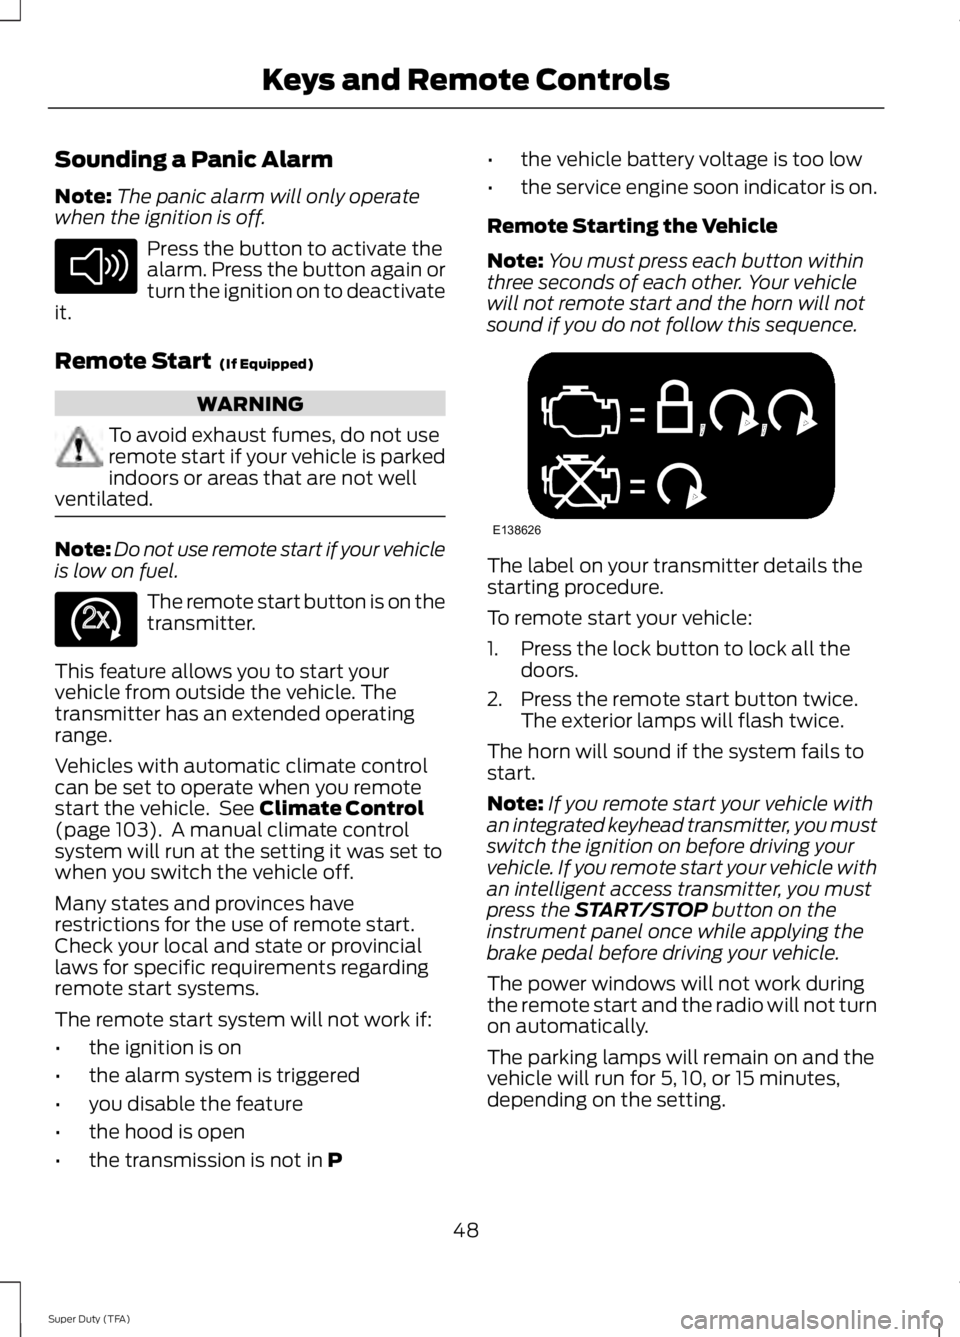
Note:You must press each button withinthree seconds of each other. Your vehiclewill not remote start and the horn will notsound if you do not follow this sequence.
The label on your transmitter details thestarting procedure.
To remote start your vehicle:
1. Press the lock button to lock all thedoors.
2. Press the remote start button twice.The exterior lamps will flash twice.
The horn will sound if the system fails tostart.
Note:If you remote start your vehicle withan integrated keyhead transmitter, you mustswitch the ignition on before driving yourvehicle. If you remote start your vehicle withan intelligent access transmitter, you mustpress the START/STOP button on theinstrument panel once while applying thebrake pedal before driving your vehicle.
The power windows will not work duringthe remote start and the radio will not turnon automatically.
The parking lamps will remain on and thevehicle will run for 5, 10, or 15 minutes,depending on the setting.
48
Super Duty (TFA)
Keys and Remote ControlsE138624 E138625 E138626
Page 53 of 460
PRINCIPLE OF OPERATION
MyKey allows you to program keys withrestricted driving modes to promote gooddriving habits. All but one of the keysprogrammed to the vehicle can beactivated with these restricted modes.
Any keys that have not been programmedare referred to as administrator keys oradmin keys. They can be used to:
•create a MyKey
•program configurable MyKey settings
•clear all MyKey features.
When you have programmed a MyKey, youcan access the following information usingthe information display:
•How many admin keys and MyKeys areprogrammed to your vehicle.
•The total distance your vehicle hastraveled using a MyKey.
Note:All MyKeys are programmed to thesame settings. You cannot program themindividually.
Non-configurable Settings
The following settings cannot be changedby an admin key user:
•Belt-Minder. You cannot disable thisfeature. The audio system will mutewhen the front seat occupants’ safetybelts are not fastened.Note: If yourvehicle is equipped with AM/FM radioonly, then the radio will not mute.
•Early low fuel. The low fuel warning isactivated earlier, giving the MyKey usermore time to refuel.
•Driver assist features, if equipped onyour vehicle, are forced on: parking aid,blind spot information system (BLIS)with cross traffic alert, lane departurewarning and forward collision warningsystem.
Configurable Settings
With an admin key, you can configurecertain MyKey settings when you firstcreate a MyKey and before you recycle thekey or restart the vehicle. You can alsochange the settings afterward with anadmin key:
•A vehicle speed limit can be set.Warnings will be shown in the displayfollowed by an audible tone when yourvehicle reaches the set speed. Youcannot override the set speed by fullydepressing the accelerator pedal or bysetting cruise control.
•Vehicle speed minders of 45, 55 or 65mph (75, 90 or 105 km/h). Once youselect a speed, it will be shown in thedisplay, followed by an audible tonewhen the preselected vehicle speed isexceeded.
•Audio system maximum volume of45%. A message will be shown in thedisplay when you attempt to exceedthe limited volume. Also, thespeed-sensitive or compensatedautomatic volume control will bedisabled.Note: If your vehicle isequipped with AM/FM radio only, thenthe radio volume will not be limited.
•Always on setting. When this isselected, you will not be able to turnoff AdvanceTrac (if your vehicle isequipped with this feature).
CREATING A MYKEY
Use the information display to create aMyKey. There are two types of informationdisplays, and their controls and messagingvary. To determine which type of displayyou have, you will need to referenceanother chapter. See GeneralInformation (page 81).
If You Have a Type 1 InformationDisplay:
50
Super Duty (TFA)
MyKey™
Page 60 of 460

2.Switch the ignition off and remove thekey.
3. Insert the second key into the ignitionand switch the ignition on.
The factory-set code will display for a fewseconds.
Note:The code may not display until afterany other warning messages first display.
57
Super Duty (TFA)
Locks
Page 63 of 460

ADJUSTING THE STEERING
WHEEL
WARNING
Do not adjust the steering wheelwhen your vehicle is moving.
Note:Make sure that you are sitting in thecorrect position. See Sitting in the CorrectPosition (page 108).
1. Unlock the steering column.
2.Adjust the steering wheel to the desiredposition.
3. Lock the steering column.
AUDIO CONTROL (IF EQUIPPED)
You can operate the following functionswith the control:
MediaA
Volume upB
Volume downC
Seek down or previousD
Seek up or nextE
60
Super Duty (TFA)
Steering Wheel122E95178 3E95179 E163051
Page 69 of 460
Note:If the vehicle is equipped withautolamps, it will have the headlamps onwith windshield wipers feature. If thewindshield wipers are turned on, the exteriorlamps will turn on with the headlampcontrol in the autolamp position.
The autolamp system also keeps the lightson for a predetermined amount of time afterthe ignition switch is turned to off. You canchange the amount of time the lamps stayon by using the programming procedure thatfollows:
Autolamps - Programmable ExitDelay
Programmable exit delay allows the lengthof the autolamp exit delay to be changed.
To program the auto lamp exit time delay:
1.Start with the ignition in the off positionand the headlamp control in theautolamp position.
2. Turn the headlamp control to off.
3.Turn the ignition switch to on and thenback to off.
4. Turn the headlamp control to theautolamp position. The headlamps willturn on.
5. Wait the desired amount of time forthe exit delay you want (up to threeminutes), then turn the headlamps off.
INSTRUMENT LIGHTING
DIMMER
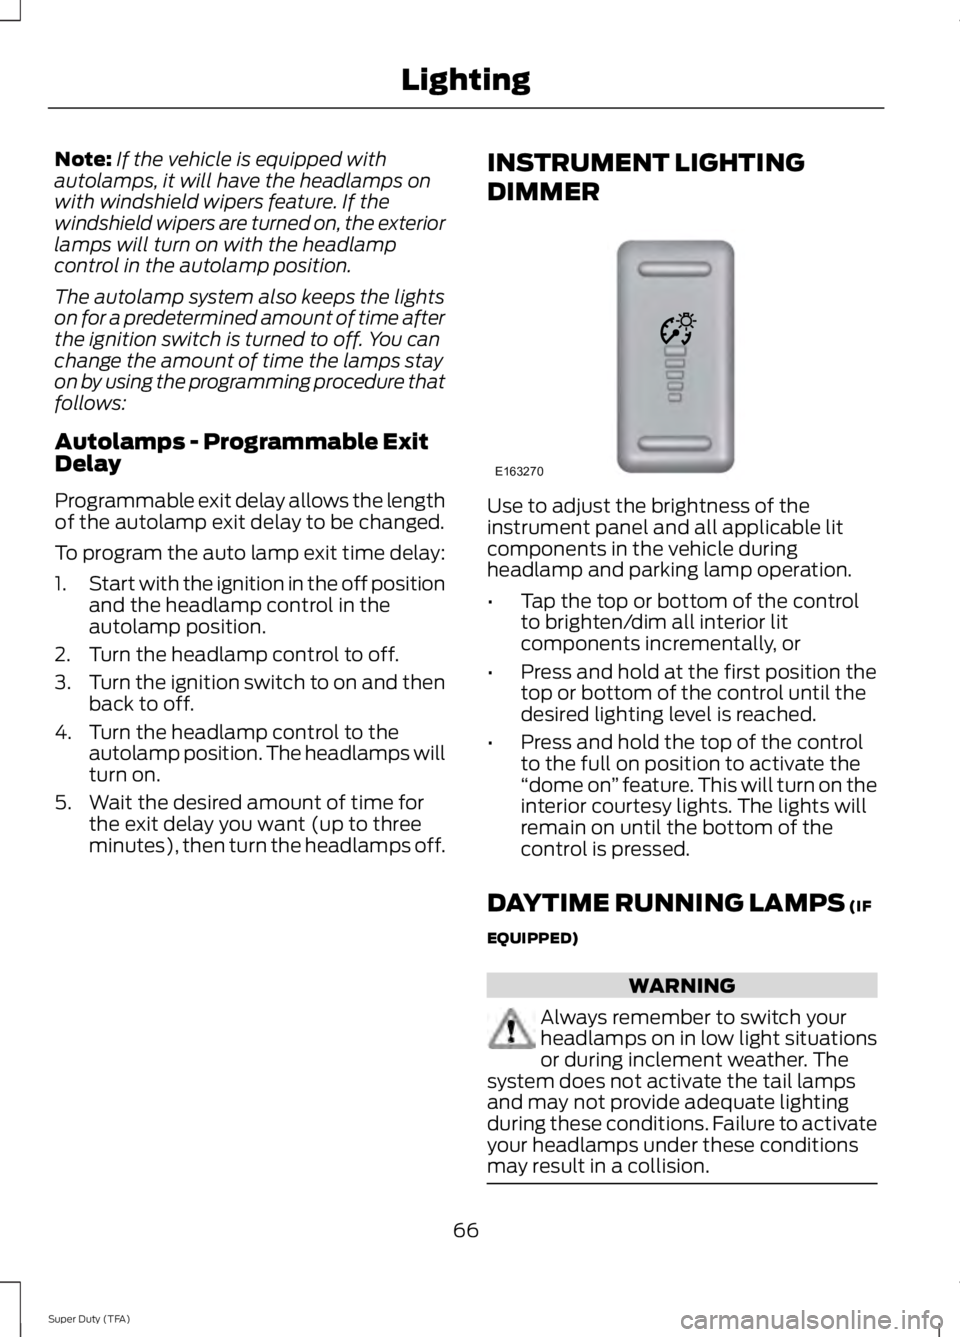
Use to adjust the brightness of theinstrument panel and all applicable litcomponents in the vehicle duringheadlamp and parking lamp operation.
•Tap the top or bottom of the controlto brighten/dim all interior litcomponents incrementally, or
•Press and hold at the first position thetop or bottom of the control until thedesired lighting level is reached.
•Press and hold the top of the controlto the full on position to activate the“dome on” feature. This will turn on theinterior courtesy lights. The lights willremain on until the bottom of thecontrol is pressed.
DAYTIME RUNNING LAMPS (IF
EQUIPPED)
WARNING
Always remember to switch yourheadlamps on in low light situationsor during inclement weather. Thesystem does not activate the tail lampsand may not provide adequate lightingduring these conditions. Failure to activateyour headlamps under these conditionsmay result in a collision.
66
Super Duty (TFA)
LightingE163270
Page 72 of 460
POWER WINDOWS (IF EQUIPPED)
WARNINGS
Do not leave children unattended inyour vehicle and do not let them playwith the power windows. They mayseriously injure themselves.
When closing the power windows,you should verify they are free ofobstructions and make sure thatchildren and pets are not in the proximityof the window openings.
Note:You may hear a pulsing noise whenjust one of the windows is open. Lower theopposite window slightly to reduce thisnoise.
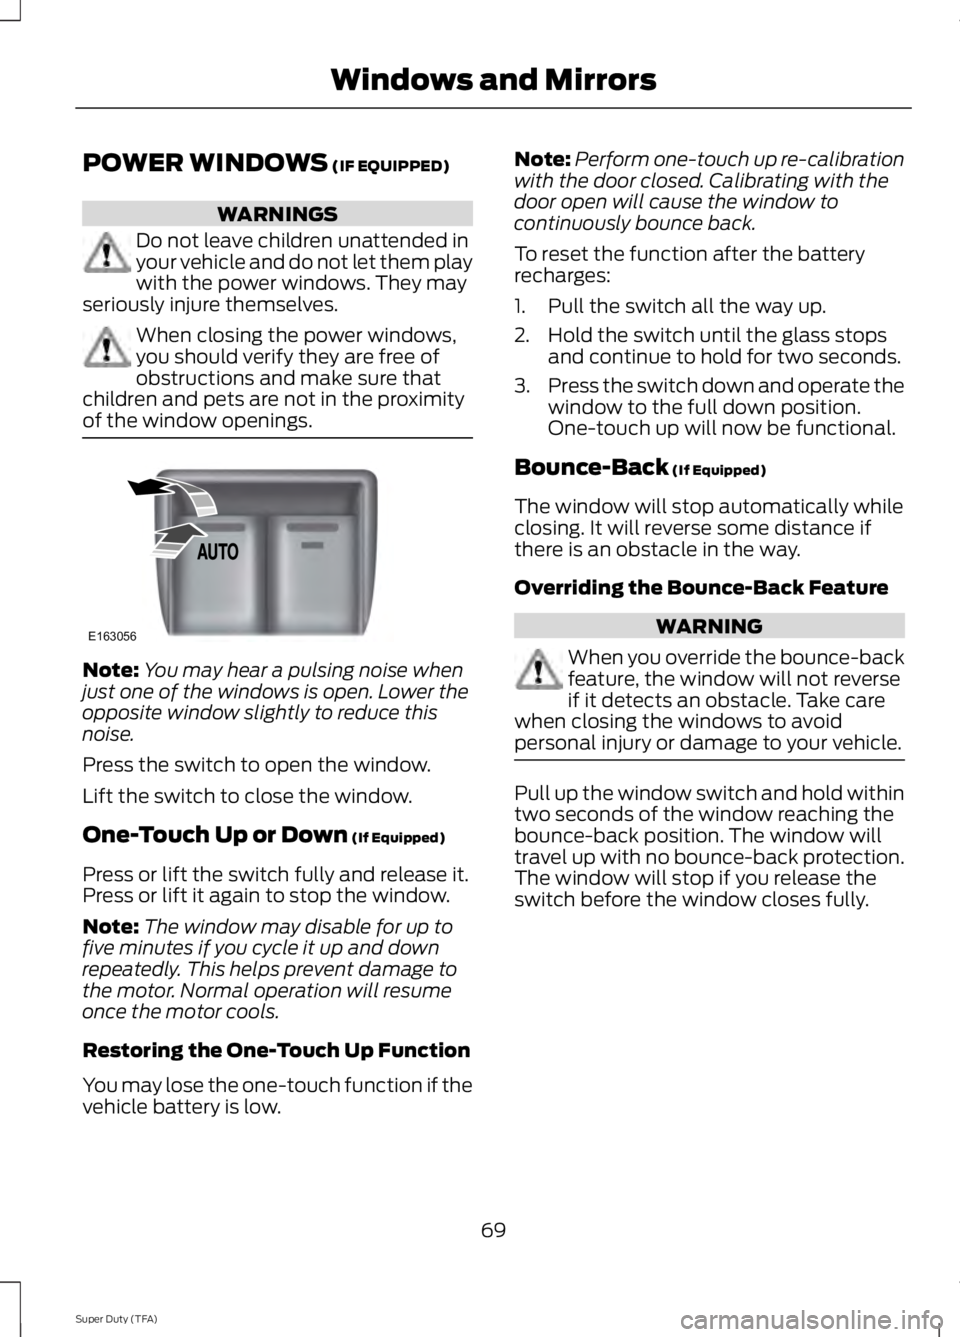
Press the switch to open the window.
Lift the switch to close the window.
One-Touch Up or Down (If Equipped)
Press or lift the switch fully and release it.Press or lift it again to stop the window.
Note:The window may disable for up tofive minutes if you cycle it up and downrepeatedly. This helps prevent damage tothe motor. Normal operation will resumeonce the motor cools.
Restoring the One-Touch Up Function
You may lose the one-touch function if thevehicle battery is low.
Note:Perform one-touch up re-calibrationwith the door closed. Calibrating with thedoor open will cause the window tocontinuously bounce back.
To reset the function after the batteryrecharges:
1. Pull the switch all the way up.
2. Hold the switch until the glass stopsand continue to hold for two seconds.
3.Press the switch down and operate thewindow to the full down position.One-touch up will now be functional.
Bounce-Back (If Equipped)
The window will stop automatically whileclosing. It will reverse some distance ifthere is an obstacle in the way.
Overriding the Bounce-Back Feature
WARNING
When you override the bounce-backfeature, the window will not reverseif it detects an obstacle. Take carewhen closing the windows to avoidpersonal injury or damage to your vehicle.
Pull up the window switch and hold withintwo seconds of the window reaching thebounce-back position. The window willtravel up with no bounce-back protection.The window will stop if you release theswitch before the window closes fully.
69
Super Duty (TFA)
Windows and MirrorsE163056
Page 73 of 460
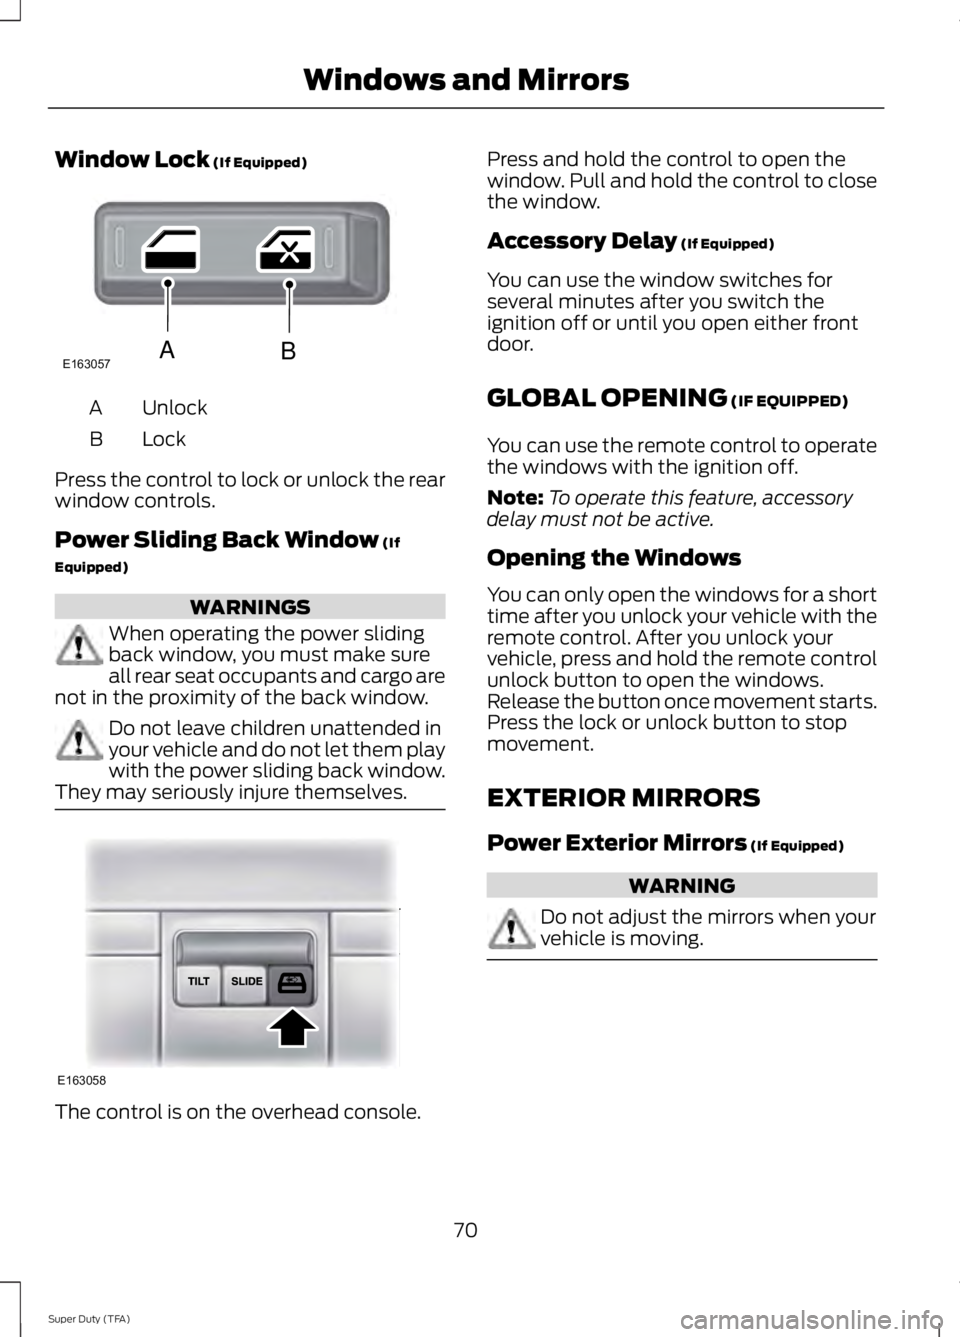
Window Lock (If Equipped)
UnlockA
LockB
Press the control to lock or unlock the rearwindow controls.
Power Sliding Back Window (If
Equipped)
WARNINGS
When operating the power slidingback window, you must make sureall rear seat occupants and cargo arenot in the proximity of the back window.
Do not leave children unattended inyour vehicle and do not let them playwith the power sliding back window.They may seriously injure themselves.
The control is on the overhead console.
Press and hold the control to open thewindow. Pull and hold the control to closethe window.
Accessory Delay (If Equipped)
You can use the window switches forseveral minutes after you switch theignition off or until you open either frontdoor.
GLOBAL OPENING (IF EQUIPPED)
You can use the remote control to operatethe windows with the ignition off.
Note:To operate this feature, accessorydelay must not be active.
Opening the Windows
You can only open the windows for a shorttime after you unlock your vehicle with theremote control. After you unlock yourvehicle, press and hold the remote controlunlock button to open the windows.Release the button once movement starts.Press the lock or unlock button to stopmovement.
EXTERIOR MIRRORS
Power Exterior Mirrors (If Equipped)
WARNING
Do not adjust the mirrors when yourvehicle is moving.
70
Super Duty (TFA)
Windows and MirrorsE163057AB E163058
Page 75 of 460
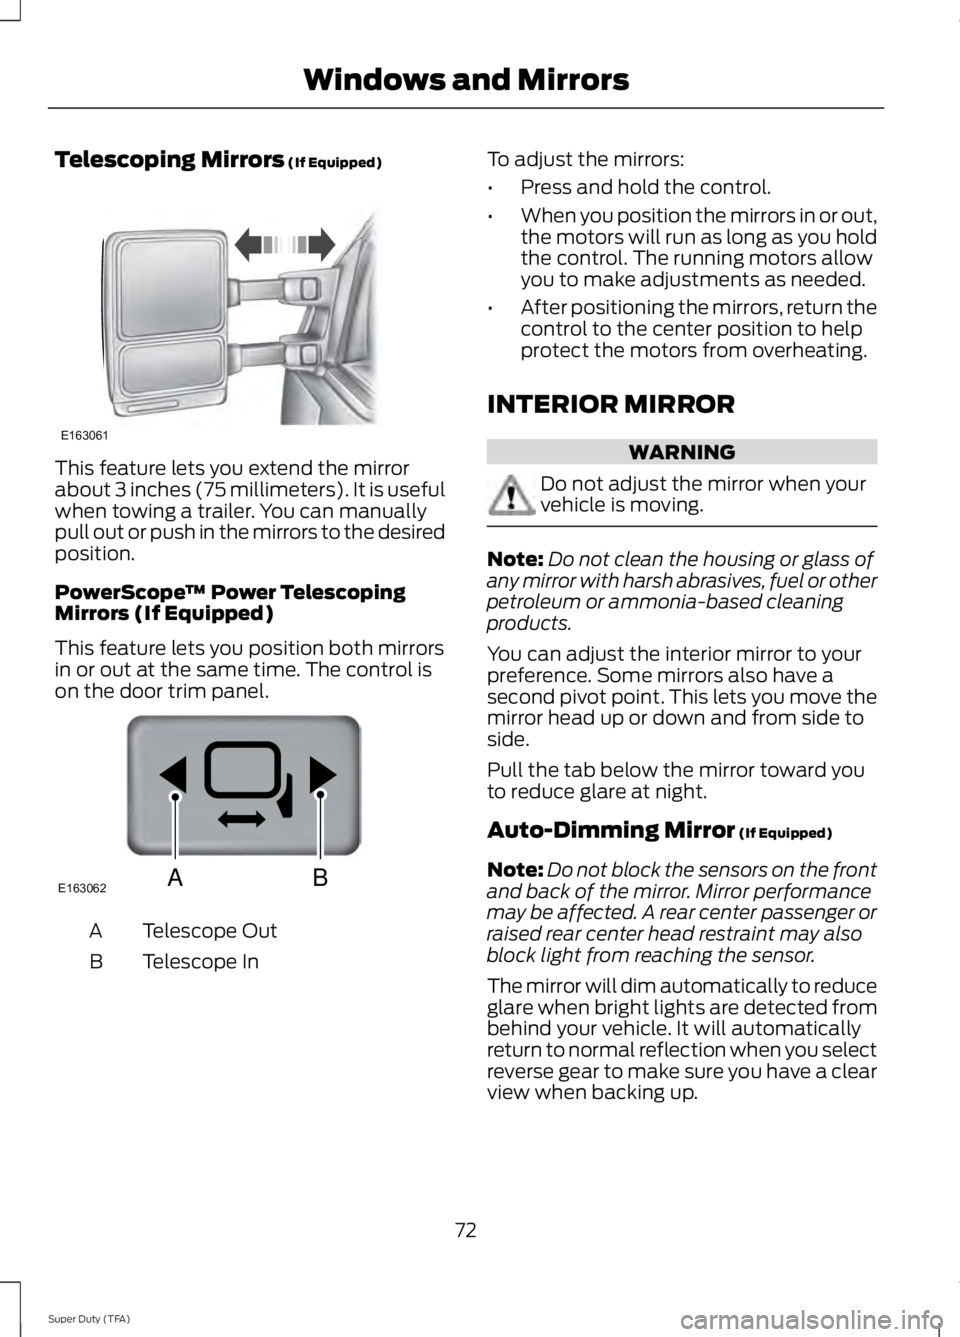
Telescoping Mirrors (If Equipped)
This feature lets you extend the mirrorabout 3 inches (75 millimeters). It is usefulwhen towing a trailer. You can manuallypull out or push in the mirrors to the desiredposition.
PowerScope™ Power TelescopingMirrors (If Equipped)
This feature lets you position both mirrorsin or out at the same time. The control ison the door trim panel.
Telescope OutA
Telescope InB
To adjust the mirrors:
•Press and hold the control.
•When you position the mirrors in or out,the motors will run as long as you holdthe control. The running motors allowyou to make adjustments as needed.
•After positioning the mirrors, return thecontrol to the center position to helpprotect the motors from overheating.
INTERIOR MIRROR
WARNING
Do not adjust the mirror when yourvehicle is moving.
Note:Do not clean the housing or glass ofany mirror with harsh abrasives, fuel or otherpetroleum or ammonia-based cleaningproducts.
You can adjust the interior mirror to yourpreference. Some mirrors also have asecond pivot point. This lets you move themirror head up or down and from side toside.
Pull the tab below the mirror toward youto reduce glare at night.
Auto-Dimming Mirror (If Equipped)
Note:Do not block the sensors on the frontand back of the mirror. Mirror performancemay be affected. A rear center passenger orraised rear center head restraint may alsoblock light from reaching the sensor.
The mirror will dim automatically to reduceglare when bright lights are detected frombehind your vehicle. It will automaticallyreturn to normal reflection when you selectreverse gear to make sure you have a clearview when backing up.
72
Super Duty (TFA)
Windows and MirrorsE163061 E163062BA