2014 FORD F150 wheel torque
[x] Cancel search: wheel torquePage 97 of 472

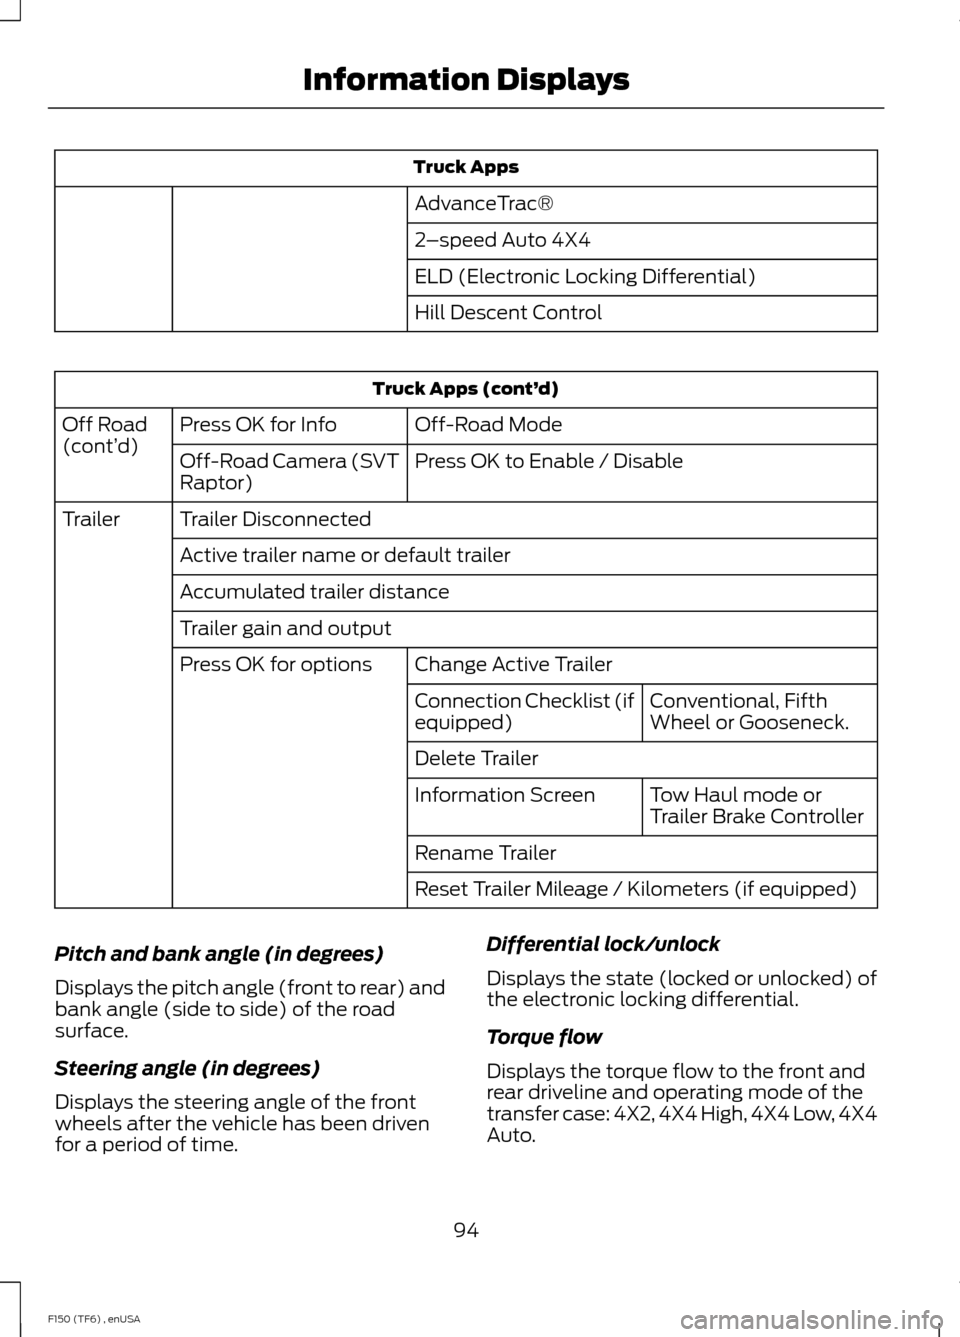
Truck Apps
AdvanceTrac®
2 –speed Auto 4X4
ELD (Electronic Locking Differential)
Hill Descent Control Truck Apps (cont’
d)
Off-Road Mode
Press OK for Info
Off Road
(cont’ d)
Press OK to Enable / Disable
Off-Road Camera (SVT
Raptor)
Trailer Disconnected
Trailer
Active trailer name or default trailer
Accumulated trailer distance
Trailer gain and output Change Active Trailer
Press OK for options
Conventional, Fifth
Wheel or Gooseneck.
Connection Checklist (if
equipped)
Delete Trailer
Tow Haul mode or
Trailer Brake Controller
Information Screen
Rename Trailer
Reset Trailer Mileage / Kilometers (if equipped)
Pitch and bank angle (in degrees)
Displays the pitch angle (front to rear) and
bank angle (side to side) of the road
surface.
Steering angle (in degrees)
Displays the steering angle of the front
wheels after the vehicle has been driven
for a period of time. Differential lock/unlock
Displays the state (locked or unlocked) of
the electronic locking differential.
Torque flow
Displays the torque flow to the front and
rear driveline and operating mode of the
transfer case: 4X2, 4X4 High, 4X4 Low, 4X4
Auto.
94
F150 (TF6) , enUSA Information Displays
Page 157 of 472

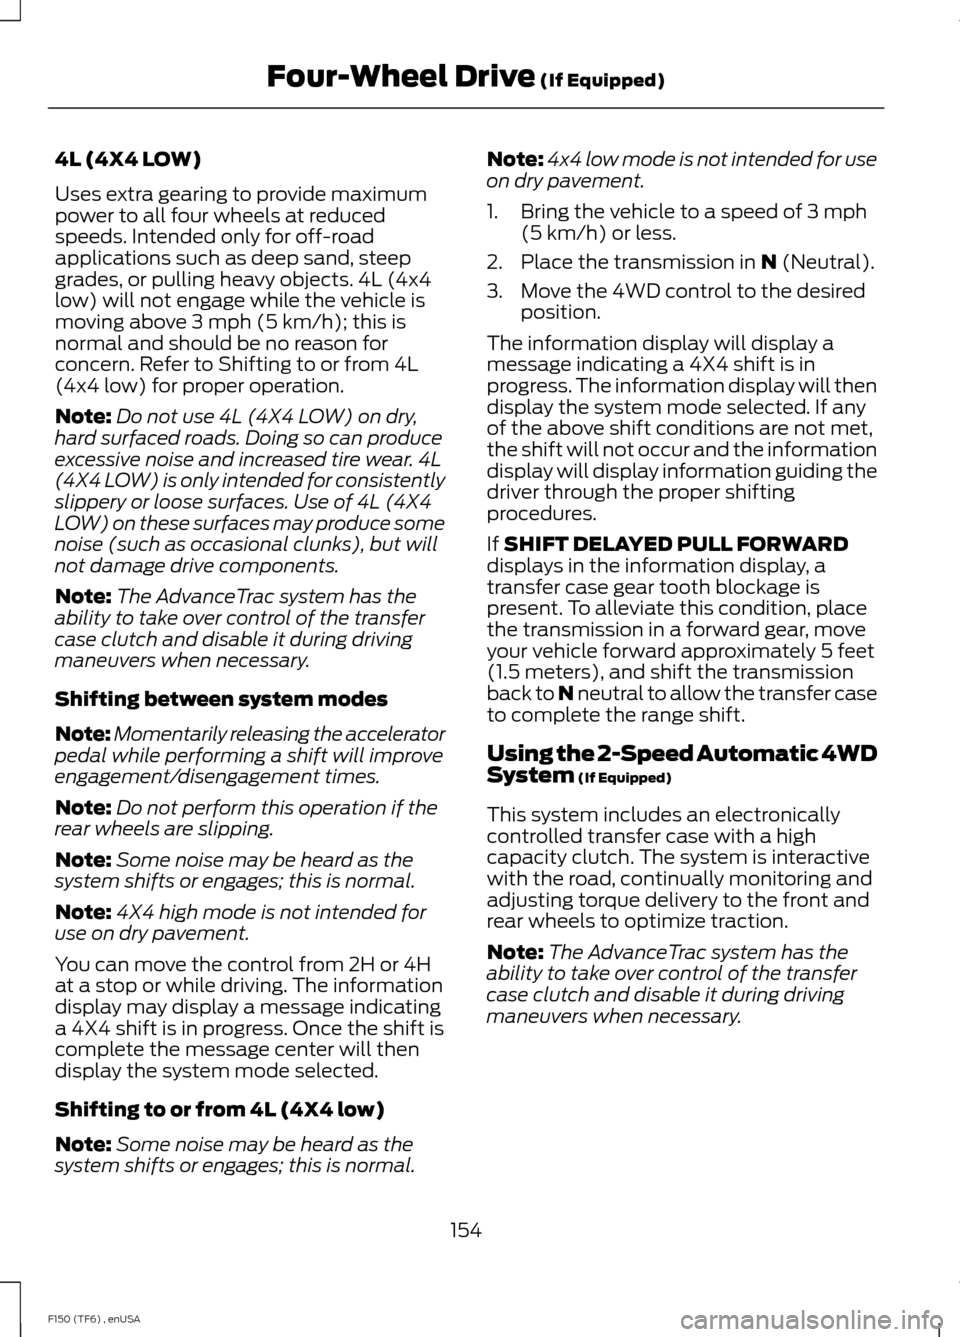
4L (4X4 LOW)
Uses extra gearing to provide maximum
power to all four wheels at reduced
speeds. Intended only for off-road
applications such as deep sand, steep
grades, or pulling heavy objects. 4L (4x4
low) will not engage while the vehicle is
moving above 3 mph (5 km/h); this is
normal and should be no reason for
concern. Refer to Shifting to or from 4L
(4x4 low) for proper operation.
Note:
Do not use 4L (4X4 LOW) on dry,
hard surfaced roads. Doing so can produce
excessive noise and increased tire wear. 4L
(4X4 LOW) is only intended for consistently
slippery or loose surfaces. Use of 4L (4X4
LOW) on these surfaces may produce some
noise (such as occasional clunks), but will
not damage drive components.
Note: The AdvanceTrac system has the
ability to take over control of the transfer
case clutch and disable it during driving
maneuvers when necessary.
Shifting between system modes
Note: Momentarily releasing the accelerator
pedal while performing a shift will improve
engagement/disengagement times.
Note: Do not perform this operation if the
rear wheels are slipping.
Note: Some noise may be heard as the
system shifts or engages; this is normal.
Note: 4X4 high mode is not intended for
use on dry pavement.
You can move the control from 2H or 4H
at a stop or while driving. The information
display may display a message indicating
a 4X4 shift is in progress. Once the shift is
complete the message center will then
display the system mode selected.
Shifting to or from 4L (4X4 low)
Note: Some noise may be heard as the
system shifts or engages; this is normal. Note:
4x4 low mode is not intended for use
on dry pavement.
1. Bring the vehicle to a speed of 3 mph (5 km/h) or less.
2. Place the transmission in N (Neutral).
3. Move the 4WD control to the desired position.
The information display will display a
message indicating a 4X4 shift is in
progress. The information display will then
display the system mode selected. If any
of the above shift conditions are not met,
the shift will not occur and the information
display will display information guiding the
driver through the proper shifting
procedures.
If
SHIFT DELAYED PULL FORWARD
displays in the information display, a
transfer case gear tooth blockage is
present. To alleviate this condition, place
the transmission in a forward gear, move
your vehicle forward approximately 5 feet
(1.5 meters), and shift the transmission
back to
N neutral to allow the transfer case
to complete the range shift.
Using the 2-Speed Automatic 4WD
System
(If Equipped)
This system includes an electronically
controlled transfer case with a high
capacity clutch. The system is interactive
with the road, continually monitoring and
adjusting torque delivery to the front and
rear wheels to optimize traction.
Note: The AdvanceTrac system has the
ability to take over control of the transfer
case clutch and disable it during driving
maneuvers when necessary.
154
F150 (TF6) , enUSA Four-Wheel Drive
(If Equipped)
Page 297 of 472

2. Slide the wheel partially under the
vehicle and install the retainer through
the wheel center. Pull on the cable to
align the components at the end of the
cable.
3. Turn the jack handle clockwise until the tire is raised to its stowed position
underneath the vehicle. The effort to
turn the jack handle increases
significantly and the spare tire carrier
ratchets or slips when the tire is raised
to the maximum tightness. Tighten to
the best of your ability, to the point
where the ratchet or slip occurs, if
possible. The spare tire carrier will not
allow you to overtighten. If the spare
tire carrier ratchets or slips with little
effort, take the vehicle to your
authorized dealer for assistance at your
earliest convenience. 4. Check that the tire lies flat against the
frame and is properly tightened. Try to
push or pull, then turn the tire to be
sure it will not move. Loosen and
retighten, if necessary. Failure to
properly stow the spare tire may result
in failure of the winch cable and loss
of the tire.
5. Repeat this tightness check procedure
when servicing the spare tire pressure
(every six months, as per your
scheduled maintenance information),
or at any time that the spare tire is
disturbed through service of other
components.
6. If removed, install the spare tire lock into the bumper drive tube with the
spare tire lock key and jack handle.
TECHNICAL SPECIFICATIONS
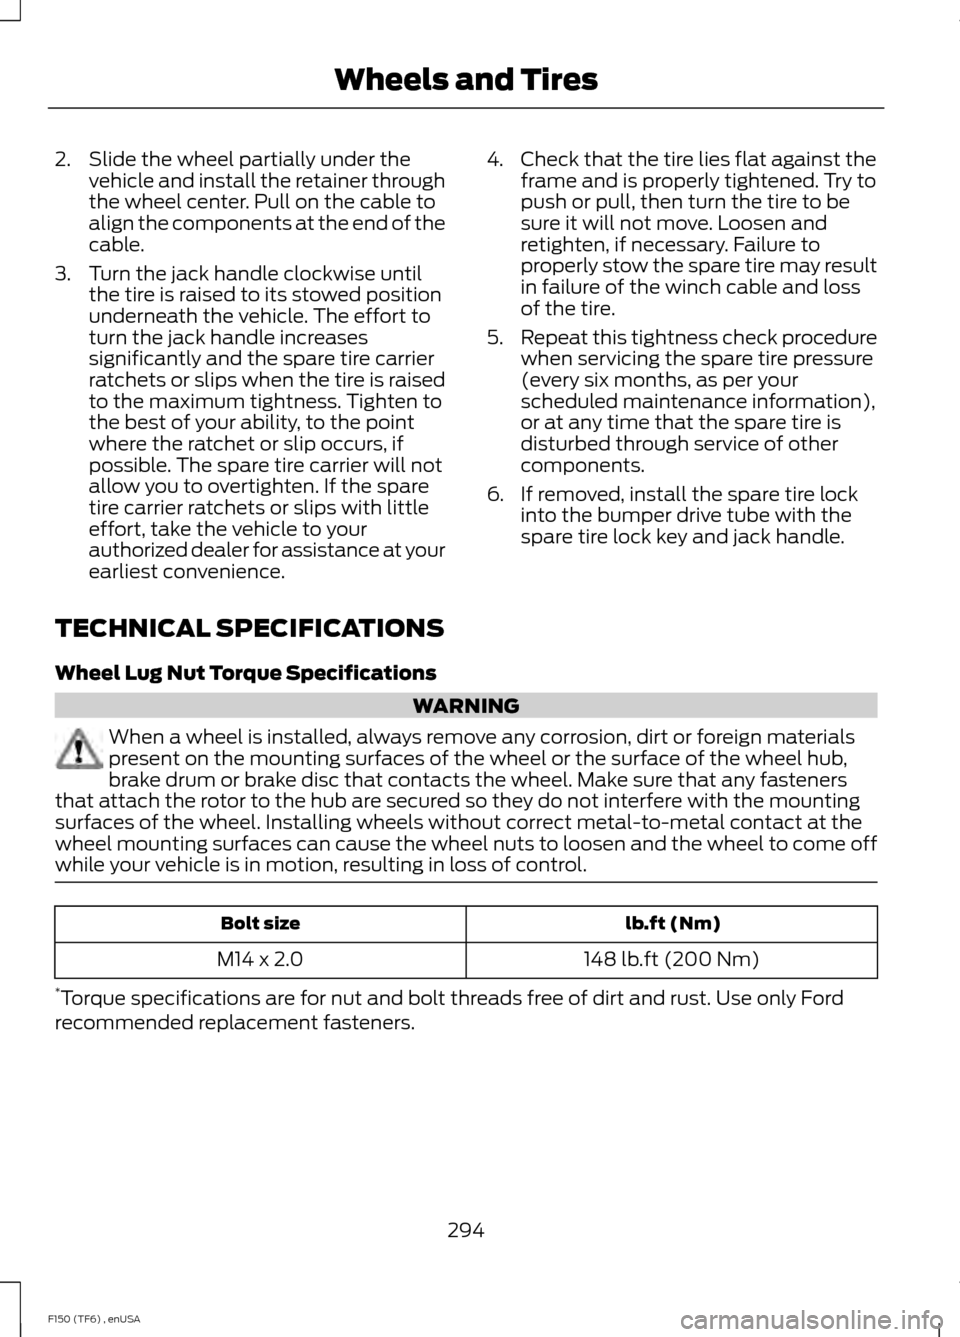
Wheel Lug Nut Torque Specifications WARNING
When a wheel is installed, always remove any corrosion, dirt or foreign materials
present on the mounting surfaces of the wheel or the surface of the wheel hub,
brake drum or brake disc that contacts the wheel. Make sure that any fasteners
that attach the rotor to the hub are secured so they do not interfere with the mounting
surfaces of the wheel. Installing wheels without correct metal-to-metal contact at the
wheel mounting surfaces can cause the wheel nuts to loosen and the wheel to come off
while your vehicle is in motion, resulting in loss of control. lb.ft (Nm)
Bolt size
148 lb.ft (200 Nm)
M14 x 2.0
* Torque specifications are for nut and bolt threads free of dirt and rust. Use only Ford
recommended replacement fasteners.
294
F150 (TF6) , enUSA Wheels and Tires
Page 305 of 472

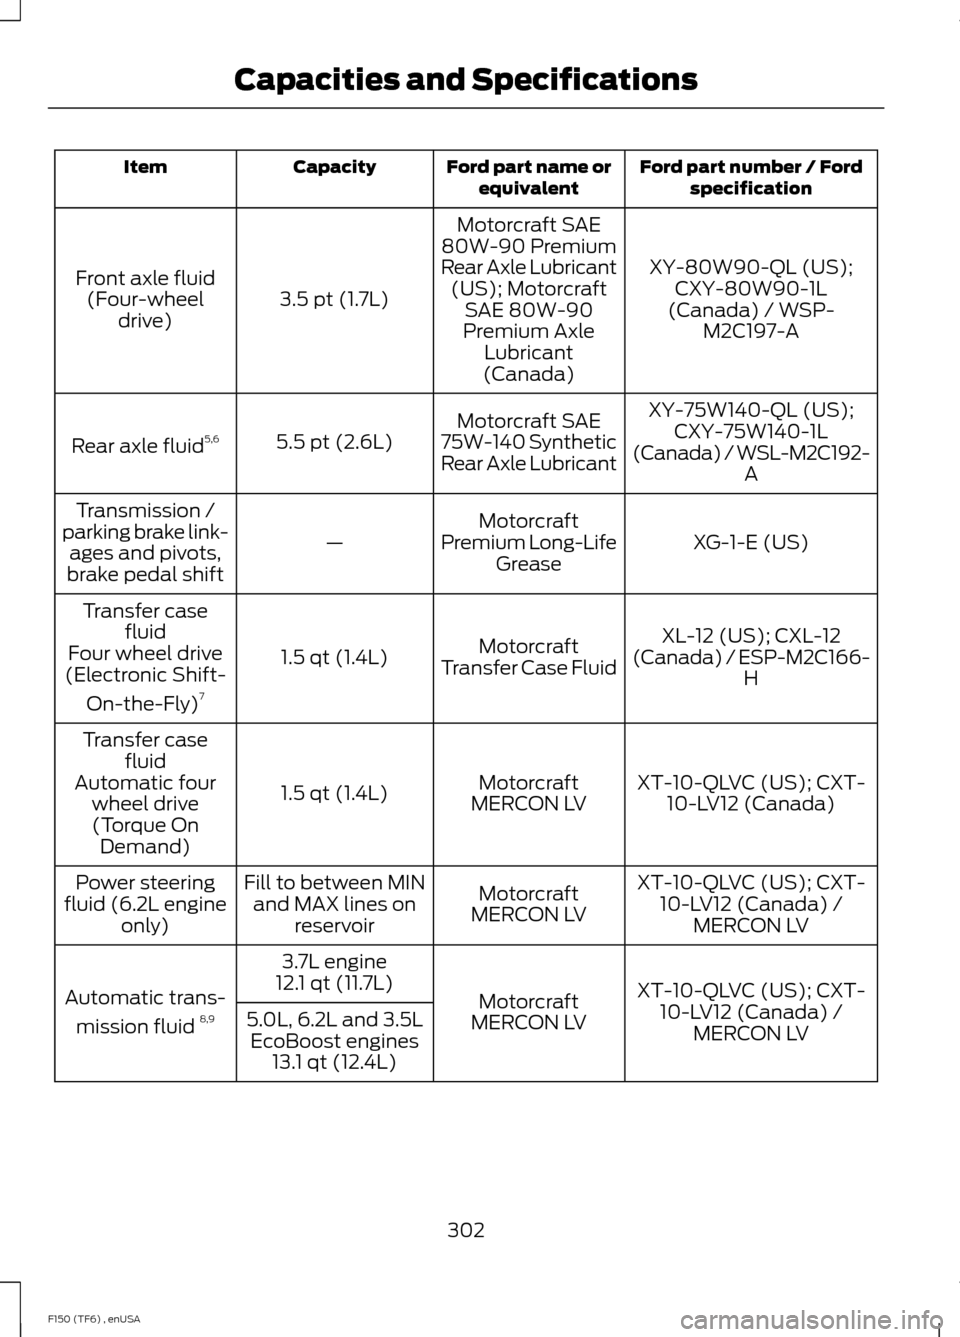
Ford part number / Ford
specification
Ford part name or
equivalent
Capacity
Item
XY-80W90-QL (US);CXY-80W90-1L
(Canada) / WSP- M2C197-A
Motorcraft SAE
80W-90 Premium
Rear Axle Lubricant (US); Motorcraft SAE 80W-90
Premium Axle Lubricant
(Canada)
3.5 pt (1.7L)
Front axle fluid
(Four-wheel drive)
XY-75W140-QL (US);CXY-75W140-1L
(Canada) / WSL-M2C192- A
Motorcraft SAE
75W-140 Synthetic
Rear Axle Lubricant
5.5 pt (2.6L)
Rear axle fluid 5,6
XG-1-E (US)
Motorcraft
Premium Long-Life Grease
—
Transmission /
parking brake link- ages and pivots,
brake pedal shift
XL-12 (US); CXL-12
(Canada) / ESP-M2C166- H
Motorcraft
Transfer Case Fluid
1.5 qt (1.4L)
Transfer case
fluid
Four wheel drive
(Electronic Shift-
On-the-Fly) 7
XT-10-QLVC (US); CXT-10-LV12 (Canada)
Motorcraft
MERCON LV
1.5 qt (1.4L)
Transfer case
fluid
Automatic four wheel drive(Torque On Demand)
XT-10-QLVC (US); CXT-10-LV12 (Canada) / MERCON LV
Motorcraft
MERCON LV
Fill to between MIN
and MAX lines on reservoir
Power steering
fluid (6.2L engine only)
XT-10-QLVC (US); CXT-10-LV12 (Canada) / MERCON LV
Motorcraft
MERCON LV
3.7L engine
12.1 qt (11.7L)
Automatic trans-
mission fluid 8,9
5.0L, 6.2L and 3.5L
EcoBoost engines 13.1 qt (12.4L)
302
F150 (TF6) , enUSA Capacities and Specifications