2014 FORD EXPEDITION seat adjustment
[x] Cancel search: seat adjustmentPage 2 of 519

Introduction 9
Child Safety 17
Child seat positioning...................................19
Booster seats.........................................21
Installing child seats....................................24
Child safety locks......................................35
Safety Belts 36
Fastening the safety belts................................38
Safety belt height adjustment.............................41
Safetybeltwarninglightandindicatorchime..................42
Safety belt-minder.....................................43
Child restraint and safety belt maintenance...................45
Supplementary Restraints System 46
Driver and passenger airbags.............................49
Side airbags..........................................51
Safety canopy curtain airbags.............................52
Crash sensors and airbag indicator.........................54
Airbag disposal........................................55
Keys and Remote Control 56
General information on radio frequencies.....................56
Remote control.......................................56
Keys...............................................56
Replacing a lost key or remote control.......................59
MyKey 60
Settings, MyKey.......................................60
Creating.............................................61
Clearing.............................................62
System status.........................................62
Remote start, MyKey...................................63
Troubleshooting, MyKey.................................65
Table of Contents1
2014 Expedition(exd)
Owners Guide gf, 1st Printing, June 2013
USA(fus)
Page 40 of 519
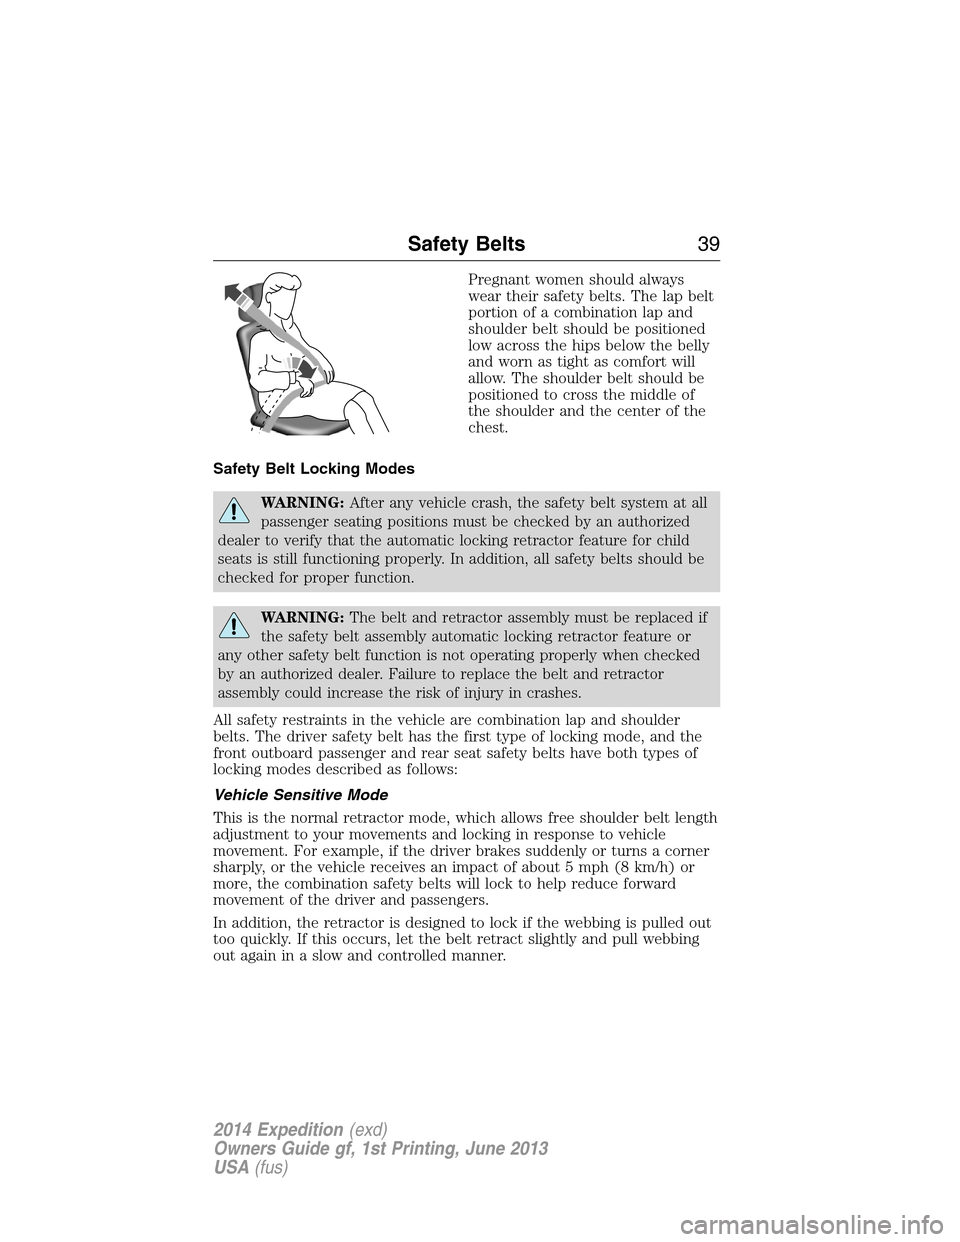
Pregnant women should always
wear their safety belts. The lap belt
portion of a combination lap and
shoulder belt should be positioned
low across the hips below the belly
and worn as tight as comfort will
allow. The shoulder belt should be
positioned to cross the middle of
the shoulder and the center of the
chest.
Safety Belt Locking Modes
WARNING:After any vehicle crash, the safety belt system at all
passenger seating positions must be checked by an authorized
dealer to verify that the automatic locking retractor feature for child
seats is still functioning properly. In addition, all safety belts should be
checked for proper function.
WARNING:The belt and retractor assembly must be replaced if
the safety belt assembly automatic locking retractor feature or
any other safety belt function is not operating properly when checked
by an authorized dealer. Failure to replace the belt and retractor
assembly could increase the risk of injury in crashes.
All safety restraints in the vehicle are combination lap and shoulder
belts. The driver safety belt has the first type of locking mode, and the
front outboard passenger and rear seat safety belts have both types of
locking modes described as follows:
Vehicle Sensitive Mode
This is the normal retractor mode, which allows free shoulder belt length
adjustment to your movements and locking in response to vehicle
movement. For example, if the driver brakes suddenly or turns a corner
sharply, or the vehicle receives an impact of about 5 mph (8 km/h) or
more, the combination safety belts will lock to help reduce forward
movement of the driver and passengers.
In addition, the retractor is designed to lock if the webbing is pulled out
too quickly. If this occurs, let the belt retract slightly and pull webbing
out again in a slow and controlled manner.
Safety Belts39
2014 Expedition(exd)
Owners Guide gf, 1st Printing, June 2013
USA(fus)
Page 42 of 519
SAFETY BELT HEIGHT ADJUSTMENT
WARNING:Position the safety belt height adjusters so that the
belt rests across the middle of your shoulder. Failure to adjust
the safety belt properly could reduce the effectiveness of the seat belt
and increase the risk of injury in a crash.
Adjust the height of the shoulder belt so the belt rests across the middle
of your shoulder.
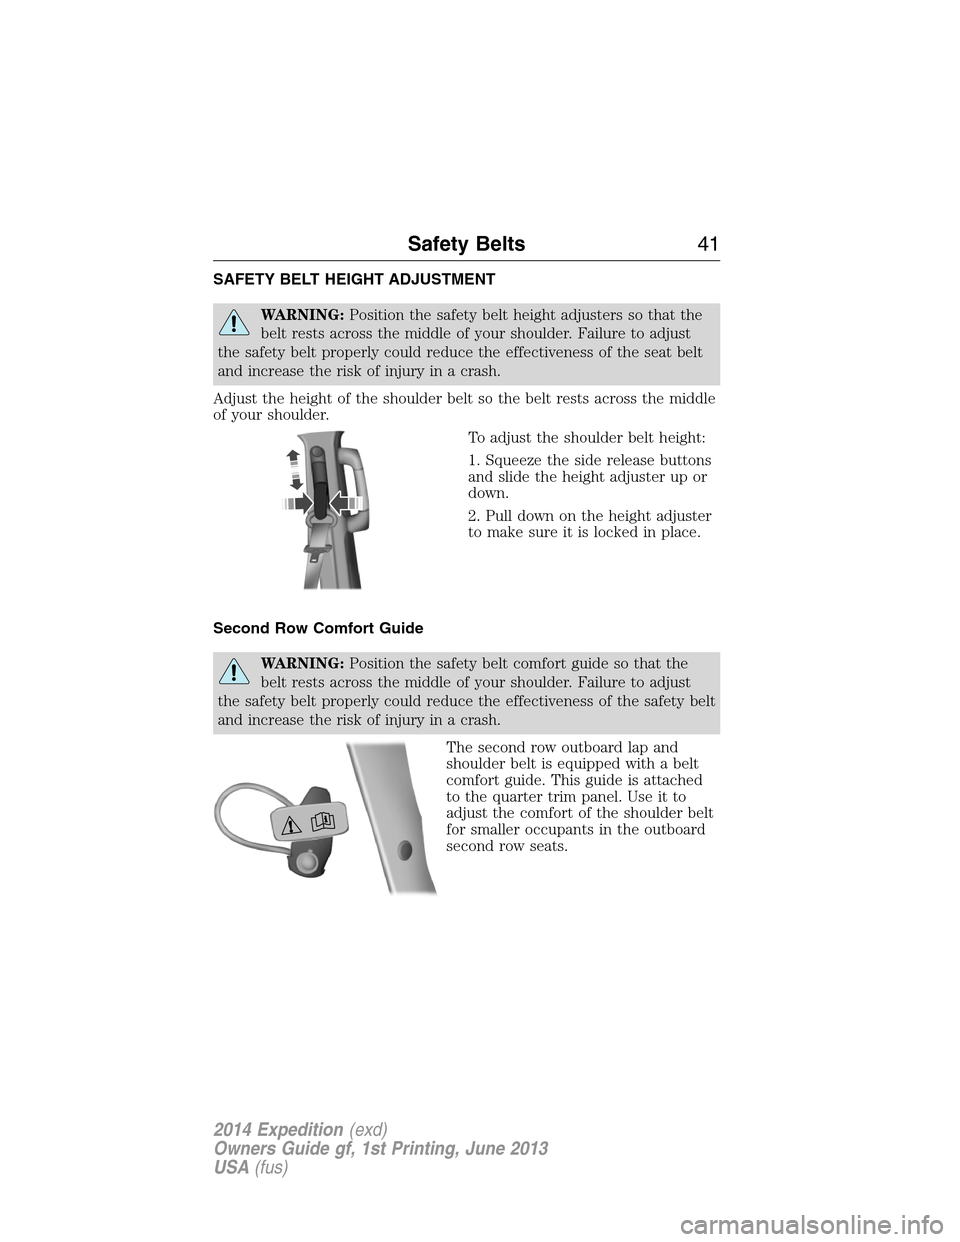
To adjust the shoulder belt height:
1. Squeeze the side release buttons
and slide the height adjuster up or
down.
2. Pull down on the height adjuster
to make sure it is locked in place.
Second Row Comfort Guide
WARNING:Position the safety belt comfort guide so that the
belt rests across the middle of your shoulder. Failure to adjust
the safety belt properly could reduce the effectiveness of the safety belt
and increase the risk of injury in a crash.
The second row outboard lap and
shoulder belt is equipped with a belt
comfort guide. This guide is attached
to the quarter trim panel. Use it to
adjust the comfort of the shoulder belt
for smaller occupants in the outboard
second row seats.
Safety Belts41
2014 Expedition(exd)
Owners Guide gf, 1st Printing, June 2013
USA(fus)
Page 51 of 519
Proper Driver and Front Passenger Seating Adjustment
WARNING:The National Highway Traffic Safety Administration
recommends a minimum distance of at least 10 inches
(25 centimeters) between an occupant’s chest and the driver airbag
module. Failure to follow this could seriously increase the risk of injury
or death.
To properly position yourself away from the airbag:
•Move your seat to the rear as far as you can while still reaching the
pedals comfortably.
•Recline the seat slightly (one or two degrees) from the upright
position.
After all occupants have adjusted their seats and put on safety belts,
it is very important that they continue to sit properly. Properly seated
occupants sit upright, lean against the seat back, and center themselves
on the seat cushion, with their feet comfortably extended on the floor.
Sitting improperly can increase the chance of injury in a crash event.
For example, if an occupant slouches, lies down, turns sideways, sits
forward, leans forward or sideways, or puts one or both feet up, the
chance of injury during a crash is greatly increased.
Children and Airbags
WARNING:Airbags can kill or injure a child in a child seat.
Never place a rear-facing child seat in front of an active airbag.
If you must use a forward-facing child seat in the front seat, move the
seat upon which the child seat is installed all the way back.
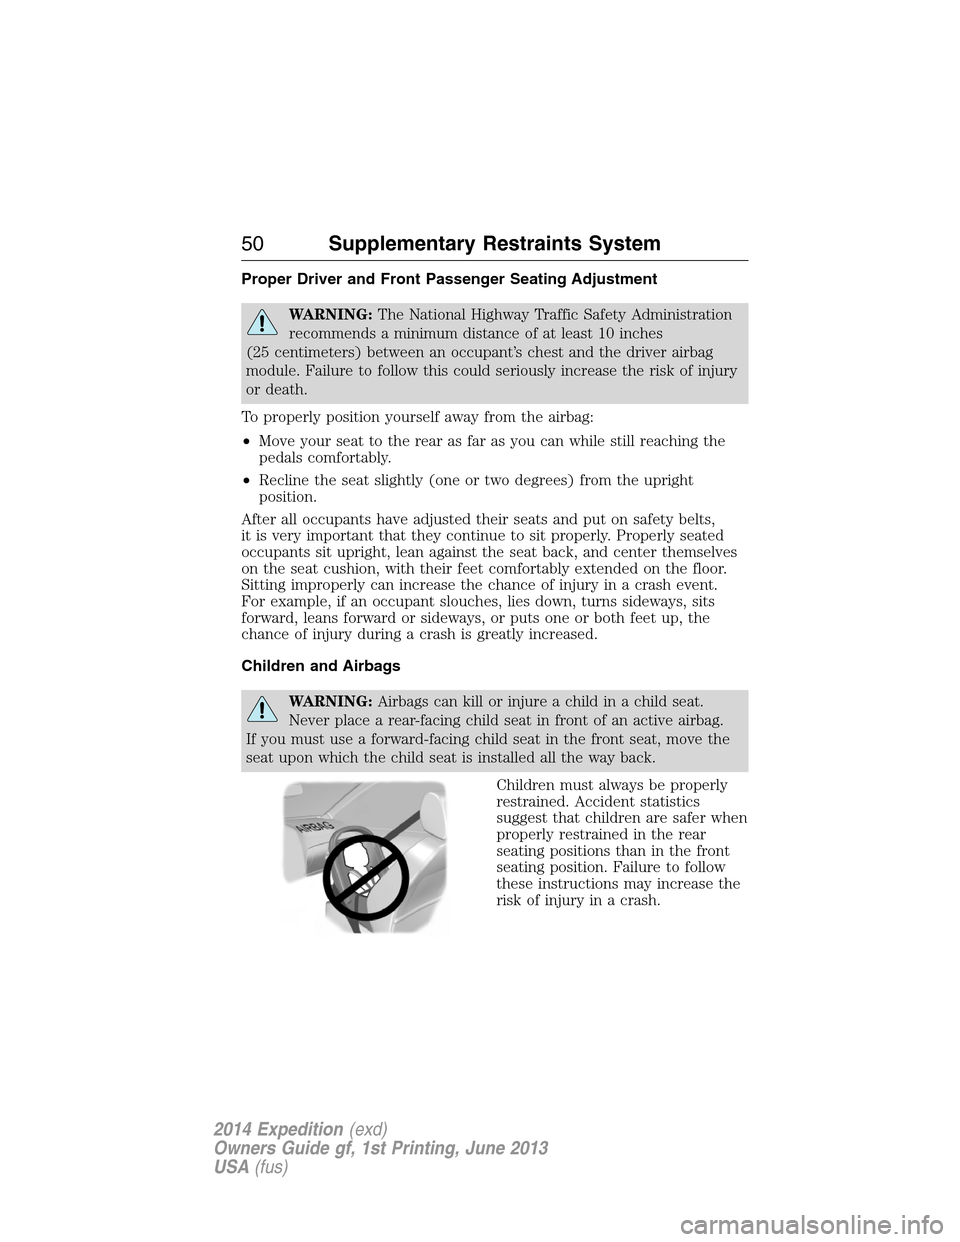
Children must always be properly
restrained. Accident statistics
suggest that children are safer when
properly restrained in the rear
seating positions than in the front
seating position. Failure to follow
these instructions may increase the
risk of injury in a crash.
50Supplementary Restraints System
2014 Expedition(exd)
Owners Guide gf, 1st Printing, June 2013
USA(fus)
Page 136 of 519
Adjusting the Head Restraint
Raise: Pull up the head restraint.
Lower:
1. Press and hold button C.
2. Push down on the head restraint.
Remove:
1. Pull up the head restraint until it reaches the highest adjustment
position.
2. Press and hold buttons C and D.
3. Pull up the head restraint.
Reinstall Align the steel stems into the guide sleeves and push the head
restraint down until it locks.
Second row outboard seat head restraints –The outboard head
restraints are non-adjustable, but you can fold them.
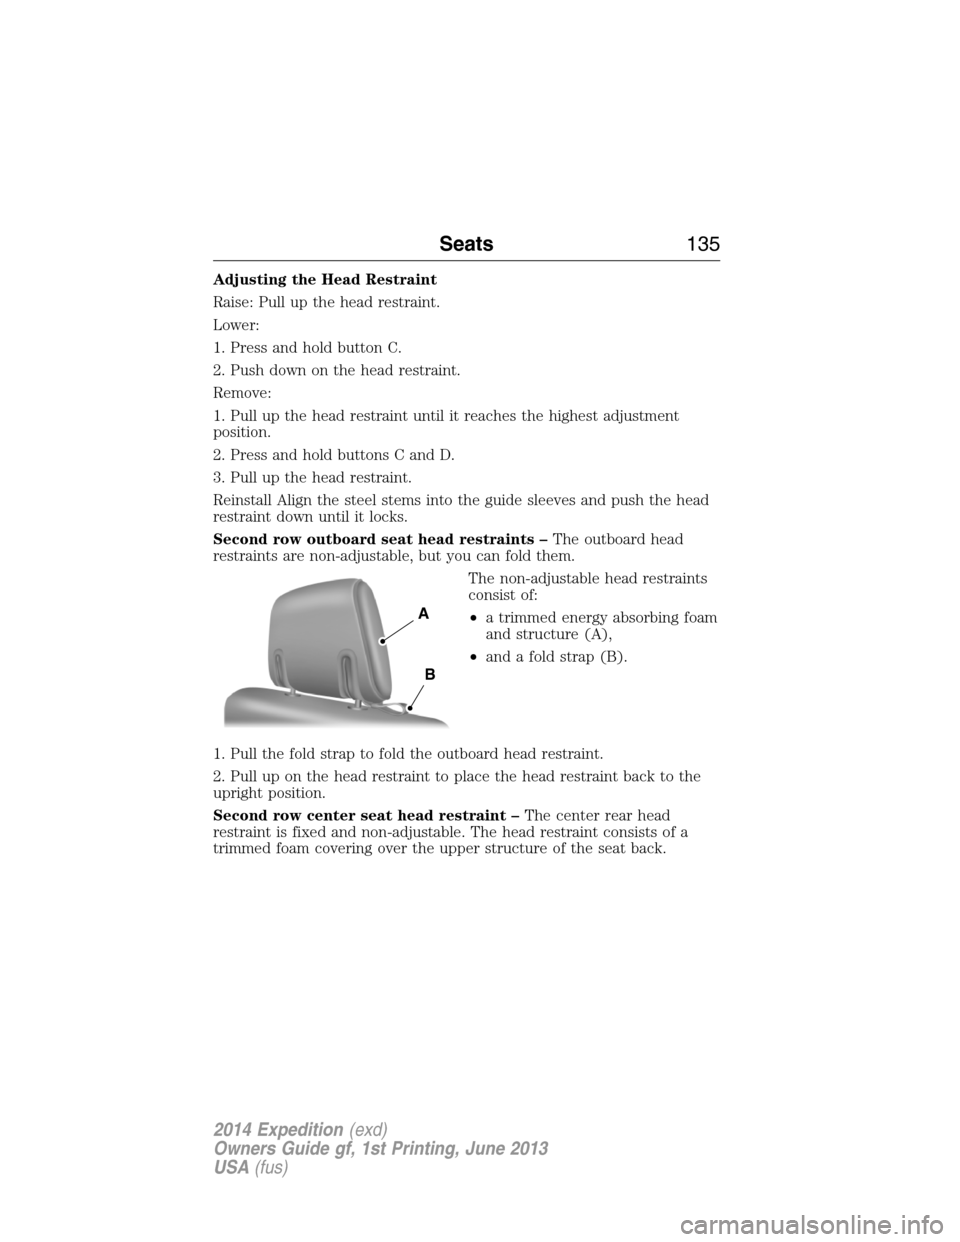
The non-adjustable head restraints
consist of:
•a trimmed energy absorbing foam
and structure (A),
•and a fold strap (B).
1. Pull the fold strap to fold the outboard head restraint.
2. Pull up on the head restraint to place the head restraint back to the
upright position.
Second row center seat head restraint –The center rear head
restraint is fixed and non-adjustable. The head restraint consists of a
trimmed foam covering over the upper structure of the seat back.
A
B
Seats135
2014 Expedition(exd)
Owners Guide gf, 1st Printing, June 2013
USA(fus)
Page 138 of 519
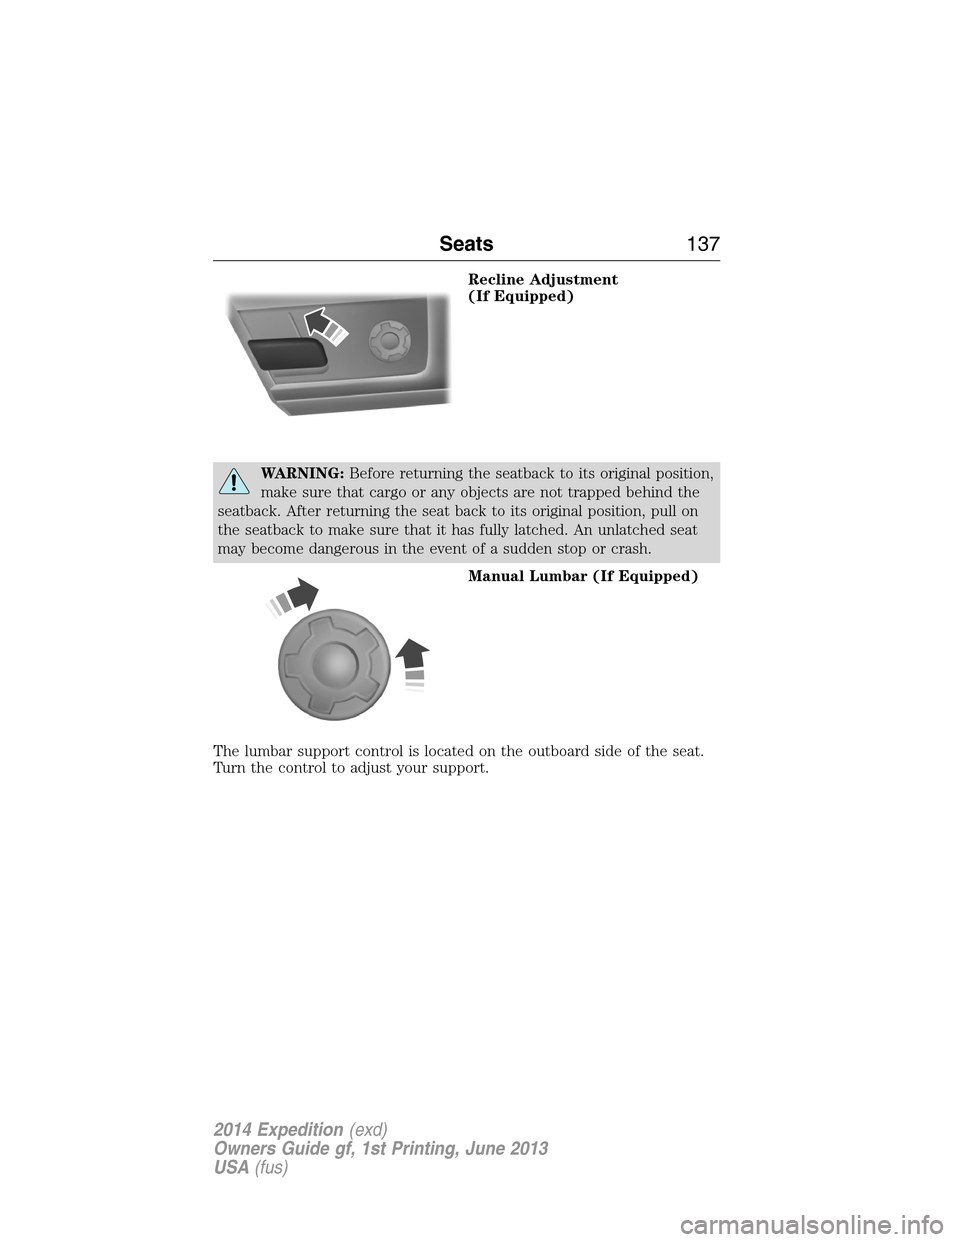
Recline Adjustment
(If Equipped)
WARNING:Before returning the seatback to its original position,
make sure that cargo or any objects are not trapped behind the
seatback. After returning the seat back to its original position, pull on
the seatback to make sure that it has fully latched. An unlatched seat
may become dangerous in the event of a sudden stop or crash.
Manual Lumbar (If Equipped)
The lumbar support control is located on the outboard side of the seat.
Turn the control to adjust your support.
Seats137
2014 Expedition(exd)
Owners Guide gf, 1st Printing, June 2013
USA(fus)