2014 FIAT DUCATO Headlight
[x] Cancel search: HeadlightPage 116 of 367

- briefly press the MODE button to
store the new setting and go to the
next settings menu option. If this is the
last one, the system brings you back
to the previously selected menu option.
Press the button MODE for long:
- to exit the set-up menu if you are in
the main menu;
- to exit the main menu if you are in
another point of the menu (e.g.: at
submenu option setting level, at
submenu level or at main menu option
setting level);
- to save only the changes stored by
the user (and confirmed by pressing the
MODE button).
The setup menu environment is timed;
when the menu is exited due to expiry
of the time allowed, only the changes
already stored by the user (confirmed
beforehand by a brief press of the
MODE button) will be saved.
From the standard screen, briefly press
button MODE to start navigation.
Press the
or
buttons to
navigate within the menu.NoteOnly the reduced menu can be
accessed while the vehicle is moving
for safety reasons ("Speed Beep"
setting). Stop the vehicle to access the
full menu.
Lighting
(Passenger compartment light
adjustment)
(only with side lights on)
This function is used to set the
brightness of the instrument panel,
uconnect™system controls (for
versions/markets where provided) and
automatic climate control system
controls (for versions/markets where
provided) to 8 levels.
Proceed as follows to adjust the light
intensity:
❒briefly press the MODE button. The
level set previously flashes on the
display;
❒press button
or
to set
the required brightness level;
❒briefly press the MODE button to
return to the menu screen or hold the
button down to return to the
standard screen without storing.NoteOn versions with reconfigurable
multifunction display adjustment can be
made both with lights off ("daytime"
mode brightness level) and with lights
on ("nighttime" mode brightness level).
Headlight alignment
(Headlight alignment
corrector position
adjustment)
(for versions/markets, where provided)
This function permits the adjustment (to
4 levels) of the headlight alignment
corrector position.
To carry out the adjustment, proceed as
follows:
❒briefly press the MODE button. The
level set previously flashes on the
display;
❒press button
or
to adjust
the position;
❒briefly press the MODE button to
return to the menu screen or hold the
button down to return to the
standard screen without storing.
112
KNOWING THE INSTRUMENT PANEL
Page 117 of 367

Speed limit (Speed
Beep)
This function makes it possible to set
the vehicle speed limit (km/h or mph).
When this limit is exceeded the driver is
immediately alerted (see “Warning
lights and messages” section).
To set the desired speed limit, proceed
as follows:
- briefly press the MODE button: the
display will show the wording (Speed
Beep);
press button
or
to select
speed limit activation (On) or
deactivation (Off);
- if the function has been activated (On),
press the
or
button to
select the desired speed limit and then
press MODE to confirm.NoteSetting is possible between 30
and 200 km/h, or 20 and 125 mph,
according to the previously set unit.
See the "Setting the unit of
measurement (Measurement unit)"
paragraph described below. The setting
will increase/decrease by 5 units each
time button
/
is pressed.
Hold down the
/
button to
automatically increase/decrease the
setting rapidly. Complete the
adjustment with single presses of the
button when you approach the desired
value.
- press the MODE button briefly to
return to the menu screen or hold the
button down to return to the standard
screen without storing.
To cancel the setting, proceed as
follows:
- briefly press button MODE, (On) will
flash on the display;
- press button
, (Off) will flash on
the display;
- press the MODE button briefly to
return to the menu screen or hold the
button down to return to the standard
screen without storing.Headlight sensor
sensitivity adjustment
(for versions/markets, where provided)
With this function it is possible to adjust
the rain headlight sensitivity according
to 3 levels.
To set the required sensitivity level,
proceed as follows:
– briefly press the MODE button: the
previously set sensitivity “level” starts to
flash on the display;
– press the
or
button to
make the adjustment;
– press the MODE button briefly to
return to the menu screen or hold the
button down to return to the standard
screen without storing.
Cornering lights
(Activation/deactivation of
“Cornering lights”)
(for versions/markets, where provided)
This function activates/deactivates
("On"/"Off") the cornering lights (see the
description in the “Exterior lights”
paragraph).
Proceed as follows to activate/
deactivate the lights:
❒briefly press the MODE button. "On"
or "Off" flash on the display,
according to what has been
previously set;
113
Page 122 of 367

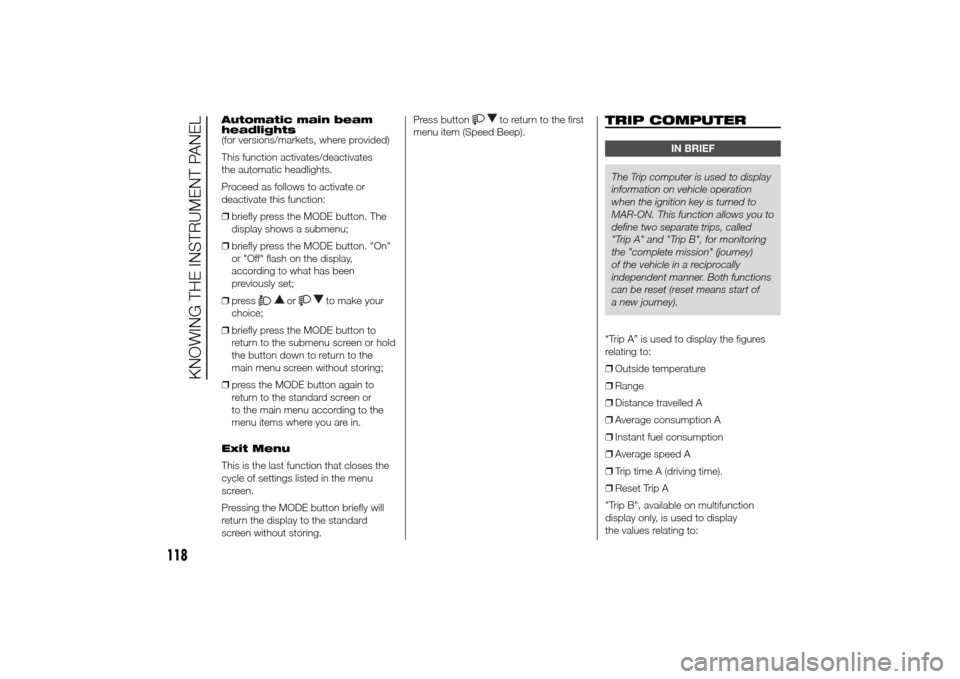
Automatic main beam
headlights
(for versions/markets, where provided)
This function activates/deactivates
the automatic headlights.
Proceed as follows to activate or
deactivate this function:
❒briefly press the MODE button. The
display shows a submenu;
❒briefly press the MODE button. "On"
or "Off" flash on the display,
according to what has been
previously set;
❒press
or
to make your
choice;
❒briefly press the MODE button to
return to the submenu screen or hold
the button down to return to the
main menu screen without storing;
❒press the MODE button again to
return to the standard screen or
to the main menu according to the
menu items where you are in.
Exit Menu
This is the last function that closes the
cycle of settings listed in the menu
screen.
Pressing the MODE button briefly will
return the display to the standard
screen without storing.Press button
to return to the first
menu item (Speed Beep).
TRIP COMPUTER
IN BRIEF
The Trip computer is used to display
information on vehicle operation
when the ignition key is turned to
MAR-ON. This function allows you to
define two separate trips, called
"Trip A" and "Trip B", for monitoring
the "complete mission" (journey)
of the vehicle in a reciprocally
independent manner. Both functions
can be reset (reset means start of
a new journey).
“Trip A” is used to display the figures
relating to:
❒Outside temperature
❒Range
❒Distance travelled A
❒Average consumption A
❒Instant fuel consumption
❒Average speed A
❒Trip time A (driving time).
❒Reset Trip A
"Trip B", available on multifunction
display only, is used to display
the values relating to:
118
KNOWING THE INSTRUMENT PANEL
Page 141 of 367

WARNING
94) Always drive at a speed appropriate to the traffic conditions, the weather and traffic regulations. The engine may be
stopped if the DPF light is on; however, repeated interruption of the regeneration process may result in premature
deterioration of the engine oil. For this reason, always wait until the warning light switches off before stopping the
engine as described above. It is not advisable to complete DPF regeneration with the vehicle stationary.Warning lights on
panelWhat it means What to do
greenDIPPED HEADLIGHTS
The warning light switches on when the dipped
beam headlights are turned on.
FOLLOW ME HOME
The warning light switches on (together with a
message shown on the display) when this device
is in use (see "Follow me home device" paragraph
in "Exterior lights" in the "Knowing your vehicle"
chapter).greenLEFT-HAND DIRECTION INDICATOR
The warning light switches on when the direction
indicator control stalk is moved downwards or,
together with the right indicator, when the hazard
warning light button is pressed.
137
Page 143 of 367

Warning lights on
panelWhat it means What to do
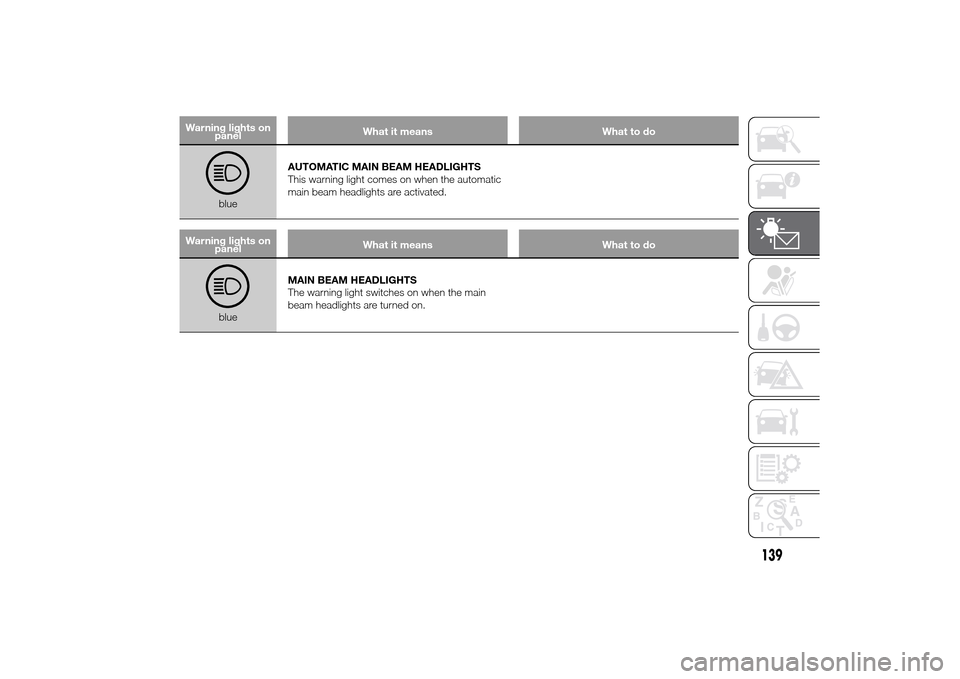
blueAUTOMATIC MAIN BEAM HEADLIGHTS
This warning light comes on when the automatic
main beam headlights are activated.
Warning lights on
panelWhat it means What to do
blueMAIN BEAM HEADLIGHTS
The warning light switches on when the main
beam headlights are turned on.
139
Page 145 of 367

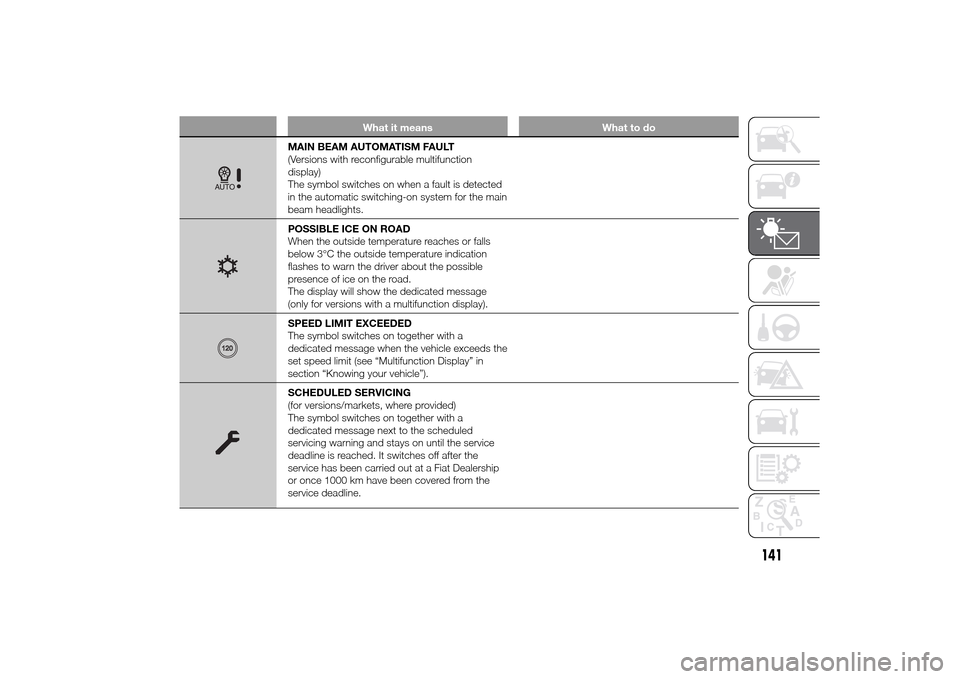
What it means What to do
MAIN BEAM AUTOMATISM FAULT
(Versions with reconfigurable multifunction
display)
The symbol switches on when a fault is detected
in the automatic switching-on system for the main
beam headlights.POSSIBLE ICE ON ROAD
When the outside temperature reaches or falls
below 3°C the outside temperature indication
flashes to warn the driver about the possible
presence of ice on the road.
The display will show the dedicated message
(only for versions with a multifunction display).SPEED LIMIT EXCEEDED
The symbol switches on together with a
dedicated message when the vehicle exceeds the
set speed limit (see “Multifunction Display” in
section “Knowing your vehicle”).SCHEDULED SERVICING
(for versions/markets, where provided)
The symbol switches on together with a
dedicated message next to the scheduled
servicing warning and stays on until the service
deadline is reached. It switches off after the
service has been carried out at a Fiat Dealership
or once 1000 km have been covered from the
service deadline.
141
Page 180 of 367

SAVING FUELSome useful tips are given below for
fuel saving and reducing harmful
emissions of CO2 and other pollutants
(nitrogen oxides, unburnt
hydrocarbons, Particulate Matter (PM),
etc.).
GENERAL
CONSIDERATIONS
The general factors that affect fuel
consumption are listed below.
Vehicle maintenance
Have checks and adjustments carried
out in accordance with the “Scheduled
Servicing Plan”.Tyres
Check the tyre pressures at least once
every four weeks: if the pressure is
too low, consumption levels increase as
resistance to rolling is higher.
Unnecessary loads
Do not travel with an overloaded
luggage compartment. The weight of
the vehicle (especially when driving
in town) and its geometry greatly affect
fuel consumption and stability.
Roof rack/ski rack
Remove the roof rack or the ski rack
from the roof after use. These
accessories decrease aerodynamic
penetration of the vehicle and have a
negative effect on fuel consumption.
When transporting particularly large
objects, use a trailer if possible.Electric devices
Use electrical devices only for the
amount of time needed. The heated
rear window, additional headlights,
windscreen/rear window wipers and
heater fan need a considerable amount
of energy, therefore increasing fuel
consumption (by up to 25% in
the urban cycle).
Climate control system
Air conditioning leads to higher fuel
consumption (on average up to +20%).
If the temperature outside permits, try
and use the ventilation only.
Devices for
aerodynamic control
The use of non-certified spoilers may
adversely affect air drag and fuel
consumption.
176
STARTING AND DRIVING
Page 205 of 367

CHANGING A BULBGENERAL
INSTRUCTIONS
44)158) 159)
❒When a light is not working, check
that the corresponding fuse is intact
before changing a bulb. For the
location of fuses, refer to the
paragraph "Replacing fuses" in this
chapter.
❒before changing a bulb check the
contacts for oxidation;
❒burnt bulbs must be replaced by
others of the same type and power;
❒always check the headlight beam
direction after changing a bulb;
IMPORTANT A slight misting may
appear on the internal surface of the
headlight: this does not indicate a fault
and is caused by low temperature
and the degree of humidity in the air.
Misting will rapidly disappear when the
headlights are switched on. The
presence of drops inside the headlights
indicates infiltration of water. Contact
a Fiat Dealership.
IMPORTANT
44) Halogen bulbs must be handled
by holding the metallic part only.
Touching the transparent part
of the bulb with your fingers may
reduce the intensity of the
emitted light and even reduce the
lifespan of the bulb. In the event
of accidental contact, wipe the
bulb with a cloth moistened with
alcohol and let the bulb dry.
WARNING
158) Modifications or repairs to the
electric system that are not
carried out properly or do not take
the system technical
specifications into account can
cause malfunctions leading to the
risk of fire.
159) Halogen bulbs contain
pressurised gas; in the case of
breakage they may burst.
201