Page 92 of 476

IconDescription
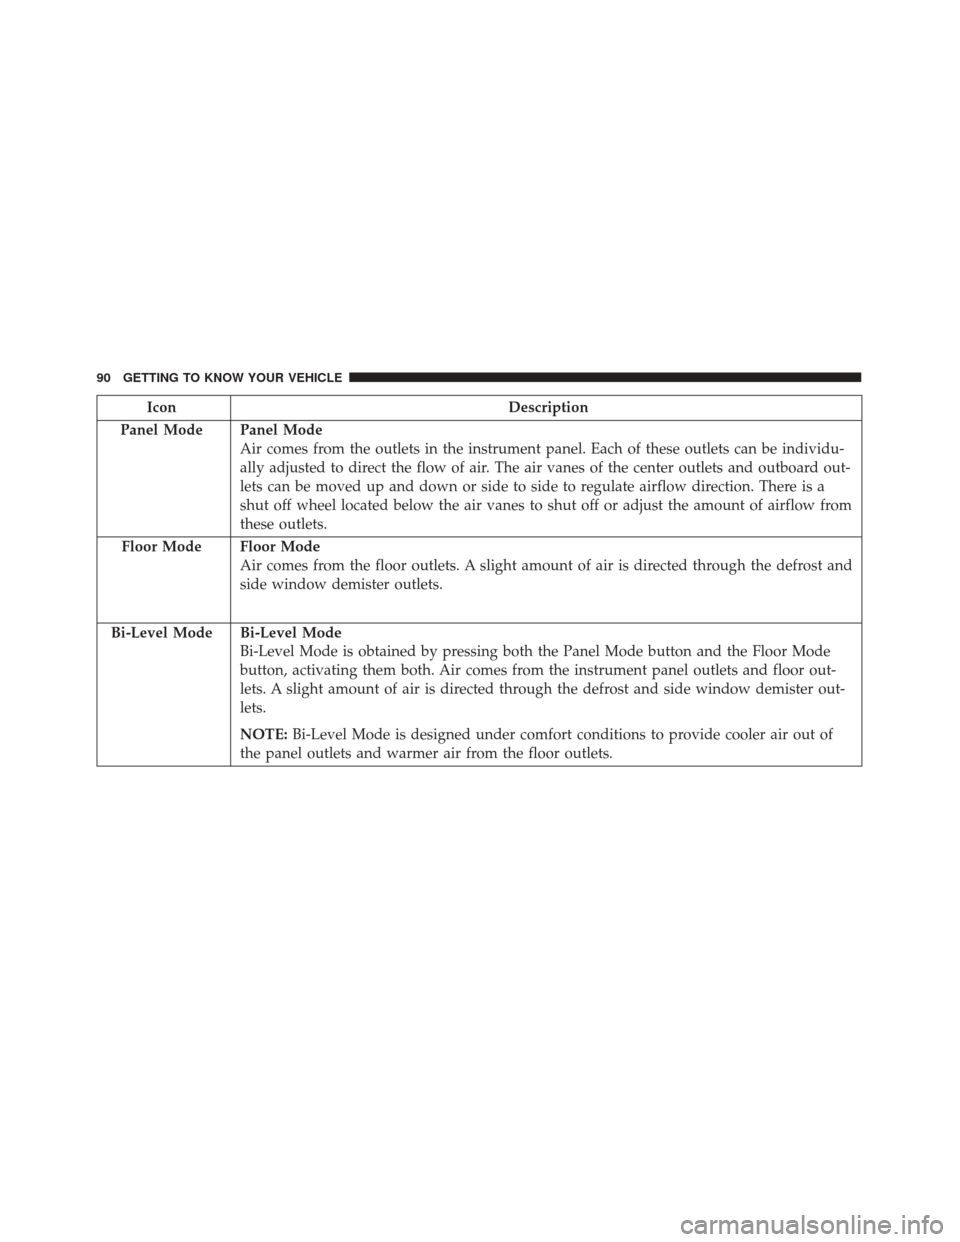
Panel Mode
Panel Mode
Air comes from the outlets in the instrument panel. Each of these outlets can be individu-
ally adjusted to direct the flow of air. The air vanes of the center outlets and outboard out-
lets can be moved up and down or side to side to regulate airflow direction. There is a
shut off wheel located below the air vanes to shut off or adjust the amount of airflow from
these outlets.
Floor Mode
Floor Mode
Air comes from the floor outlets. A slight amount of air is directed through the defrost and
side window demister outlets.
Bi-Level Mode
Bi-Level Mode
Bi-Level Mode is obtained by pressing both the Panel Mode button and the Floor Mode
button, activating them both. Air comes from the instrument panel outlets and floor out-
lets. A slight amount of air is directed through the defrost and side window demister out-
lets.
NOTE: Bi-Level Mode is designed under comfort conditions to provide cooler air out of
the panel outlets and warmer air from the floor outlets.
90 GETTING TO KNOW YOUR VEHICLE
Page 93 of 476

IconDescription
Mix Mode
Mix Mode
Mix Mode is obtained by pressing both the Windshield Mode button and the Floor Mode
button, activating them both. Air is directed through the floor, defrost, and side window
demister outlets. This setting works best in cold or snowy conditions that require extra
heat to the windshield. This setting is good for maintaining comfort while reducing mois-
ture on the windshield.
Climate Control Power Button
Press and release this button to turn the Climate Control on/off.
Driver Temperature Knob
Provides the driver with independent temperature control. Rotate the adjustment knob to
set desired temperature shown in the Temperature Display. Rotate fully counterclockwise
for maximum A/C (LO). The set temperature is shown on the display. Turning the control
knob completely in one direction or the other activates the HI (maximum heating) or LO
(maximum cooling) functions shown in the display, respectively. To deactivate these func-
tions, turn the temperature knob to the desired temperature.
4
GETTING TO KNOW YOUR VEHICLE 91
Page 94 of 476

CAUTION!
Failure to follow these cautions can cause damage
to the heating elements:
•Use care when washing the inside of the rear
window. Do not use abrasive window cleaners on
the interior surface of the window. Use a soft
cloth and a mild washing solution, wiping paral-
lel to the heating elements. Labels can be peeled
off after soaking with warm water.
• Do not use scrapers, sharp instruments, or abra-
sive window cleaners on the interior surface of
the window.
• Keep all objects a safe distance from the window.
Climate Control System Compressor
Push the A/C Control button to activate/deactivate the
compressor (activation is indicated by the LED on the
button turning on).
The system remembers that the compressor has been
turned off, even after the engine has stopped.
Pushing the A/C button will stop AUTO MODE
(AUTO LED will turn off). To restore automatic control
of compressor, push the AUTO button again. NOTE:
With the compressor off, air cannot be intro-
duced to the passenger compartment with a tempera-
ture lower than the outside temperature. Under certain
environmental conditions, windows could fog rapidly
since the air is not dehumidified.
MAX A/C
MAX A/C sets the system for maximum cooling per-
formance.
Rotate the driver temperature control adjust knob coun-
terclockwise for MAX A/C. Both driver and passenger
temperature displays will show MAX A/C LO.
In MAX A/C, the blower speed and mode position can
be adjusted to desired user settings. Pressing other
settings will cause the MAX A/C operation to switch to
the selected setting and MAX A/C to exit.
Rapid Window Demisting (MAX-Defrost Function)
Push the MAX-defrost button to activate (LED on) the
windshield and side window demisting function.
92 GETTING TO KNOW YOUR VEHICLE
Page 95 of 476

The Climate Control system carries out the following
operations:
•Turns on the air conditioning compressor when en-
vironmental conditions are suitable.
• Turns air recirculation off.
• Sets blower fan to the maximum speed.
• Directs air flow to windshield and front side window
diffusers.
• Activates the heated rear window defrost.
• Activates the heated windshield (if equipped).
• Displays the fan speed (Blower Control Indicator
LED illuminated).
When the function is activated, the AUTO button LED
turns off. With the function activated, the only possible
manual adjustments are pushing the A/C control but-
ton, adjusting the fan speed and turning the heated rear
window off.
When the Recirculation Control or AUTO buttons are
pushed, the Climate Control system will deactivate the
Front Defrost (MAX-DEF) function. Selecting the footwell/windshield or only windshield
distribution activates the Climate Control system com-
pressor and the air recirculation is set to outside air
intake.
This logic guarantees optimum visibility at the win-
dows. Max-defrost is also available in manual mode.
Rear Window Defrosting
Push and release the rear window defrost button to turn
the function on/off.
Activation of this function is indicated by the rear
defrost indicator light on the instrument panel turning
on. The function is automatically deactivated after 20
minutes. If equipped, push the rear defrost button to
activate the defrosting of door mirrors and heated rear
window.
CAUTION!
To avoid causing damage to the rear window de-
froster heating filaments do not affix stickers or
other objects to the inside of the rear glass.
4
GETTING TO KNOW YOUR VEHICLE 93
Page 96 of 476

Turning Off The Climate Control System
Push the ON/OFF button.
With the Climate Control system off:
•Air recirculation is on, isolating the passenger com-
partment from the outside.
• The A/C compressor is off.
• The blower is off.
• The heated rear window can be activated/
deactivated.
NOTE: The Climate Control unit stores the tempera-
tures set before the system was turned off and restores
them when one of the following knobs/buttons is
pushed:
• A/C
• Recirculation
• Max Defrost
• Blower Increase
• AUTO
To restart the Climate Control system in fully automatic
mode, push the AUTO button. System Maintenance
In Winter, the Climate Control system must be turned
on at least once a month for approximately 10 minutes.
Have the system inspected at an authorized dealership
before the summer.
NOTE:
The system uses R-1234yf (refrigerant) which
does not pollute the environment in the event of
accidental leakage. Under no circumstances is the use of
R-134a (refrigerant) allowed.
Automatic Temperature Control (ATC) — If
Equipped
Automatic Operation
1. Push the AUTO button on the front ATC panel and the word “AUTO” will illuminate in the front ATC
display, along with two temperatures for the driver
and front passenger. The system will then automati-
cally regulate the amount of airflow.
2. Adjust the temperature you would like the system to maintain, by adjusting the driver, and passenger
temperatures. Once the desired temperature is dis-
played, the system will achieve and automatically
maintain that comfort level.
94 GETTING TO KNOW YOUR VEHICLE
Page 98 of 476

Winter Operation
To ensure the best possible heater and defroster perfor-
mance, make sure the engine cooling system is func-
tioning properly and the proper amount, type, and
concentration of coolant is used. Use of the Air Recir-
culation mode during Winter months is not recom-
mended, because it may cause window fogging.
Vacation/Storage
Before you store your vehicle, or keep it out of service
(i.e., vacation) for two weeks or more, run the air
conditioning system at idle for about five minutes, in
fresh air with the blower setting on high. This will
ensure adequate system lubrication to minimize the
possibility of compressor damage when the system is
started again.
Window Fogging
Vehicle windows tend to fog on the inside in mild, rainy
and/or humid weather. To clear the windows, select
Defrost or Mix mode and increase the front blower
speed. Do not use the Recirculation mode without A/C
for long periods, as fogging may occur.
Outside Air Intake
Make sure the air intake, located directly in front of the
windshield, is free of obstructions such as leaves.
Leaves collected in the air intake may reduce airflow,
and if they enter the plenum, they could plug the water
drains. In winter months, make sure the air intake is
clear of ice, slush, and snow.
Cabin Air Filter
The climate control system filters out dust and pollen
from the air. Contact your authorized dealer to service
your cabin air filter, and to have it replaced when
needed.
96 GETTING TO KNOW YOUR VEHICLE
Page 100 of 476

WINDOWS
Driver’s Door Controls
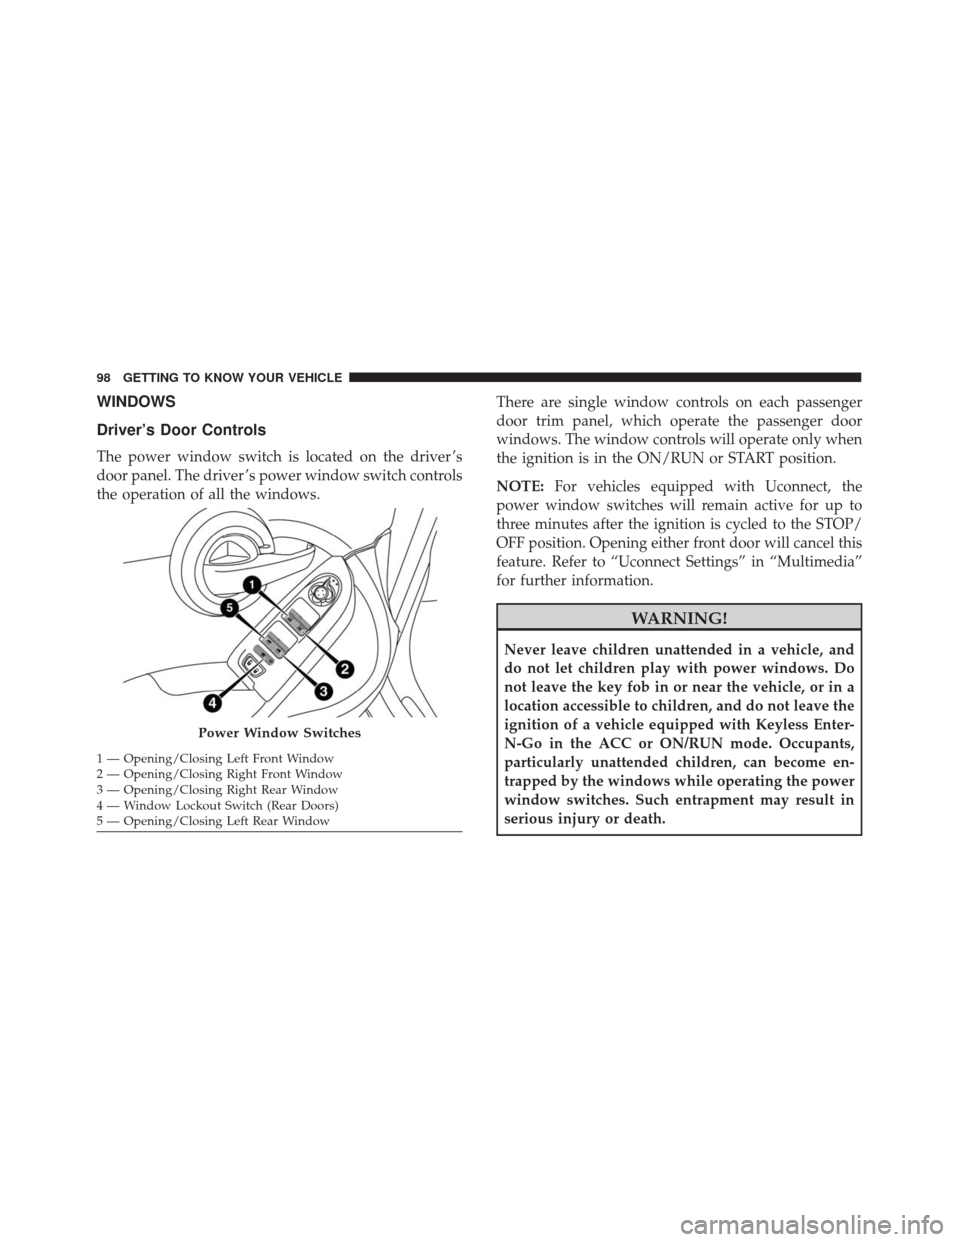
The power window switch is located on the driver ’s
door panel. The driver ’s power window switch controls
the operation of all the windows.There are single window controls on each passenger
door trim panel, which operate the passenger door
windows. The window controls will operate only when
the ignition is in the ON/RUN or START position.
NOTE:
For vehicles equipped with Uconnect, the
power window switches will remain active for up to
three minutes after the ignition is cycled to the STOP/
OFF position. Opening either front door will cancel this
feature. Refer to “Uconnect Settings” in “Multimedia”
for further information.
WARNING!
Never leave children unattended in a vehicle, and
do not let children play with power windows. Do
not leave the key fob in or near the vehicle, or in a
location accessible to children, and do not leave the
ignition of a vehicle equipped with Keyless Enter-
N-Go in the ACC or ON/RUN mode. Occupants,
particularly unattended children, can become en-
trapped by the windows while operating the power
window switches. Such entrapment may result in
serious injury or death.
Power Window Switches
1 — Opening/Closing Left Front Window
2 — Opening/Closing Right Front Window
3 — Opening/Closing Right Rear Window
4 — Window Lockout Switch (Rear Doors)
5 — Opening/Closing Left Rear Window 98 GETTING TO KNOW YOUR VEHICLE
Page 101 of 476
Auto-Down Feature — If Equipped
The driver and passenger power window switches have
an Auto-down feature. Push the switch for half a second
and release it; the window will go down automatically.
To partially open the window, push the window switch
and release it when you want the window to stop.
To stop the window from going all the way down
during the Auto-down operation, pull up on the switch
briefly when the when the window has reached the
desired position.Auto-Up Feature With Anti-Pinch Protection — If
Equipped
Lift and hold the window switch for half a second,
release, and the window will go up automatically.
To stop the window from going all the way up during
the Auto operation, push down on the switch briefly.
To partially close the window, lift the window switch
and release it when you want the window to stop.
Push To Activate Auto-Down Feature
Lift To Activate Auto-Up Feature
4
GETTING TO KNOW YOUR VEHICLE 99