Page 299 of 409

NOTE:If the Mode Select Knob (5) is on Air Mode and
the pump is operating, air will dispense from the Air
Pump Hose (7) only, not the Sealant Hose (6).
If the sealant (white fluid) does flow through the
Sealant Hose (6):
1. Continue to operate the pump until sealant is no longer flowing through hose (typically takes 30 - 70
seconds). As the sealant flows through the Sealant
Hose (6), the Pressure Gauge (3) can read as high as 70
psi (4.8 Bar). The Pressure Gauge (3) will decrease
quickly from approximately 70 psi (4.8 Bar) to the
actual tire pressure when the Sealant Bottle (1) is
empty.
2. The pump will start to inject air into the tire immedi- ately after the Sealant Bottle (1) is empty. Continue to
operate the pump and inflate the tire to the pressure
indicated on the tire pressure label on the driver-side latch pillar (recommended pressure). Check the tire
pressure by looking at the Pressure Gauge (3).
If the tire does not inflate to at least 26 psi (1.8 Bar)
pressure within 15 minutes:
• The tire is too badly damaged. Do not attempt to drive
the vehicle further. Call for assistance.
NOTE: If the tire becomes over-inflated, press the Defla-
tion Button to reduce the tire pressure to the recom-
mended inflation pressure before continuing.
If the tire inflates to the recommended pressure or is at
least 26 psi (1.8 Bar) pressure within 15 minutes:
1. Press the Power Button (4) to turn off the TIREFIT kit.
2. Remove the Speed Limit sticker from the top of the Sealant Bottle (1) and place the sticker on the instru-
ment panel.
6
WHAT TO DO IN EMERGENCIES 297
Page 301 of 409

1. Push in the Mode Select Knob (5) and turn to the AirMode position.
2. Uncoil the power plug and insert the plug into the vehicle’s 12 Volt power outlet.
3. Uncoil the Air Pump Hose (7) (black in color) and screw the fitting at the end of hose (7) onto the valve
stem.
4. Check the pressure in the tire by reading the Pressure Gauge (3).
If tire pressure is less than 19 psi (1.3 Bar):
The tire is too badly damaged. Do not attempt to drive
the vehicle further. Call for assistance. If the tire pressure is 19 psi (1.3 Bar) or higher:
1. Press the Power Button (4) to turn on TIREFIT and
inflate the tire to the pressure indicated on the tire and
loading information label on the driver-side door
opening.
NOTE: If the tire becomes over-inflated, press the Defla-
tion Button to reduce the tire pressure to the recom-
mended inflation pressure before continuing.
2. Disconnect the TIREFIT kit from the valve stem, reinstall the cap on the valve stem and unplug from 12
Volt outlet.
3. Place the TIREFIT kit in its proper storage area in the vehicle.
4. Have the tire inspected and repaired or replaced at the earliest opportunity at an authorized dealer or tire
service center.
6
WHAT TO DO IN EMERGENCIES 299
Page 377 of 409

Once A Month Or Before A Long Trip:
•Check engine oil level
• Check windshield washer fluid level
• Check the tire inflation pressures and look for unusual
wear or damage
• Check the fluid levels of the coolant reservoir, brake
master cylinder reservoir, and transmission as needed
• Check function of all interior and exterior lights
Required Maintenance Intervals.
Refer to the maintenance schedules on the following
page for the required maintenance intervals.At Every Oil Change Interval As Indicated By Oil Change Indicator System:
•Change oil and filter.
• Rotate the tires. Rotate at the first sign of irregu-
lar wear, even if it occurs before the oil indicator
system turns on.
• Inspect battery and clean and tighten terminals as
required.
• Inspect brake pads, shoes, rotors, drums, and
hoses.
• Inspect engine cooling system protection and
hoses.
• Check and adjust hand brake.
• Inspect exhaust system.
• Inspect engine air cleaner if using in dusty or
off-road conditions.
8
M
A I
N T
E
N
A
N
C E
S
C
H E
D
U L
E
SMAINTENANCE SCHEDULES 375
Page 405 of 409

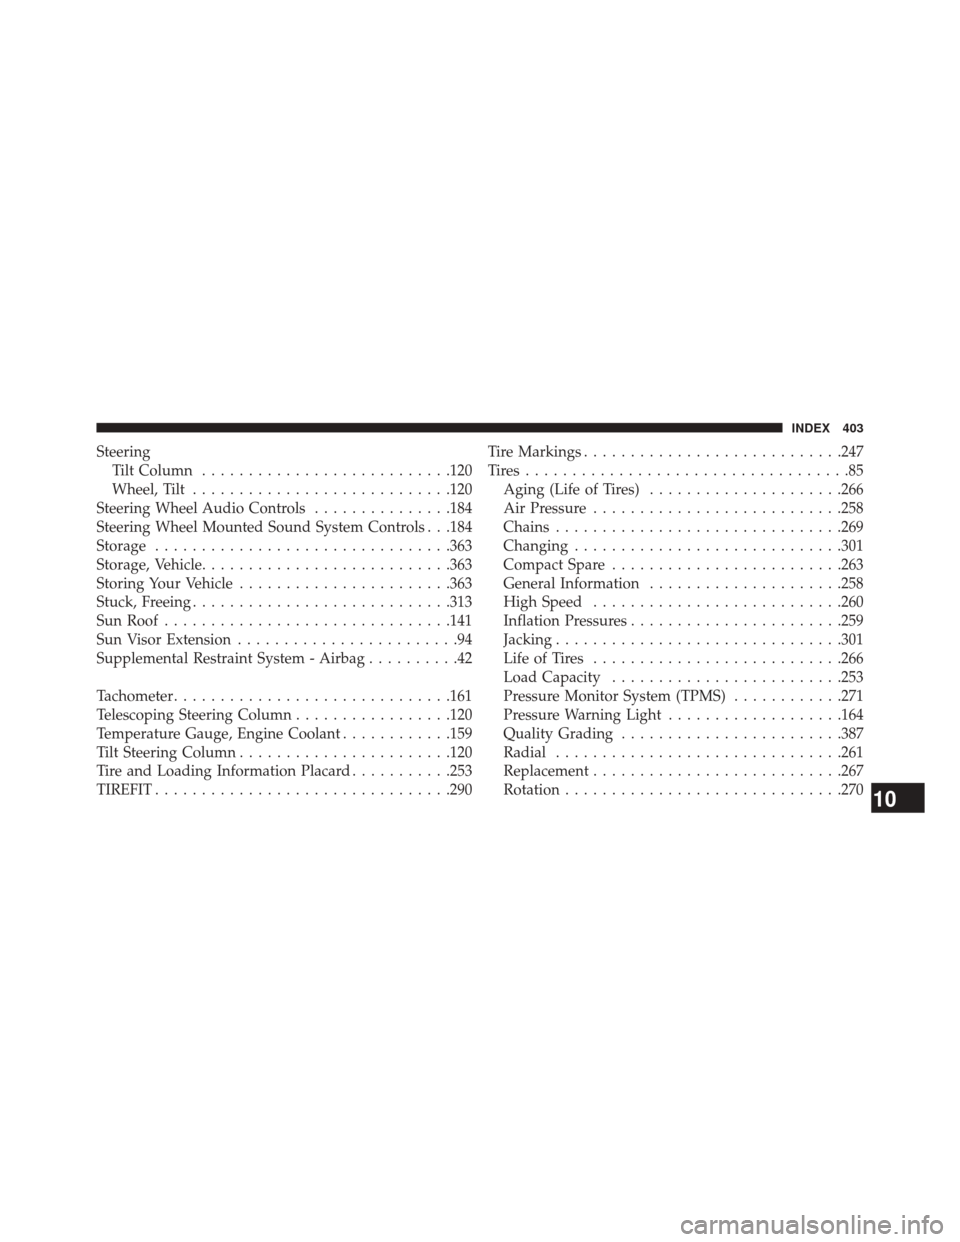
SteeringTilt Column .......................... .120
Wheel, Tilt ........................... .120
Steering Wheel Audio Controls ...............184
Steering Wheel Mounted Sound System Controls . . .184
Storage ............................... .363
Storage, Vehicle .......................... .363
Storing Your Vehicle ...................... .363
Stuck, Freeing ........................... .313
Sun Roof .............................. .141
Sun Visor Extension ........................94
Supplemental Restraint System - Airbag ..........42
Tachometer ............................. .161
Telescoping Steering Column .................120
Temperature Gauge, Engine Coolant ............159
Tilt Steering Column ...................... .120
Tire and Loading Information Placard ...........253
TIREFIT ............................... .290Tire Markings
........................... .247
Tires...................................85 Aging (Life of Tires) .....................266
Air Pressure .......................... .258
Chains .............................. .269
Changing ............................ .301
Compact Spare ........................ .263
General Information .....................258
High Speed .......................... .260
Inflation Pressures ...................... .259
Jacking .............................. .301
Life of Tires .......................... .266
Load Capacity ........................ .253
Pressure Monitor System (TPMS) ............271
Pressure Warning Light ...................164
Quality Grading ....................... .387
Radial .............................. .261
Replacement .......................... .267
Rotation ............................. .270
10
INDEX 403
Page:
< prev 1-8 9-16 17-24