Page 167 of 392

3. Briefly press theMENUbutton to go back to the menu
screen, or press and hold theMENUbutton (approxi-
mately one second) to go back to the main screen
without storing the settings.
Set Time (Clock)
This function may be used to set the clock through two
sub-menu items: “Time” and “Mode.”
Proceed as follows:
1. Briefly press theMENUbutton. The display will show
the two sub-menu items “Time” and “Mode.”
2. Press the UPor DOWNbutton to navigate
the two sub-menu items.
3. Select the required option and then press theMENU
button.
4. When accessing the “Time” sub-menu item, briefly
press theMENUbutton and “hours” will flash on the
display.
5. Press the UPor DOWNbutton for setting.
6. Briefly press theMENUbutton and “minutes” will
flash on the display.
7. Press the UPor DOWNbutton for setting.
NOTE:
•The setting will increase or decrease by one unit each
time the UPor DOWNbutton is pressed.
Press and hold the button to increase/decrease the
setting rapidly. Save the setting by briefly pressing
the button when you approach the required set-
ting.
•Briefly press theMENUbutton to return to the
“Time” sub-function.
4
UNDERSTANDING YOUR INSTRUMENT PANEL 165
Page 170 of 392

3. Briefly press theMENUbutton to go back to the menu
screen, or press and hold theMENUbutton (approxi-
mately one second) to go back to the main screen.
Autoclose
With this function active, the doors will automatically
lock at when the vehicle’s speed exceeds 15 mph
(24 km/h).
To change the setting proceed as follows:
1. Briefly press theMENUbutton “On” or “Off” will
flash on the display (according to the previous set-
ting).
2. Press the UPor DOWNbutton for setting.
3. Briefly press theMENUbutton to go back to the menu
screen, or press and hold theMENUbutton (approxi-
mately one second) to go back to the main screen
without storing the settings.
Units (Set Units)
This function may be used to set the measurement unit in
three submenus: “Distance,” “Temperature” and “Fuel
Economy.”
To set the required unit, proceed as follows:
1. Briefly press theMENUbutton to display the three
sub-menus.
2. Press the UPor DOWNbutton to navigate
the three sub-menus.
3. Select the required sub-menu and then briefly press
theMENUbutton.
4. When accessing the “Distance” submenu: briefly press
theMENUbutton. Either “mi” or “km” will appear on
the display (according to the previous setting).
5. Press the UPor DOWNbutton for setting.
168 UNDERSTANDING YOUR INSTRUMENT PANEL
Page 222 of 392
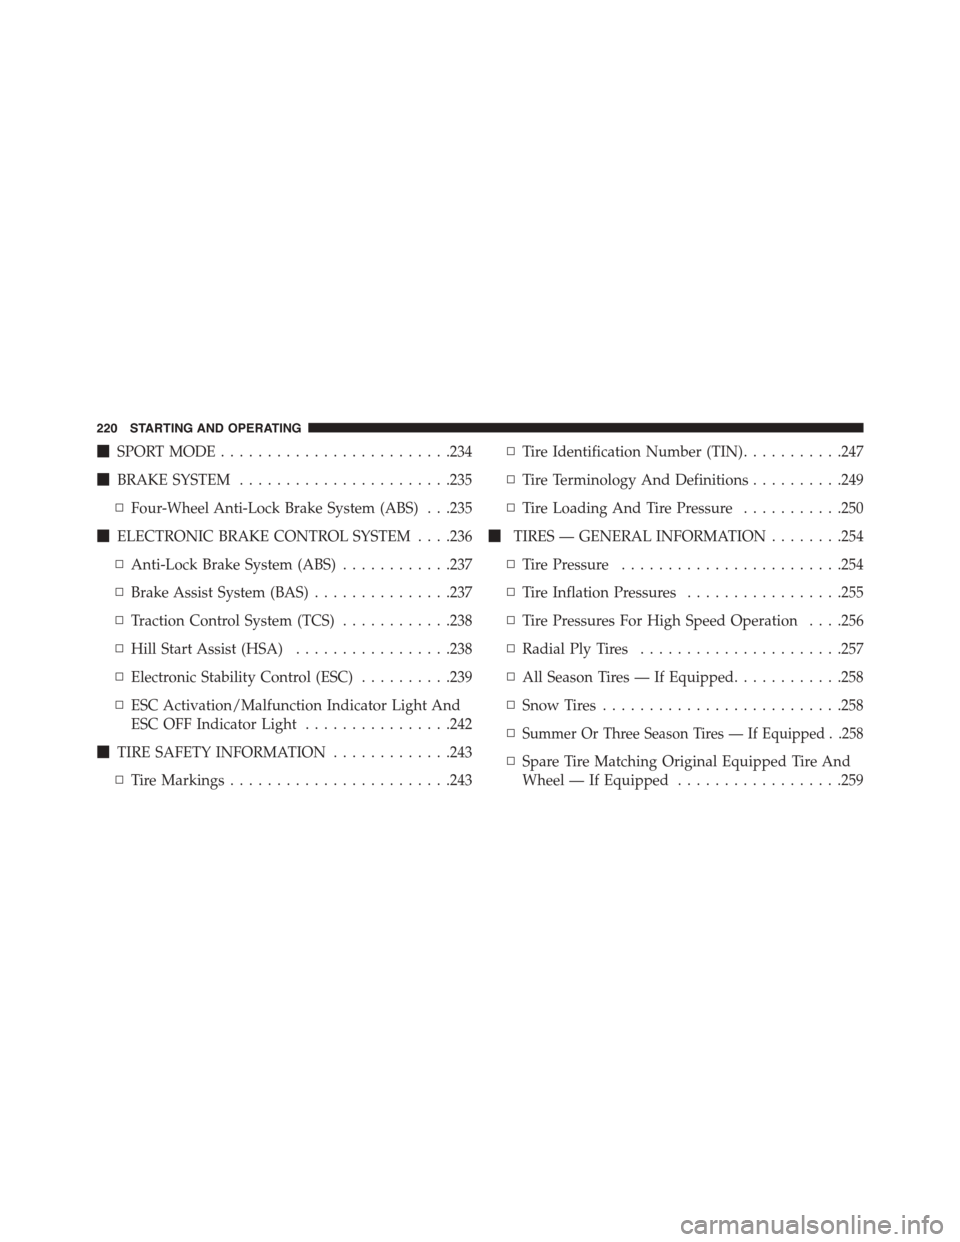
!SPORT MODE.........................234
!BRAKE SYSTEM.......................235
▫Four-Wheel Anti-Lock Brake System (ABS) . . .235
!ELECTRONIC BRAKE CONTROL SYSTEM . . . .236
▫Anti-Lock Brake System (ABS)............237
▫Brake Assist System (BAS)...............237
▫Traction Control System (TCS)............238
▫Hill Start Assist (HSA).................238
▫Electronic Stability Control (ESC)..........239
▫ESC Activation/Malfunction Indicator Light And
ESC OFF Indicator Light................242
!TIRE SAFETY INFORMATION.............243
▫Tire Markings........................243
▫Tire Identification Number (TIN)...........247
▫Tire Terminology And Definitions..........249
▫Tire Loading And Tire Pressure...........250
!TIRES — GENERAL INFORMATION........254
▫Tire Pressure........................254
▫Tire Inflation Pressures.................255
▫Tire Pressures For High Speed Operation . . . .256
▫Radial Ply Tires......................257
▫All Season Tires — If Equipped............258
▫Snow Tires..........................258
▫Summer Or Three Season Tires — If Equipped . .258
▫Spare Tire Matching Original Equipped Tire And
Wheel — If Equipped..................259
220 STARTING AND OPERATING
Page 224 of 392
STARTING PROCEDURES
Before starting your vehicle, adjust your seat, adjust both
inside and outside mirrors, and fasten your seat belts.
WARNING!
•Never leave children alone in a vehicle, or with
access to an unlocked vehicle.
•Allowing children to be in a vehicle unattended is
dangerous for a number of reasons. A child or
others could be seriously or fatally injured. Chil-
dren should be warned not to touch the parking
brake, brake pedal or the shift lever.
•Do not leave the key fob in or near the vehicle (or
in a location accessible to children). A child could
operate power windows, other controls, or move
the vehicle.
Manual Transmission
Apply the parking brake, place the shift lever in NEU-
TRAL, and press the clutch pedal before starting the
vehicle. This vehicle is equipped with a clutch interlock-
ing ignition system. It will not start unless the clutch
pedal is pressed to the floor.
Normal Starting
NOTE:Normal starting of either a cold or a warm
engine is obtained without pumping or pressing the
accelerator pedal.
Turn the ignition switch to the AVV (START) position and
release it when the engine starts. If the engine fails to start
within 10 seconds, turn the ignition switch to the STOP
(OFF/LOCK) position, wait 10 to 15 seconds, then repeat
the “Normal Starting” procedure.
222 STARTING AND OPERATING
Page 225 of 392

Cold Weather Operation
To prevent possible engine damage while starting at low
temperatures, this vehicle will inhibit engine cranking
when the ambient temperature is less than –22° F (–30° C)
and the oil temperature sensor reading indicates an
engine block heater has not been used. An externally-
powered electric engine block heater is available as
optional equipment or from your authorized dealer.
The message “plug in engine heater” will be displayed in
the instrument cluster when the ambient temperature is
below 5° F (–15° C) at the time the engine is shut off as a
reminder to avoid possible crank delays at the next cold
start.
CAUTION!
Use of the recommended SAE 5W-40 synthetic en-
gine oil and adhering to the prescribed oil change
intervals is important to prevent engine damage and
ensure satisfactory starting in cold conditions.
Extended Park Starting
NOTE:Extended Park condition occurs when the ve-
hicle has not been started or driven for at least 35 days.
1. Install a battery charger or jumper cables to the battery
to ensure a full battery charge during the crank cycle.
2. Place the ignition in the START position and release it
when the engine starts.
5
STARTING AND OPERATING 223
Page 226 of 392
3. If the engine fails to start within 10 seconds, place the
ignition to the STOP (OFF/LOCK) position, wait 5
seconds to allow the starter to cool, then repeat the
Extended Park Starting procedure.
4. If the engine fails to start after 8 attempts, allow the
starter to cool for at least 10 minutes, then repeat the
procedure.
If Engine Fails To Start
WARNING!
Never pour fuel or other flammable liquid into the
throttle body air inlet opening in an attempt to start
the vehicle. This could result in flash fire causing
serious personal injury.
CAUTION!
•Do not attempt to push or tow your vehicle to get it
started. Unburned fuel could enter the catalytic
converter and once the engine has started, ignite
and damage the converter and vehicle.
•To prevent damage to the starter, do not continu-
ously crank the engine for more than 15 seconds at
a time. Wait 10 to 15 seconds before trying again.
After Starting
The idle speed will automatically decrease as the engine
warms up.
Turbocharger “Cool Down”
This vehicle is equipped with an after-run pump to cool
the turbocharger after the engine is shut off. Depending
on the type of driving and the amount of cargo, the pump
will run for up to 10 minutes after the engine has been
224 STARTING AND OPERATING
Page 232 of 392
CAUTION!(Continued)
•Getting water inside your vehicle’s engine can
cause it to lock up and stall out, and cause serious
internal damage to the engine. Such damage is not
covered by the New Vehicle Limited Warranty.
WARNING!
•Driving through standing water limits your vehi-
cle’s traction capabilities. Do not exceed 5 mph
(8 km/h) when driving through standing water.
•Driving through standing water limits your vehi-
cle’s braking capabilities, which increases stopping
distances. Therefore, after driving through stand-
ing water, drive slowly and lightly press on the
brake pedal several times to dry the brakes.
(Continued)
WARNING!(Continued)
•Failure to follow these warnings may result in
injuries that are serious or fatal to you, your pas-
sengers, and others around you.
POWER STEERING
The electric power steering system will give you good
vehicle response and increased ease of maneuverability
in tight spaces. The system will vary its assist to provide
light efforts while parking and good feel while driving. If
the electric steering system experiences a fault that
prevents it from providing assist, you will still have the
ability to steer the vehicle manually.
230 STARTING AND OPERATING
Page 235 of 392
When parking on a hill, it is important to turn the front
wheels toward the curb on a downhill grade and away
from the curb on an uphill grade. The parking brake
should always be applied whenever the driver is not in
the vehicle.
WARNING!
•Never leave children alone in a vehicle, or with
access to an unlocked vehicle.
•Allowing children to be in a vehicle unattended is
dangerous for a number of reasons. A child or
others could be seriously or fatally injured. Chil-
dren should be warned not to touch the parking
brake, brake pedal or the shift lever.
(Continued)
WARNING!(Continued)
•Do not leave the key fob in or near the vehicle or in
a location accessible to children. A child could
operate power windows, other controls, or move
the vehicle.
•Be sure the parking brake is fully disengaged
before driving; failure to do so can lead to brake
failure and a collision.
•Always fully apply the parking brake when leav-
ing your vehicle, or it may roll and cause damage or
injury. Also be certain to leave a manual transmis-
sion in REVERSE or first gear. Failure to do so may
allow the vehicle to roll and cause damage or
injury.
5
STARTING AND OPERATING 233