2014 DODGE JOURNEY manual radio set
[x] Cancel search: manual radio setPage 32 of 124

Instrument Panel Dimmer
• Rotate the dimmer control to the extreme bottom position to fully dim the instrumentpanel lights and prevent the interior lights from illuminating when a door is opened.
• Rotate the dimmer control up to increase the brightness of the instrument panel when the parking lights or headlights are on.
• Rotate the dimmer control up to the next detent position to fully brighten the odometer and radio when the parking lights or headlights are on.
• Rotate the dimmer control up to the last detent position to turn on the interior lighting.
• If your vehicle is equipped with a touchscreen, the dimming is programmable through the Uconnect® system. Refer to “Uconnect® Settings ” in “Understanding Your Instrument
Panel” in the Owner's Manual on the DVD for further details.
Door/Map Pocket Lights
• Rotate the Door/Map Pocket control up or down to increase or decrease the brightness ofthe door handle and map pocket lighting when the parking lights or headlights are on.
SPEED CONTROL
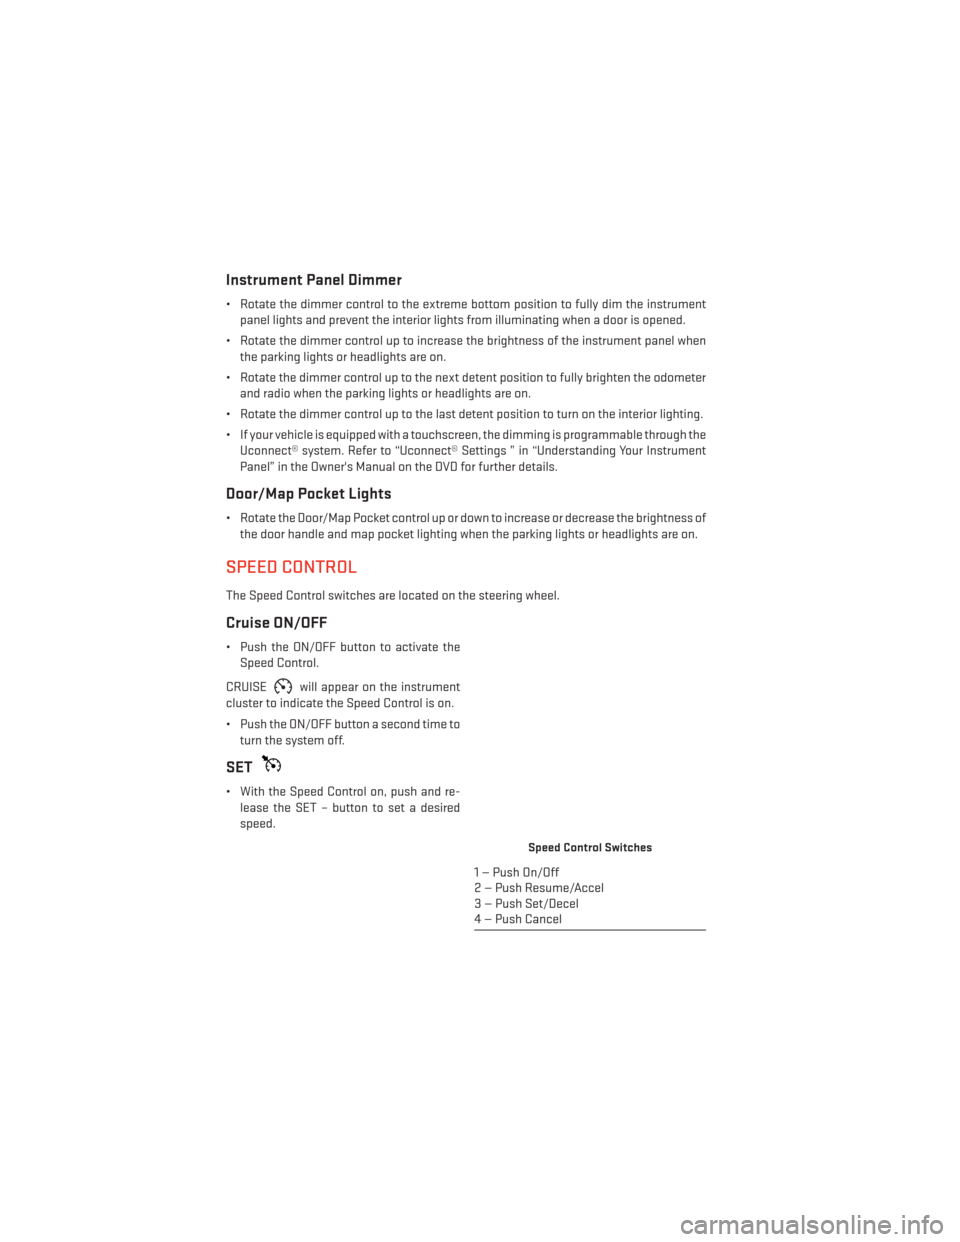
The Speed Control switches are located on the steering wheel.
Cruise ON/OFF
• Push the ON/OFF button to activate theSpeed Control.
CRUISE
will appear on the instrument
cluster to indicate the Speed Control is on.
• Push the ON/OFF button a second time to turn the system off.
SET
• With the Speed Control on, push and re-lease the SET – button to set a desired
speed.
Speed Control Switches
1 — Push On/Off
2 — Push Resume/Accel
3 — Push Set/Decel
4 — Push Cancel
OPERATING YOUR VEHICLE
30
Page 37 of 124

Automatic Operation
• Press the AUTO button or AUTO soft-key.
• Select the desired temperature by pressing the Temperature Controls for the driver orpassenger.
• The system will maintain the set temperature automatically.
SYNC Temperature Soft-Key
•Press the SYNC soft-key once to control driver and passenger temperatures simultaneously.
• Press the SYNC soft-key a second time to control the temperatures individually.
Air Recirculation
• Use recirculation for maximum A/C operation.
• For window defogging, turn the recirculation button off.
• If the hard-key Recirculation button is pushed while in the AUTO mode, the indicator light may flash three times to indicate the cabin air is being controlled automatically.
The soft-key recirculation button will be greyed out in these conditions.
Heated Mirrors
The mirrors are heated to melt frost or ice. This feature is activated whenever you turn on
the rear window defroster.
PARKVIEW® REAR BACK-UP CAMERA
You can see an on-screen image of the rear of your vehicle whenever the shift lever is put
into REVERSE. The ParkView® Rear Back-Up Camera image will be displayed on the radio
display screen, located on the center stack of the instrument panel.
If the radio display screen appears foggy, clean the camera lens located on the liftgate.
Refer to your Owner's Manual on the DVD for further details.
WARNING!
Drivers must be careful when backing up; even when using the ParkView® Rear Back-Up
Camera. Always check carefully behind your vehicle, and be sure to check for pedestri-
ans, animals, other vehicles, obstructions, or blind spots before backing up. You must
continue to pay attention while backing up. Failure to do so can result in serious injury or
death.
OPERATING YOUR VEHICLE
35
Page 45 of 124

Setting The Time
• Model 8.4N synchronizes time automatically via GPS, so should not require any timeadjustment. If you do need to set the time manually, follow the instructions below for
Model 8.4.
• For Model 8.4, turn the unit on, then touch the “Time Display” at the top of the screen. Touch “Yes”.
• If the time is not displayed at the top of the screen, touch “More” soft-key and then “Settings” soft-key. In the Settings screen, touch the “Clock” soft-key, then check or
uncheck this option.
• Touch “+” or “–” next to Set Time Hours and Set Time Minutes to adjust the time.
• If these features are not available, uncheck the “Sync” with GPS box.
• Touch “X” to save your settings and exit out of the Clock Setting screen.
Audio Settings
• Touch the “Audio” soft-key to activate the Audio settings screen to adjust Balance\Fade, Equalizer and Speed Adjusted Volume.
• You can return to the Radio screen by touching the “X” located at the top right.
Balance/Fade
• Touch the “Balance/Fade” soft-key to Balance audio between the front speakers or fade the audio between the rear and front speakers.
• Touching the “Front,” “Rear,” ”Left” or “Right” soft-keys or touch and drag the red Speaker Icon to adjust the Balance/Fade.
Equalizer
• Touch the “Equalizer” soft-key to activate the Equalizer screen.
• Touch the “+” or “ –” soft-keys, or by touching and dragging over the level bar for each of the equalizer bands. The level value, which spans between ±9, is displayed at the bottom
of each of the Bands.
Speed Adjusted Volume
• Touch the “Speed Adjusted Volume” soft-key to activate the Speed Adjusted Volume screen. The Speed Adjusted Volume is adjusted by touching the “+” and “–” buttons or by
touching and dragging over the level bar. This alters the automatic adjustment of the
audio volume with variation to vehicle speed.
ELECTRONICS
43
Page 58 of 124

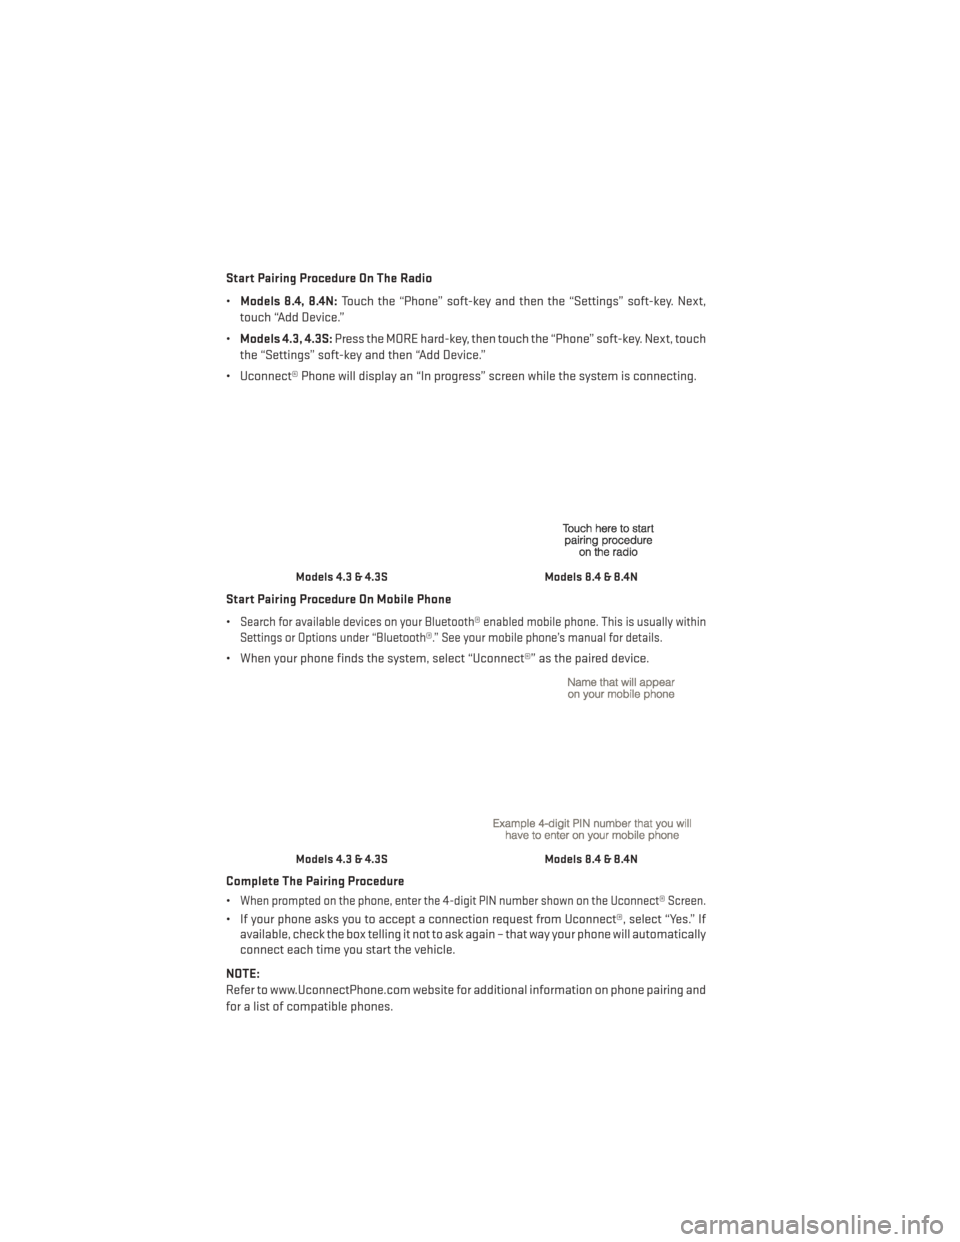
Start Pairing Procedure On The Radio
•Models 8.4, 8.4N: Touch the “Phone” soft-key and then the “Settings” soft-key. Next,
touch “Add Device.”
• Models 4.3, 4.3S: Press the MORE hard-key, then touch the “Phone” soft-key. Next, touch
the “Settings” soft-key and then “Add Device.”
• Uconnect® Phone will display an “In progress” screen while the system is connecting.
Start Pairing Procedure On Mobile Phone
•
Search for available devices on your Bluetooth® enabled mobile phone. This is usually within
Settings or Options under “Bluetooth®.” See your mobile phone’s manual for details.
• When your phone finds the system, select “Uconnect®” as the paired device.
Complete The Pairing Procedure
•
When prompted on the phone, enter the 4-digit PIN number shown on the Uconnect® Screen.
• If your phone asks you to accept a connection request from Uconnect®, select “Yes.” If available, check the box telling it not to ask again – that way your phone will automatically
connect each time you start the vehicle.
NOTE:
Refer to www.UconnectPhone.com website for additional information on phone pairing and
for a list of compatible phones.
Models 4.3 & 4.3SModels 8.4 & 8.4N
Models 4.3 & 4.3SModels 8.4 & 8.4N
ELECTRONICS
56
Page 61 of 124

Common Phone Commands (Examples)
• “Call John Smith”
• “Call John Smith mobile”
• “Dial 1 248 555 1212”
• “Call Emergency”
• “Call Towing Assistance”
• “Redial”
Phonebook
• Uconnect® radios will automatically download your phonebook from your paired phone,if this feature is supported by your phone. Entries are updated each time that the phone
is connected. If your phone book entries do not appear, check the settings on your phone.
Some phones require you to enable this feature manually.
• Your phonebook can be browsed on your radio screen, but editing can only be done on your phone. To browse, touch the “Phone” soft-key, then the “Phonebook” soft-key.
• Favorite phonebook entries can be saved as Favorites for quicker access. Favorites are shown at the top of your main phone screen.
Voice Command Tips (8.4 And 8.4N Only)
• Using complete names (i.e; Call John Doe vs. Call John) will result in greater systemaccuracy.
• You can “chain” commands together for faster results. Say “Call John Doe mobile,” for example.
• If you are listening to available voice command options, you do not have to listen to the entire list. When you hear the command that you need, press the
button on the
steering wheel, wait for the beep and say your command.
Changing The Volume
• Start a dialogue by pressing the Phone button, then say a command for example -
"Help."
• Use the radio ON/OFF VOLUME rotary knob to adjust the volume to a comfortable level while the Uconnect® system is speaking. Please note the volume setting for Uconnect®
is different than the audio system.
NOTE:
To access help, press the Uconnect® Phone
button on the steering wheel and say
"help." Touch the display or push either
orbutton and say "cancel" to cancel
the help session.
ELECTRONICS
59
Page 63 of 124

Changing The Volume
• Start a dialogue by pressing the Voice Command button, then say a command
(for example, “help”).
• Use the radio ON/OFF VOLUME rotary knob to adjust the volume to a comfortable level while the Voice Command system is speaking. The volume setting for Voice Command is
different than the audio system.
• Refer to the “Understand The Features Of Your Vehicle” section of your vehicle's Owner's Manual on the DVD for further details.
Common Voice Commands (Examples)
Switch Modes “FM”
“Satellite” “AM”
“Change Source to iPod”
“Change Source to SD Card”
Radio (FM, AM) “95.5”
“95.5 FM”
“Go to preset 5”
Player “Play Album 'Greatest Hits”
“Play Artist 'Scott Joplin” “Play Genre 'Rock”
“Play Song 'Maple Leaf Rag”
SiriusXM Satellite Radio “39”
“Foxxhole”
SiriusXM Travel Link “Show fuel prices”
“Show movie listings”
“Show current weather”
“Show extended weather”
“Show Travel Link favorites”
“Show NFL headlines”
“Show NBA rankings”
“Show NFL schedules”
“Show NBA scores”
Navigation “Navigate to (Address)”
“Navigate to (Point of Interest)”
NOTE:
For the shortened SiriusXM Satellite Radio mode commands to be recognized you must be
in that mode. For example, if you are in SiriusXM Satellite Radio mode you can say “39,” but
if you are not in SiriusXM mode, you would need to say “Tune to Satellite Channel 39.”
ELECTRONICS
61
Page 116 of 124

OutletPower .................70
Overheating, Engine ...........79
PanicAlarm................8
Phone (Uconnect®) ............55
Placard, Tire and Loading Information ..............105
Power Distribution Center (Fuses) .....104
Inverter ................69
Outlet (Auxiliary Electrical Outlet) . .70
Seats .................21
Steering ...............96
Preparation for Jacking .........80
Programmable Electronic Features . . .65
Radio Operation .............44
Radio (Sound Systems) ........41,42
Rain Sensitive Wiper System .......29
Rear Camera ...............35
Rear ParkSense System .........35
Rear Seat, Folding ............23
Recreational Towing ...........72
Remote Keyless Entry (RKE) LockTheDoors ............8
Remote Keyless Entry (RKE) ......8
Unlock The Doors ...........8
ReplacementBulbs...........107
Reporting Safety Defects ........109
Resetting Oil Change Indicator ......78
Rocking Vehicle When Stuck .......91
Satellite Radio (Uconnect® studios) . . .45
Seat Belt Automatic Locking Retractor (ALR) . .13
Child Restraints ..........13,15
Energy Management Feature .....13
Lap/Shoulder Belts ..........13
Seat Belt Pretensioner ........13
SeatBeltReminder ..........13
Seat Belts Reminder ...............76
Seats ...................21
Adjustment ..............21
Folding Front Passenger .......22Heated ................25
Manual
................21
Power .................21
Rear Folding .............23
SecurityAlarm ..............78 Security Alarm ............13
Shift Lever Override ............89
Signals, Turn .............28,77
SIRIUSTravelLink ............53
SpareTire.................80
SparkPlugs................96
Speed Control Accel/Decel .............31
Cancel ................32
Resume ...............32
Set ..................30
Steering Tilt Column ..............27
Wheel, Heated ............26
Steering Wheel Audio Controls ......64
Stuck, Freeing ...............91
Supplemental Restraint System - Airbag .................14
Temperature Control, Automatic (ATC)..33
Tether Anchor, Child Restraint ......16
Tilt Steering Column ...........27
Tires Air Pressure .............105
Changing...............80
Jacking ................80
Pressure Warning Light ........74
SpareTire ..............80
Towing...................71 Disabled Vehicle ...........90
Recreational .............72
Towing Vehicle Behind a Motorhome . . .72
Traction Control ..............77
Trailer Towing Trailer and Tongue Weight ......71
Trailer Weight ...............71
Transmission Fluid .................96
Turn Signals ..............28,77
INDEX
114