Page 40 of 156
Air Conditioning (A/C)
• If the air conditioning button is pressed while in AUTO mode, the system will exit AUTOmode and stay in A/C. The mode and blower will go to the previous user setting.
SYNC Temperature Button
• Push the SYNC button once to control driver and passenger temperatures simultane-ously. Push the SYNC button a second time to control the temperatures individually.
Air Recirculation
• Use Recirculation for maximum A/C operation.
• For window defogging, turn the Recirculation button off.
• If the Recirculation button is pressed when the system is in Defrost mode the Recircu-lation LED indicator will flash three times to indicate Recirculation mode is not allowed.
Heated Mirrors
The mirrors are heated to melt frost or ice. This feature is activated whenever you turn on
the rear window defroster.
Rear Window Defroster
• Pressing the rear window defroster button will turn on the defroster for approximately10 minutes. An indicator in the button will illuminate when the rear window defroster is
on. For an additional 10 minutes of operation, press the button a second time.
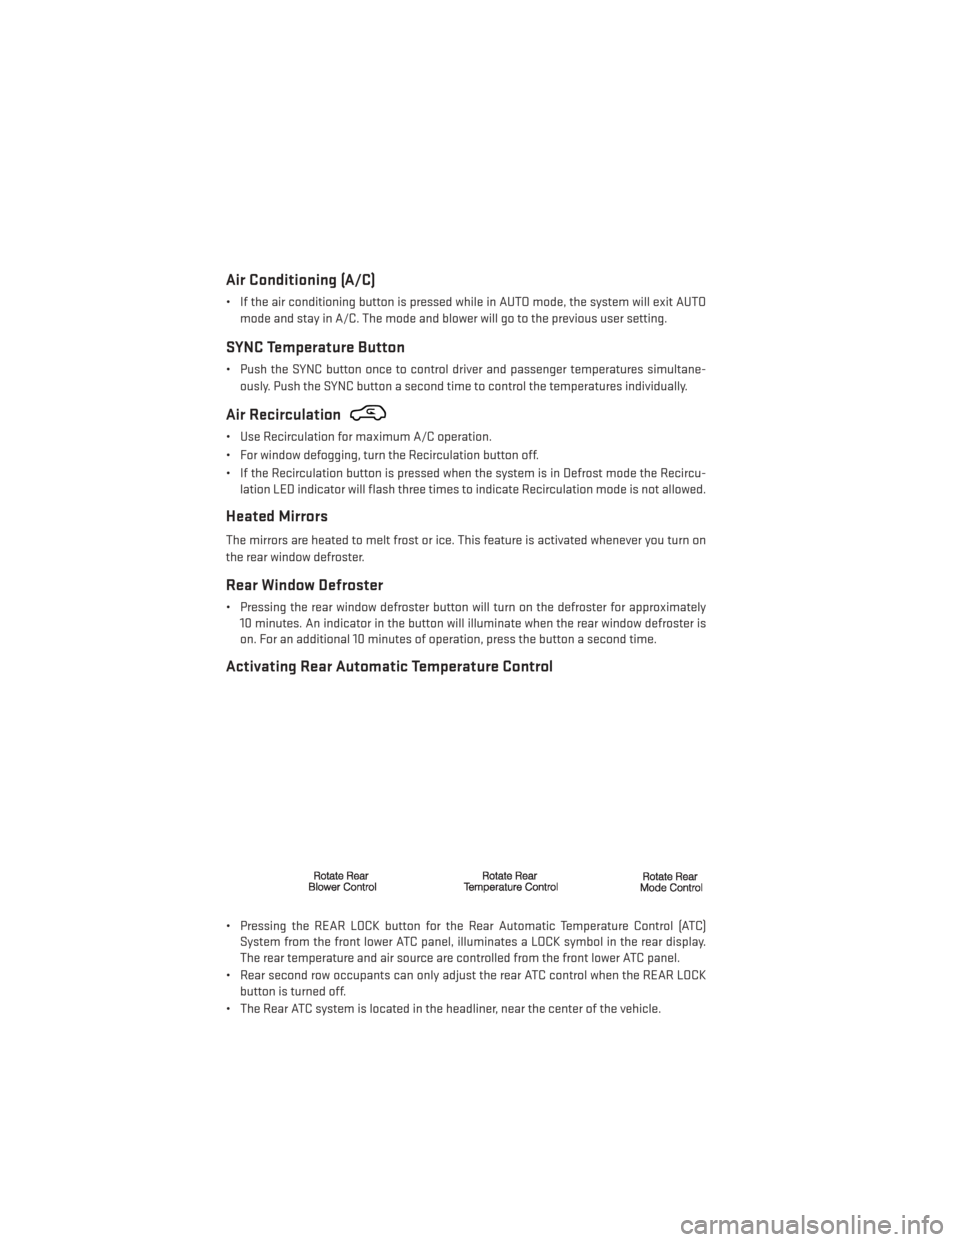
Activating Rear Automatic Temperature Control
• Pressing the REAR LOCK button for the Rear Automatic Temperature Control (ATC)System from the front lower ATC panel, illuminates a LOCK symbol in the rear display.
The rear temperature and air source are controlled from the front lower ATC panel.
• Rear second row occupants can only adjust the rear ATC control when the REAR LOCK button is turned off.
• The Rear ATC system is located in the headliner, near the center of the vehicle.
OPERATING YOUR VEHICLE
38
Page 45 of 156
WARNING!
• Never leave children unattended in a vehicle, and do not leave the Key Fob in or nearthe vehicle, and do not leave a vehicle equipped with Keyless Enter-N-Go™ in the
ACC or ON/RUN mode. Occupants, particularly unattended children, can become
entrapped by the power sunroof while operating the power sunroof switch. Such
entrapment may result in serious injury or death.
• In a collision, there is a greater risk of being thrown from a vehicle with an open
sunroof. You could also be severely injured or killed. Always fasten your seat belt
properly and make sure all passengers are properly secured.
• Do not allow small children to operate the sunroof. Never allow your fingers, other
body parts, or any object to project through the sunroof opening. Injury may result.
WIND BUFFETING
Wind buffeting can be described as a helicopter-type percussion sound. If buffeting occurs
with the rear windows open, adjust the front and rear windows together.
If buffeting occurs with the sunroof open, adjust the sunroof opening, or adjust any window.
This will minimize buffeting.
OPERATING YOUR VEHICLE
43
Page 49 of 156
Radio Operation
Seek Up/Down Buttons
• Press to seek through radio stations in AM or FM bands.
• Hold either button to bypass stations without stopping.
Store Radio Presets
• Press the SET/RND or SET (depending on the radio) button once and SET 1 will show in thedisplay. Then select a preset button (1–6).
• A second station may be added to each push button. Press the SET/RND or SET (depending on the radio) button twice and SET 2 will show in the display. Then select a
preset button (1–6).
CD/DISC Operation
Seek Up/Down Buttons
• Press to seek through CD tracks.
• Hold either button to bypass tracks without stopping.
SET/RND Or RND (Depending On Radio) Button (Random Play)
• Press this button while the CD is playing to activate Random Play.
• This feature plays the selections on the CD in random order to provide an interestingchange of pace.
Audio Jack Operation
The AUX/Audio Jack provides a means to connect a portable audio device, such as an MP3
player or an iPod®, to the vehicle’s sound system. This requires the use of a 3.5 mm stereo
audio patch cable.
• Pressing the AUX button will change the mode to auxiliary device if the Audio Jack isconnected, allowing the music from your portable device to play through the vehicle's
speakers.
The functions of the portable device are controlled using the device buttons, not the
buttons on the radio. However, the volume may be controlled using the radio or portable
device.
ELECTRONICS
47
Page 51 of 156
Equalizer, Balance And Fade
1. Press the TUNE/SCROLL control knob and “BASS” will display.
2. Rotate the TUNE/SCROLL control knob to select the desired setting.
3. Continue pressing the TUNE/SCROLL control knob to display and set “MID RANGE,”“TREBLE,” “BALANCE” and “FADE.”
Radio Operation
Seek Up/Down Buttons
• Press to seek through radio stations in AM, FM, or SAT bands.
• Hold either button to bypass stations without stopping.
Store Radio Presets
• Press the SET/RND or SET (depending on the radio) button once and SET 1 will show in thedisplay. Then select a preset button (1–6).
• A second station may be added to each push button. Press the SET/RND or SET (depending on the radio) button twice and SET 2 will show in the display. Then select a
preset button (1–6).
Music Type
NOTE:
The Music Type function only operates when in FM mode.
• Press the MUSIC TYPE button to activate this mode. Press the MUSIC TYPE button again or turn the TUNE/SCROLL control knob to select the desired music type (Adult Hits,
Country, Jazz, Oldies, Rock, etc.).
• When a music type is chosen and the Music type is displayed, press either SEEK button and the radio will only search for stations with the selected music type.
SETUP Button
• Pressing the SETUP button allows you to select between items that are available in that particular mode.
• Turn the TUNE/SCROLL control knob to scroll through the entries. Push the AUDIO/ SELECT button to select an entry and make changes.
ELECTRONICS
49
Page 56 of 156
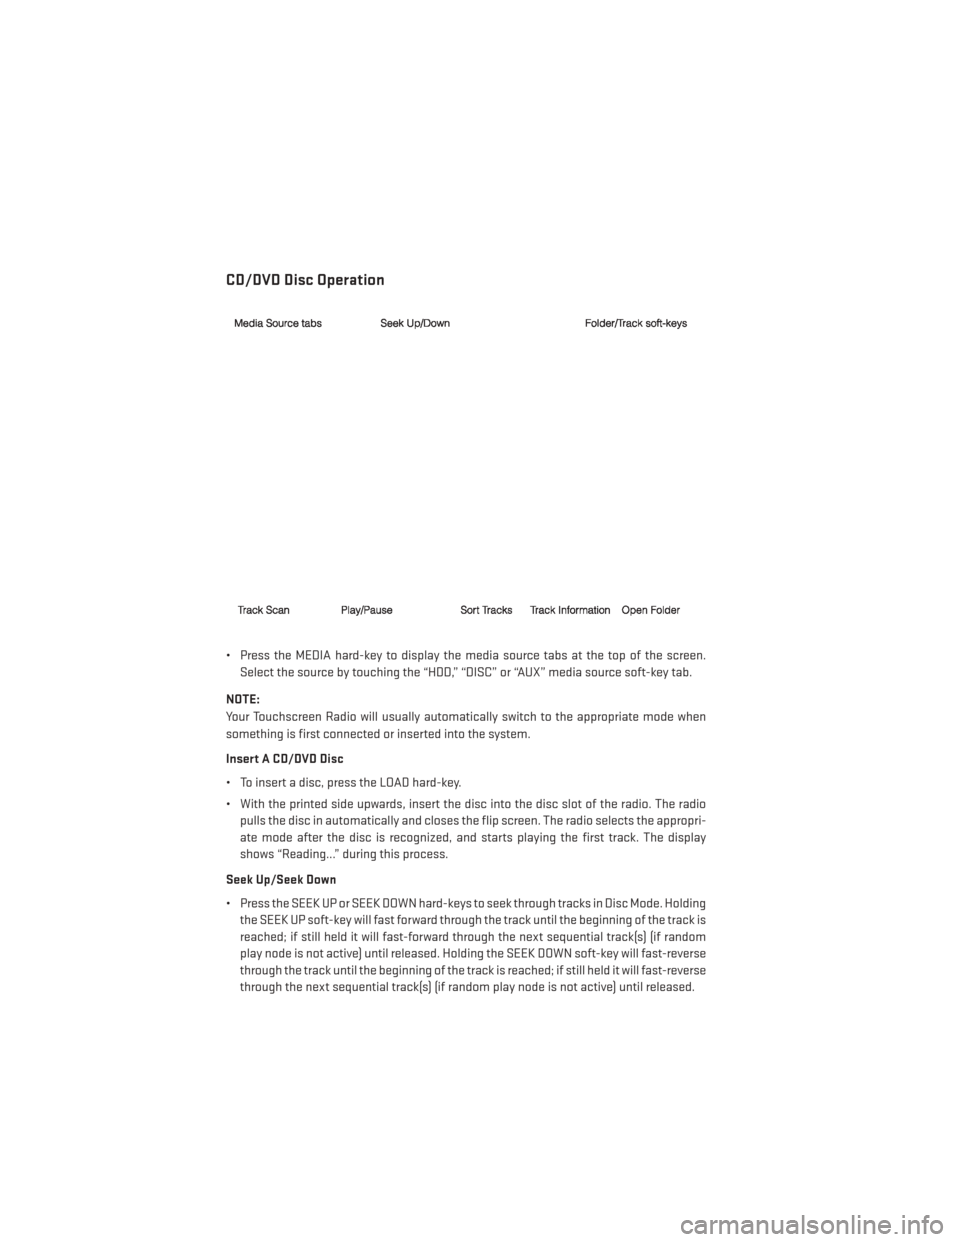
CD/DVD Disc Operation
• Press the MEDIA hard-key to display the media source tabs at the top of the screen.Select the source by touching the “HDD,” “DISC” or “AUX” media source soft-key tab.
NOTE:
Your Touchscreen Radio will usually automatically switch to the appropriate mode when
something is first connected or inserted into the system.
Insert A CD/DVD Disc
• To insert a disc, press the LOAD hard-key.
• With the printed side upwards, insert the disc into the disc slot of the radio. The radio pulls the disc in automatically and closes the flip screen. The radio selects the appropri-
ate mode after the disc is recognized, and starts playing the first track. The display
shows “Reading...” during this process.
Seek Up/Seek Down
• Press the SEEK UP or SEEK DOWN hard-keys to seek through tracks in Disc Mode. Holding the SEEK UP soft-key will fast forward through the track until the beginning of the track is
reached; if still held it will fast-forward through the next sequential track(s) (if random
play node is not active) until released. Holding the SEEK DOWN soft-key will fast-reverse
through the track until the beginning of the track is reached; if still held it will fast-reverse
through the next sequential track(s) (if random play node is not active) until released.
ELECTRONICS
54
Page 65 of 156
CD/DVD Disc Operation
• Press the RADIO/MEDIA hard-key until the media source tabs are displayed at the top ofthe screen. Select the source by touching the “HDD,” “DISC” or “AUX” media source
soft-key tab.
NOTE:
Your Touchscreen Radio will usually automatically switch to the appropriate mode when
something is first connected or inserted into the system.
Insert A CD/DVD Disc
• To insert a disc, press the OPEN/CLOSE hard-key.
• With the printed side upwards, insert the disc into the disc slot of the radio. The radio pulls the disc in automatically and closes the flip screen. The radio selects the appropri-
ate mode after the disc is recognized, and starts playing the first track. The display
shows “Reading...” during this process.
Seek Up/Seek Down
• Press the SEEK UP or SEEK DOWN hard-keys to seek through tracks in Disc Mode. Hold either SEEK to bypass tracks without stopping.
ELECTRONICS
63
Page 75 of 156
Replay
• While you are in SAT mode, you can replay 44 minutes of the current SiriusXM channel(when the channel is changed, this audio buffer is erased). Press the REPLAY button to
listen to the stored audio.
• You can touch the on-screen controls to pause and rewind audio playback, touch
the SCAN button to preview each of the
tracks stored in the buffer, or select a
track from the list.
• The time displayed below the bar indi- cates how much time is present between
the current buffer play position and the
live broadcast.
Replay Option Option Description
Play/Pause Touch to pause content playback. Touch Pause/Play again to resume playback.
Rewind/RW Rewinds the channel content in steps of five seconds. Touch and hold to rewind continuously, then release to begin playing content at that point.
Fast Forward/FW Forwards the content, and works similarly to Rewind/RW. However, Fast Forward/FW can only be used when content has been previously rewound.
Replay Time Displays the amount of time in the upper center of the screen by which your content lags the live channel.
Live Resumes playback of live content at any time while replaying rewound content.
ELECTRONICS
73
Page 82 of 156
• Start a dialogue by pressing the “Voice Command” button, you will hear a beep.
The beep is your signal to give a command. Below are a list of voice commands for each
of the different modes.
Common Voice Commands (Examples)
While In: Voice Command Example:
Main Menu “Radio AM” (to switch to the AM radio mode)
“Radio FM” (to switch to the FM radio mode)
“Satellite Radio” (to switch to the Satellite radio mode) “Disc” (to switch to the disc mode)“USB” (to switch to the USB mode)
“Bluetooth Streaming” (to switch to the Bluetooth® Streaming mode)
“Memo” (to switch to the memo recorder)
“System Setup” (to switch to system setup)
Radio Mode “Frequency” (to change the frequency)
“Next Station” (to select the next station)
“Previous Station” (to select the previous station) “Radio Menu” (to switch to the radio menu)“Main Menu” (to switch to the main menu)
SiriusXM Satellite Radio Mode “Channel Number” (to change the channel by its spoken number)
“Next Channel” (to select the next channel)
“Previous Channel” (to select the previous channel) “List Channel” (to hear a list of available channels)
"Channel Name" (to change the channel by its spoken name) “Select Name” (to say the name of a channel)“Radio Menu” (to switch to the radio menu)“Main Menu” (to switch to the main menu)
Disc Mode “Track” (#) (to change the track)
“Next Track” (to play the next track)
“Previous Track” (to play the previous track) “Main Menu” (to switch to the main menu)
ELECTRONICS
80