Page 349 of 698

then press and release the SELECT button until a check-
mark appears next to the setting, showing that the setting
has been selected.
Headlamps With Wipers (Available With Auto
Headlights Only)
When ON is selected, and the headlight switch is in the
AUTO position, the headlights will turn on approxi-
mately 10 seconds after the wipers are turned on. The
headlights will also turn off when the wipers are turned
off if they were turned on by this feature. To make your
selection, press and release the SELECT button until a
check-mark appears next to the setting, showing that the
setting has been selected.
NOTE:Turning the headlights on during the daytime
causes the instrument panel lights to dim. To increase the
brightness, refer to “Lights” in “Understanding The
Features Of Your Vehicle.”
Key-Off Power Delay
When this feature is selected, the power window
switches, radio, Uconnect® phone (if equipped), DVD
video system (if equipped), power sunroof (if equipped),
and power outlets will remain active for up to 10 minutes
after the ignition switch is turned OFF. Opening either
front vehicle door will cancel this feature. To make your
selection, scroll up or down until the preferred setting is
highlighted, then press and release the SELECT button
until a check-mark appears next to the setting, showing
that the setting has been selected.
Illuminated Approach
When this feature is selected, the headlights will activate
and remain on for up to 90 seconds when the doors are
unlocked with the RKE transmitter. To make your selec-
tion, scroll up or down until the preferred setting is
4
UNDERSTANDING YOUR INSTRUMENT PANEL 347
Page 350 of 698

highlighted, then press and release the SELECT button
until a check-mark appears next to the setting, showing
that the setting has been selected.
Hill Start Assist (HSA) — If Equipped
When on is selected, the HSA system is active. Refer to
“Electronic Brake Control System” in “Starting And
Operating” for system function and operating informa-
tion. To make your selection, press and release the
SELECT button until “ON” or “OFF” appears.
Flashers With Sliding Door
When this feature is selected the signal lamps activate
when power or manual sliding doors are in operation,
signaling other drivers that someone may be exiting or
entering the vehicle. To make your selection, press and
release the SELECT button until a check-mark appears
next to the feature showing the system has been activated
or the check-mark is removed showing the system has
been deactivated.
Keyless Enter-N-Go™ (Passive Entry)
This feature allows you to lock and unlock the vehicle’s
door(s) without having to press the RKE transmitter lock
or unlock buttons. To make your selection, press and
release the SELECT button until a check-mark appears
next to the feature showing the system has been activated
or the check-mark is removed showing the system has
been deactivated. Refer to “Keyless Enter-N-Go™” in
“Things To Know Before Starting Your Vehicle”.
Easy Exit Seat
This feature provides automatic driver seat positioning to
enhance driver mobility when entering and exiting the
vehicle. To make your selection, press and release the
SELECT button until a check-mark appears next to the
feature showing the system has been activated or the
check-mark is removed showing the system has been
deactivated.
348 UNDERSTANDING YOUR INSTRUMENT PANEL
Page 351 of 698
NOTE:The seat will return to the memorized seat
location (if Recall Memory with Remote Key Unlock is set
to ON) when the RKE transmitter is used to unlock the
door. Refer to “Driver Memory Seat” in “Understanding
The Features Of Your Vehicle” for further information.
Calibrate Compass
Refer to “Automatic Compass Calibration” in “Electronic
Vehicle Information (EVIC)” in “Understanding Your
Instrument Panel” for more information.
Compass Variance
Refer to “Compass/Temperature Display” in “Electronic
Vehicle Information (EVIC)” in “Understanding Your
Instrument Panel” for more information.
Uconnect® 730N/430/430N CD/DVD/HDD/NAV —
IF EQUIPPED
Refer to your Uconnect® Supplement Manual for de-
tailed operating instructions.
Operating Instructions (Voice Command System)
— If Equipped
Refer to “Voice Command” for further details.
Operating Instructions (Uconnect® Phone) — If
Equipped
Refer to “Uconnect® Phone” for further details.
4
UNDERSTANDING YOUR INSTRUMENT PANEL 349
Page 443 of 698

CAUTION!(Continued)
just behind the sliding door. Do not block or place
objects directly in front of the inlet grille or heater
outlets. The electrical system could overload, causing
damage to the blower motor.
Rear Temperature Control
The rear mode selection REAR,allows the settings to be
controlled by the rear mode control knob.
To change the temperature in the rear of the vehicle,
rotate the temperature control knob counterclockwise for
cold air, and clockwise for heated air.
When rear controls are locked by the front system, the
lock symbol on the temperature knob is illuminated, and
the rear overhead adjustments are inoperable.
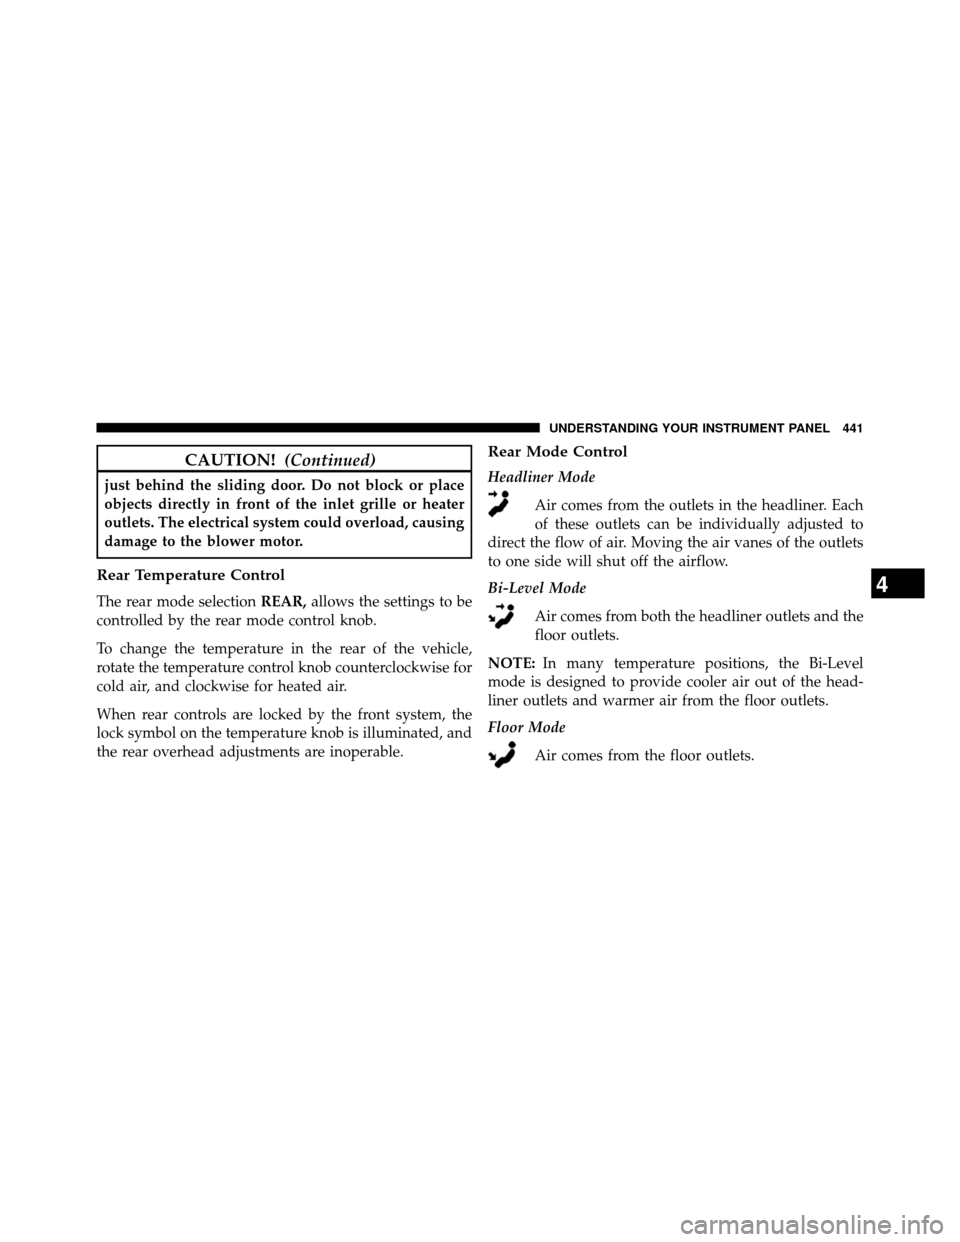
Rear Mode Control
Headliner Mode
Air comes from the outlets in the headliner. Each
of these outlets can be individually adjusted to
direct the flow of air. Moving the air vanes of the outlets
to one side will shut off the airflow.
Bi-Level Mode
Air comes from both the headliner outlets and the
floor outlets.
NOTE: In many temperature positions, the Bi-Level
mode is designed to provide cooler air out of the head-
liner outlets and warmer air from the floor outlets.
Floor Mode
Air comes from the floor outlets.
4
UNDERSTANDING YOUR INSTRUMENT PANEL 441
Page 453 of 698

CAUTION!
Interior air enters the Rear Automatic Temperature
Control System through an intake grille, located in
the right side trim panel behind the third row seats.
The heater outlets are located in the right side trim
panel, just behind the sliding door. Do not block or
place objects directly in front of the inlet grille or
heater outlets. The electrical system could overload
causing damage to the blower motor.
Rear Temperature Control
To change the temperature in the rear of the vehicle,
rotate the temperature knob counterclockwise to lower
the temperature, and clockwise to increase the tempera-
ture. The rear temperature settings are displayed in the
front ATC panel.When rear controls are locked by the front system, the
Rear Temperature Lock symbol on the temperature knob
is illuminated and any rear overhead adjustments are
ignored.
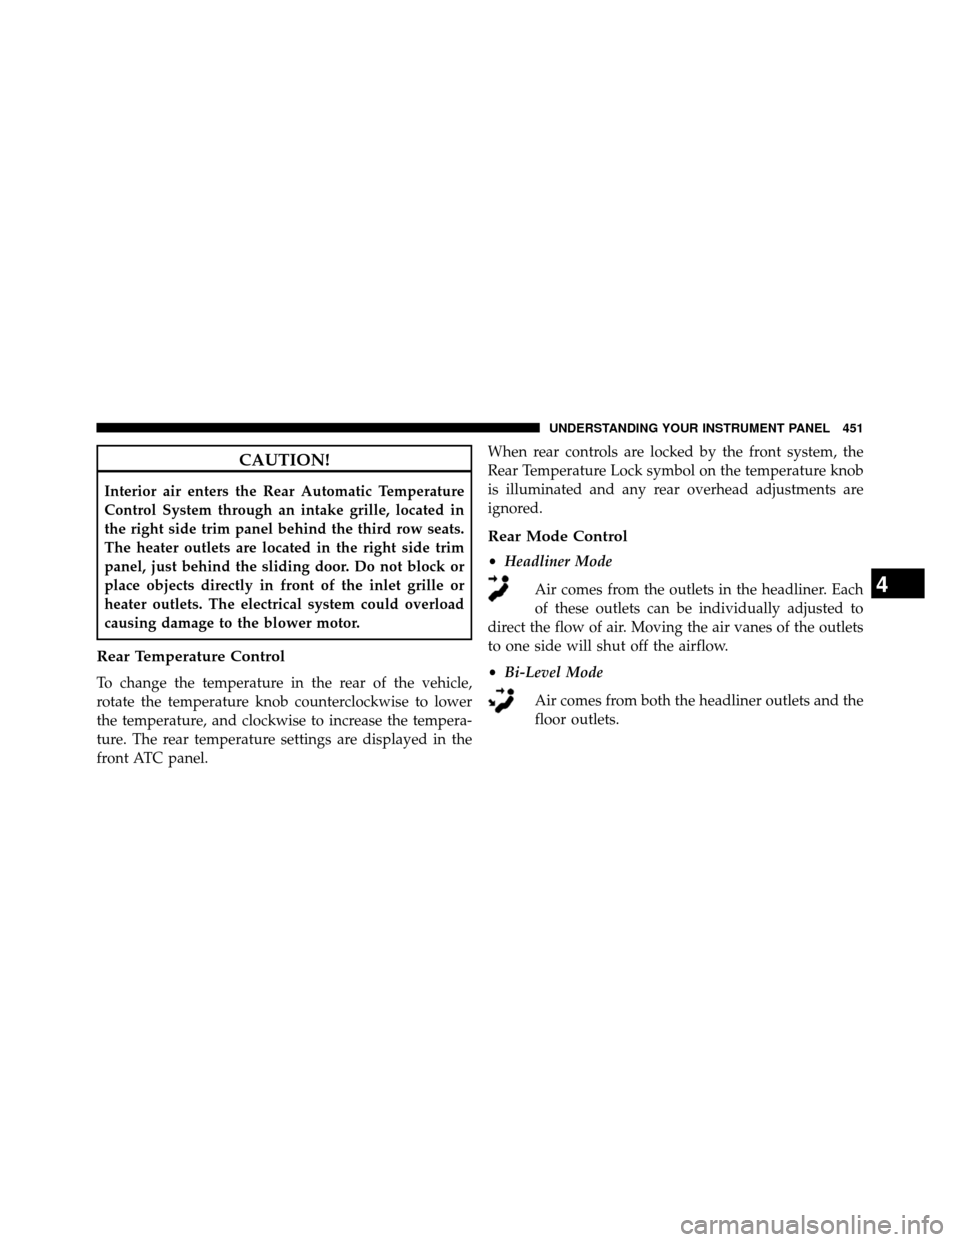
Rear Mode Control
•
Headliner Mode
Air comes from the outlets in the headliner. Each
of these outlets can be individually adjusted to
direct the flow of air. Moving the air vanes of the outlets
to one side will shut off the airflow.
• Bi-Level Mode
Air comes from both the headliner outlets and the
floor outlets.
4
UNDERSTANDING YOUR INSTRUMENT PANEL 451
Page 622 of 698

6. Install the A/C air filter with the arrow on the filterpointing toward the floor. When installing the filter
cover, make sure the retaining tabs fully engage the
cover.
CAUTION!
The A/C air filter is identified with an arrow to
indicate airflow direction through the filter. Failure
to properly install the filter will result in the need to
replace it more often.
7. Rotate the glove compartment door back into position.
Body Lubrication
Locks and all body pivot points, including such items as
seat tracks, door hinge pivot points and rollers, liftgate,
tailgate, decklid, sliding doors and hood hinges, should
be lubricated periodically with a lithium based grease,
such as MOPAR® Spray White Lube to assure quiet, easy operation and to protect against rust and wear. Prior to
the application of any lubricant, the parts concerned
should be wiped clean to remove dust and grit; after
lubricating excess oil and grease should be removed.
Particular attention should also be given to hood latching
components to ensure proper function. When performing
other underhood services, the hood latch, release mecha-
nism and safety catch should be cleaned and lubricated.
The external lock cylinders should be lubricated twice a
year, preferably in the Fall and Spring. Apply a small
amount of a high quality lubricant, such as MOPAR®
Lock Cylinder Lubricant directly into the lock cylinder.
Windshield Wiper Blades
Clean the rubber edges of the wiper blades and the
windshield periodically with a sponge or soft cloth and a
mild nonabrasive cleaner. This will remove accumula-
tions of salt or road film.
620 MAINTAINING YOUR VEHICLE
Page 644 of 698
Cavity Cartridge FuseMini-FuseDescription
J1 40 Amp Green —Power Folding Seat
J2 30 Amp Pink —Power Liftgate Module
J3 30 Amp Pink —Rear Door Module
J4 25 Amp Natural —Driver Door Node
J5 25 Amp Natural —Passenger Door Node
J6 40 Amp Green —Antilock Brakes Pump/Stability Control
System
J7 30 Amp Pink —Antilock Brakes Valve/Stability Control
System
J8 40 Amp Green —Power Memory Seat – If Equipped
J9 40 Amp Green —Partial Zero Emissions Vehicle Motor/Flex
Fuel – If Equipped
J10 30 Amp Pink —Headlamp Wash/Manifold Tuning Valve – If
Equipped
642 MAINTAINING YOUR VEHICLE
Page 645 of 698
Cavity Cartridge FuseMini-FuseDescription
J11 30 Amp Pink —Power Sliding Door Module/Anti–Theft
Module – If Equipped
J12 30 Amp Pink HVAC Rear Blower, Radiator Fan Motor
J13 60 Amp Yellow —Ignition Off Draw (IOD) – Main
J14 40 Amp Green —Rear Window Defogger
J15 40 Amp Green — Front Blower
J17 40 Amp Green —Starter Solenoid
J18 20 Amp Blue —Powertrain Control Module Trans Range
J19 60 Amp Yellow — Radiator Fan
J20 30 Amp Pink —Front Wiper LO/HI
J21 20 Amp Blue —Front/Rear Washer
J22 25 Amp Natural —Sunroof Module
M1 —15 Amp Blue Rear Center Brake Lamp/Brake Switch
M2 —20 Amp Yellow Front Fog Lamps
M3 —20 Amp Yellow Front/Rear Axle Locker, Vacuum Pump Motor
7
MAINTAINING YOUR VEHICLE 643