Page 525 of 698

•Seasonal temperature changes will affect tire pressure,
and the TPMS will monitor the actual tire pressure in
the tire.
Base System
The TPMS uses wireless technology with wheel rim
mounted electronic sensors to monitor tire pressure lev-
els. Sensors, mounted to each wheel as part of the valve
stem, transmit tire pressure readings to the Receiver
Module.
NOTE: It is particularly important for you to check the
tire pressure in all of your tires regularly and to maintain
the proper pressure.
The Basic TPMS consists of the following components:
• Receiver Module
• Four Tire Pressure Monitoring Sensors
• TPMS Telltale Warning Light
Tire Pressure Monitoring Low Tire Pressure
Warnings
The “Tire Pressure Monitoring Telltale Light”
will illuminate in the instrument cluster, a
“LOW TIRE PRESSURE” message will display
in the instrument cluster, and an audible chime
will be activated when one or more of the four active
road tire pressures are low. Should this occur, you should
stop as soon as possible, check the inflation pressure of
each tire on your vehicle, and inflate each tire to the
vehicle’s recommended cold tire placard pressure value
(located on the placard label on the driver’s-side B-Pillar).
The system will automatically update and the “Tire
Pressure Monitoring Telltale Light” will extinguish once
the updated tire pressures have been received.
5
STARTING AND OPERATING 523
Page 543 of 698
Gross Axle Weight Rating (GAWR)
The GAWR is the maximum capacity of the front and rear
axles. Distribute the load over the front and rear axles
evenly. Make sure that you do not exceed either front or
rear GAWR.
WARNING!
Because the front wheels steer the vehicle, it is
important that you do not exceed the maximum front
or rear GAWR. A dangerous driving condition can
result if either rating is exceeded. You could lose
control of the vehicle and have a collision.
Tire Size
The tire size on the Vehicle Certification Label represents
the actual tire size on your vehicle. Replacement tires
must be equal to the load capacity of this tire size.
Rim Size
This is the rim size that is appropriate for the tire size
listed.
Inflation Pressure
This is the cold tire inflation pressure for your vehicle for
all loading conditions up to full GAWR.
Curb Weight
The curb weight of a vehicle is defined as the total weight
of the vehicle with all fluids, including vehicle fuel, at full
capacity conditions, and with no occupants or cargo
loaded into the vehicle. The front and rear curb weight
values are determined by weighing your vehicle on a
commercial scale before any occupants or cargo are
added.5
STARTING AND OPERATING 541
Page 553 of 698
Towing Requirements — Tires
•Do not attempt to tow a trailer while using a compact
spare tire.
• Proper tire inflation pressures are essential to the safe
and satisfactory operation of your vehicle. Refer to
“Tires – General Information” in “Starting And Oper-
ating” for proper tire inflation procedures.
• Check the trailer tires for proper tire inflation pres-
sures before trailer usage.
• Check for signs of tire wear or visible tire damage
before towing a trailer. Refer to “Tires – General
Information” in “Starting And Operating” for the
proper inspection procedure.
• When replacing tires, refer to “Tires – General Infor-
mation” in “Starting And Operating” for the proper tire replacement procedures. Replacing tires with a
higher load carrying capacity will not increase the
vehicle’s GVWR and GAWR limits.
Towing Requirements — Trailer Brakes
•
Do not interconnect the hydraulic brake system or
vacuum system of your vehicle with that of the trailer.
This could cause inadequate braking and possible
personal injury.
• An electronically actuated trailer brake controller is
required when towing a trailer with electronically
actuated brakes. When towing a trailer equipped with
a hydraulic surge actuated brake system, an electronic
brake controller is not required.
• Trailer brakes are recommended for trailers over
1,000 lbs (454 kg) and required for trailers in excess of
2,000 lbs (907 kg).
5
STARTING AND OPERATING 551
Page 570 of 698
If the tire does not inflate to at least 26 psi (1.8 Bar)
pressure within 15 minutes:
•The tire is too badly damaged. Do not attempt to drive
the vehicle further. Call for assistance.
NOTE: If the tire becomes over-inflated, press the Defla-
tion Button to reduce the tire pressure to the recom-
mended inflation pressure before continuing.
If the tire inflates to the recommended pressure or is at
least 26 psi (1.8 Bar) pressure within 15 minutes:
1. Press the Power Button (4) to turn off the TIREFIT kit.
2. Remove the Speed Limit sticker from the top of the Sealant Bottle (1) and place the sticker on the instru-
ment panel. 3. Immediately disconnect the Sealant Hose (6) from the
valve stem, reinstall the cap on the fitting at the end of
the hose, and place the TIREFIT kit in the vehicle
storage location. Quickly proceed to (D) “Drive Ve-
hicle.”
CAUTION!
•The metal end fitting from Power Plug (8) may get
hot after use, so it should be handled carefully.
• Failure to reinstall the cap on the fitting at the end
of the Sealant Hose (6) can result in sealant con-
tacting your skin, clothing, and the vehicle’s inte-
rior. It can also result in sealant contacting internal
Tire Service Kit components which may cause
permanent damage to the kit.
568 WHAT TO DO IN EMERGENCIES
Page 572 of 698
If tire pressure is less than 19 psi (1.3 Bar):
The tire is too badly damaged. Do not attempt to drive
the vehicle further. Call for assistance.
If the tire pressure is 19 psi (1.3 Bar) or higher:
1. Press the Power Button (4) to turn on TIREFIT andinflate the tire to the pressure indicated on the tire and
loading information label on the driver-side door
opening.
NOTE: If the tire becomes over-inflated, press the Defla-
tion Button to reduce the tire pressure to the recom-
mended inflation pressure before continuing.
2. Disconnect the TIREFIT kit from the valve stem, reinstall the cap on the valve stem and unplug from
12 Volt outlet.
3. Place the TIREFIT kit in its proper storage area in the vehicle. 4. Have the tire inspected and repaired or replaced at the
earliest opportunity at an authorized dealer or tire
service center.
5. Replace the Sealant Bottle (1) and Sealant Hose (6) assembly at your authorized dealer as soon as pos-
sible. Refer to (F) “Sealant Bottle and Hose Replace-
ment”.
NOTE: When having the tire serviced, advise the autho-
rized dealer or service center that the tire has been sealed
using the TIREFIT service kit.
(F) Sealant Bottle And Hose Replacement:
1. Uncoil the Sealant Hose (6) (clear in color).
2. Locate the round Sealant Bottle release button in the recessed area under the sealant bottle.
570 WHAT TO DO IN EMERGENCIES
Page 693 of 698
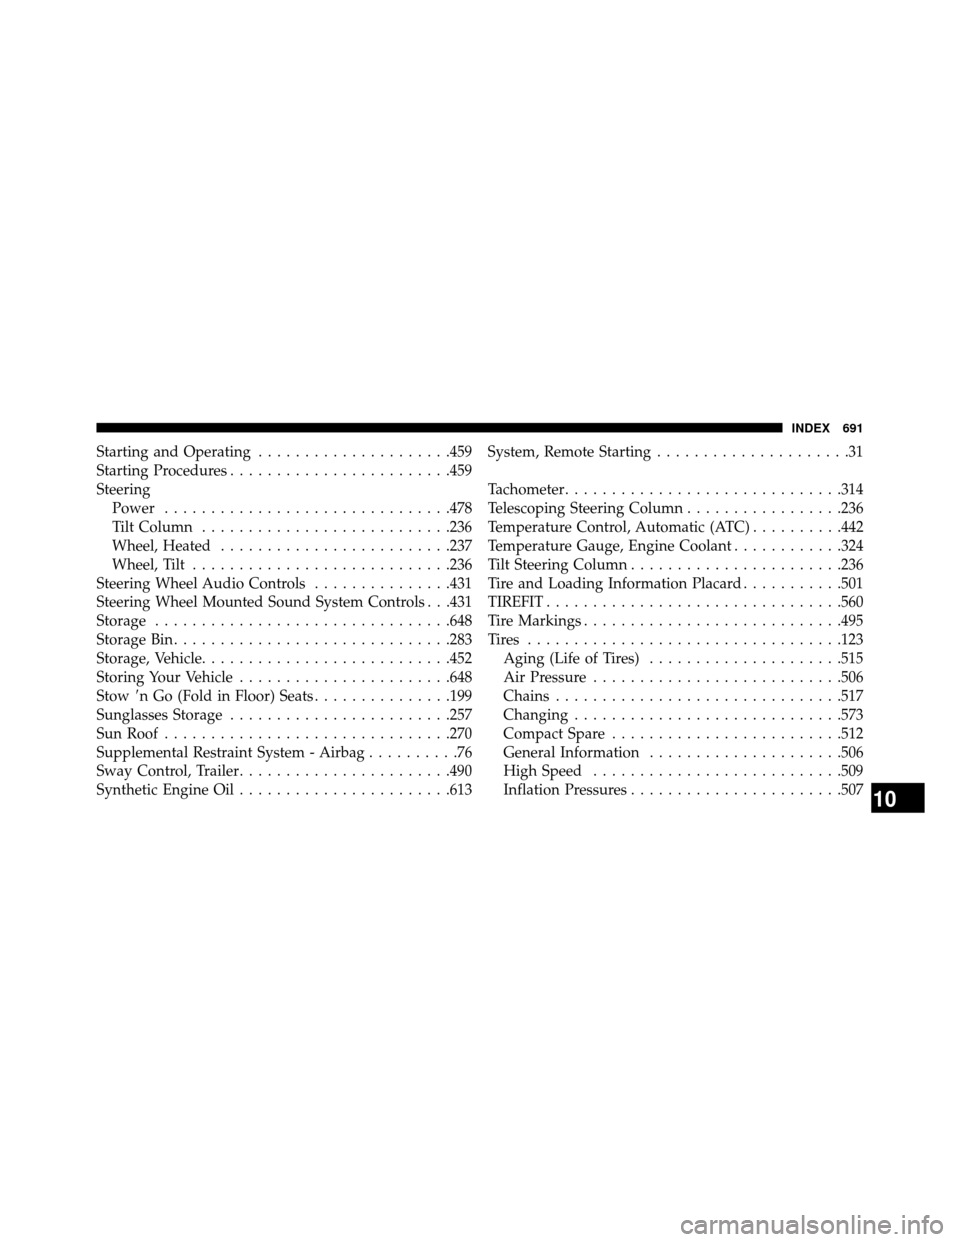
Starting and Operating.....................459
Starting Procedures ........................459
Steering Power ...............................478
TiltColumn ...........................236
Wheel, Heated .........................237
Wheel, Tilt ............................236
Steering Wheel Audio Controls ...............431
Steering Wheel Mounted Sound System Controls . . .431
Storage ................................648
Storage Bin ..............................283
Storage, Vehicle ...........................452
Storing Your Vehicle .......................648
Stow n Go (Fold in Floor) Seats ...............199
Sunglasses Storage ........................257
Sun Roof ...............................270
Supplemental Restraint System - Airbag ..........76
Sway Control, Trailer .......................490
Synthetic Engine Oil .......................613 System, Remote Starting
.....................31
Tachometer ..............................314
Telescoping Steering Column .................236
Temperature Control, Automatic (ATC) ..........442
Temperature Gauge, Engine Coolant ............324
Tilt Steering Column .......................236
Tire and Loading Information Placard ...........501
TIREFIT ................................560
Tire Markings ............................495
Tires ..................................123 Aging(LifeofTires) .....................515
Air Pressure ...........................506
Chains ...............................517
Changing .............................573
Compact Spare .........................512
General Information .....................506
High Speed ...........................509
Inflation Pressures .......................507
10
INDEX 691
Page:
< prev 1-8 9-16 17-24