Page 417 of 698

When the display for either Channel 1 or Channel 2
shows DIRECT TUNE, pressing the remote control’s OK
button activates a numeric keypad menu. This screen
makes it easy to enter a specific tuner frequency, satellite
channel, or track number. To enter the desired digit:
1. Press the remote control’s navigation buttons (�,�,
�, �) to navigate to the desired digit.
2. When the digit is highlighted, press the remote con- trol’s ENTER/OK button to select the digit. Repeat
these steps until all digits are entered.
3. To delete the last digit, navigate to the Del button and press the remote control’s ENTER/OK button.
4. After all of the digits are entered, navigate to the Go button and press the remote control’s ENTER/OK
button.Station List Menu
When listening to Satellite audio, pressing the remote
control’s POP UP/MENU button displays a list of all
available channels. Navigate this list using the remote
control’s navigation buttons ( �,�) to find the desired
station, press the remote control’s ENTER/OK button to
tune to that station. To jump through the list more
quickly, navigate to the Page Up and Page Down icons on
the screen.
4
UNDERSTANDING YOUR INSTRUMENT PANEL 415
Page 425 of 698
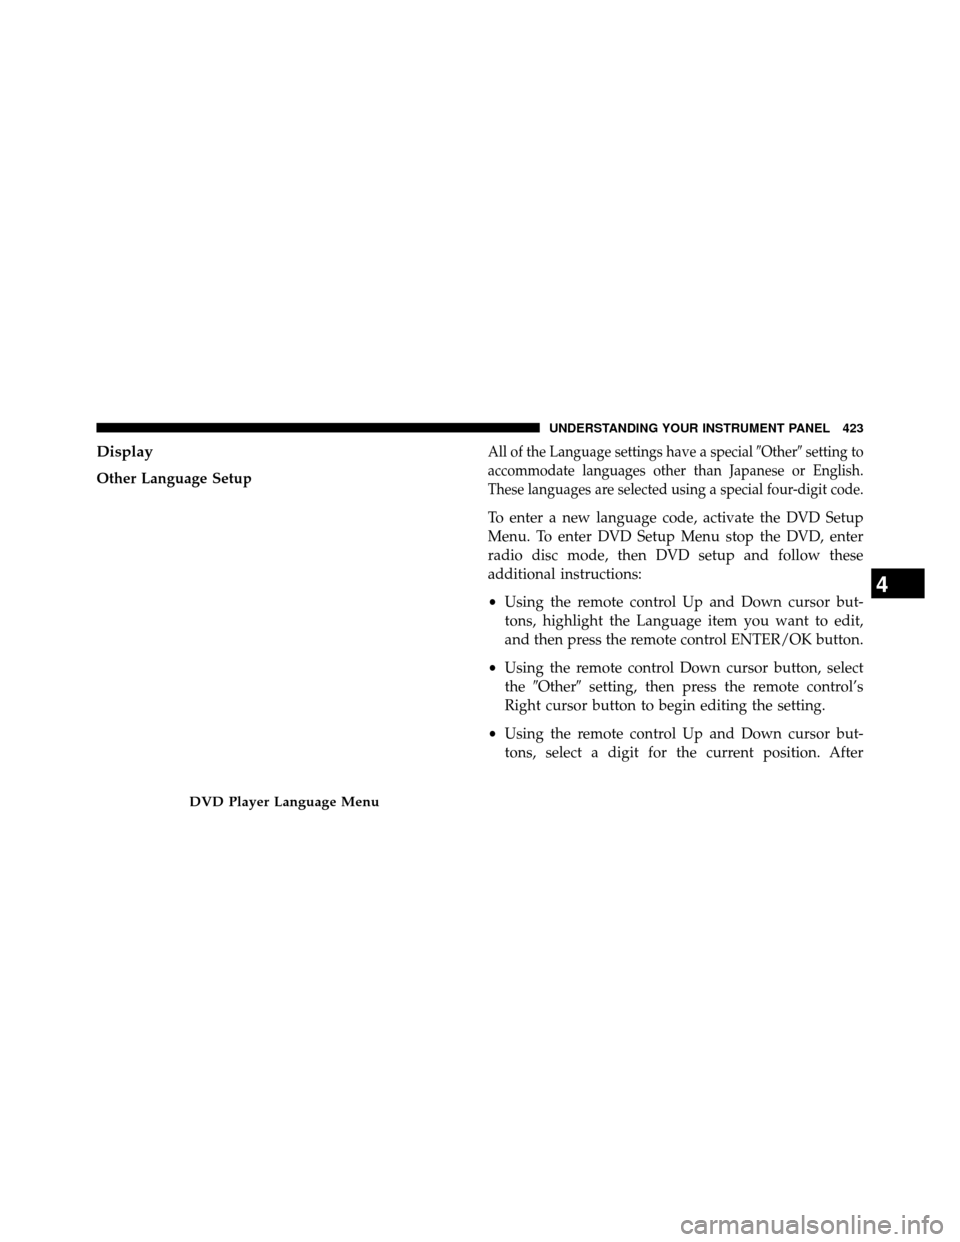
Display
Other Language Setup
All of the Language settings have a special�Other�setting to
accommodate languages other than Japanese or English.
These languages are selected using a special four-digit code.
To enter a new language code, activate the DVD Setup
Menu. To enter DVD Setup Menu stop the DVD, enter
radio disc mode, then DVD setup and follow these
additional instructions:
• Using the remote control Up and Down cursor but-
tons, highlight the Language item you want to edit,
and then press the remote control ENTER/OK button.
• Using the remote control Down cursor button, select
the �Other� setting, then press the remote control’s
Right cursor button to begin editing the setting.
• Using the remote control Up and Down cursor but-
tons, select a digit for the current position. After
DVD Player Language Menu
4
UNDERSTANDING YOUR INSTRUMENT PANEL 423
Page 428 of 698

To set the password, activate the DVD Setup Menu and
follow these additional instructions:
•Using the remote control Left and Right cursor but-
tons, select the Rating tab.
• Highlight �Change Password�, and then press the
remote control’s ENTER/OK button.
• Enter the current password. Select a digit, use the
remote control Up and Down cursor buttons to set the
value for the current digit, and then press the remote
control’s Right cursor button to select the next digit.
Repeat this digit selection sequence for all four digits. •
After the four-digit password is entered, press the
remote control’s ENTER/OK button. If the password
is correct, the set password screen is displayed.
• Using the remote control’s Up and Down cursor
buttons to set the value for the current digit and the
remote control’s Right cursor button to select digits,
enter the new password.
• After the four-digit password is entered, press the
remote control’s ENTER/OK button to accept the
change.
426 UNDERSTANDING YOUR INSTRUMENT PANEL
Page 429 of 698
To set the rating, activate the DVD Setup Menu and
follow these additional instructions:
•Using the remote control’s Left and Right cursor
buttons, select the Rating tab.
• Highlight �Change Rating�, and then press the remote
control’s ENTER/OK button.
•
Enter the current password. Select a digit, use the remote
control’s Up and Down cursor buttons to set the value
for the current digit, and then press the remote control’s
Right cursor button to select the next digit. Repeat this
digit selection sequence for all four digits.
• After the four-digit password is entered, press the
remote control’s ENTER/OK button. If the password
is correct, the Rating Level menu is displayed.
•
Using the remote control’s Up and Down cursor buttons,
select the new rating level, and then press the remote
control’s ENTER/OK button to accept the change.DVD Player Level Menu
4
UNDERSTANDING YOUR INSTRUMENT PANEL 427
Page 435 of 698

CD/DVD/Blu-ray™ Disc MAINTENANCE
To keep a CD/DVD/Blu-ray™ Disc in good condition,
take the following precautions:
1. Handle the disc by its edge; avoid touching thesurface.
2. If the disc is stained, clean the surface with a soft cloth, wiping from center to edge.
3. Do not apply paper or tape to the disc; avoid scratch- ing the disc.
4. Do not use solvents such as benzene, thinner, cleaners, or anti-static sprays.
5. Store the disc in its case after playing.
6. Do not expose the disc to direct sunlight.
7. Do not store the disc where temperatures may become too high. NOTE:
If you experience difficulty in playing a particular
disc, it may be damaged (i.e., scratched, reflective coating
removed, a hair, moisture or dew on the disc) oversized,
or have protection encoding. Try a known good disc
before considering disc player service.
RADIO OPERATION AND MOBILE PHONES
Under certain conditions, the mobile phone being on in
your vehicle can cause erratic or noisy performance from
your radio. This condition may be lessened or eliminated
by relocating the mobile phone antenna. This condition is
not harmful to the radio. If your radio performance does
not satisfactorily “clear” by the repositioning of the
antenna, it is recommended that the radio volume be
turned down or off during mobile phone operation when
not using Uconnect® (if equipped).4
UNDERSTANDING YOUR INSTRUMENT PANEL 433
Page 439 of 698

NOTE:•You can turn off the heated mirror feature at anytime
by pressing the rear window defroster switch a
second time.
•
To prevent excessive battery drain, use the rear win-
dow defroster only when the engine is operating.
CAUTION!
Failure to follow these cautions can cause damage to
the heating elements:
• Use care when washing the inside of the rear
window. Do not use abrasive window cleaners on
the interior surface of the window. Use a soft cloth
and a mild washing solution, wiping parallel to the
heating elements. Labels can be peeled off after
soaking with warm water.
(Continued)
CAUTION!
(Continued)
•Do not use scrapers, sharp instruments, or abrasive
window cleaners on the interior surface of the
window.
• Keep all objects a safe distance from the window.
9. Recirculation Control Button Press this button to choose between outside air
intake or recirculation of the air inside the
vehicle. An indicator light will illuminate when
you are in Recirculation mode. Only use the
Recirculation mode to temporarily block out any outside
odors, smoke, or dust, and to cool the interior rapidly
upon initial start-up in very hot or humid weather.
4
UNDERSTANDING YOUR INSTRUMENT PANEL 437
Page 441 of 698
, between the
upper and lowe")
12. Bi-Level Mode ButtonAir is directed through the panel and floor outlets.
NOTE: There is a difference in temperature (in any
conditions other than full cold or full hot), between the
upper and lower outlets for added comfort. The warmer
air goes to the floor outlets. This feature gives improved
comfort during sunny but cool conditions.
13. Panel Mode Button
Air is directed through the outlets in the instru-
ment panel. These outlets can be adjusted for
direction, and turned on or off to control airflow.
NOTE: For maximum airflow to the rear, the center
instrument panel outlets can be directed toward the rear
seat passengers.Economy Mode
If ECONOMY mode is desired, press the A/C button to
turn off the indicator light and the A/C compressor.
Rotate the temperature control knob to the desired tem-
perature. Also, make sure to select only Panel, Bi-Level or
Floor modes.
Max A/C
For maximum cooling use the A/C and Recirculation
mode buttons at the same time.
Rear Manual Climate Control — If Equipped
The Rear Manual Climate Control system has floor air
outlets at the rear of the right side sliding door, and
overhead outlets at each outboard rear seating position.
The unit provides warm or cool air through the floor and
upper outlets.
4
UNDERSTANDING YOUR INSTRUMENT PANEL 439
Page 458 of 698
 .........482
▫ Anti-Lock Brake Warn")
�POWER STEERING .....................478
▫ Power Steering Fluid Check ..............478
� PARKING BRAKE ......................479
� ANTI-LOCK BRAKE SYSTEM (ABS) .........482
▫ Anti-Lock Brake Warning Light ............483
� ELECTRONIC BRAKE CONTROL SYSTEM ....484
▫ Traction Control System (TCS) ............484
▫ Brake Assist System (BAS) ...............485
▫ Electronic Stability Control (ESC) ..........486
▫ Trailer Sway Control (TSC) ..............490
▫ Hill Start Assist (HSA) .................491
� TIRE SAFETY INFORMATION .............495
▫ Tire Markings ........................495 ▫
Tire Identification Number (TIN) ...........498
▫ Tire Terminology And Definitions ..........500
▫ Tire Loading And Tire Pressure ...........501
� TIRES — GENERAL INFORMATION ........506
▫ Tire Pressure ........................506
▫ Tire Inflation Pressures .................507
▫ Tire Pressures For High Speed Operation ....509
▫ Radial Ply Tires ......................509
▫ Tire Types ...........................510
▫ Run Flat Tires — If Equipped .............511
▫ Spare Tires — If Equipped ...............512
▫ TireSpinning ........................514
▫ Tread Wear Indicators ..................514
456 STARTING AND OPERATING