Page 415 of 698
When in shared disc mode both the radio and the VES™
have control of the video functions. The VES™ has the
ability to control the following video modes:
1. CD: Ability to Fast Forward, Rewind, Scan, and TrackUp/Down.
2. CD Changer (in radio): Ability to Disk Up/Down and program all listed CD controls (Fast Forward, Rewind,
Scan, and Track Up/Down).
The VES™ can even control radio modes or video modes
while the radio is turned off. The VES™ can access the
radio modes or disc modes by navigating to those modes
on the VES™ and activating a radio mode or disc mode.Information Mode Display
1. Channel 1 Mode
2. Channel 1 Shared Status
3. Channel 1 Audio Only/Mute
Information Mode Video Screen Display
4
UNDERSTANDING YOUR INSTRUMENT PANEL 413
Page 417 of 698

When the display for either Channel 1 or Channel 2
shows DIRECT TUNE, pressing the remote control’s OK
button activates a numeric keypad menu. This screen
makes it easy to enter a specific tuner frequency, satellite
channel, or track number. To enter the desired digit:
1. Press the remote control’s navigation buttons (�,�,
�, �) to navigate to the desired digit.
2. When the digit is highlighted, press the remote con- trol’s ENTER/OK button to select the digit. Repeat
these steps until all digits are entered.
3. To delete the last digit, navigate to the Del button and press the remote control’s ENTER/OK button.
4. After all of the digits are entered, navigate to the Go button and press the remote control’s ENTER/OK
button.Station List Menu
When listening to Satellite audio, pressing the remote
control’s POP UP/MENU button displays a list of all
available channels. Navigate this list using the remote
control’s navigation buttons ( �,�) to find the desired
station, press the remote control’s ENTER/OK button to
tune to that station. To jump through the list more
quickly, navigate to the Page Up and Page Down icons on
the screen.
4
UNDERSTANDING YOUR INSTRUMENT PANEL 415
Page 418 of 698

Disc Menu
When listening to a CD Audio or CD Data disc, pressing
the remote control’s POP UP/MENU button displays a list
of all commands which control playback of the disc. Using
the options you can activate or cancel Scan play and
Random play.
Display Settings
When watching a video source (DVD Video with the disc
in Play mode, Aux Video, etc.), pressing the remote
control’s SETUP button activates the Display Settings
menu. These settings control the appearance of the video
on the screen. The factory default settings are already set
for optimum viewing, so there is no need to change these
settings under normal circumstances.
To change the settings, press the remote control’s navi-
gation buttons (�,�) to select an item, then press the
remote control’s navigation buttons ( �,�)
to change the
value for the currently selected item. To reset all values
back to the original settings, select the Default Settings
menu option and press the remote control’s ENTER/OK
button.
Disc Features control the remote DVD / Blu-ray Disc™
Player’s (if equipped) settings of DVD being watched in
the remote player.
Disc Menu For CDs
416 UNDERSTANDING YOUR INSTRUMENT PANEL
Page 421 of 698

•Minimum resolution 16 x 16
• Maximum frame rate for progressive source 30
frames per second
• Maximum field rate for interlaced source 60 fields
per second
• To change the current chapter, use the remote control’s
or Blu-Ray™ Player ’s “Fast Forward” button to ad-
vance to the next chapter, or the “Fast Rewind” button
to return to the start of the current or previous chapter.
DVD/Blu-ray™/BD Region Codes
The DVD player/Blu-ray™ Player and many DVD/
Blu-ray™ Discs are coded by geographic region. These
region codes must match in order for the disc to play. If
the region code for the DVD/Blu-ray™ Disc does not
match the region code for the player, the disc will stop
playing and a warning will be displayed. DVD Audio Support
When a DVD-Audio disc is inserted in the DVD player,
the DVD-Audio title on the disc is played by default
(most DVD-Audio discs also have a Video title, but the
Video title is ignored). All multi - channel program
material is automatically mixed down to two channels,
which may result in a lowered apparent volume level. If
you increase the volume level to account for this change
in level, remember to lower the volume before changing
the disc or to another mode.
Recorded Discs
The DVD player will play CD-R and CD-RW discs
recorded in CD-Audio or Video-CD format, or as a
CD-ROM containing MP3, WMA or AAC (Blu-ray™ Disc
Player only) files. The player will also play DVD-Video
content recorded to a DVD-R or DVD-RW disc. DVD-
ROM discs (either pressed or recorded) are not sup-
ported.
4
UNDERSTANDING YOUR INSTRUMENT PANEL 419
Page 424 of 698

•To change the current directory, use the remote con-
trol’s PROG UP and Down buttons or Rewind/skip
back and fast fwd/skip forward.
Disc Errors
If the DVD player is unable to read the disc, a �Disc Error�
message is displayed on the Radio display and the disc is
automatically ejected. A dirty, damaged, or incompatible
disc format are all potential causes for a �Disc Error�
message.
If a disc has a damaged track which results in audible or
visible errors that persists for 2.0 seconds, the DVD
player will attempt to continue playing the disc by
skipping forward 1.0 to 3.0 seconds at a time. If the end
of the disc is reached, the DVD player will return to the
beginning of the disc and attempt to play the start of the
first track. The DVD player may shut down during extremely hot
conditions, such as when the vehicle’s interior tempera-
ture is above 120° F (49° C). The Blu-ray™ Player may
shut down when the vehicle’s interior temperature ex-
ceeds 140° F (60° C). When this occurs, the DVD/
Blu-ray™ Player will display
�High Temp�and will shut
off the display until a safe temperature is reached. This
shutdown is necessary to protect the optics of the DVD/
Blu-ray™ Player.
The Blu-ray™ player may require additional reading
time during extremely cold weather conditions. When
this occurs, allow the vehicles interior temperature to
warm, then insert disc into player.
422 UNDERSTANDING YOUR INSTRUMENT PANEL
Page 425 of 698
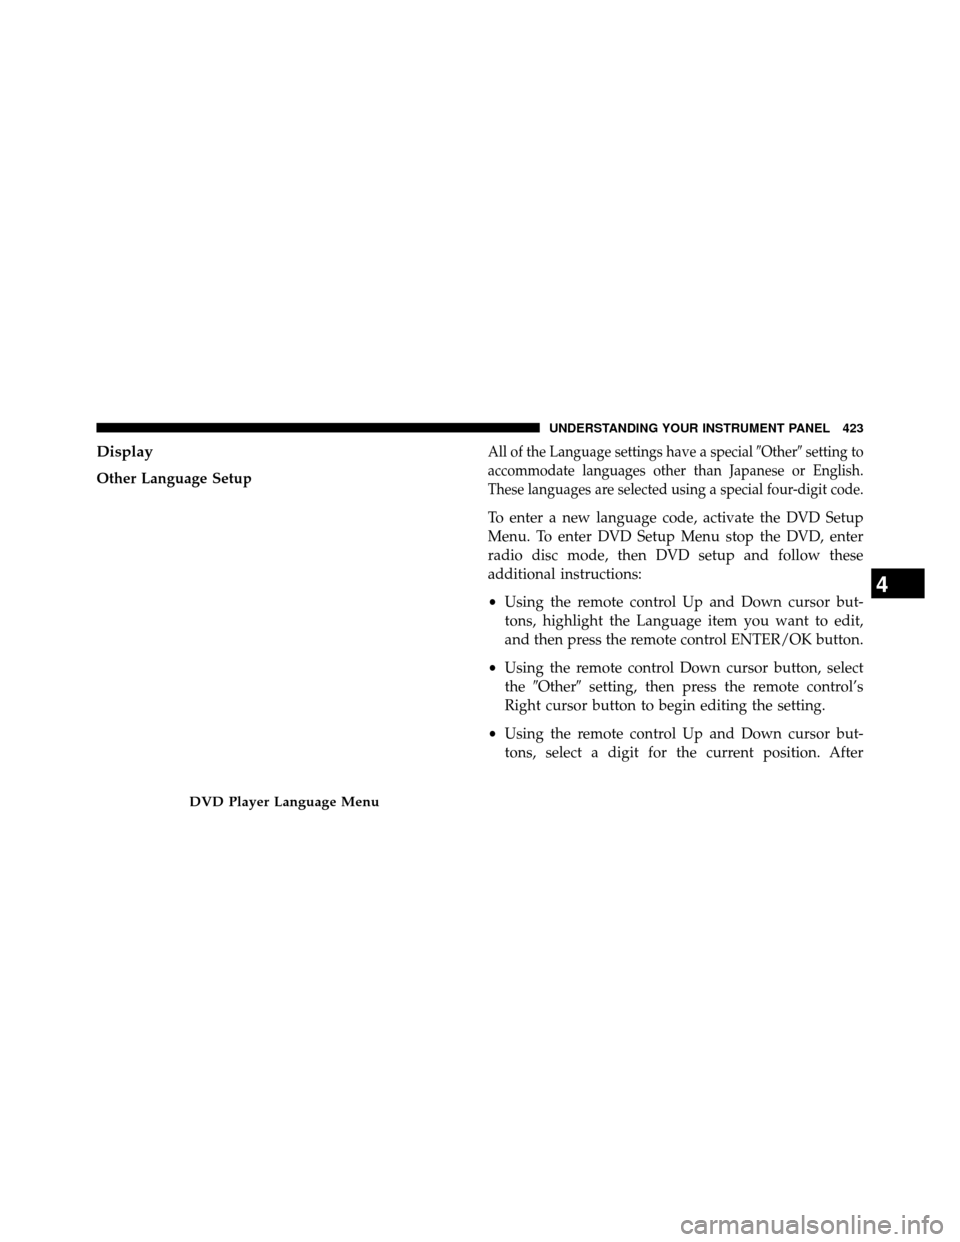
Display
Other Language Setup
All of the Language settings have a special�Other�setting to
accommodate languages other than Japanese or English.
These languages are selected using a special four-digit code.
To enter a new language code, activate the DVD Setup
Menu. To enter DVD Setup Menu stop the DVD, enter
radio disc mode, then DVD setup and follow these
additional instructions:
• Using the remote control Up and Down cursor but-
tons, highlight the Language item you want to edit,
and then press the remote control ENTER/OK button.
• Using the remote control Down cursor button, select
the �Other� setting, then press the remote control’s
Right cursor button to begin editing the setting.
• Using the remote control Up and Down cursor but-
tons, select a digit for the current position. After
DVD Player Language Menu
4
UNDERSTANDING YOUR INSTRUMENT PANEL 423
Page 426 of 698

selecting the digit, press the remote control’s Right
cursor button to select the next digit. Repeat this digit
selection sequence for all four digits.
• When the entire four-digit code is entered, press the
remote control’s ENTER/OK button. If the language
code is not valid, the numbers all change back to �\b�.
If the digits are visible after this step, then the lan-
guage code is valid.
Here is an abbreviated list of language codes. For more
language codes, please contact the dealer where the
vehicle was purchased.
Language Code Language Code
Dutch 2311 French 1517
German 1304 Italian 1819
Portuguese 2519 Spanish 1418 Rating And Password Setup
The Rating and Password settings work together to
control the types of DVDs that your family watches. Most
DVD-Video discs have a rating (from 1 to 8) assigned to
them where lower numbers are designated for all audi-
ences and higher numbers are designated for more adult
audiences.
When a DVD-Video disc is loaded, its rating is compared
to the setting in the DVD player. If the rating of the disc
is higher than the setting in the player, a Password screen
is displayed. In order to watch the disc, the rear passen-
ger must enter the correct password using the password
entry method described below.
424 UNDERSTANDING YOUR INSTRUMENT PANEL
Page 428 of 698

To set the password, activate the DVD Setup Menu and
follow these additional instructions:
•Using the remote control Left and Right cursor but-
tons, select the Rating tab.
• Highlight �Change Password�, and then press the
remote control’s ENTER/OK button.
• Enter the current password. Select a digit, use the
remote control Up and Down cursor buttons to set the
value for the current digit, and then press the remote
control’s Right cursor button to select the next digit.
Repeat this digit selection sequence for all four digits. •
After the four-digit password is entered, press the
remote control’s ENTER/OK button. If the password
is correct, the set password screen is displayed.
• Using the remote control’s Up and Down cursor
buttons to set the value for the current digit and the
remote control’s Right cursor button to select digits,
enter the new password.
• After the four-digit password is entered, press the
remote control’s ENTER/OK button to accept the
change.
426 UNDERSTANDING YOUR INSTRUMENT PANEL