2014 DODGE DURANGO suspension
[x] Cancel search: suspensionPage 118 of 188

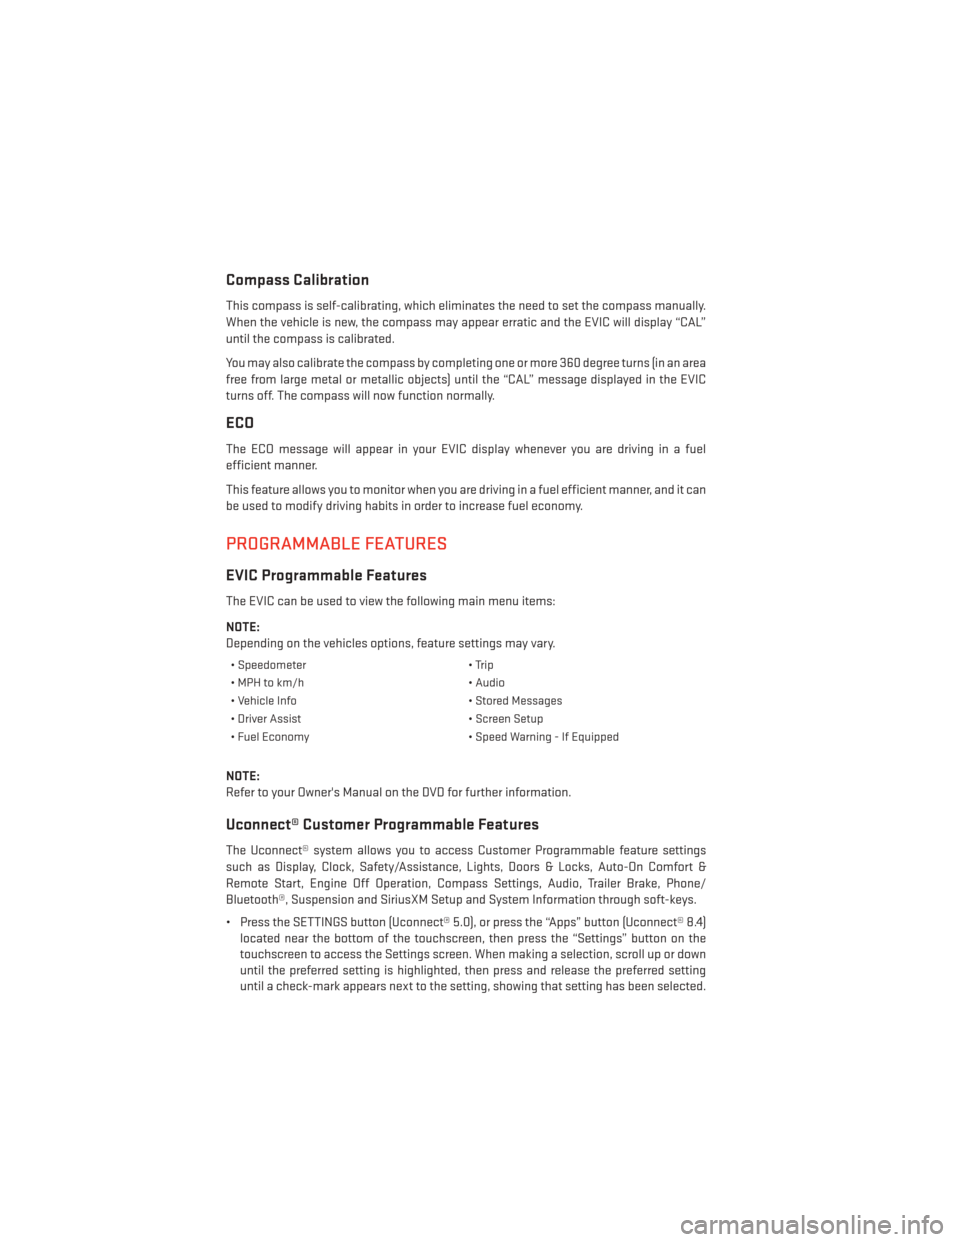
Compass Calibration
This compass is self-calibrating, which eliminates the need to set the compass manually.
When the vehicle is new, the compass may appear erratic and the EVIC will display “CAL”
until the compass is calibrated.
You may also calibrate the compass by completing one or more 360 degree turns (in an area
free from large metal or metallic objects) until the “CAL” message displayed in the EVIC
turns off. The compass will now function normally.
ECO
The ECO message will appear in your EVIC display whenever you are driving in a fuel
efficient manner.
This feature allows you to monitor when you are driving in a fuel efficient manner, and it can
be used to modify driving habits in order to increase fuel economy.
PROGRAMMABLE FEATURES
EVIC Programmable Features
The EVIC can be used to view the following main menu items:
NOTE:
Depending on the vehicles options, feature settings may vary.
• Speedometer• Trip
• MPH to km/h • Audio
• Vehicle Info • Stored Messages
• Driver Assist • Screen Setup
• Fuel Economy • Speed Warning - If Equipped
NOTE:
Refer to your Owner's Manual on the DVD for further information.
Uconnect® Customer Programmable Features
The Uconnect® system allows you to access Customer Programmable feature settings
such as Display, Clock, Safety/Assistance, Lights, Doors & Locks, Auto-On Comfort &
Remote Start, Engine Off Operation, Compass Settings, Audio, Trailer Brake, Phone/
Bluetooth®, Suspension and SiriusXM Setup and System Information through soft-keys.
• Press the SETTINGS button (Uconnect® 5.0), or press the “Apps” button (Uconnect® 8.4)
located near the bottom of the touchscreen, then press the “Settings” button on the
touchscreen to access the Settings screen. When making a selection, scroll up or down
until the preferred setting is highlighted, then press and release the preferred setting
until a check-mark appears next to the setting, showing that setting has been selected.
ELECTRONICS
116
Page 119 of 188

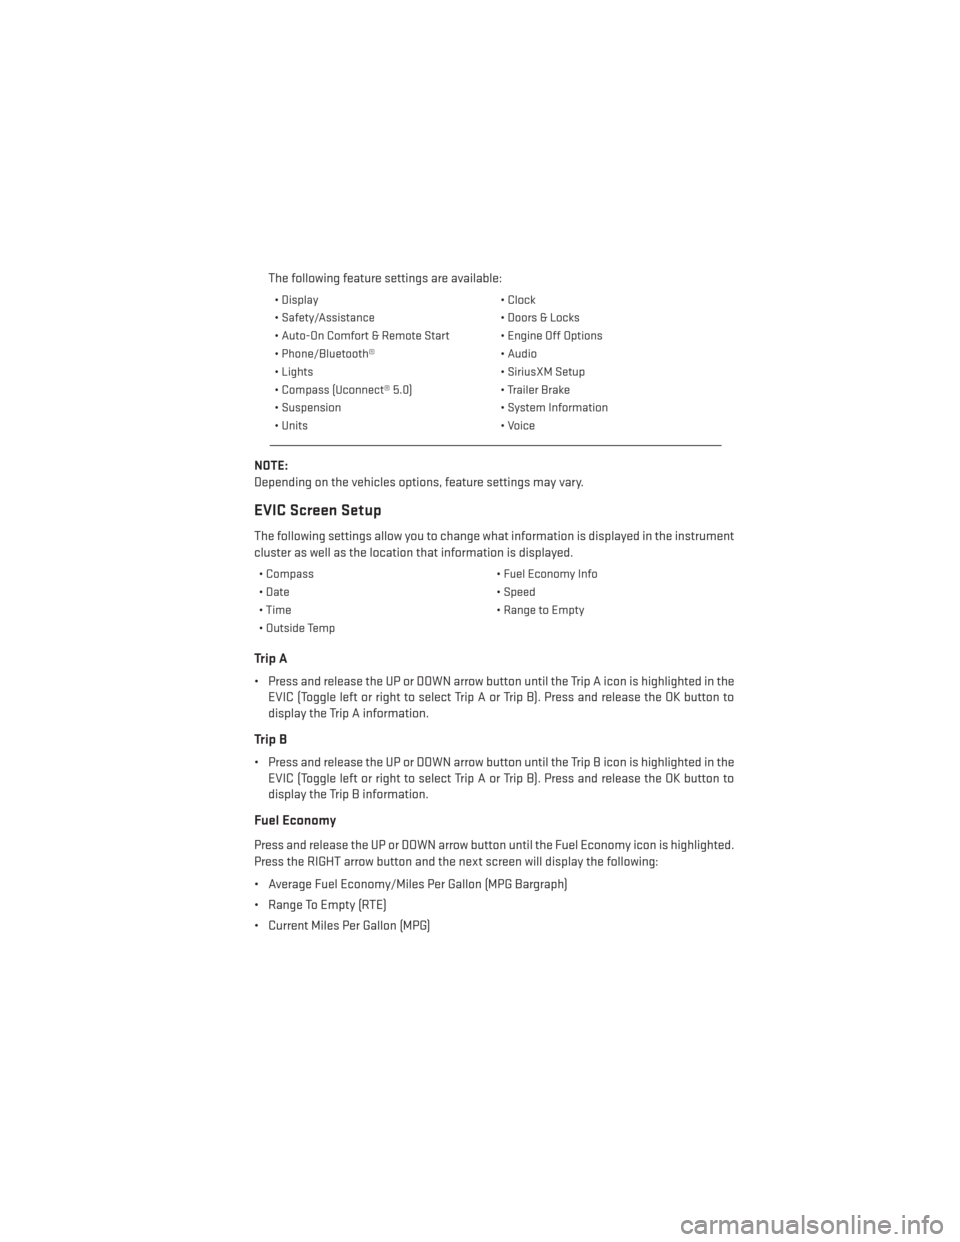
The following feature settings are available:
• Display• Clock
• Safety/Assistance • Doors & Locks
• Auto-On Comfort & Remote Start • Engine Off Options
• Phone/Bluetooth® • Audio
• Lights • SiriusXM Setup
• Compass (Uconnect® 5.0) • Trailer Brake
• Suspension • System Information
• Units • Voice
NOTE:
Depending on the vehicles options, feature settings may vary.
EVIC Screen Setup
The following settings allow you to change what information is displayed in the instrument
cluster as well as the location that information is displayed.
• Compass • Fuel Economy Info
• Date • Speed
• Time • Range to Empty
• Outside Temp
Trip A
• Press and release the UP or DOWN arrow button until the Trip A icon is highlighted in the EVIC (Toggle left or right to select Trip A or Trip B). Press and release the OK button to
display the Trip A information.
Trip B
• Press and release the UP or DOWN arrow button until the Trip B icon is highlighted in theEVIC (Toggle left or right to select Trip A or Trip B). Press and release the OK button to
display the Trip B information.
Fuel Economy
Press and release the UP or DOWN arrow button until the Fuel Economy icon is highlighted.
Press the RIGHT arrow button and the next screen will display the following:
• Average Fuel Economy/Miles Per Gallon (MPG Bargraph)
• Range To Empty (RTE)
• Current Miles Per Gallon (MPG)
ELECTRONICS
117
Page 164 of 188

Maintenance Chart
Mileage or time passed (whichever comes first)
20,00030,000
40,000
50,000
60,000 70,000
80,000 90,000
100,000
110,000
120,000
130,000
140,000
150,000
Or Years: 2 3 4 5 6 7 8 9 10 11 12 13 14 15
Or Kilometers:
32,000
48,000
64,000
80,000
96,000
112,000
128,000 144,000
160,000
176,000
192,000
208,000 224,000
240,000
Additional Inspections
Inspect the CV joints. X X X X X
Inspect front suspension, tie rod ends, and replace if
necessary. XX X XX X X
Inspect the front and rear axle fluid, change if using
your vehicle for police, taxi, fleet, off-road or frequent
trailer towing. XX X XX X X
Inspect the brake linings, replace as necessary. X X X X X X X
Adjust parking brake. X X X X X X X
Inspect transfer case fluid. X X X X
Additional Maintenance
Replace engine air filter. X X X X X
Replace air conditioning filter. X X X X X X X
Replace spark plugs (3.6L engine).** X
Replace spark plugs (5.7L engine).** X
Flush and replace the engine coolant at 10 years or
150,000 miles (240,000 km) whichever comes first. XX
MAINTAINING YOUR VEHICLE
162
Page 167 of 188

FUSES
Power Distribution Center (fuses)
• The Power Distribution Center is located in the engine compartment near the battery.This center contains cartridge fuses, micro fuses, relays, and circuit breakers. A descrip-
tion of each fuse and component may be stamped on the inside cover, otherwise the
cavity number of each fuse is stamped on the inside cover that corresponds to the
following chart.
Cavity Cartridge Fuse Micro Fuse Description
F03 60 Amp Yellow Rad Fan
F05 40 Amp Green Compressor for Air Suspension —
If Equipped
F06 40 Amp Green Antilock Brakes/Electronic Stability
Control Pump
F07 40 Amp Green Starter Solenoid
F08 40 Amp Green Emission sensors (Diesel engine only)
F09 40 Amp Green Diesel Fuel Heater (Diesel engine only)
F10 40 Amp Green Body Controller / Exterior Lighting #2
F11 30 Amp Pink Trailer Tow Electric Brake —
If Equipped
F12 40 Amp Green Body Controller #3 / Interior Lights
F13 40 Amp Green Blower Motor Front
F14 40 Amp Green Body Controller #4 / Power Locks
F17 30 Amp Pink Headrest Release — If Equipped
F20 30 Amp Pink Passenger Door Module
F22 20 Amp Blue Engine Control Module
F23 30 Amp Pink Body Controller #1
F24 30 Amp Pink Driver Door Module
F25 30 Amp Pink Front Wipers
F26 30 Amp Pink Antilock Brakes/Stability Control
Module/Valves
F28 20 Amp Blue Trailer Tow Backup Lights —
If Equipped
F29 20 Amp Blue Trailer Tow Parking Lights —
If Equipped
F30 30 Amp Pink Trailer Tow Receptacle — If Equipped
F32 30 Amp Pink Drive Train Control Module
F34 30 Amp Pink Slip Differential Control
F35 30 Amp Pink Sunroof — If Equipped
F36 30 Amp Pink Rear Defroster
F37 30 Amp Pink Rear Blower — If Equipped
F38 30 Amp Pink Power Inverter 115V AC — If Equipped
MAINTAINING YOUR VEHICLE
165
Page 168 of 188

Cavity Cartridge Fuse Micro FuseDescription
F39 30 Amp Pink Power Liftgate — If Equipped
F40 10 Amp Red Daytime Running Lights
F42 20 Amp Yellow Horn
F44 10 Amp RedDiagnostic Port
F46 10 Amp Red Tire Pressure Monitor — If Equipped
F49 10 Amp Red Integrated Central Stack / Climate
Control
F50 20 Amp Yellow Air Suspension Control Module —
If Equipped
F51 10 Amp Red Ignition Node Module / Keyless Igni-
tion / Steering Column Lock
F52 5 Amp TanBattery Sensor
F53 20 Amp Yellow Trailer Tow – Left Turn/Stop Lights —
If Equipped
F56 15 Amp Blue Additional Content (Diesel engine
only)
F57 15 Amp BlueTransmission
F59 10 Amp Red Purging Pump (Diesel engine only)
F60 15 Amp Blue Transmission Control Module
F62 10 Amp RedAir Conditioning Clutch
F63 20 Amp Yellow Ignition Coils (Gas), Urea Heater
(Diesel)
F64 25 Amp Natural Fuel Injectors / Powertrain
F66 10 Amp Red Sunroof / Passenger Window
Switches / Rain Sensor
F67 15 Amp Blue CD / DVD / Bluetooth Hands-free
Module — If Equipped
F68 20 Amp YellowRear Wiper Motor
F70 20 Amp YellowFuel Pump Motor
F71 30 Amp GreenAudio Amplifier
F73 15 Amp BlueHID Headlamps Right
F74 20 Amp Yellow Brake Vacuum Pump — If Equipped
F76 10 Amp Red Antilock Brakes/Electronic
Stability Control
F77 10 Amp Red Drivetrain Control Module/Front Axle
Disconnect Module
F78 10 Amp Red Engine Control Module / Electric
Power Steering — If Equipped
F80 10 Amp Red Universal Garage Door Opener /
Compass / Anti-Intrusion Module
F81 20 Amp Yellow Trailer Tow Right Turn/Stop Lights
MAINTAINING YOUR VEHICLE
166
Page 169 of 188

Cavity Cartridge Fuse Micro FuseDescription
F82 10 Amp Red Steering Column Control Module/
Cruise Control
F83 10 Amp RedFuel Door
F84 15 Amp Blue Switch Bank/Instrument Cluster
F85 10 Amp RedAirbag Module
F86 10 Amp RedAirbag Module
F87 10 Amp Red Air Suspension — If Equipped/ Trailer
Tow / Steering Column Control Module
F88 15 Amp Blue Instrument Panel Cluster
F90/F91 20 Amp Yellow Power Outlet (Rear seats) Selectable
F92 10 Amp Red Rear Console Lamp — If Equipped
F93 20 Amp YellowCigar Lighter
F94 10 Amp Red Shifter / Transfer Case Module
F95 10 Amp Red Rear Camera / Park Assist
F96 10 Amp Red Rear Seat Heater Switch / Flashlamp
Charger — If Equipped
F97 25 Amp Natural Rear Heated Seats & Heated Steering
Wheel — If Equipped
F98 25 Amp Natural Front Heated Seats — If Equipped
F99 10 Amp Red Climate Control / Driver Assistance
Systems Module
F100 10 Amp Red Active Damping — If Equipped
F101 15 Amp Blue Electrochromatic Mirror/Smart High
Beams — If Equipped
F103 10 Amp Red Cabin Heater (Diesel engine only)
F104 20 Amp Yellow Power Outlets (Instrument Panel/
Center Console)
CAUTION!
• When installing the power distribution center cover, it is important to ensure the
cover is properly positioned and fully latched. Failure to do so may allow water to get
into the power distribution center and possibly result in an electrical system failure.
• When replacing a blown fuse, it is important to use only a fuse having the correct
amperage rating. The use of a fuse with a rating other than indicated may result in a
dangerous electrical system overload. If a properly rated fuse continues to blow, it
indicates a problem in the circuit that must be corrected.
MAINTAINING YOUR VEHICLE
167