2014 DODGE DURANGO clock
[x] Cancel search: clockPage 68 of 188

Uconnect® 5.0
Setting The Time
1. Press the “MORE” hard-key on the right side of the display, next press the “Settings”soft-key and then the “Time” soft-key. ORPress the “Settings” hard-key on the right side
of the display, then press the “Clock” soft-key. The Time setting screen is displayed and
the clock can be adjusted as described in the following procedure.
NOTE:
In the Clock Setting Menu you can also select “Display Clock”. Display Clock turns the clock
display in the status bar on or off.
2. Touch the “Up” or “Down” arrows to adjust the hours or minutes, next select the AM or PM soft-key. You can also select 12hr or 24hr format by touching the desired soft-key.
3. Once the time is set press the “Done” soft-key to exit the time screen.
Equalizer, Balance And Fade
1. Press the SETTINGS hard-key on the right side of the unit.
2. Then scroll down and press the “Audio” soft-key to get to the Audio menu.
3. The Audio Menu shows the following options for you to customize your audio settings.
Uconnect® 5.0
ELECTRONICS
66
Page 76 of 188

Uconnect® 8.4A
Uconnect® 8.4A AT A GLANCE
Displaying The Time
• If the time is not currently displayed on the radio or player main page, touch the“Settings” soft-key (if equipped), or the “Apps” or “Controls” soft-key and then the
“Settings” soft-key. In the Settings list, touch the “Clock” soft-key then touch the check
box next to “Show Time” in Status Bar.
Setting The Time
• Model 8.4AN synchronizes time automatically via GPS, so it should not require any time adjustment. If you do need to set the time manually, follow the instructions below for
Model 8.4A.
• For Model 8.4A, turn the unit on, then touch the “time display” at the top of the screen. Touch “Yes”.
• If the time is not displayed at the top of the screen, touch the “Settings” soft-key (if equipped), or the “Apps” or “Controls” soft-key and then the “Settings” soft-key. In the
Settings screen, touch the “Clock” soft-key, then check or uncheck this option.
Uconnect® 8.4A
ELECTRONICS
74
Page 77 of 188

• Touch + or – next to Set Time Hours and Set Time Minutes to adjust the time.
• If these features are not available, uncheck the Sync with GPS box.
• Touch X to save your settings and exit out of the Clock Setting screen.
Audio Settings
•
Touch of the “Audio” soft-key to activate the Audio settings screen to adjust Balance\Fade,
Equalizer, and Speed Adjusted Volume.
• You can return to the Radio screen by touching the X located at the top right.
Balance/Fade
• Touch the “Balance/Fade” soft-key to Balance audio between the front speakers or fade the audio between the rear and front speakers.
• Touching the “Front, Rear, Left, or Right” soft-keys or touch and drag the Speaker Icon to adjust the Balance/Fade.
Equalizer
• Touch the “Equalizer” soft-key to activate the Equalizer screen.
• Touch the + or - soft-keys, or by touching and dragging over the level bar for each of the equalizer bands. The level value, which spans between plus or minus 9, is displayed at
the bottom of each of the Bands.
Speed Adjusted Volume
• Touch the “Speed Adjusted Volume” soft-key to activate the Speed Adjusted Volume screen. The Speed Adjusted Volume is adjusted by touching the + and - buttons or by
touching and dragging over the level bar. This alters the automatic adjustment of the
audio volume with variation to vehicle speed.
Surround Sound
• Touch the “Surround Sound” soft-key, select On or Off followed by pressing the “arrow back” soft-key. When this feature is activated, it provides simulated surround sound
mode.
ELECTRONICS
75
Page 96 of 188

Uconnect® 8.4AN
Uconnect® 8.4AN AT A GLANCE
Displaying The Time
• If the time is not currently displayed on the radio or player main page, touch the“Settings” soft-key (if equipped), or the “Apps” or “Controls” soft-key and then the
“Settings” soft-key. In the Settings list, touch the “Clock” soft-key then touch the check
box next to “Show Time” in Status Bar.
Setting The Time
• Model 8.4AN synchronizes time automatically via GPS, so it should not require any time adjustment. If you do need to set the time manually, follow the instructions below for
Model 8.4A.
• For Model 8.4A, turn the unit on, then touch the “Time” display at the top of the screen. Touch “Yes”.
• If the time is not displayed at the top of the screen, touch the “Settings” soft-key (if equipped), or the “Apps” or “Controls” soft-key and then the “Settings” soft-key. In the
Settings screen, touch the “Clock” soft-key, then check or uncheck this option.
Uconnect® 8.4AN
ELECTRONICS
94
Page 97 of 188

• Touch + or – next to Set Time Hours and Set Time Minutes to adjust the time.
• If these features are not available, uncheck the Sync Time box.
• Touch X to save your settings and exit out of the Clock Setting screen.
Audio Settings
• Touch the “Audio” soft-key to activate the Audio settings screen to adjust Balance\Fade,Equalizer and Speed Adjusted Volume.
• You can return to the Radio screen by touching the X located at the top right.
Balance/Fade
• Touch the “Balance/Fade” soft-key to balance audio between the front speakers or fade the audio between the rear and front speakers.
• Touching the “Front, Rear, Left, or Right” soft-keys or touch and drag the blue Speaker Icon to adjust the Balance/Fade.
Equalizer
• Touch the “Equalizer” soft-key to activate the Equalizer screen.
• Touch the + or - soft-keys, or by touching and dragging over the level bar for each of the equalizer bands. The level value, which spans between plus or minus 9, is displayed at
the bottom of each of the Bands.
Speed Adjusted Volume
• Touch the “Speed Adjusted Volume” soft-key to activate the Speed Adjusted Volume screen. The Speed Adjusted Volume is adjusted by touching the volume level indicator.
This alters the automatic adjustment of the audio volume with variation to vehicle speed.
Surround Sound
• Touch the “Surround Sound” soft-key, select On or Off followed by pressing the “arrow back” soft-key. When this feature is activated, it provides simulated surround sound
mode.
ELECTRONICS
95
Page 118 of 188

Compass Calibration
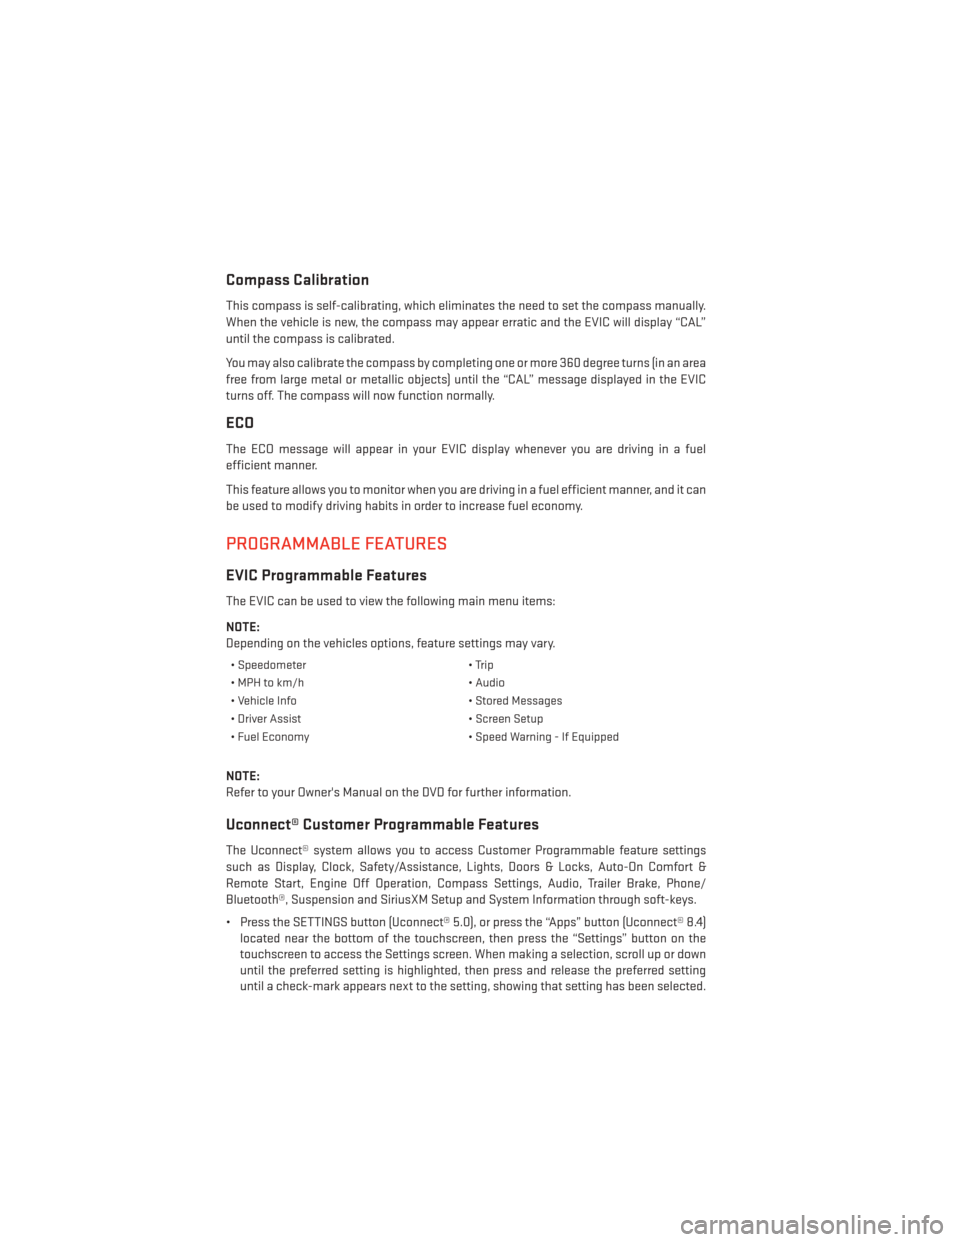
This compass is self-calibrating, which eliminates the need to set the compass manually.
When the vehicle is new, the compass may appear erratic and the EVIC will display “CAL”
until the compass is calibrated.
You may also calibrate the compass by completing one or more 360 degree turns (in an area
free from large metal or metallic objects) until the “CAL” message displayed in the EVIC
turns off. The compass will now function normally.
ECO
The ECO message will appear in your EVIC display whenever you are driving in a fuel
efficient manner.
This feature allows you to monitor when you are driving in a fuel efficient manner, and it can
be used to modify driving habits in order to increase fuel economy.
PROGRAMMABLE FEATURES
EVIC Programmable Features
The EVIC can be used to view the following main menu items:
NOTE:
Depending on the vehicles options, feature settings may vary.
• Speedometer• Trip
• MPH to km/h • Audio
• Vehicle Info • Stored Messages
• Driver Assist • Screen Setup
• Fuel Economy • Speed Warning - If Equipped
NOTE:
Refer to your Owner's Manual on the DVD for further information.
Uconnect® Customer Programmable Features
The Uconnect® system allows you to access Customer Programmable feature settings
such as Display, Clock, Safety/Assistance, Lights, Doors & Locks, Auto-On Comfort &
Remote Start, Engine Off Operation, Compass Settings, Audio, Trailer Brake, Phone/
Bluetooth®, Suspension and SiriusXM Setup and System Information through soft-keys.
• Press the SETTINGS button (Uconnect® 5.0), or press the “Apps” button (Uconnect® 8.4)
located near the bottom of the touchscreen, then press the “Settings” button on the
touchscreen to access the Settings screen. When making a selection, scroll up or down
until the preferred setting is highlighted, then press and release the preferred setting
until a check-mark appears next to the setting, showing that setting has been selected.
ELECTRONICS
116
Page 119 of 188

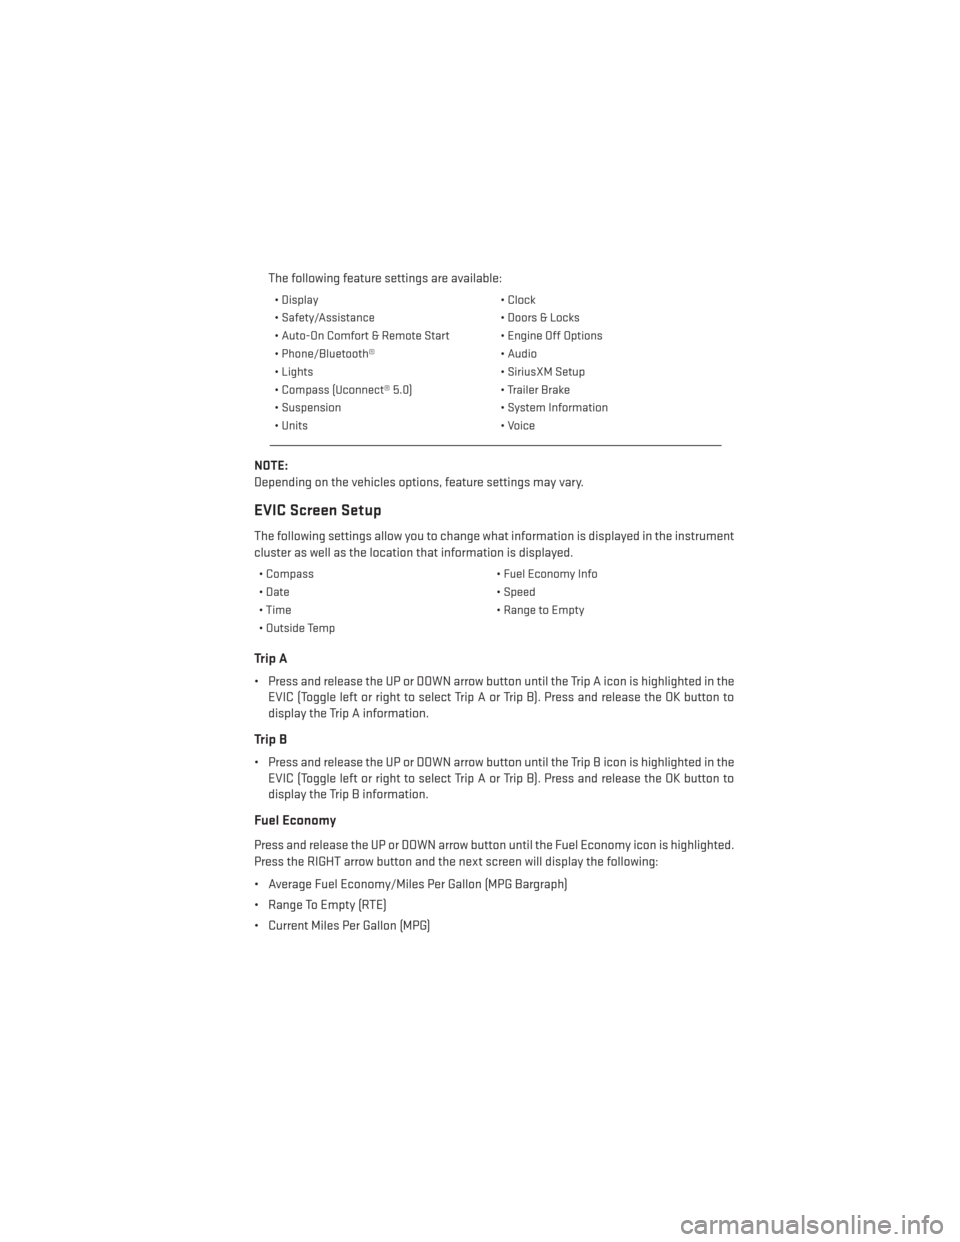
The following feature settings are available:
• Display• Clock
• Safety/Assistance • Doors & Locks
• Auto-On Comfort & Remote Start • Engine Off Options
• Phone/Bluetooth® • Audio
• Lights • SiriusXM Setup
• Compass (Uconnect® 5.0) • Trailer Brake
• Suspension • System Information
• Units • Voice
NOTE:
Depending on the vehicles options, feature settings may vary.
EVIC Screen Setup
The following settings allow you to change what information is displayed in the instrument
cluster as well as the location that information is displayed.
• Compass • Fuel Economy Info
• Date • Speed
• Time • Range to Empty
• Outside Temp
Trip A
• Press and release the UP or DOWN arrow button until the Trip A icon is highlighted in the EVIC (Toggle left or right to select Trip A or Trip B). Press and release the OK button to
display the Trip A information.
Trip B
• Press and release the UP or DOWN arrow button until the Trip B icon is highlighted in theEVIC (Toggle left or right to select Trip A or Trip B). Press and release the OK button to
display the Trip B information.
Fuel Economy
Press and release the UP or DOWN arrow button until the Fuel Economy icon is highlighted.
Press the RIGHT arrow button and the next screen will display the following:
• Average Fuel Economy/Miles Per Gallon (MPG Bargraph)
• Range To Empty (RTE)
• Current Miles Per Gallon (MPG)
ELECTRONICS
117
Page 145 of 188

3. For the front axle, place the jack on thebody flange just behind the front tire as
indicated by the triangular lift point sym-
bol on the sill molding. Do not raise the
vehicle until you are sure the jack is fully
engaged.
4. For a rear tire, place the jack in the slot on the rear tie-down bracket, just forward of
the rear tire (as indicated by the triangu-
lar lift point symbol on the sill molding).
Do not raise the vehicle until you are
sure the jack is fully engaged.
5. Raise the vehicle by turning the jack screw clockwise. Raise the vehicle just
enough to remove the flat tire.
6. Remove the lug nuts and wheel.
7.
Install the temporary spare wheel/tire and
lightly tighten the lug nuts prior to lowering
to prevent the vehicle from moving on the
jack.
8.Lower the vehicle by turning the jack screw
counterclockwise, and remove the jack.
9. Finish tightening the lug nuts. Push down on the wrench while at the end of the
handle for increased leverage. Tighten
the lug nuts in a star pattern until each
nut has been tightened twice. The correct
wheel nut tightness is 130 ft lbs (176 N·m). If in doubt about the correct tightness, have
them checked with a torque wrench by your authorized dealer or at a service station.
WHAT TO DO IN EMERGENCIES
143