2014 DODGE DURANGO change time
[x] Cancel search: change timePage 102 of 188

NOTE:
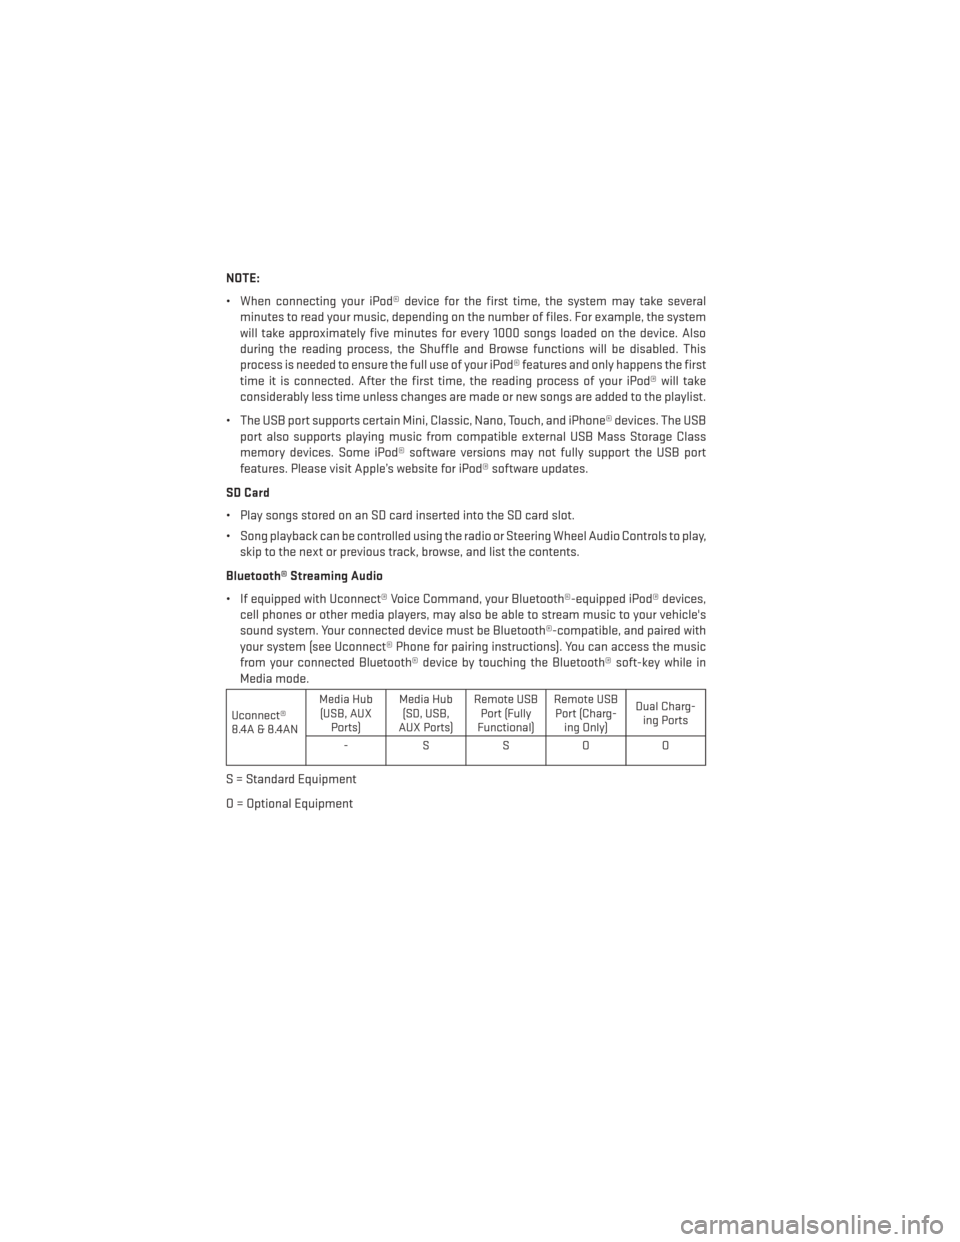
• When connecting your iPod® device for the first time, the system may take severalminutes to read your music, depending on the number of files. For example, the system
will take approximately five minutes for every 1000 songs loaded on the device. Also
during the reading process, the Shuffle and Browse functions will be disabled. This
process is needed to ensure the full use of your iPod® features and only happens the first
time it is connected. After the first time, the reading process of your iPod® will take
considerably less time unless changes are made or new songs are added to the playlist.
• The USB port supports certain Mini, Classic, Nano, Touch, and iPhone® devices. The USB port also supports playing music from compatible external USB Mass Storage Class
memory devices. Some iPod® software versions may not fully support the USB port
features. Please visit Apple’s website for iPod® software updates.
SD Card
• Play songs stored on an SD card inserted into the SD card slot.
• Song playback can be controlled using the radio or Steering Wheel Audio Controls to play, skip to the next or previous track, browse, and list the contents.
Bluetooth® Streaming Audio
• If equipped with Uconnect® Voice Command, your Bluetooth®-equipped iPod® devices, cell phones or other media players, may also be able to stream music to your vehicle's
sound system. Your connected device must be Bluetooth®-compatible, and paired with
your system (see Uconnect® Phone for pairing instructions). You can access the music
from your connected Bluetooth® device by touching the Bluetooth® soft-key while in
Media mode.
Uconnect®
8.4A & 8.4AN Media Hub
(USB, AUX Ports) Media Hub
(SD, USB,
AUX Ports) Remote USB
Port (Fully
Functional) Remote USB
Port (Charg- ing Only) Dual Charg-
ing Ports
-SSOO
S = Standard Equipment
O = Optional Equipment
ELECTRONICS
100
Page 119 of 188

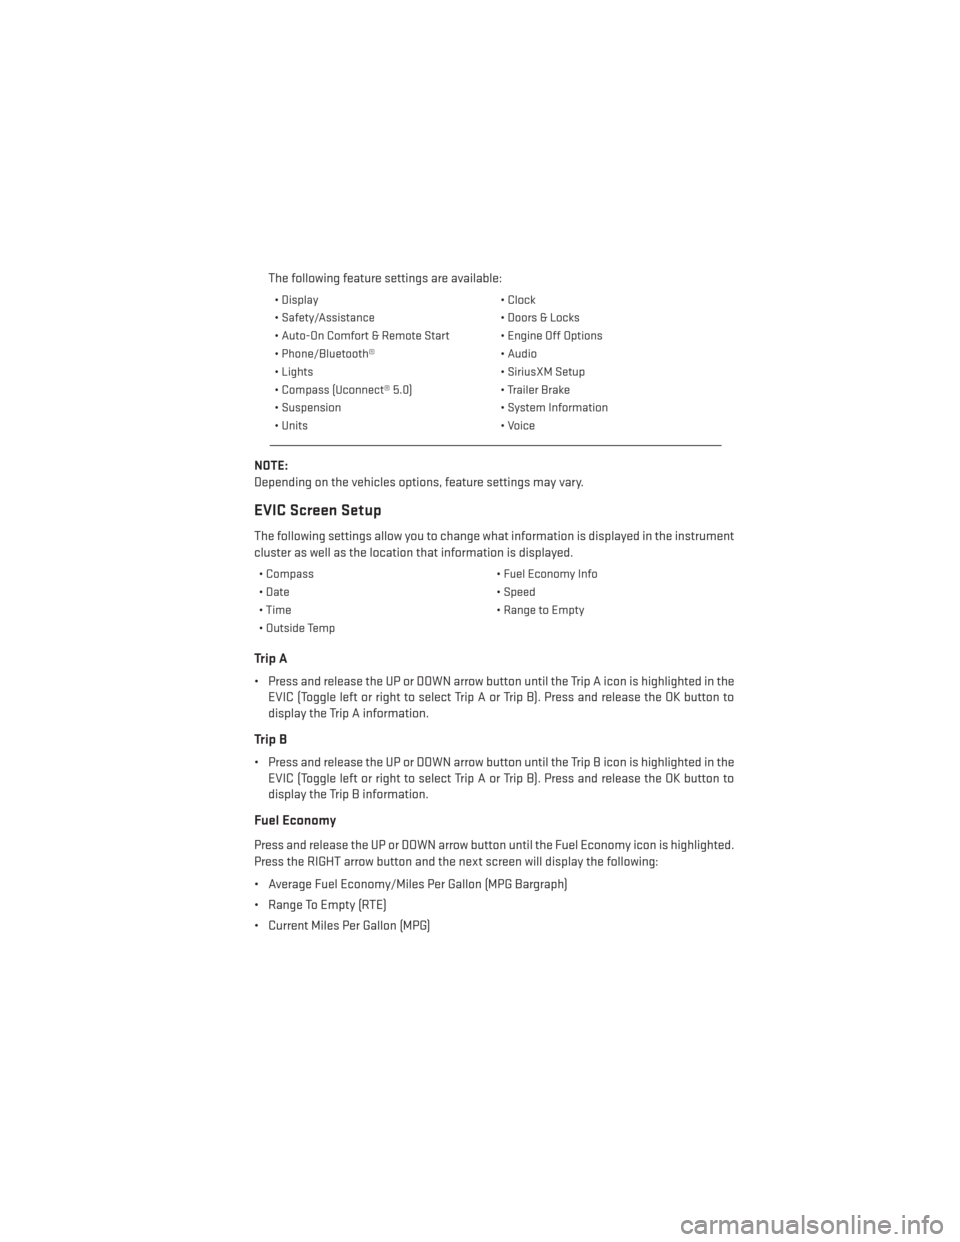
The following feature settings are available:
• Display• Clock
• Safety/Assistance • Doors & Locks
• Auto-On Comfort & Remote Start • Engine Off Options
• Phone/Bluetooth® • Audio
• Lights • SiriusXM Setup
• Compass (Uconnect® 5.0) • Trailer Brake
• Suspension • System Information
• Units • Voice
NOTE:
Depending on the vehicles options, feature settings may vary.
EVIC Screen Setup
The following settings allow you to change what information is displayed in the instrument
cluster as well as the location that information is displayed.
• Compass • Fuel Economy Info
• Date • Speed
• Time • Range to Empty
• Outside Temp
Trip A
• Press and release the UP or DOWN arrow button until the Trip A icon is highlighted in the EVIC (Toggle left or right to select Trip A or Trip B). Press and release the OK button to
display the Trip A information.
Trip B
• Press and release the UP or DOWN arrow button until the Trip B icon is highlighted in theEVIC (Toggle left or right to select Trip A or Trip B). Press and release the OK button to
display the Trip B information.
Fuel Economy
Press and release the UP or DOWN arrow button until the Fuel Economy icon is highlighted.
Press the RIGHT arrow button and the next screen will display the following:
• Average Fuel Economy/Miles Per Gallon (MPG Bargraph)
• Range To Empty (RTE)
• Current Miles Per Gallon (MPG)
ELECTRONICS
117
Page 121 of 188

4. Continue to hold both buttons and observe the indicator light. The HomeLink® indicatorwill flash slowly and then rapidly after HomeLink® has received the frequency signal
from the hand-held transmitter. Release both buttons after the indicator light changes
from slow to rapid.
5. At the garage door opener motor (in the garage), locate the “LEARN” or “TRAINING” button. This can usually be found where the hanging antenna wire is attached to the
garage door opener motor. Firmly press and release the “LEARN” or “TRAINING” button.
NOTE:
You have 30 seconds in which to initiate the next step after the LEARN button has been
pressed.
6.
Return to the vehicle and press the programmed HomeLink® button twice (holding the
button for two seconds each time). If the device is plugged in and activates, programming
is complete.
NOTE:
If the device does not activate, press the button a third time (for two seconds) to complete
the training.
7. To program the remaining two HomeLink® buttons, repeat each step for each remaining button. DO NOT erase the channels.
Programming A Non-Rolling Code
NOTE:
For programming Garage Door Openers manufactured before 1995.
1. Turn the ignition switch to the ON/RUN position.
2. Place the hand-held transmitter 1 to 3 inches (3 to 8 cm) away from the HomeLink® button you wish to program while keeping the HomeLink® indicator light in view.
3. Simultaneously press and hold both the HomeLink® button you want to program and the hand-held transmitter button.
4. Continue to hold both buttons and observe the indicator light. The HomeLink® indicator will flash slowly and then rapidly after HomeLink® has received the frequency signal
from the hand-held transmitter. Release both buttons after the indicator light changes
from slow to rapid.
5. Press and hold the programmed HomeLink® button and observe the indicator light. If the indicator light stays on constantly, programming is complete and the garage door (or
device) should activate when the HomeLink® button is pressed.
6. To program the two remaining HomeLink® buttons, repeat each step for each remaining button. DO NOT erase the channels.
ELECTRONICS
119
Page 163 of 188

MAINTENANCE SCHEDULE — GASOLINE ENGINE
Your vehicle is equipped with an automatic oil change indicator system. The oil change indicator
system will remind you that it is time to take your vehicle in for scheduled maintenance.
Based on engine operation conditions, the oil change indicator message will illuminate. This
means that service is required for your vehicle. Operating conditions such as frequent short-
trips, trailer tow, extremely hot or cold ambient temperatures, and E85 fuel usage will influence
when the “Oil Change Required” message is displayed. Severe Operating Conditions can cause
the change oil message to illuminate as early as 3,500 miles (5,600 km) since last reset. Have
your vehicle serviced as soon as possible, within the next 500 miles (805 km).
Your authorized dealer will reset the oil change indicator message after completing the
scheduled oil change. If a scheduled oil change is performed by someone other than your
authorized dealer, the message can be reset by referring to the steps described under “Instru-
ment Cluster Warning Lights” in “What To Do In Emergencies” in this guide or “Electronic
Vehicle Information Center (EVIC)” in “Understanding Your Instrument Panel” in your Owners
Manual on the DVD for further information.
NOTE:
Under no circumstances should oil change intervals exceed 10,000 miles (16,000 km) or
twelve months, whichever comes first.
Severe Duty All Models
Change Engine Oil at 4000 miles (6,500 km) if the vehicle is operated in a dusty and off road
environment. This type of vehicle use is considered Severe Duty.
Once A Month Or Before A Long Trip:
• Check engine oil level
• Check windshield washer fluid level
• Check the tire inflation pressures and look for unusual wear or damage
• Check the fluid levels of the coolant reservoir, brake master cylinder, power steering andtransmission as needed
• Check function of all interior and exterior lights
Required Maintenance
Refer to the Maintenance Schedules on the following pages for required maintenance.
At Every Oil Change Interval As Indicated By Oil Change Indicator System:
• Change oil and filter.
• Rotate the tires. Rotate at the first sign of irregular wear, even if it occurs before the oil
indicator system turns on.
• Inspect battery and clean and tighten terminals as required.
• Inspect automatic transmission fluid if equipped with dipstick.
• Inspect brake pads, shoes, rotors, drums, hoses and park brake.
• Inspect engine cooling system protection and hoses.
• Inspect exhaust system.
• Inspect engine air cleaner if using in dusty or off-road conditions.
MAINTAINING YOUR VEHICLE
161
Page 164 of 188

Maintenance Chart
Mileage or time passed (whichever comes first)
20,00030,000
40,000
50,000
60,000 70,000
80,000 90,000
100,000
110,000
120,000
130,000
140,000
150,000
Or Years: 2 3 4 5 6 7 8 9 10 11 12 13 14 15
Or Kilometers:
32,000
48,000
64,000
80,000
96,000
112,000
128,000 144,000
160,000
176,000
192,000
208,000 224,000
240,000
Additional Inspections
Inspect the CV joints. X X X X X
Inspect front suspension, tie rod ends, and replace if
necessary. XX X XX X X
Inspect the front and rear axle fluid, change if using
your vehicle for police, taxi, fleet, off-road or frequent
trailer towing. XX X XX X X
Inspect the brake linings, replace as necessary. X X X X X X X
Adjust parking brake. X X X X X X X
Inspect transfer case fluid. X X X X
Additional Maintenance
Replace engine air filter. X X X X X
Replace air conditioning filter. X X X X X X X
Replace spark plugs (3.6L engine).** X
Replace spark plugs (5.7L engine).** X
Flush and replace the engine coolant at 10 years or
150,000 miles (240,000 km) whichever comes first. XX
MAINTAINING YOUR VEHICLE
162
Page 165 of 188

Mileage or time passed (whichever comes first)
20,00030,000
40,000
50,000
60,000 70,000
80,000 90,000
100,000
110,000
120,000
130,000
140,000
150,000
Or Years: 2 3 4 5 6 7 8 9 10 11 12 13 14 15
Or Kilometers:
32,000
48,000
64,000
80,000
96,000
112,000
128,000 144,000
160,000
176,000
192,000
208,000 224,000
240,000
Change transfer case fluid. X
Inspect and replace PCV valve if necessary. X** The spark plug change interval is mileage based only, yearly intervals do not apply.
WARNING!
• You can be badly injured working on or around a motor vehicle. Do only service work for which you have the knowledge and the right
equipment. If you have any doubt about your ability to perform a service job, take your vehicle to a competent mechanic.
• Failure to properly inspect and maintain your vehicle could result in a component malfunction and effect vehicle handling and
performance. This could cause an accident.
MAINTAINING YOUR VEHICLE
163