2014 DODGE DART lock
[x] Cancel search: lockPage 337 of 656

Electronic Vehicle Information Center (EVIC)
Messages
•Front Seatbelts Unbuckled
• Driver Seatbelt Unbuckled
• Passenger Seatbelt Unbuckled
• Service Airbag System
• Traction Control Off
• Washer Fluid Low
• Oil Pressure Low
• Oil Change Due
• Fuel Low
• Service Antilock Brake System
• Service Electronic Throttle Control •
Service Power Steering
• Cruise Off
• Cruise Ready
• Cruise Set To XXX MPH
•
Tire Pressure Screen With Low Tire(s) “Inflate Tire to XX”
• Service Tire Pressure System
• Parking Brake Engaged
• Brake Fluid Low
• Service Electronic Braking System
• Engine Temperature Hot
• Battery Voltage Low
• Service Electronic Throttle Control
• Lights On4
UNDERSTANDING YOUR INSTRUMENT PANEL 335
Page 351 of 656
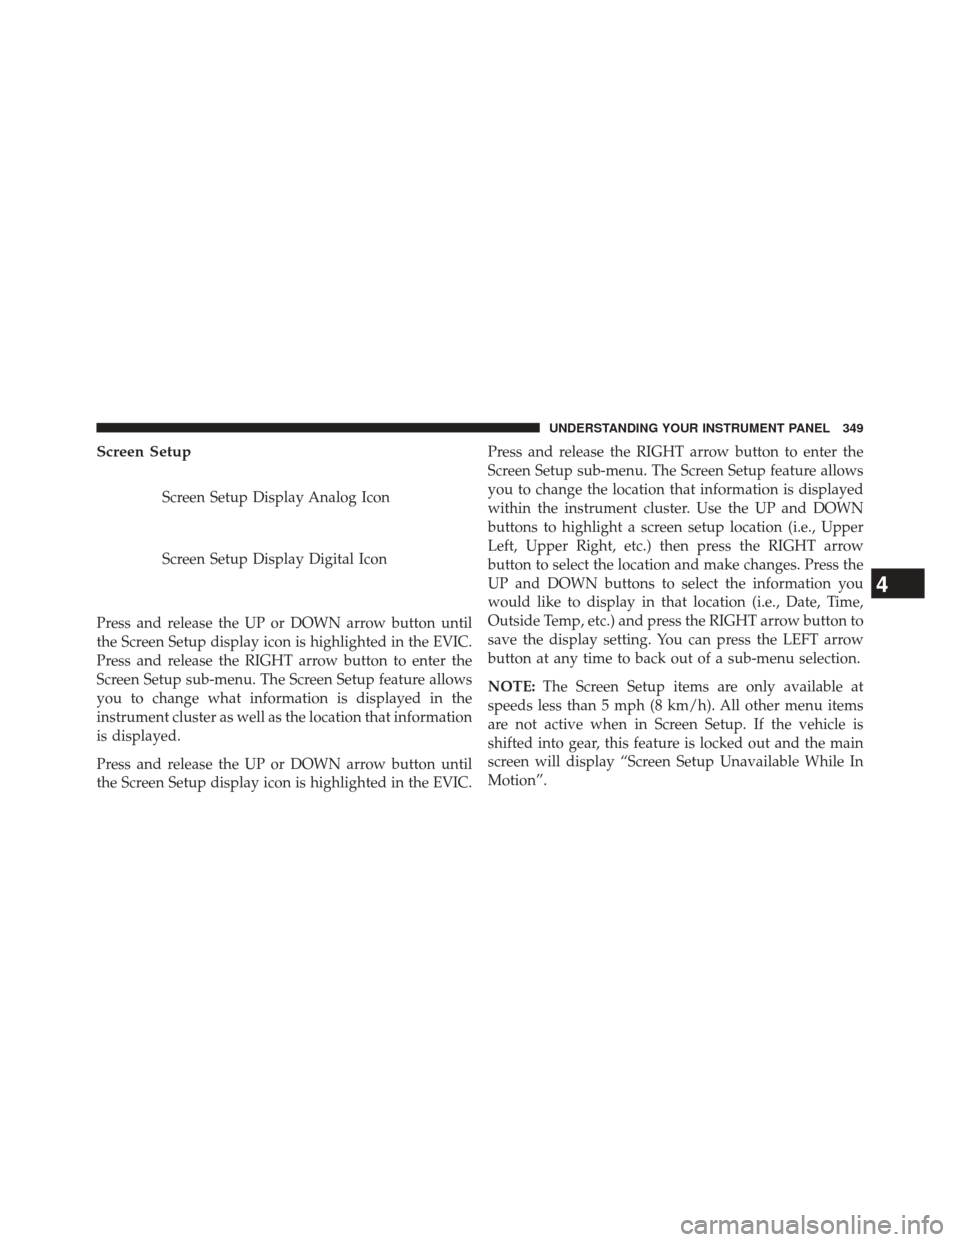
Screen Setup
Screen Setup Display Analog Icon
Screen Setup Display Digital Icon
Press and release the UP or DOWN arrow button until
the Screen Setup display icon is highlighted in the EVIC.
Press and release the RIGHT arrow button to enter the
Screen Setup sub-menu. The Screen Setup feature allows
you to change what information is displayed in the
instrument cluster as well as the location that information
is displayed.
Press and release the UP or DOWN arrow button until
the Screen Setup display icon is highlighted in the EVIC. Press and release the RIGHT arrow button to enter the
Screen Setup sub-menu. The Screen Setup feature allows
you to change the location that information is displayed
within the instrument cluster. Use the UP and DOWN
buttons to highlight a screen setup location (i.e., Upper
Left, Upper Right, etc.) then press the RIGHT arrow
button to select the location and make changes. Press the
UP and DOWN buttons to select the information you
would like to display in that location (i.e., Date, Time,
Outside Temp, etc.) and press the RIGHT arrow button to
save the display setting. You can press the LEFT arrow
button at any time to back out of a sub-menu selection.
NOTE:
The Screen Setup items are only available at
speeds less than 5 mph (8 km/h). All other menu items
are not active when in Screen Setup. If the vehicle is
shifted into gear, this feature is locked out and the main
screen will display “Screen Setup Unavailable While In
Motion”.
4
UNDERSTANDING YOUR INSTRUMENT PANEL 349
Page 354 of 656
Turn the control knob to scroll through menus and
change settings (i.e., 30, 60, 90), press the center of the
control knob one or more times to select or change a
setting (i.e., ON, OFF).
Soft-Keys
Soft-Keys are accessible on the Uconnect® Touchscreen.
Customer Programmable Features — Uconnect®
System 8.4 Settings
Press the More soft-key, then press the Settings soft-key
to display the menu setting screen. In this mode the
Uconnect® system allows you to access programmable
features that may be equipped such as Display, Clock,
Safety & Driving Assistance, Lights, Doors & Locks,
Auto-On Comfort & Remote Start, Engine Off Operation,
Compass Settings, Audio, Phone/Bluetooth and SIRIUS
Setup.NOTE:
Only one touchscreen area may be selected at a
time.
When making a selection, press the soft-key to enter the
desired mode. Once in the desired mode press and
release the preferred setting until a check-mark appears
next to the setting, showing that setting has been se-
lected.
Once the setting is complete press the Back Arrow
soft-key to return to the previous menu or press the X
soft-key to close out of the settings screen. Pressing the
Up or Down Arrow soft-keys on the right side of the
screen will allow you to toggle up or down through the
available settings.
352 UNDERSTANDING YOUR INSTRUMENT PANEL
Page 357 of 656
Clock
After pressing the Clock soft-key the following settings
will be available.
•Sync With GPS Time — If Equipped
When in this display, you may automatically have the
radio set the time. To change the Sync with GPS Time
setting touch the “Sync with GPS Time” soft-key until a
check-mark appears next to the setting, indicating that
the setting has been selected. Touch the back arrow
soft-key to return to the previous menu.
• Set Time Hours
When in this display, you may adjust the hours. The
“Sync with GPS Time” soft-key must be unchecked. To
make your selection touch the “+” or “–” soft-keys to
adjust the hours up or down. Touch the back arrow
soft-key to return to the previous menu or touch the “X”
soft-key to close out of the settings screen. •
Set Time Minutes
When in this display, you may adjust the minutes. The
“Sync with GPS Time” soft-key must be unchecked. To
make your selection touch the “+” or “–” soft-keys to
adjust the minutes up or down. Touch the back arrow
soft-key to return to the previous menu or touch the “X”
soft-key to close out of the settings screen.
• Time Format
When in this display, you may select the time format
display setting. Touch the “Time Format” soft-key until a
check-mark appears next to the 12hrs or 24hrs setting,
indicating that the setting has been selected. Touch the
back arrow soft-key to return to the previous menu.
• Show Time In Status Bar — If Equipped
When in this display, you may turn on or shut off the
digital clock in the status bar. To change the Show Time
Status setting touch the “Show Time in Status Bar”
4
UNDERSTANDING YOUR INSTRUMENT PANEL 355
Page 360 of 656
•Interior Accent Lighting
When this feature is selected, the interior accent lighting
surrounding the instrument panel will illuminate. To
make your selection, touch the Interior Accent Lighting
soft-key, until a check-mark appears next to setting,
showing that setting has been selected. Touch the back
arrow soft-key to return to the previous menu.
• Headlight Illumination On Approach
When this feature is selected, the headlights will activate
and remain on for 0, 30, 60, or 90 seconds when the doors
are unlocked with the Remote Keyless Entry (RKE)
transmitter. To change the Illuminated Approach status,
touch the + or - soft-key to select your desired time
interval. Touch the back arrow soft-key to return to the
previous menu. •
Headlights With Wipers — If Equipped
When this feature is selected, and the headlight switch is in
the AUTO position, the headlights will turn on approxi-
mately 10 seconds after the wipers are turned on. The
headlights will also turn off when the wipers are turned off
if they were turned on by this feature. To make your
selection, touch the Headlights With Wipers soft-key, until a
check-mark appears next to setting, showing that setting has
been selected. Touch the back arrow soft-key to return to the
previous menu.
•Auto Dim High Beams “SmartBeam™” — If Equipped
When this feature is selected, the high beam headlights will
deactivate automatically under certain conditions. To make
your selection, touch the Auto High Beams soft-key, until a
check-mark appears next to setting, showing that setting has
been selected. Touch the back arrow soft-key to return to the
previous menu. Refer to “Lights/SmartBeam™ — If
Equipped” in “Understanding The Features Of Your Ve-
hicle” for further information.
358 UNDERSTANDING YOUR INSTRUMENT PANEL
Page 361 of 656
•Daytime Running Lights
When this feature is selected, the headlights will turn on
whenever the engine is running. To make your selection,
touch the Daytime Running Lights soft-key, until a
check-mark appears next to setting, showing that setting
has been selected. Touch the back arrow soft-key to
return to the previous menu.
• Flash Lights With Lock
When this feature is selected, the exterior lights will flash
when the doors are locked or unlocked with the Remote
Keyless Entry (RKE) transmitter. This feature may be
selected with or without the sound horn on lock feature
selected. To make your selection, touch the Flash Lamps
with Lock soft-key, until a check-mark appears next to
setting, showing that setting has been selected. Touch the
back arrow soft-key to return to the previous menu.Doors & Locks
After pressing the Doors & Locks soft-key the following
settings will be available.
• Auto Unlock On Exit
When this feature is selected, all doors will unlock when
the vehicle is stopped and the transmission is in the PARK
or NEUTRAL position and the driver’s door is opened. To
make your selection, touch the Auto Unlock On Exit
soft-key, until a check-mark appears next to setting, indi-
cating that the setting has been selected. Touch the back
arrow soft-key to return to the previous menu.
4
UNDERSTANDING YOUR INSTRUMENT PANEL 359
Page 362 of 656
•Flash Lights With Lock
When this feature is selected, the exterior lights will flash
when the doors are locked or unlocked with the Remote
Keyless Entry (RKE) transmitter. To make your selection,
touch the Flash Lights With Lock soft-key, until a check-
mark appears next to setting, indicating that the setting
has been selected. Touch the back arrow soft-key to
return to the previous menu.
• Sound Horn With Lock
When this feature is selected, the horn will sound when
the remote start is activated. To make your selection,
touch the Sound Horn With Lock soft-key, until a check-
mark appears next to setting, indicating that the setting
has been selected. Touch the back arrow soft-key to
return to the previous menu. •
Sound Horn With Remote Start
When this feature is selected, the horn will sound when
the remote start is activated. To make your selection,
touch the Sound Horn With Remote Start soft-key, until a
check-mark appears next to setting, indicating that the
setting has been selected. Touch the back arrow soft-key
to return to the previous menu.
• 1st Press Of Key Fob Unlocks
When 1st Press Of Key Fob Unlocks is selected, only the
driver’s door will unlock on the first press of the Remote
Keyless Entry (RKE) transmitter UNLOCK button. When
1st Press Of Key Fob Unlocks is selected, you must press
the RKE transmitter UNLOCK button twice to unlock the
passenger’s doors. When Unlock All Doors On 1st Press
is selected, all of the doors will unlock on the first press
of the RKE transmitter UNLOCK button.
360 UNDERSTANDING YOUR INSTRUMENT PANEL
Page 363 of 656
NOTE:If the vehicle is programmed 1st Press Of Key Fob
Unlocks, all doors will unlock no matter which Passive
Entry equipped door handle is grasped. If 1st Press Of
Key Fob Unlocks is programmed, only the driver ’s door
will unlock when the driver ’s door is grasped. With
Passive Entry, if 1st Press Of Key Fob Unlocks is pro-
grammed touching the handle more than once will only
result in the driver ’s door opening. If driver door first is
selected, once the driver door is opened, the interior door
lock/unlock switch can be used to unlock all doors (or
use RKE transmitter).
• Passive Entry
This feature allows you to lock and unlock the vehicle’s
door(s) without having to press the Remote Keyless Entry
(RKE) transmitter lock or unlock buttons. To make your
selection, touch the Passive Entry soft-key, until a check-
mark appears next to setting, indicating that the setting has been selected. Touch the back arrow soft-key to return to the
previous menu. Refer to “Keyless Enter-N-Go™” in “Things
To Know Before Starting Your Vehicle”.
•
Interior Motion Detection Alarm
This feature will sound the vehicles alarm when motion
is detected inside the vehicle while locked. To make your
selection, touch the Interior Motion Detection Alarm
soft-key until a check-mark appears next to setting,
indicating that the setting has been selected. Touch the
back arrow soft-key to return to the previous menu.
Auto-On Comfort & Remote Start
After pressing the Auto-On Comfort & Remote Start
soft-key the following settings will be available.
4
UNDERSTANDING YOUR INSTRUMENT PANEL 361