2014 DODGE CHARGER navigation
[x] Cancel search: navigationPage 197 of 635

NOTE:
1. Only available with Navigation equipped vehicles.
2. You can replace “Player” with “Radio,” “Navigation,”“Phone,” “Climate,” “More” or “Settings.”
3. Navigation commands only work if equipped with Navigation.
NOTE: Available Voice Commands are shown in bold
face and shaded grey.
3
UNDERSTANDING THE FEATURES OF YOUR VEHICLE 195
Page 280 of 635

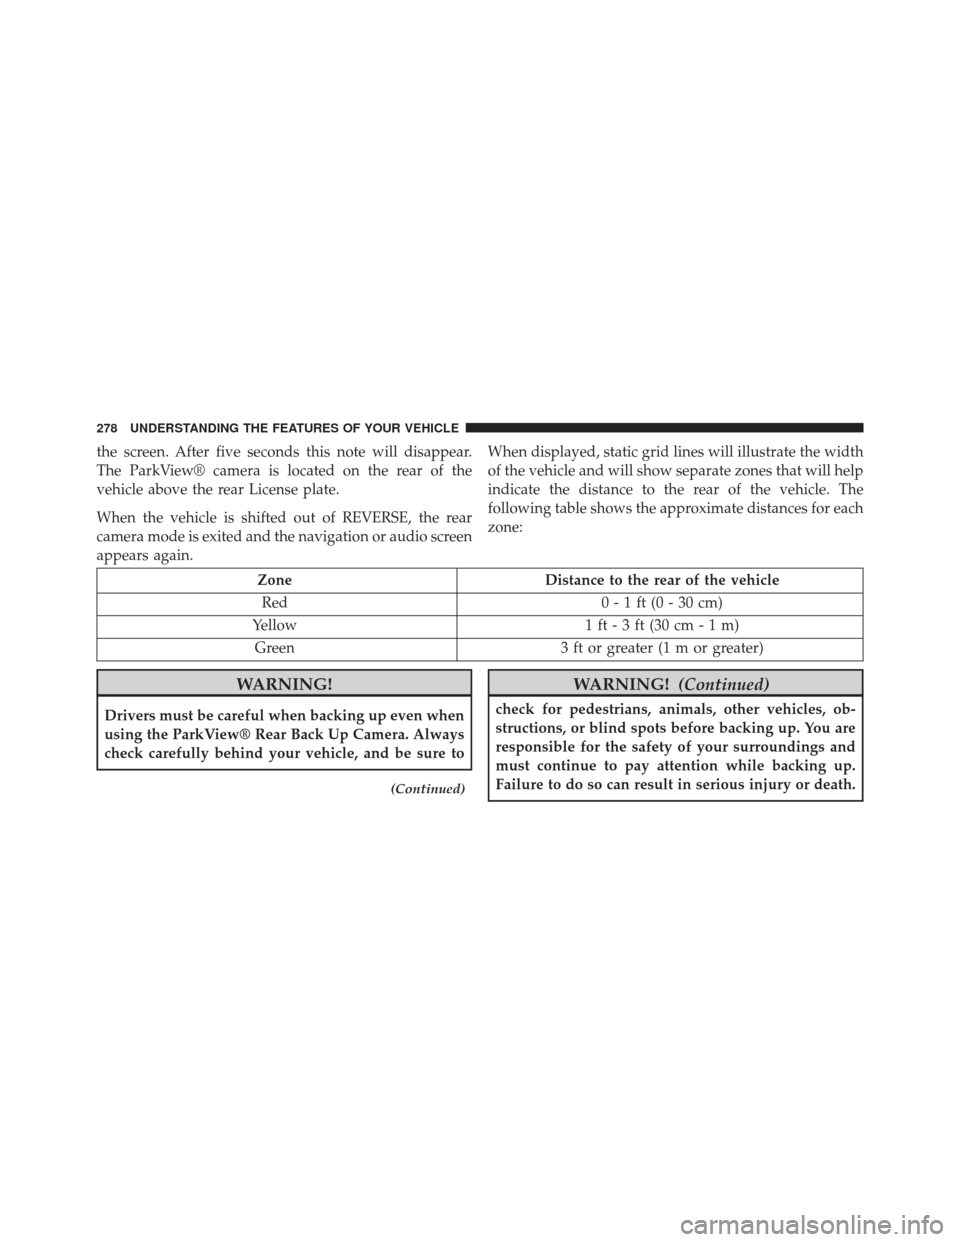
the screen. After five seconds this note will disappear.
The ParkView® camera is located on the rear of the
vehicle above the rear License plate.
When the vehicle is shifted out of REVERSE, the rear
camera mode is exited and the navigation or audio screen
appears again.When displayed, static grid lines will illustrate the width
of the vehicle and will show separate zones that will help
indicate the distance to the rear of the vehicle. The
following table shows the approximate distances for each
zone:
Zone
Distance to the rear of the vehicle
Red 0 - 1 ft (0 - 30 cm)
Yellow 1 ft - 3 ft (30 cm - 1 m)
Green 3 ft or greater (1 m or greater)
WARNING!
Drivers must be careful when backing up even when
using the ParkView® Rear Back Up Camera. Always
check carefully behind your vehicle, and be sure to
(Continued)
WARNING!(Continued)
check for pedestrians, animals, other vehicles, ob-
structions, or blind spots before backing up. You are
responsible for the safety of your surroundings and
must continue to pay attention while backing up.
Failure to do so can result in serious injury or death.
278 UNDERSTANDING THE FEATURES OF YOUR VEHICLE
Page 339 of 635

Trip Info
Trip A
Shows the total distance traveled for Trip A since the last
reset.
Trip B
Shows the total distance traveled for Trip B since the last
reset.
Elapsed Time
Shows the total elapsed time of travel since the last reset
when the ignition is in the ACC position. Elapsed time
will increment when the ignition is in the ON/RUN
position.
To Reset The Display
Reset will only occur while a resettable function is being
displayed. Press and release the RIGHT arrow button
once to clear the resettable function being displayed. Toreset all resettable functions, press and hold the RIGHT
arrow button for two seconds. The current display will
reset along with other functions.
Units
Press and release the UP or DOWN button until “Units”
displays highlighted in the EVIC and press the RIGHT
arrow button. The EVIC, odometer, and navigation sys-
tem (if equipped) can be changed between English and
Metric units of measure. To make your selection, scroll up
or down until the preferred setting is highlighted, then
press and release the RIGHT arrow button until a check-
mark appears next to the setting, showing that the setting
has been selected.
Vehicle Info (Customer Information Features)
Press and release the UP or DOWN button until “Vehicle
Info” displays in the EVIC and press the RIGHT arrow
button. Press the UP and DOWN button to scroll through
4
UNDERSTANDING YOUR INSTRUMENT PANEL 337
Page 343 of 635

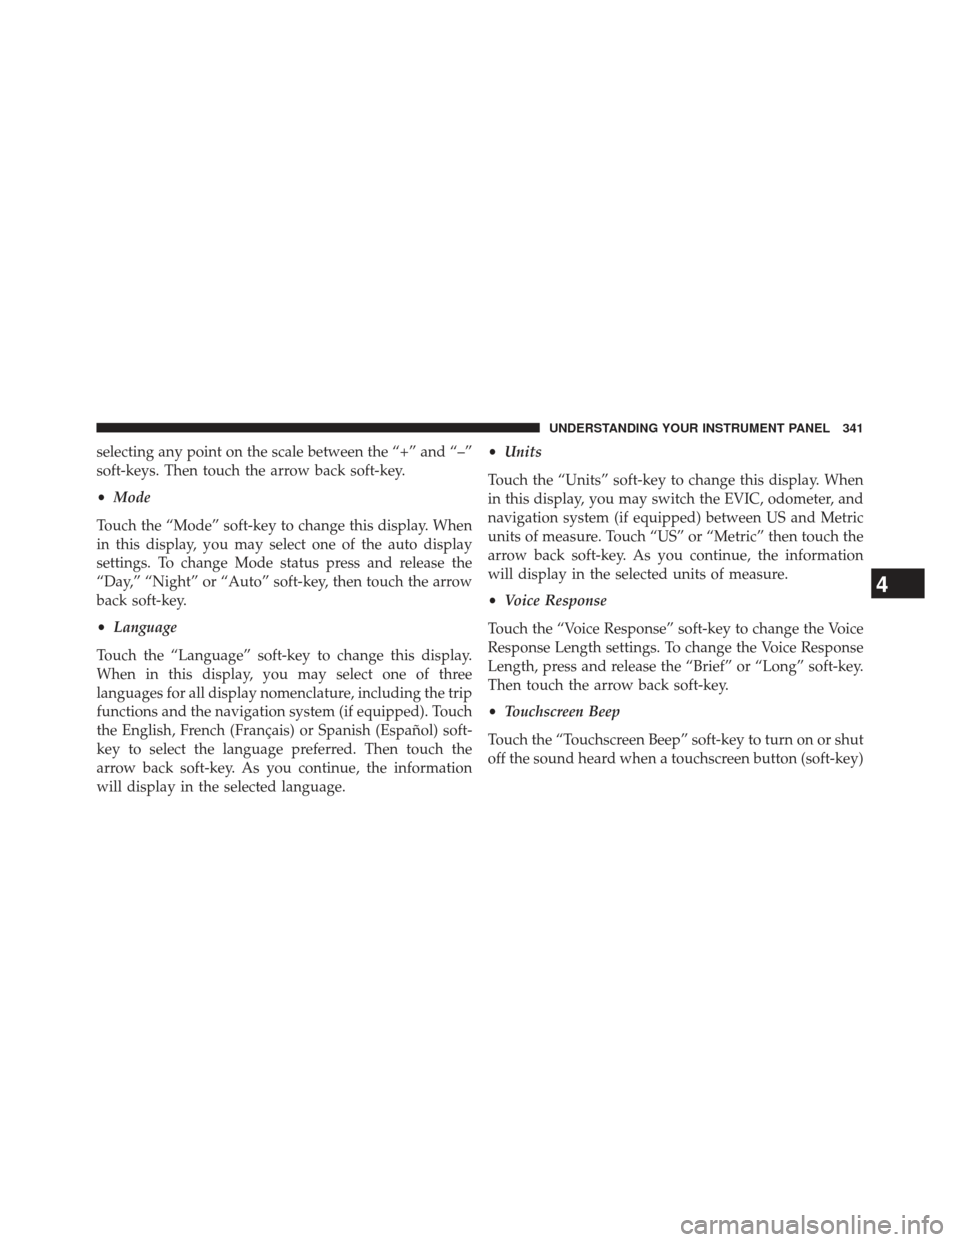
selecting any point on the scale between the “+” and “–”
soft-keys. Then touch the arrow back soft-key.
•Mode
Touch the “Mode” soft-key to change this display. When
in this display, you may select one of the auto display
settings. To change Mode status press and release the
“Day,” “Night” or “Auto” soft-key, then touch the arrow
back soft-key.
• Language
Touch the “Language” soft-key to change this display.
When in this display, you may select one of three
languages for all display nomenclature, including the trip
functions and the navigation system (if equipped). Touch
the English, French (Français) or Spanish (Español) soft-
key to select the language preferred. Then touch the
arrow back soft-key. As you continue, the information
will display in the selected language. •
Units
Touch the “Units” soft-key to change this display. When
in this display, you may switch the EVIC, odometer, and
navigation system (if equipped) between US and Metric
units of measure. Touch “US” or “Metric” then touch the
arrow back soft-key. As you continue, the information
will display in the selected units of measure.
• Voice Response
Touch the “Voice Response” soft-key to change the Voice
Response Length settings. To change the Voice Response
Length, press and release the “Brief” or “Long” soft-key.
Then touch the arrow back soft-key.
• Touchscreen Beep
Touch the “Touchscreen Beep” soft-key to turn on or shut
off the sound heard when a touchscreen button (soft-key)
4
UNDERSTANDING YOUR INSTRUMENT PANEL 341
Page 357 of 635

•Set Language
When in this display, you may select one of three
languages for all display nomenclature, including the trip
functions and the navigation system (if equipped). Touch
the “Set Language” soft-key and then touch the desired
language soft-key until a check-mark appears next to the
language, showing that setting has been selected. Touch
the back arrow soft-key to return to the previous menu.
• Units
When in this display, you may select to have the EVIC,
odometer, and navigation system (if equipped) changed
between US and Metric units of measure. Touch “US” or
“Metric” until a check-mark appears next to the setting,
showing that setting has been selected. Touch the back
arrow soft-key to return to the previous menu. •
Voice Response Length
When in this display, you may change the Voice Re-
sponse Length settings. To change the Voice Response
Length, touch the “Brief” or “Detailed” soft-key until a
check-mark appears next to the setting, showing that
setting has been selected. Touch the back arrow soft-key
to return to the previous menu.
• Touchscreen Beep
When in this display, you may turn on or shut off the
sound heard when a touchscreen button (soft-key) is
pressed. Touch the “Touchscreen Beep” soft-key until a
check-mark appears next to the setting, showing that
setting has been selected. Touch the back arrow soft-key
to return to the previous menu.
• Navigation Turn-By-Turn In Cluster — If Equipped
When this feature is selected, the turn-by-turn directions
will appear in the display as the vehicle approaches a
4
UNDERSTANDING YOUR INSTRUMENT PANEL 355
Page 358 of 635

designated turn within a programmed route. To make
your selection, touch the “Navigation Turn-By-Turn In
Cluster” soft-key, until a check-mark appears next to the
setting, showing that setting has been selected. Touch the
back arrow soft-key to return to the previous menu.
•Fuel Saver Display In Cluster — If Equipped
The “ECO” message is located in the instrument cluster
display, this message can be turned on or off. To make
your selection, touch the “Fuel Saver Display” soft-key,
until a check-mark appears next to the setting, showing
that setting has been selected. Touch the back arrow
soft-key to return to the previous menu.
Clock
After pressing the Clock soft-key the following settings
will be available. •
Sync With GPS Time — If Equipped
When in this display, you may automatically have the
radio set the time. To change the Sync with GPS Time
setting touch the “Sync with GPS Time” soft-key until a
check-mark appears next to the setting, indicating that
the setting has been selected. Touch the back arrow
soft-key to return to the previous menu.
• Set Time Hours
When in this display, you may adjust the hours. The
“Sync with GPS Time” soft-key must be unchecked. To
make your selection touch the “+” or “–” soft-keys to
adjust the hours up or down. Touch the back arrow
soft-key to return to the previous menu or touch the “X”
soft-key to close out of the settings screen.
• Set Time Minutes
When in this display, you may adjust the minutes. The
“Sync with GPS Time” soft-key must be unchecked. To
356 UNDERSTANDING YOUR INSTRUMENT PANEL
Page 370 of 635

NOTE:Bass/Mid/Treble allow you to simply slide your
finger up or down to change the setting as well as touch
directly on the desired setting.
• Speed Adjusted Volume
This feature increases or decreases volume relative to
vehicle speed. To change the Speed Adjusted Volume
touch the Off, 1, 2 or 3 soft-key. Then touch the back
arrow soft-key.
• Music Info Cleanup
This feature helps organize music files for optimized
music navigation. To make your selection, touch the
Music Info Cleanup soft-key, select On or Off followed by
pressing the back arrow soft-key. •
Surround Sound — If Equipped
This feature provides simulated surround sound mode.
To make your selection, touch the Surround Sound
soft-key, select On or Off followed by pressing the back
arrow soft-key.
Phone/Bluetooth®
After pressing the “Phone/Bluetooth®” soft-key the fol-
lowing settings will be available.
• Paired Devices
This feature shows which phones are paired to the
Phone/Bluetooth® system. For further information, refer
to the Uconnect® Supplement.
SiriusXM Setup
After pressing the “SIRIUS Setup” soft-key the following
settings will be available.
368 UNDERSTANDING YOUR INSTRUMENT PANEL