Page 28 of 148
Manually Folding Third Row Seats
• Lower the center head restraint down to theseatback by pushing the button on the guide
and pushing the head restraint down.
• Lower the outboard head restraints by pull- ing on the release strap marked “1” located
on the outboard side of the head restraint.
• Pull release strap marked “2” located on the rear of the seat to lower the seatback.
• Pull release strap marked “3” to release the anchors.
• Pull release strap marked “4” and tumble the seat rearward into the storage bin.
To Unfold Third Row Seats
• Pull up on the assist strap to lift the seat out of the storage bin and push the seat forward
until the anchors latch.
• Pull release strap marked “2” to unlock the recliner.
• Pulling strap “4” releases the seatback to return to its full upright position.
• Raise the head restraint to its upright position.
GETTING STARTED
26
Page 29 of 148

CAUTION!
The storage bin cover must be locked and flat to avoid damage from contact with the front
seat tracks, which have minimal clearance to the cover.
WARNING!
• In a collision, serious injury could result if the seat storage bin covers are not properlylatched.
• Do not drive the vehicle with the storage bin covers open.
• Keep the storage bin covers closed and latched while the vehicle is in motion.
• Do not use a storage bin latch as a tie down.
• In a collision, you or others in the vehicle could be injured if the seats are not properly
latched to their floor attachments. Always be sure the seats are fully latched.
HEATED SEATS
Front Heated Seats
• The controls for front heated seats are lo-cated on the center instrument panel area.
• Press the switch once to select High-level heating. Press the switch a second time to
select Low-level heating. Press the switch a
third time to shut the heating elements Off.
• If the High-level setting is selected, the sys- tem will automatically switch to Low-level
after approximately 30 minutes. The Low-
level setting will turn Off automatically after
approximately 45 minutes.
Second Row Heated Seats
• Second row heated seat switches are lo-cated in the sliding door handle trim panels.
• Press the switch once to select High-level heating. Press the switch a second time to
select Low-level heating. Press the switch a
third time to shut the heating elements Off.
• If the High-level setting is selected, the sys- tem will automatically switch to Low-level
after approximately 30 minutes. The Low-
level setting will turn Off automatically after
approximately 45 minutes.
GETTING STARTED
27
Page 30 of 148

WARNING!
• Persons who are unable to feel pain to the skin because of advanced age, chronic illness,diabetes, spinal cord injury, medication, alcohol use, exhaustion or other physical condi-
tions must exercise care when using the seat heater. It may cause burns even at low
temperatures, especially if used for long periods of time.
• Do not place anything on the seat that insulates against heat, such as a blanket or cushion.
This may cause the seat heater to overheat. Sitting in a seat that has been overheated
could cause serious burns due to the increased surface temperature of the seat.
HEATED STEERING WHEEL
• The steering wheel contains a heating ele-ment that heats the steering wheel to one
temperature setting.
• The heated steering wheel switch is located on the center instrument panel.
• Press the switch once to turn the heating element On. Press the switch a second time
to turn the heating element Off.
• Once the heated steering wheel has been turned on, it will operate for approximately
58 to 70 minutes before automatically shut-
ting off. The heated steering wheel can shut off early or may not turn on when the steering
wheel is already warm.
TILT/TELESCOPING STEERING COLUMN
• The tilt steering column tilt lever is locatedbelow the steering wheel.
• Push down on the tilt lever to unlock the steering column.
• With one hand firmly on the steering wheel, move the steering column upward or down-
ward as desired. To lengthen or shorten
the steering column, pull the steering wheel
outward or push it inward as desired.
• Pull upward on the tilt lever to lock the column firmly in place.
GETTING STARTED
28
Page 31 of 148

WARNING!
Do not adjust the steering wheel while driving. The tilt adjustment must be locked while
driving. Adjusting the steering wheel while driving or driving without the tilt adjustment locked
could cause the driver to lose control of the vehicle. Failure to follow this warning may result in
you and others being severely injured or killed.
ADJUSTABLE PEDALS
• Press the switch located on the left side ofthe steering column forward to move the
brake and accelerator pedals away from the
driver and press the switch rearward to move
the pedals closer to the driver.
NOTE:
The pedals cannot be adjusted when the
vehicle is in REVERSE or when the Electronic
Speed Control is set.
CAUTION!
Do not place any article under the adjustable pedals or impede its ability to move, as it may
cause damage to the pedal controls. Pedal travel may become limited if movement is stopped
by an obstruction in the adjustable pedal's path.
WARNING!
Do not adjust the pedals while the vehicle is moving. You could lose control and have a
collision. Always adjust the pedals while the vehicle is parked.
GETTING STARTED
29
Page 41 of 148

Air Conditioning (A/C)
• If the air conditioning button is pressed while in AUTO mode, the system will exit AUTOmode and stay in A/C. The mode and blower will go to the previous user setting.
SYNC Temperature Button
• Push the SYNC button once to control driver and passenger temperatures simultaneously.Push the SYNC button a second time to control the temperatures individually.
Air Recirculation
• Use Recirculation for maximum A/C operation.
• For window defogging, turn the Recirculation button off.
• If the Recirculation button is pressed when the system is in Defrost mode the RecirculationLED indicator will flash three times to indicate Recirculation mode is not allowed.
Heated Mirrors
The mirrors are heated to melt frost or ice. This feature is activated whenever you turn on the rear
window defroster.
Rear Window Defroster
•Pressing the rear window defroster button will turn on the defroster for approximately 10 minutes.
An indicator in the button will illuminate when the rear window defroster is on. For an additional
10 minutes of operation, press the button a second time.
Activating Rear Automatic Temperature Control
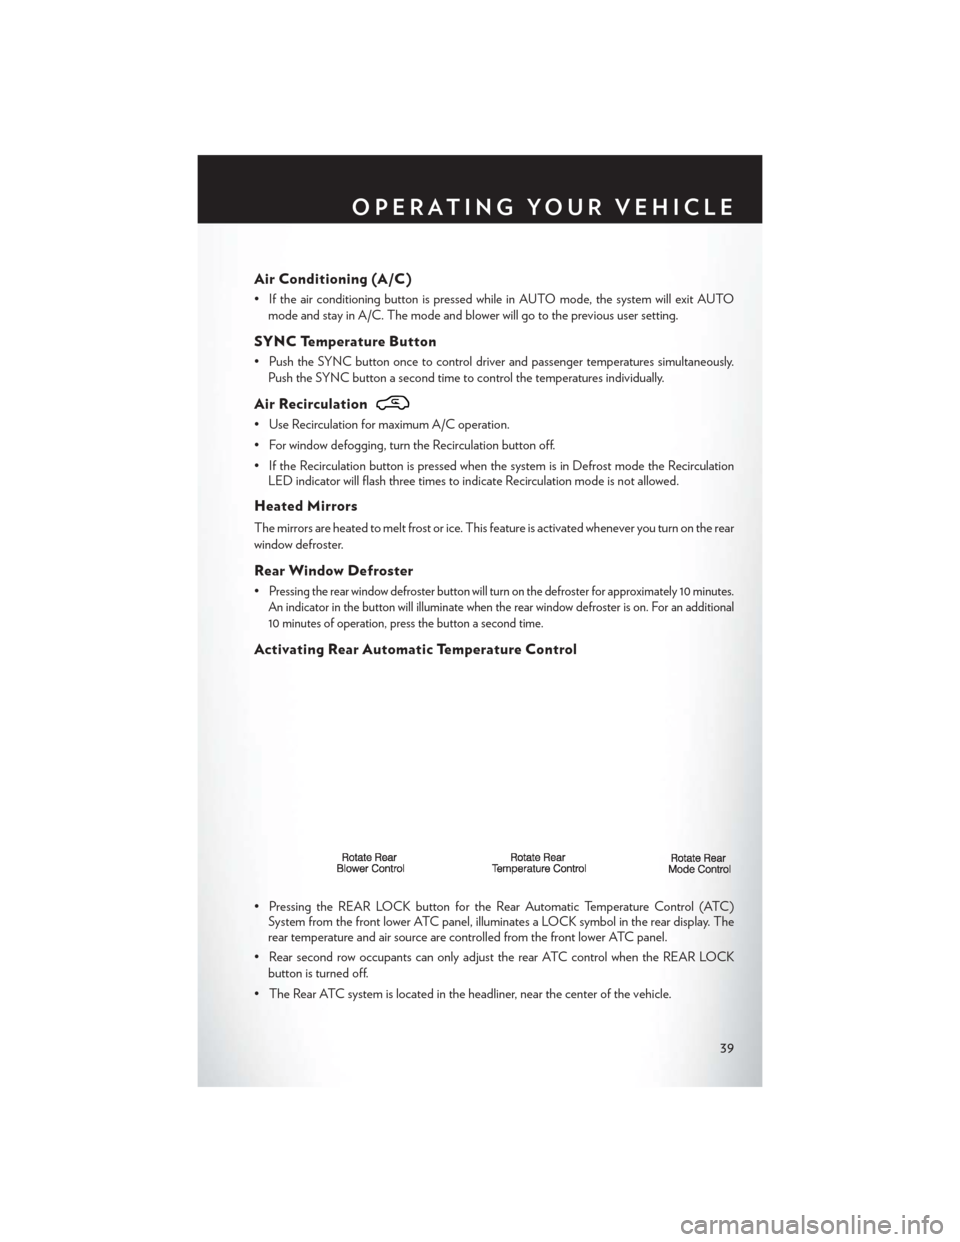
• Pressing the REAR LOCK button for the Rear Automatic Temperature Control (ATC) System from the front lower ATC panel, illuminates a LOCK symbol in the rear display. The
rear temperature and air source are controlled from the front lower ATC panel.
• Rear second row occupants can only adjust the rear ATC control when the REAR LOCK button is turned off.
• The Rear ATC system is located in the headliner, near the center of the vehicle.
OPERATING YOUR VEHICLE
39
Page 43 of 148

POWER SLIDING SIDE DOORS
Automatic/Manual Operation
• The power sliding door may be opened or closed manually or by using the buttons on the KeyFob, overhead console switch, or rear door switch.
• Pulling the inside or outside power sliding door handle will also power open the power
sliding doors.
NOTE:
When the power sliding door master lock
switch is in the OFF position, the power sliding
side door may not be opened or closed by
pressing the switch located on the b-pillar trim
panel, just in the front of the sliding door or
activating the inside power sliding door handle.
Sliding Side Door Child Protection
Lock
• When this system is engaged, the inside manual door handle will not open the sliding
door even though the inside door lock is in the unlocked position.
• To engage the Child Protection Door Lock, open the sliding side door. Slide the child protection door lock control, located on the rear of the sliding door, inward (toward the
vehicle) to engage.
• Repeat these steps on the opposite sliding door.
POWER LIFTGATE
• The power liftgate may be opened and closed by pressing the button located on the overhead console. Press the button once to open, and a second time to close the power liftgate.
• The power liftgate may also be opened and closed by pressing the button on the Key Fob. Press the button twice to open, and twice to close the power liftgate.
• The power liftgate may be closed by the button, located in the upper left trim in the liftgate opening. Pressing once will only close the liftgate. This button cannot be used to open the
liftgate.
OPERATING YOUR VEHICLE
41
Page 45 of 148

Pinch Protection Feature
• This feature will detect an obstruction in the opening of the sunroof during Express Closeoperation. If an obstruction in the path of the sunroof is detected, the sunroof will automati-
cally retract. Remove the obstruction if this occurs. Next, press the switch forward and release
to Express Close.
NOTE:
If three consecutive sunroof close attempts result in Pinch Protect reversals, the fourth close
attempt will be a Manual Close movement with Pinch Protect disabled.
WARNING!
• Do not let children play with the sunroof. Never leave children unattended in a vehicle, or with access to an unlocked vehicle. Do not leave the Key Fob in or near the vehicle, and do
not leave the ignition of a vehicle equipped with Keyless Enter-N-Go™ in the ACC or
ON/RUN mode. Occupants, particularly unattended children, can become entrapped by
the power sunroof while operating the power sunroof switch. Such entrapment may result
in serious injury or death.
• In a collision, there is a greater risk of being thrown from a vehicle with an open sunroof.
You could also be severely injured or killed. Always fasten your seat belt properly and make
sure all passengers are properly secured.
• Do not allow small children to operate the sunroof. Never allow your fingers, other body
parts, or any object to project through the sunroof opening. Injury may result.
WIND BUFFETING
Wind buffeting can be described as a helicopter-type percussion sound. If buffeting occurs with
the rear windows open, adjust the front and rear windows together.
If buffeting occurs with the sunroof open, adjust the sunroof opening, or adjust any window. This
will minimize buffeting.
OPERATING YOUR VEHICLE
43
Page 47 of 148
5. Analog Clock pg. 74
6. USB port pg. 55
7. Audio Jack pg. 55
8. USB Port (inside upper glove box) pg. 55
ELECTRONICS
45