Page 38 of 703
Cancel Remote Start
Remote Starting will also cancel if any of the following
occur:
•The engine stalls or engine speed exceeds 2500 rpm
• Any engine warning lights come on
• Fuel lamp turns on
• The hood is opened
• The hazard switch is pressed
• The shift lever is moved out of PARK
• The brake pedal is pressed
• The engine is allowed to run for the entire 15-minute
cycle
To Turn Off The Engine While In Remote Start
Mode
Press and release the REMOTE START button one time or
allow the engine to run for the entire 15 minute cycle.
NOTE: To avoid unintentional shutdowns while in the
Remote Start Mode, the system will not allow the Remote
Start button to shut down the engine for two seconds
after receiving a valid Remote Start request.
When To Reset Remote Start
The vehicle can be started remotely up to a maximum of
two times. The vehicle is also allowed a maximum of one
failed start, where the Remote Starting sequence was
initiated but the engine stopped cranking without start-
ing. After either of these conditions, or if the Vehicle
Security Alarm system is alarming, or if the PANIC
button was pressed, the vehicle must be reset by cycling
the START/STOP button to the ON/RUN position.
36 THINGS TO KNOW BEFORE STARTING YOUR VEHICLE
Page 226 of 703
Each stored memory setting will have an associated Easy
Entry and Easy Exit Position.
NOTE:The Easy Entry/Easy Exit feature can be enabled
or disabled through the programmable features in the
Electronic Vehicle Information Center (EVIC). If your
vehicle is not equipped with an EVIC, your dealership
can activate/deactivate this feature for you. For details,
refer to “Electronic Vehicle Information Center (EVIC)/
Customer-Programmable Features” in “Understanding
Your Instrument Panel” for further information.
TO OPEN AND CLOSE THE HOOD
To open the hood, two latches must be released.
1. Pull the hood release lever located on the instrument panel, below the steering column. 2. Move to the front of the vehicle and look inside the
center of the hood opening. Locate, then push the
safety catch lever downward while raising the hood at
the same time.Hood Release Lever
224 UNDERSTANDING THE FEATURES OF YOUR VEHICLE
Page 318 of 703
INSTRUMENT PANEL FEATURES
1 — Air Vents5 — Analog Clock9 — DVD – If Equipped 13 — Ignition Switch
2 — Instrument Cluster 6 — Upper Glove Compartment 10 — Storage Bin 14 — Hood Release
3 — Shift Lever
7 — Lower Glove Compartment11 — Cup Holders 15 — Dimmer Switch
4 — Radio 8 — Climate Controls12 — Switch Bank16 — Headlight Switch
316 UNDERSTANDING YOUR INSTRUMENT PANEL
Page 469 of 703
The starter motor will disengage automatically in 10
seconds. Once this occurs, release the accelerator pedal,
turn the ignition switch to the LOCK position, wait 10 to
15 seconds, then repeat the “Normal Starting” procedure.
CAUTION!
To prevent damage to the starter, wait 10 to 15
seconds before trying again.
After Starting
The idle speed is controlled automatically and it will
decrease as the engine warms up.
ENGINE BLOCK HEATER — IF EQUIPPED
The engine block heater warms the engine, and permits
quicker starts in cold weather. Connect the cord to a
standard 110-115 Volt AC electrical outlet with a
grounded, three-wire extension cord.
The engine block heater must be plugged in at least one
hour to have an adequate warming effect on the engine.
The engine block heater cord is routed under the hood on
the driver’s side of the vehicle. It has a removable cap
that is located on the driver side of the Integrated Power
Module.
WARNING!
Remember to disconnect the engine block heater
cord before driving. Damage to the 110-115 Volt
electrical cord could cause electrocution.
5
STARTING AND OPERATING 467
Page 627 of 703
components to ensure proper function. When performing
other underhood services, the hood latch, release mecha-
nism and safety catch should be cleaned and lubricated.
The external lock cylinders should be lubricated twice a
year, preferably in the Fall and Spring. Apply a small
amount of a high quality lubricant, such as MOPAR®
Lock Cylinder Lubricant directly into the lock cylinder.
Windshield Wiper Blades
Clean the rubber edges of the wiper blades and the
windshield periodically with a sponge or soft cloth and a
mild nonabrasive cleaner. This will remove accumula-
tions of salt or road film.
Operation of the wipers on dry glass for long periods
may cause deterioration of the wiper blades. Always use
washer fluid when using the wipers to remove salt or dirt
from a dry windshield.Avoid using the wiper blades to remove frost or ice from
the windshield. Keep the blade rubber out of contact with
petroleum products such as engine oil, gasoline, etc.
NOTE:
Life expectancy of wiper blades varies depend-
ing on geographical area and frequency of use. Poor
performance of blades may be present with chattering,
marks, water lines or wet spots. If any of these conditions
are present, clean the wiper blades or replace as neces-
sary.Adding Washer Fluid
The fluid reservoir for the windshield washers and the
rear window washer is shared. It is located in the engine
compartment and should be checked at regular intervals.
Fill the reservoir with windshield washer solvent (not
radiator antifreeze) and operate the system for a few
seconds to flush out any residual water.
7
MAINTAINING YOUR VEHICLE 625
Page 656 of 703
NOTE:On vehicles equipped with High Intensity Dis-
charge (HID) headlamps, when the headlamps are
turned on, there is a blue hue to the lamps. This dimin-
ishes and becomes more white after approximately 10
seconds, as the system charges.
Quad Headlamps
1. Raise the hood to access the high or low beam bulbs at the rear of the headlamp housing.
2. Release the two tabs on the side of the connector and remove the connector from the bulb.
3. Twist the headlamp bulb and pull the bulb from the headlamp housing.
4. Install the new headlamp bulb and twist until locked into the headlamp housing.
CAUTION!
Do not touch the new bulb with your fingers. Oil
contamination will severely shorten bulb life. If the
bulb comes in contact with an oily surface, clean the
bulb with rubbing alcohol.
5. Reconnect the wiring connector to the bulb.
Front Park/Turn Signal Lamps
1. Raise the hood to access the rear of the headlamp housing.
2. Twist the turn signal socket and remove from the headlamp housing, then pull the bulb out.
3. Push the new bulb into the socket and reinstall the socket by twisting until locked into the headlamp
housing.
654 MAINTAINING YOUR VEHICLE
Page 690 of 703
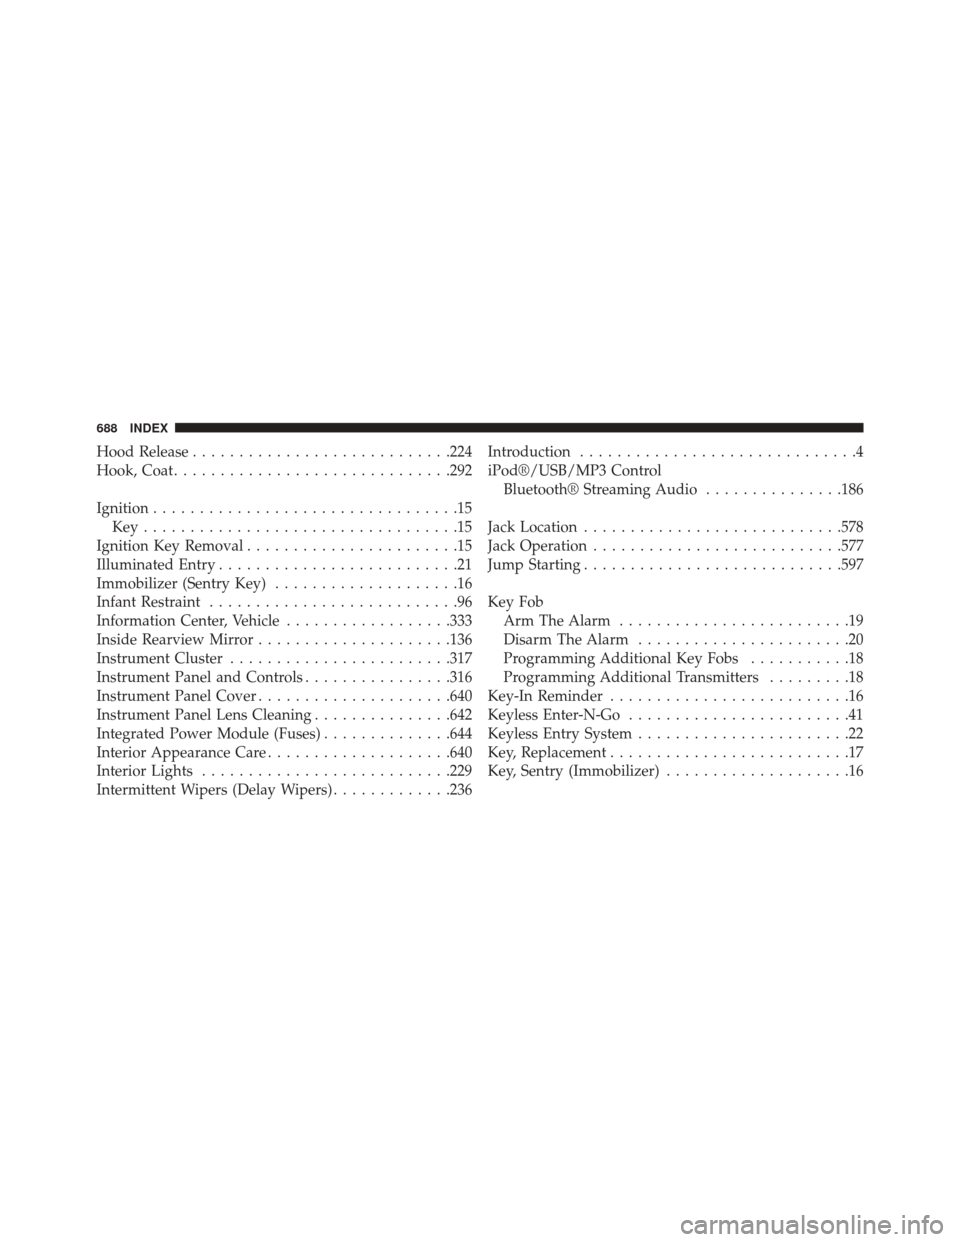
Hood Release........................... .224
Hook, Coat ............................. .292
Ignition .................................15
Key..................................15
Ignition Key Removal .......................15
Illuminated Entry ..........................21
Immobilizer (Sentry Key) ....................16
Infant Restraint ...........................96
Information Center, Vehicle ..................333
Inside Rearview Mirror .....................136
Instrument Cluster ....................... .317
Instrument Panel and Controls ................316
Instrument Panel Cover .....................640
Instrument Panel Lens Cleaning ...............642
Integrated Power Module (Fuses) ..............644
Interior Appearance Care ....................640
Interior Lights .......................... .229
Intermittent Wipers (Delay Wipers) .............236Introduction
..............................4
iPod®/USB/MP3 Control Bluetooth® Streaming Audio ...............186
Jack Location ........................... .578
Jack Operation .......................... .577
Jump Starting ........................... .597
Key Fob Arm The Alarm .........................19
Disarm The Alarm .......................20
Programming Additional Key Fobs ...........18
Programming Additional Transmitters .........18
Key-In Reminder ..........................16
Keyless Enter-N-Go ........................41
Keyless Entry System .......................22
Key, Replacement ..........................17
Key, Sentry (Immobilizer) ....................16
688 INDEX