Page 614 of 703
Your vehicle has a simple ignition actuated test, which
you can use prior to going to the test station. To check if
your vehicle’s OBD II system is ready, you must do the
following:
1. Cycle the ignition switch to the ON position, but donot crank or start the engine.
NOTE: If you crank or start the engine, you will have to
start this test over.
2. As soon as you cycle the ignition switch to the ON position, you will see the MIL symbol come on as part
of a normal bulb check.
3. Approximately 15 seconds later, one of two things will happen:
• The MIL will flash for about 10 seconds and then
return to being fully illuminated until you turn OFF
the ignition or start the engine. This means that your
vehicle’s OBD II system is not readyand you should
not proceed to the I/M station. •
The MIL will not flash at all and will remain fully
illuminated until you turn OFF the ignition or start the
engine. This means that your vehicle’s OBD II system
is ready and you can proceed to the I/M station.
If your OBD II system is not ready,you should see your
authorized dealer or repair facility. If your vehicle was
recently serviced or had a battery failure or replacement,
you may need to do nothing more than drive your
vehicle as you normally would in order for your OBD II
system to update. A recheck with the above test routine
may then indicate that the system is now ready.
Regardless of whether your vehicle’s OBD II system is
ready or not, if the MIL is illuminated during normal
vehicle operation you should have your vehicle serviced
before going to the I/M station. The I/M station can fail
your vehicle because the MIL is on with the engine
running.
612 MAINTAINING YOUR VEHICLE
Page 654 of 703
REPLACEMENT BULBS
Interior Bulbs
Bulb Number
Center & Rear Dome
Lamp 578
Center & Rear Reading
Lamps 578
Front Door Courtesy
Lamp 578
Front Header Reading
Lamps – If Equipped 578
Instrument Cluster
Lamps PC74
Liftgate Lamp(s) 578
Overhead Console Read-
ing Lamps PC579
Bulb Number
Removable Console
Lamp – If Equipped 194
Visor Vanity Lamps 6501966
NOTE: For lighted switches, see your authorized dealer
for replacement instructions.
Exterior Bulbs
Bulb Number
Headlamp – (Low and
High Beam Halogen) H11
Headlamp (HID – If
Equipped) Low Beam D1S
Fog Lamp – If Equipped H11
Front Side Marker W5W
Front Park/Turn Signal PY27/7W or 3757A
652 MAINTAINING YOUR VEHICLE
Page 655 of 703
Bulb Number
Rear Turn Signal Lamp 3757A
Rear Tail, Stop, and Side
Marker Lamp LED (Serviced at Autho-
rized Dealer)
Center High-Mounted
Stop Lamp LED (Serviced at Autho-
rized Dealer)
Backup Lamp 3157
License 168
BULB REPLACEMENT
NOTE:Lens fogging can occur under certain atmo-
spheric conditions. This will usually clear as atmospheric
conditions change to allow the condensation to change
back into a vapor. Turning the lamps on will usually
accelerate the clearing process.
High Intensity Discharge Headlamps (HID) — If
Equipped
The headlamps are a type of high voltage discharge tube.
High voltage can remain in the circuit even with the
headlamp switch off and the key removed. Because of
this, you should not attempt to service a headlamp bulb
yourself. If a headlamp bulb fails, take your vehicle to
an authorized dealer for service.
WARNING!
A transient high voltage occurs at the bulb sockets of
High Intensity Discharge (HID) headlamps when the
headlamp switch is turned ON. It may cause serious
electrical shock or electrocution if not serviced prop-
erly. See your authorized dealer for service.
7
MAINTAINING YOUR VEHICLE 653
Page 656 of 703
NOTE:On vehicles equipped with High Intensity Dis-
charge (HID) headlamps, when the headlamps are
turned on, there is a blue hue to the lamps. This dimin-
ishes and becomes more white after approximately 10
seconds, as the system charges.
Quad Headlamps
1. Raise the hood to access the high or low beam bulbs at the rear of the headlamp housing.
2. Release the two tabs on the side of the connector and remove the connector from the bulb.
3. Twist the headlamp bulb and pull the bulb from the headlamp housing.
4. Install the new headlamp bulb and twist until locked into the headlamp housing.
CAUTION!
Do not touch the new bulb with your fingers. Oil
contamination will severely shorten bulb life. If the
bulb comes in contact with an oily surface, clean the
bulb with rubbing alcohol.
5. Reconnect the wiring connector to the bulb.
Front Park/Turn Signal Lamps
1. Raise the hood to access the rear of the headlamp housing.
2. Twist the turn signal socket and remove from the headlamp housing, then pull the bulb out.
3. Push the new bulb into the socket and reinstall the socket by twisting until locked into the headlamp
housing.
654 MAINTAINING YOUR VEHICLE
Page 657 of 703
Front Side Marker Lamp
1. Raise the hood to access the rear of the headlamphousing.
NOTE: Access is somewhat limited. You may have to
remove the inner fender well or remove the headlamp
housing for bulb replacement.
2. Twist the socket and remove from the headlamp housing, then pull the bulb out.
3. Push the new bulb into the socket and reinstall the socket by twisting until locked into the headlamp
housing.
Front Fog Lamp
NOTE: Access to the fog lamp bulb is from the rear of the
fascia. On the left rear side of the fascia, remove the push
pin and lower the hinged access door on the air dam.
1. From behind the bumper fascia, or the access panel on the air dam, twist the bulb counterclockwise, and
remove bulb.
CAUTION!
Do not touch the new bulb with your fingers. Oil
contamination will severely shorten bulb life. If the
bulb comes in contact with an oily surface, clean the
bulb with rubbing alcohol.
2. Disconnect wire harness from the bulb.
3. Reconnect the wiring harness to the new bulb and reinstall the bulb by twisting clockwise.
7
MAINTAINING YOUR VEHICLE 655
Page 658 of 703
Rear Turn Signal And Backup Lamp
1. Raise the liftgate.
2. Remove the tail lamp assembly by removing the twoscrews from the inboard side. Use a fiber stick or
similar tool to gently pry the light on the outboard side
to disengage the two ball studs. NOTE:
•If a screwdriver is used, make sure a soft material is
placed between the vehicle body and tool so not to
scratch the paint.
• The PRY location is best closest to the studs while
dislodging them separately.
3. Twist the socket and remove it from the lamp assem- bly.
4. Pull the bulb to remove it from the socket.
5. Replace the bulb, reinstall the socket, and reattach the lamp assembly.
Tail Lamp Mounting Screws
656 MAINTAINING YOUR VEHICLE
Page 659 of 703
Center High-Mounted Stop Lamp (CHMSL)
The CHMSL uses LED lamps that are not serviceable
separately. The CHMSL must be replaced as an assembly,
see your authorized dealer.
License Lamp
The license plate lamp is located under the tailgate light
bar and above the license plate.
1. Using a small screwdriver, press inward the lockingtab on the outboard side of the lamp assembly and
pull down on the lamp assembly for removal.
2. Twist and remove the socket from the lamp assembly and pull the bulb out to remove.
3. Push the bulb into the socket, twist the socket into the lamp assembly and reinstall the lamp assembly into
place ensuring the locking tab is secure.
7
MAINTAINING YOUR VEHICLE 657
Page 683 of 703
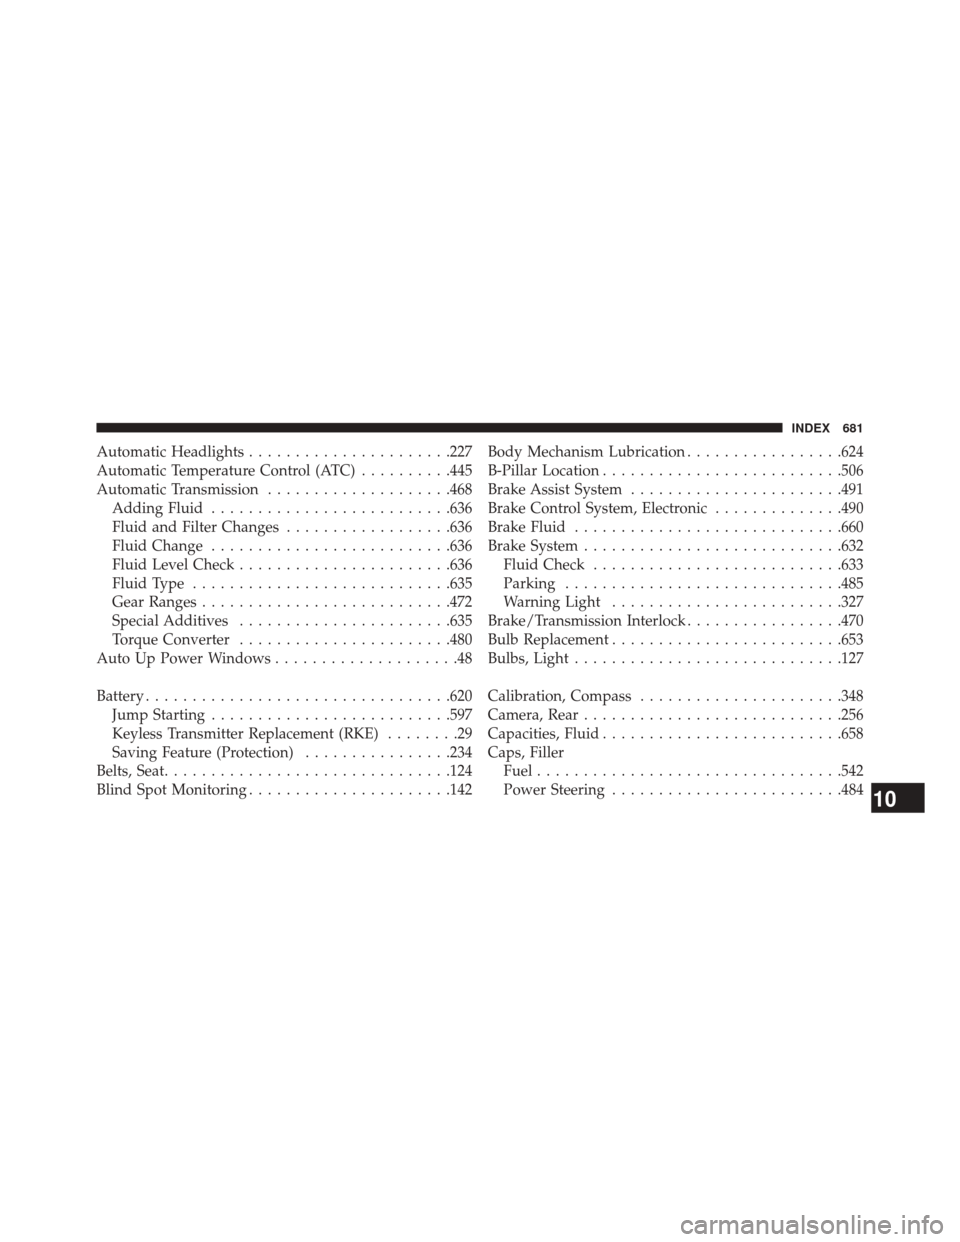
Automatic Headlights..................... .227
Automatic Temperature Control (ATC) ..........445
Automatic Transmission ....................468
Adding Fluid ......................... .636
Fluid and Filter Changes ..................636
Fluid Change ......................... .636
Fluid Level Check ...................... .636
Fluid Type ........................... .635
Gear Ranges .......................... .472
Special Additives ...................... .635
Torque Converter ...................... .480
Auto Up Power Windows ....................48
Battery ................................ .620
Jump Starting ......................... .597
Keyless Transmitter Replacement (RKE) ........29
Saving Feature (Protection) ................234
Belts, Seat .............................. .124
Blind Spot Monitoring ..................... .142Body Mechanism Lubrication
.................624
B-Pillar Location ......................... .506
Brake Assist System ...................... .491
Brake Control System, Electronic ..............490
Brake Fluid ............................ .660
Brake System ........................... .632
Fluid Check .......................... .633
Parking ............................. .485
Warning Light ........................ .327
Brake/Transmission Interlock .................470
Bulb Replacement ........................ .653
Bulbs, Light ............................ .127
Calibration, Compass ..................... .348
Camera, Rear ........................... .256
Capacities, Fluid ......................... .658
Caps, Filler Fuel ................................ .542
Power Steering ........................ .484
10
INDEX 681