Page 413 of 703
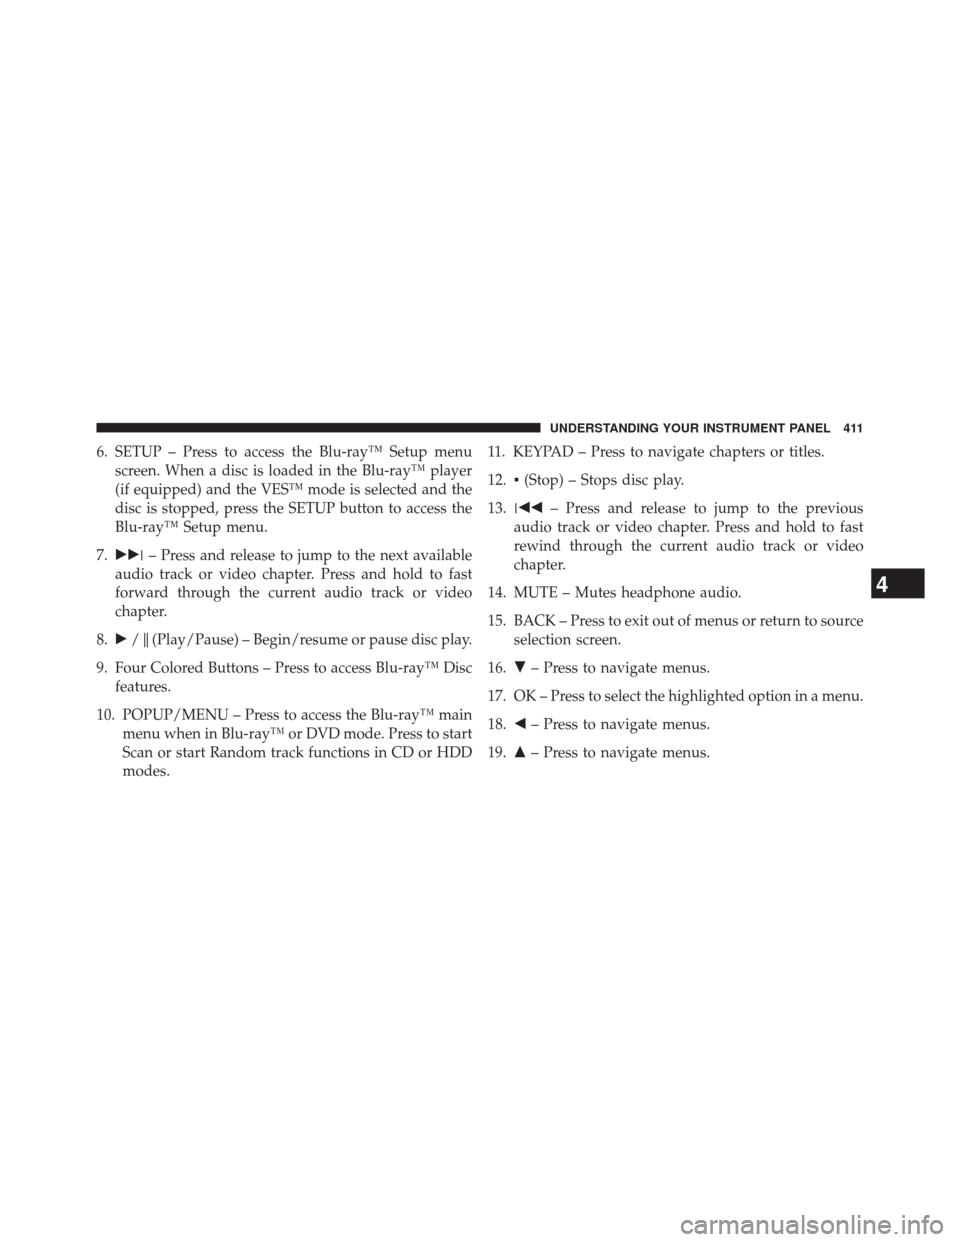
6. SETUP – Press to access the Blu-ray™ Setup menuscreen. When a disc is loaded in the Blu-ray™ player
(if equipped) and the VES™ mode is selected and the
disc is stopped, press the SETUP button to access the
Blu-ray™ Setup menu.
7. ��� – Press and release to jump to the next available
audio track or video chapter. Press and hold to fast
forward through the current audio track or video
chapter.
8. �/�(Play/Pause) – Begin/resume or pause disc play.
9. Four Colored Buttons – Press to access Blu-ray™ Disc features.
10. POPUP/MENU – Press to access the Blu-ray™ main menu when in Blu-ray™ or DVD mode. Press to start
Scan or start Random track functions in CD or HDD
modes. 11. KEYPAD – Press to navigate chapters or titles.
12.
▪(Stop) – Stops disc play.
13. ��� – Press and release to jump to the previous
audio track or video chapter. Press and hold to fast
rewind through the current audio track or video
chapter.
14. MUTE – Mutes headphone audio.
15. BACK – Press to exit out of menus or return to source selection screen.
16. �– Press to navigate menus.
17. OK – Press to select the highlighted option in a menu.
18. �– Press to navigate menus.
19. �– Press to navigate menus.
4
UNDERSTANDING YOUR INSTRUMENT PANEL 411
Page 422 of 703
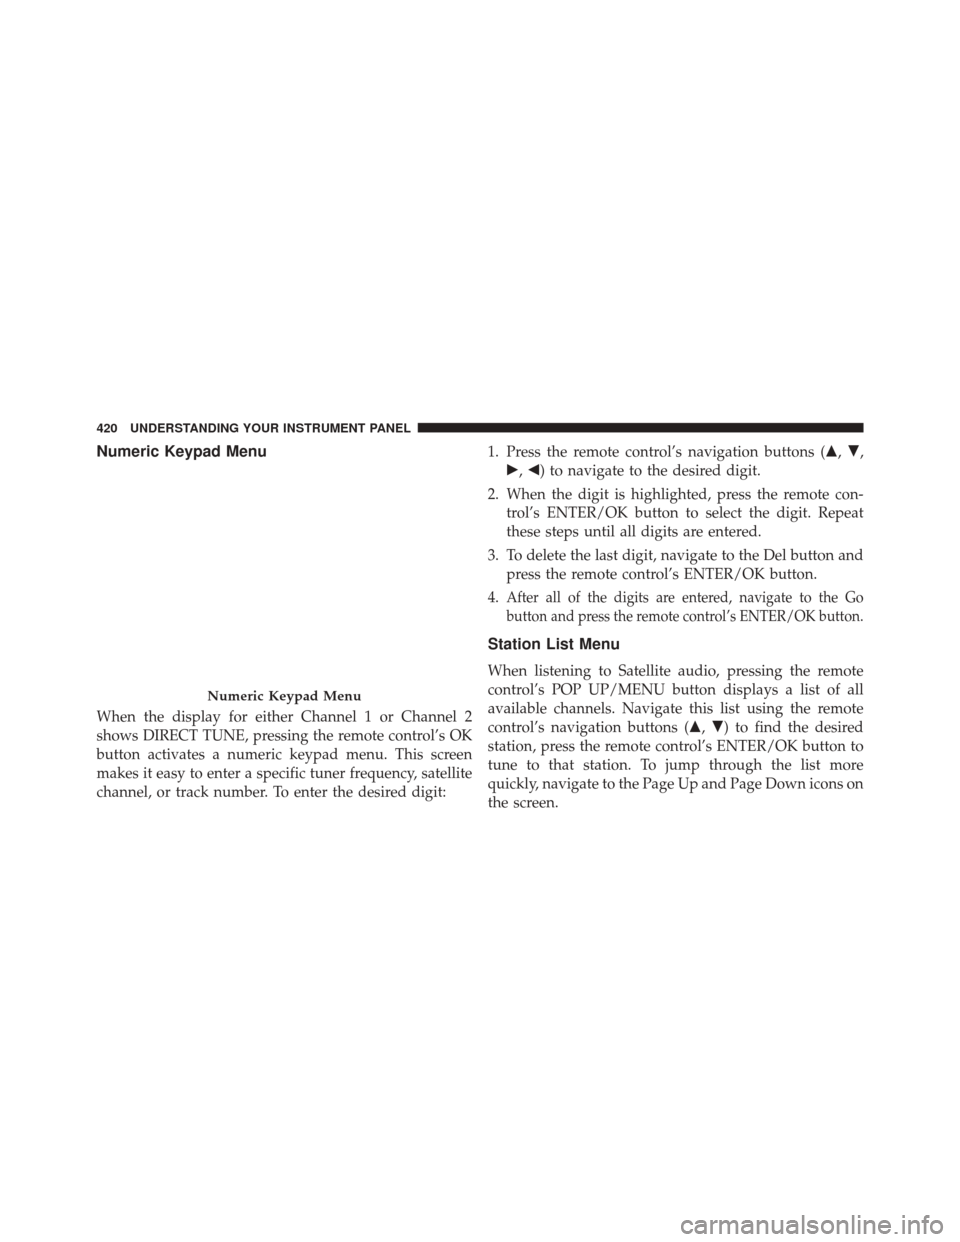
Numeric Keypad Menu
When the display for either Channel 1 or Channel 2
shows DIRECT TUNE, pressing the remote control’s OK
button activates a numeric keypad menu. This screen
makes it easy to enter a specific tuner frequency, satellite
channel, or track number. To enter the desired digit:1. Press the remote control’s navigation buttons (
�,�,
�, �) to navigate to the desired digit.
2. When the digit is highlighted, press the remote con- trol’s ENTER/OK button to select the digit. Repeat
these steps until all digits are entered.
3. To delete the last digit, navigate to the Del button and press the remote control’s ENTER/OK button.
4.
After all of the digits are entered, navigate to the Go
button and press the remote control’s ENTER/OK button.
Station List Menu
When listening to Satellite audio, pressing the remote
control’s POP UP/MENU button displays a list of all
available channels. Navigate this list using the remote
control’s navigation buttons (�, �) to find the desired
station, press the remote control’s ENTER/OK button to
tune to that station. To jump through the list more
quickly, navigate to the Page Up and Page Down icons on
the screen.
Numeric Keypad Menu
420 UNDERSTANDING YOUR INSTRUMENT PANEL
Page 430 of 703
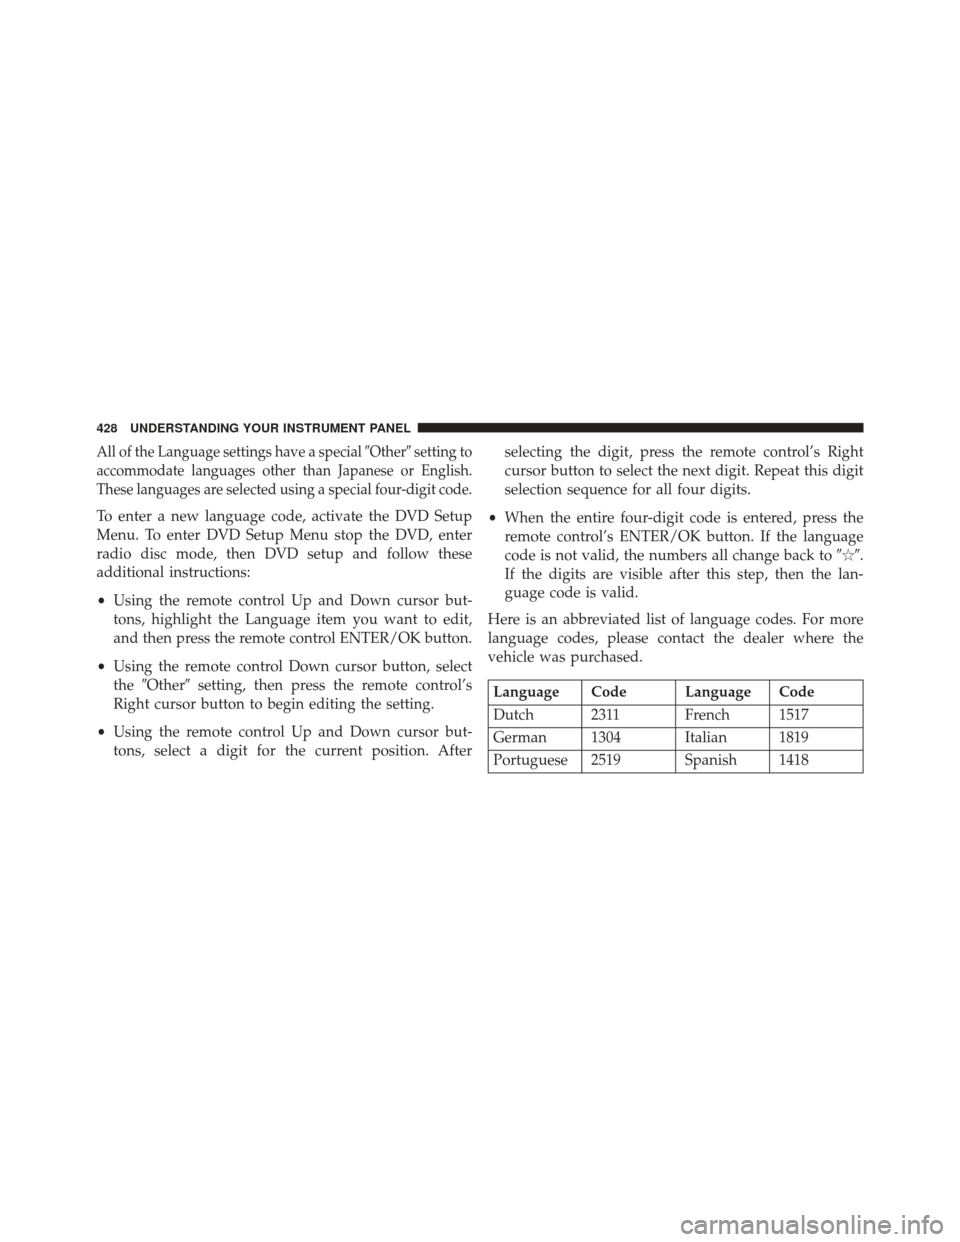
All of the Language settings have a special�Other�setting to
accommodate languages other than Japanese or English.
These languages are selected using a special four-digit code.
To enter a new language code, activate the DVD Setup
Menu. To enter DVD Setup Menu stop the DVD, enter
radio disc mode, then DVD setup and follow these
additional instructions:
• Using the remote control Up and Down cursor but-
tons, highlight the Language item you want to edit,
and then press the remote control ENTER/OK button.
• Using the remote control Down cursor button, select
the �Other� setting, then press the remote control’s
Right cursor button to begin editing the setting.
• Using the remote control Up and Down cursor but-
tons, select a digit for the current position. After selecting the digit, press the remote control’s Right
cursor button to select the next digit. Repeat this digit
selection sequence for all four digits.
• When the entire four-digit code is entered, press the
remote control’s ENTER/OK button. If the language
code is not valid, the numbers all change back to �\b�.
If the digits are visible after this step, then the lan-
guage code is valid.
Here is an abbreviated list of language codes. For more
language codes, please contact the dealer where the
vehicle was purchased.
Language Code Language Code
Dutch 2311 French 1517
German 1304 Italian 1819
Portuguese 2519 Spanish 1418
428 UNDERSTANDING YOUR INSTRUMENT PANEL
Page 432 of 703
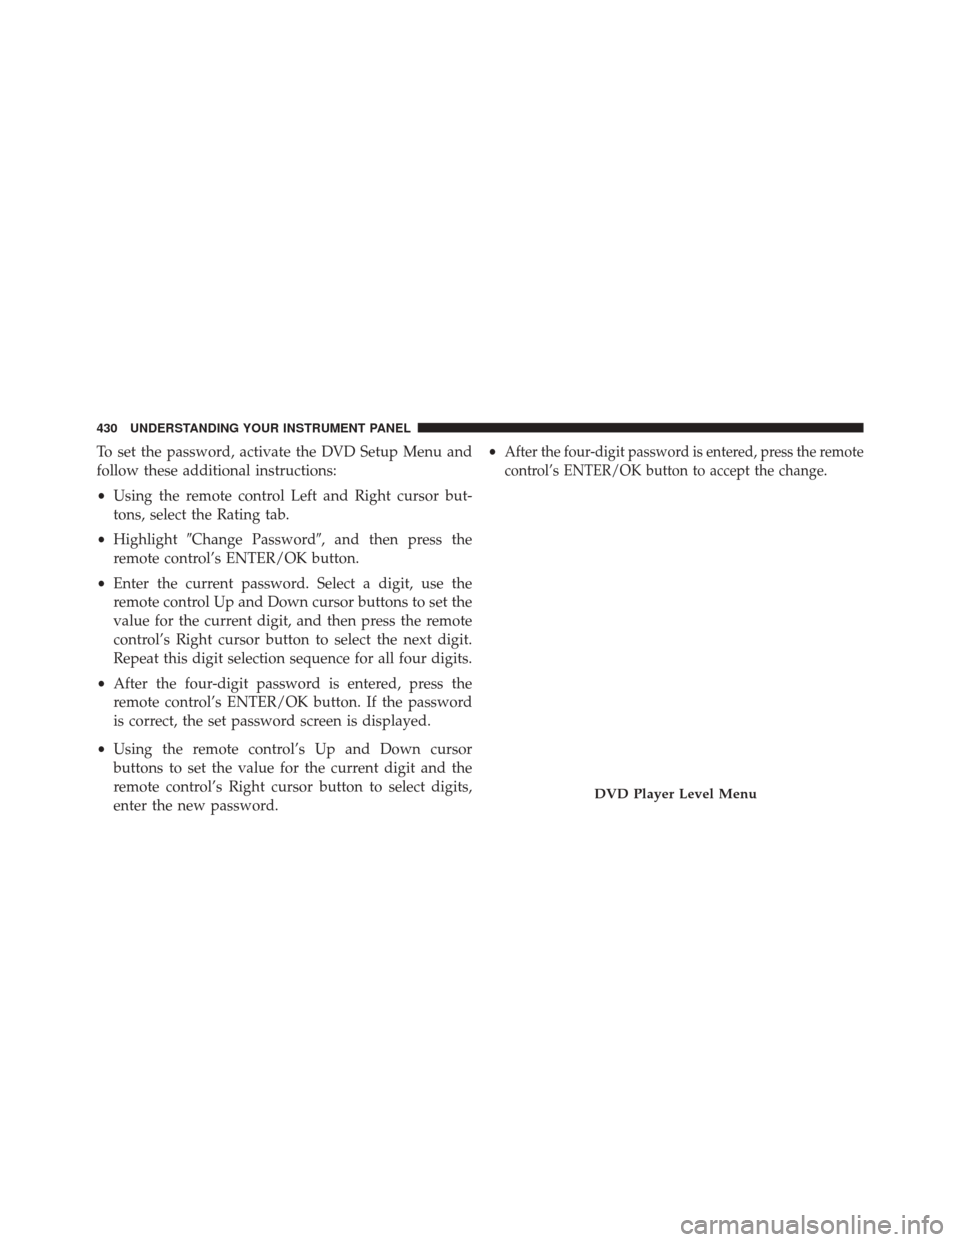
To set the password, activate the DVD Setup Menu and
follow these additional instructions:
•Using the remote control Left and Right cursor but-
tons, select the Rating tab.
• Highlight �Change Password�, and then press the
remote control’s ENTER/OK button.
• Enter the current password. Select a digit, use the
remote control Up and Down cursor buttons to set the
value for the current digit, and then press the remote
control’s Right cursor button to select the next digit.
Repeat this digit selection sequence for all four digits.
• After the four-digit password is entered, press the
remote control’s ENTER/OK button. If the password
is correct, the set password screen is displayed.
• Using the remote control’s Up and Down cursor
buttons to set the value for the current digit and the
remote control’s Right cursor button to select digits,
enter the new password. •After the four-digit password is entered, press the remote
control’s ENTER/OK button to accept the change.
DVD Player Level Menu
430 UNDERSTANDING YOUR INSTRUMENT PANEL
Page 433 of 703
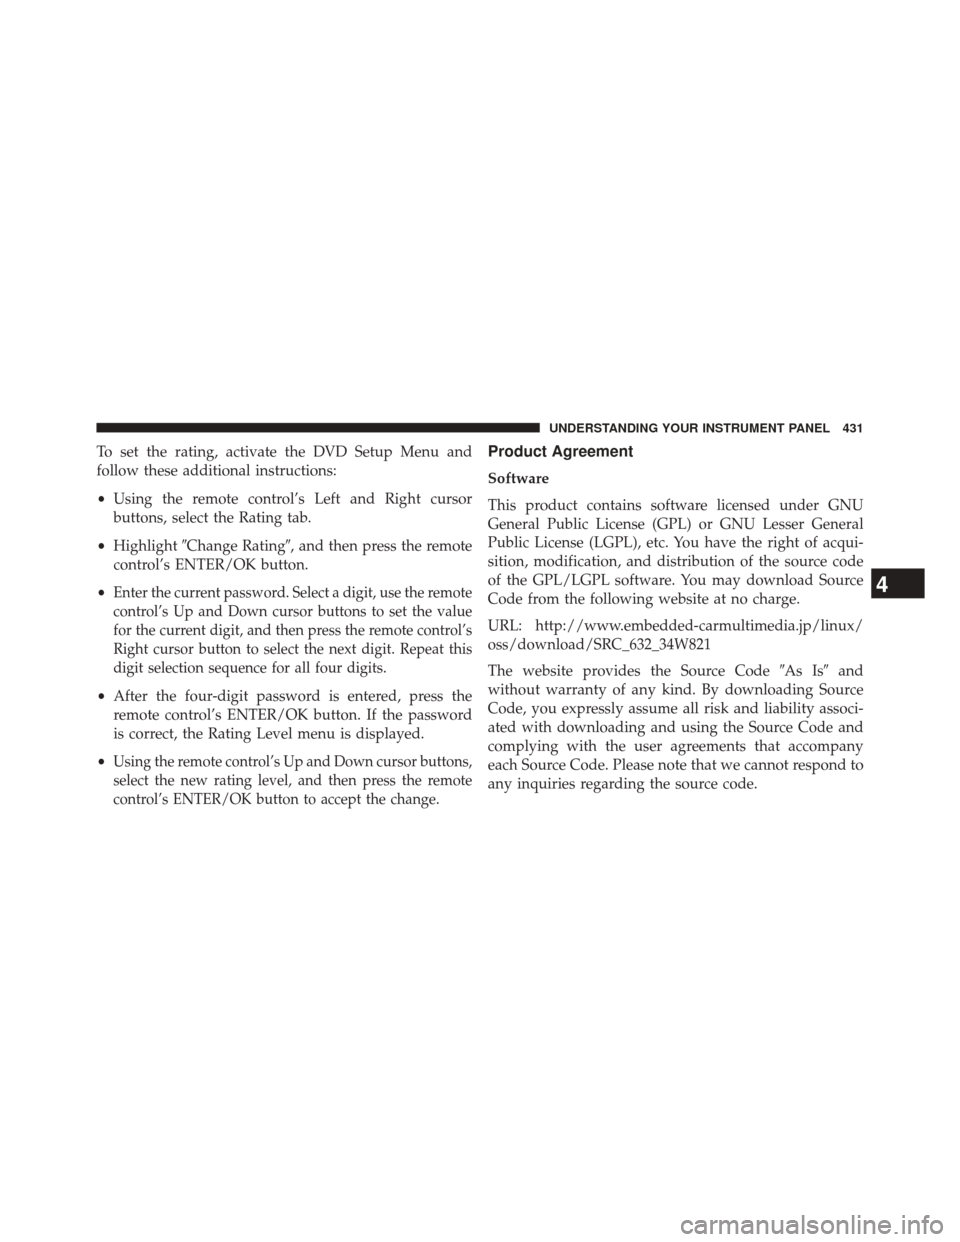
To set the rating, activate the DVD Setup Menu and
follow these additional instructions:
•Using the remote control’s Left and Right cursor
buttons, select the Rating tab.
• Highlight �Change Rating�, and then press the remote
control’s ENTER/OK button.
•
Enter the current password. Select a digit, use the remote
control’s Up and Down cursor buttons to set the value
for the current digit, and then press the remote control’s
Right cursor button to select the next digit. Repeat this
digit selection sequence for all four digits.
• After the four-digit password is entered, press the
remote control’s ENTER/OK button. If the password
is correct, the Rating Level menu is displayed.
•
Using the remote control’s Up and Down cursor buttons,
select the new rating level, and then press the remote
control’s ENTER/OK button to accept the change.
Product Agreement
Software
This product contains software licensed under GNU
General Public License (GPL) or GNU Lesser General
Public License (LGPL), etc. You have the right of acqui-
sition, modification, and distribution of the source code
of the GPL/LGPL software. You may download Source
Code from the following website at no charge.
URL: http://www.embedded-carmultimedia.jp/linux/
oss/download/SRC_632_34W821
The website provides the Source Code �As Is�and
without warranty of any kind. By downloading Source
Code, you expressly assume all risk and liability associ-
ated with downloading and using the Source Code and
complying with the user agreements that accompany
each Source Code. Please note that we cannot respond to
any inquiries regarding the source code.
4
UNDERSTANDING YOUR INSTRUMENT PANEL 431
Page 438 of 703
Radio Operation
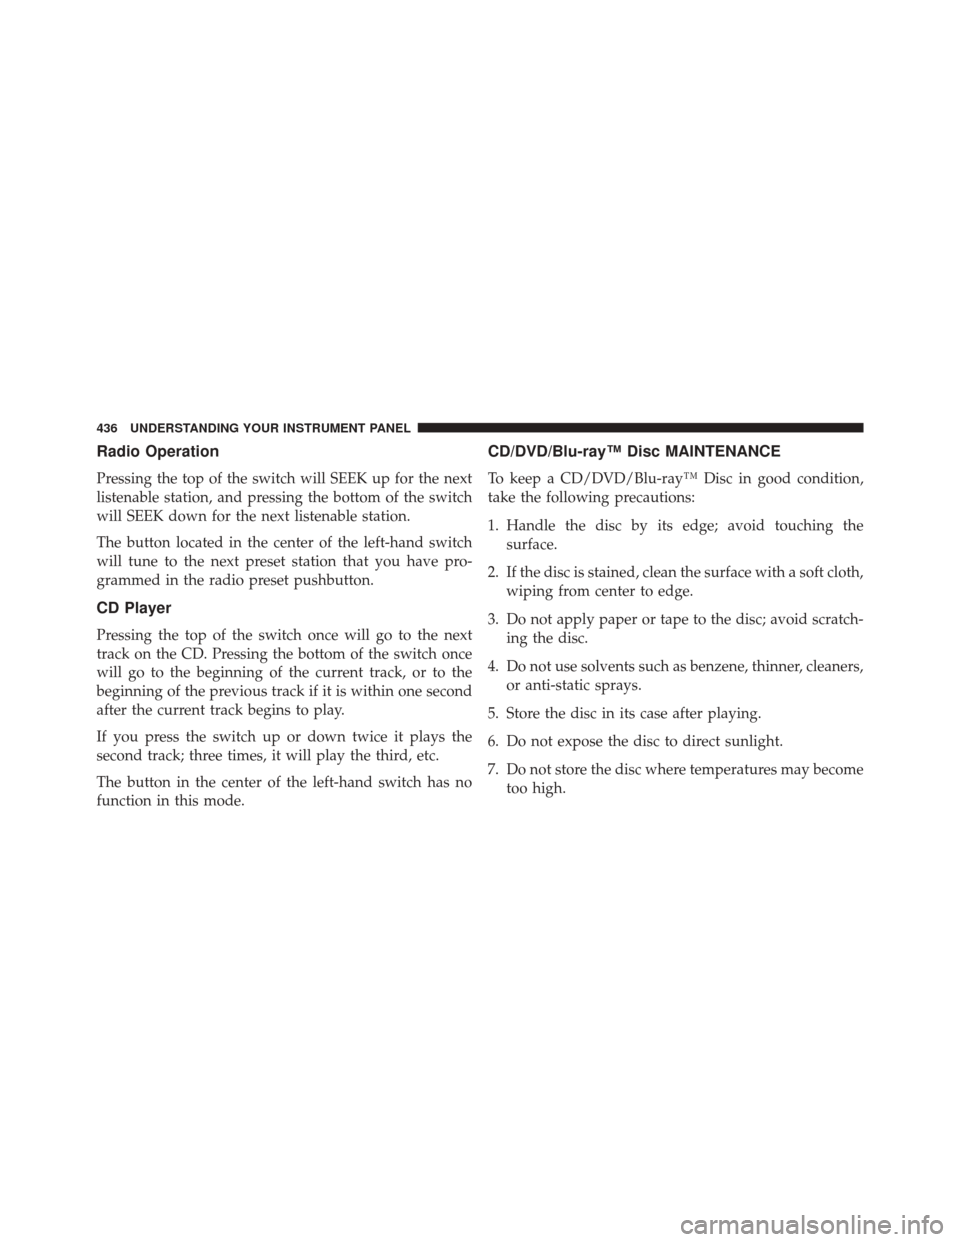
Pressing the top of the switch will SEEK up for the next
listenable station, and pressing the bottom of the switch
will SEEK down for the next listenable station.
The button located in the center of the left-hand switch
will tune to the next preset station that you have pro-
grammed in the radio preset pushbutton.
CD Player
Pressing the top of the switch once will go to the next
track on the CD. Pressing the bottom of the switch once
will go to the beginning of the current track, or to the
beginning of the previous track if it is within one second
after the current track begins to play.
If you press the switch up or down twice it plays the
second track; three times, it will play the third, etc.
The button in the center of the left-hand switch has no
function in this mode.
CD/DVD/Blu-ray™ Disc MAINTENANCE
To keep a CD/DVD/Blu-ray™ Disc in good condition,
take the following precautions:
1. Handle the disc by its edge; avoid touching thesurface.
2. If the disc is stained, clean the surface with a soft cloth, wiping from center to edge.
3. Do not apply paper or tape to the disc; avoid scratch- ing the disc.
4. Do not use solvents such as benzene, thinner, cleaners, or anti-static sprays.
5. Store the disc in its case after playing.
6. Do not expose the disc to direct sunlight.
7. Do not store the disc where temperatures may become too high.
436 UNDERSTANDING YOUR INSTRUMENT PANEL
Page 443 of 703
CAUTION!(Continued)
•Do not use scrapers, sharp instruments, or abrasive
window cleaners on the interior surface of the
window.
• Keep all objects a safe distance from the window.
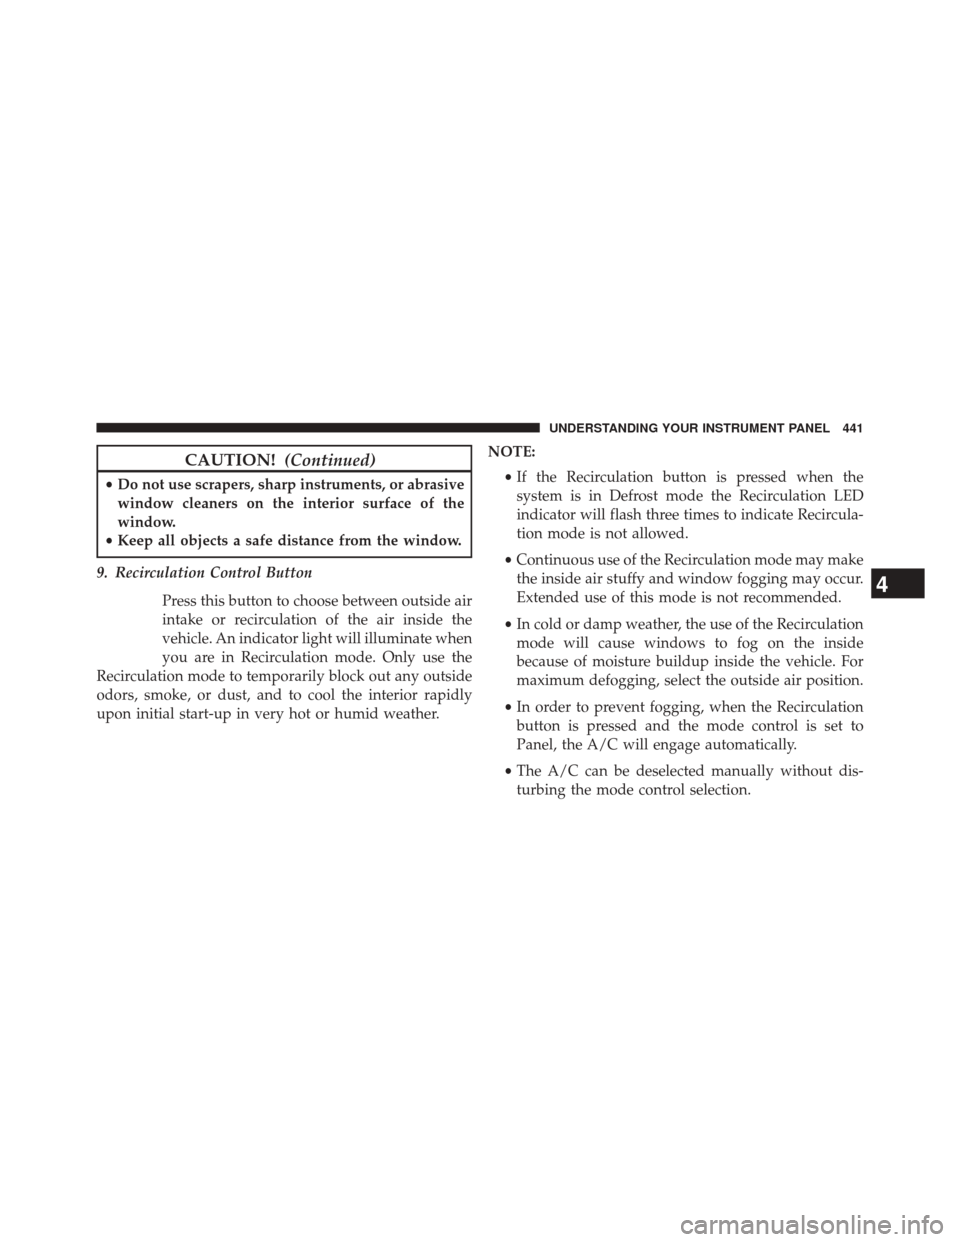
9. Recirculation Control Button Press this button to choose between outside air
intake or recirculation of the air inside the
vehicle. An indicator light will illuminate when
you are in Recirculation mode. Only use the
Recirculation mode to temporarily block out any outside
odors, smoke, or dust, and to cool the interior rapidly
upon initial start-up in very hot or humid weather. NOTE:
•If the Recirculation button is pressed when the
system is in Defrost mode the Recirculation LED
indicator will flash three times to indicate Recircula-
tion mode is not allowed.
• Continuous use of the Recirculation mode may make
the inside air stuffy and window fogging may occur.
Extended use of this mode is not recommended.
• In cold or damp weather, the use of the Recirculation
mode will cause windows to fog on the inside
because of moisture buildup inside the vehicle. For
maximum defogging, select the outside air position.
• In order to prevent fogging, when the Recirculation
button is pressed and the mode control is set to
Panel, the A/C will engage automatically.
• The A/C can be deselected manually without dis-
turbing the mode control selection.
4
UNDERSTANDING YOUR INSTRUMENT PANEL 441
Page 445 of 703
Economy Mode
If ECONOMY mode is desired, press the A/C button to
turn off the indicator light and the A/C compressor.
Rotate the temperature control knob to the desired tem-
perature. Also, make sure to select only Panel, Bi-Level or
Floor modes.
Max A/C
For maximum cooling use the A/C and Recirculation
mode buttons at the same time.
Rear Manual Climate Control — If Equipped
The Rear Manual Climate Control system has floor air
outlets at the rear of the right side sliding door, and
overhead outlets at each outboard rear seating position.
The unit provides warm or cool air through the floor and
upper outlets.The rear blower and temperature controls for the rear
seat passengers are located in the headliner, near the
center of the vehicle.
Rear Manual Climate Controls
1 — Rear Blower
3 — Rear Mode
2 — Rear Temperature 4 — Rear Climate Control Lock
4
UNDERSTANDING YOUR INSTRUMENT PANEL 443