2014 CHRYSLER 300 rear view mirror
[x] Cancel search: rear view mirrorPage 199 of 615
•Broken, muddy, or obstructed headlights and taillights
of vehicles in the field of view will cause headlights to
remain on longer (closer to the vehicle). Also, dirt, film,
and other obstructions on the windshield or camera
lens will cause the system to function improperly.
If the windshield or Automatic High Beam Headlamp
Control mirror is replaced, the mirror must be re-aimed
to ensure proper performance. See your local authorized
dealer.
To Activate
1. Turn the headlight switch to the AUTO headlight position.
2. Push the multifunction lever away from you (toward front of vehicle) to engage the high beam mode.
NOTE: This system will not activate until the vehicle is
at or above 15 mph (35 km/h).
To Deactivate
1. Pull the multifunction lever toward you (or rearward in car) to manually deactivate the system (normal
operation of low beams).
2. Push back on the multifunction lever once again to reactivate the system.
Adaptive Bi-Xenon High Intensity Discharge
Headlights — If Equipped
This system automatically swivels the headlight beam
pattern horizontally to provide increased illumination in
the direction the vehicle is steering.
NOTE:
•Each time the Adaptive Headlight System is turned on,
the headlights will initialize by performing a brief
sequence of rotations.
3
UNDERSTANDING THE FEATURES OF YOUR VEHICLE 197
Page 337 of 615
For further information, refer to “Adaptive Cruise Con-
trol (ACC)” in “Understanding The Features Of Your
Vehicle”.
•Park Assist — If Equipped
The ParkSense® system will scan for objects behind the
vehicle when the transmission shift lever is in REVERSE
and the vehicle speed is less than 11 mph (18 km/h). It
will provide an alert (audible and/or visual) to indicate
the proximity to other objects. The system can be enabled
with Sound Only, or Sound and Display. To change the
ParkSense® status, touch and release the Sound Only or
Sounds and Display button. Then touch the arrow back
soft-key. Refer to “ParkSense®” in “Understanding The
Features Of Your Vehicle” for system function and oper-
ating information.
• Front Park Assist Volume — If Equipped
Front Park Assist chime volume settings can be selected
from the EVIC or Uconnect® System (if equipped). The chime volume settings include “LOW,” “MEDIUM,” and
“HIGH.” The factory default volume setting is MEDIUM.
•
Rear Park Assist Volume — If Equipped
Rear Park Assist chime volume settings can be selected
from the EVIC or Uconnect® System (if equipped). The
chime volume settings include “LOW,” “MEDIUM,” and
“HIGH.” The factory default volume setting is MEDIUM.
• Tilt Side Mirrors In Reverse — If Equipped
When this feature is selected, the outside sideview mir-
rors will tilt downward when the ignition is in the RUN
position and the transmission shift lever is in the RE-
VERSE position. The mirrors will move back to their
previous position when the transmission is shifted out of
REVERSE. To make your selection, touch the Tilt Mirrors
In Reverse soft-key, until a check-mark appears next to
setting, showing that setting has been selected. Touch the
back arrow soft-key to return to the previous menu.
4
UNDERSTANDING YOUR INSTRUMENT PANEL 335
Page 338 of 615

•Blind Spot Alert — If Equipped
When this feature is selected, the Blind Spot Alert feature
can be set to Off, Lights or Lights and Chime. The Blind
Spot Alert feature can be activated in “Lights” mode.
When this mode is selected, the Blind Spot Monitor
(BSM) system is activated and will only show a visual
alert in the outside mirrors. When “Lights & Chime”
mode is activated, the Blind Spot Monitor (BSM) will
show a visual alert in the outside mirrors as well as an
audible alert when the turn signal is on. When “Off” is
selected, the Blind Spot Monitor (BSM) system is deacti-
vated. To change the Blind Spot Alert status, touch the
Off, Lights or Lights & Chime soft-key. Then touch the
arrow back soft-key. NOTE:
If your vehicle has experienced any damage in
the area where the sensor is located, even if the fascia is
not damaged, the sensor may have become misaligned.
Take your vehicle to an authorized dealer to verify sensor
alignment. Having a sensor that is misaligned will result
in the BSM not operating to specification.
• ParkView® Backup Camera — If Equipped
Your vehicle may be equipped with the ParkView® Rear
Back Up Camera that allows you to see an on-screen
image of the rear surroundings of your vehicle whenever
the shift lever is put into REVERSE. The image will be
displayed on the radio touchscreen display along with a
caution note to “check entire surroundings” across the
top of the screen. After five seconds, this note will
disappear. The ParkView® camera is located on the rear
of the vehicle above the rear License plate. To make your
selection, touch the ParkView® Backup Camera soft-key,
336 UNDERSTANDING YOUR INSTRUMENT PANEL
Page 549 of 615
When cleaning the rear view mirror, spray cleaner on the
towel or rag that you are using. Do not spray cleaner
directly on the mirror.
Cleaning Plastic Instrument Cluster Lenses
The lenses in front of the instruments in this vehicle are
molded in clear plastic. When cleaning the lenses, care
must be taken to avoid scratching the plastic.
1. Clean with a wet soft rag. A mild soap solution may beused, but do not use high alcohol content or abrasive
cleaners. If soap is used, wipe clean with a clean damp
rag.
2. Dry with a soft cloth.
Seat Belt Maintenance
Do not bleach, dye, or clean the belts with chemical
solvents or abrasive cleaners. This will weaken the fabric.
Sun damage can also weaken the fabric. If the belts need cleaning, use MOPAR® Total Clean, a
mild soap solution, or lukewarm water. Do not remove
the belts from the vehicle to wash them. Dry with a soft
cloth.
Replace the belts if they appear frayed or worn or if the
buckles do not work properly.
WARNING!
A frayed or torn belt could rip apart in a collision and
leave you with no protection. Inspect the belt system
periodically, checking for cuts, frays, or loose parts.
Damaged parts must be replaced immediately. Do
not disassemble or modify the system. Seat belt
assemblies must be replaced after a collision if they
have been damaged (i.e., bent retractor, torn web-
bing, etc.).
7
MAINTAINING YOUR VEHICLE 547
Page 559 of 615
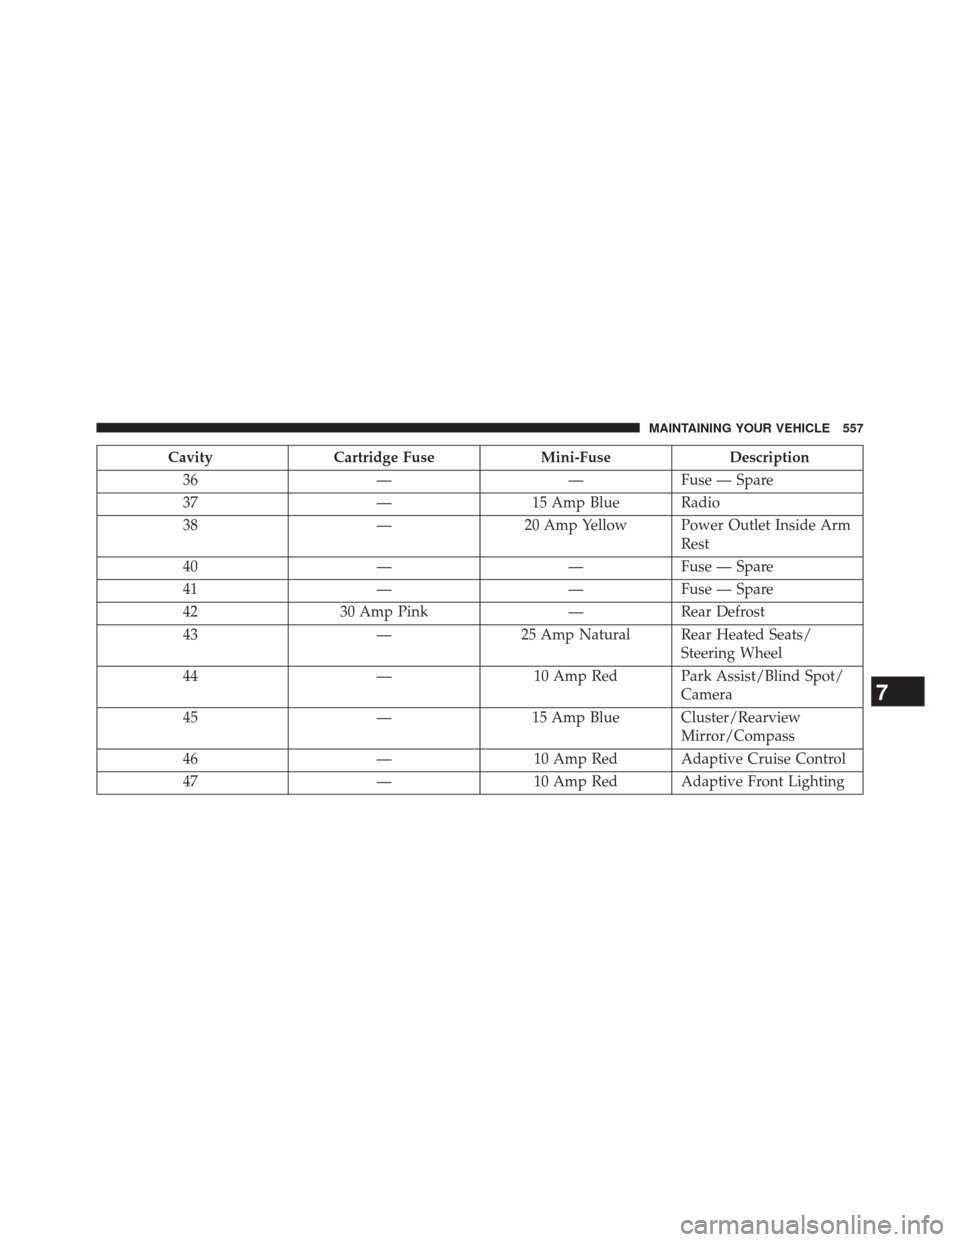
CavityCartridge Fuse Mini-FuseDescription
36 ——Fuse — Spare
37 —15 Amp Blue Radio
38 —20 Amp Yellow Power Outlet Inside Arm
Rest
40 ——Fuse — Spare
41 ——Fuse — Spare
42 30 Amp Pink —Rear Defrost
43 —25 Amp Natural Rear Heated Seats/
Steering Wheel
44 —10 Amp Red Park Assist/Blind Spot/
Camera
45 —15 Amp Blue Cluster/Rearview
Mirror/Compass
46 —10 Amp Red Adaptive Cruise Control
47 —10 Amp Red Adaptive Front Lighting
7
MAINTAINING YOUR VEHICLE 557
Page 605 of 615
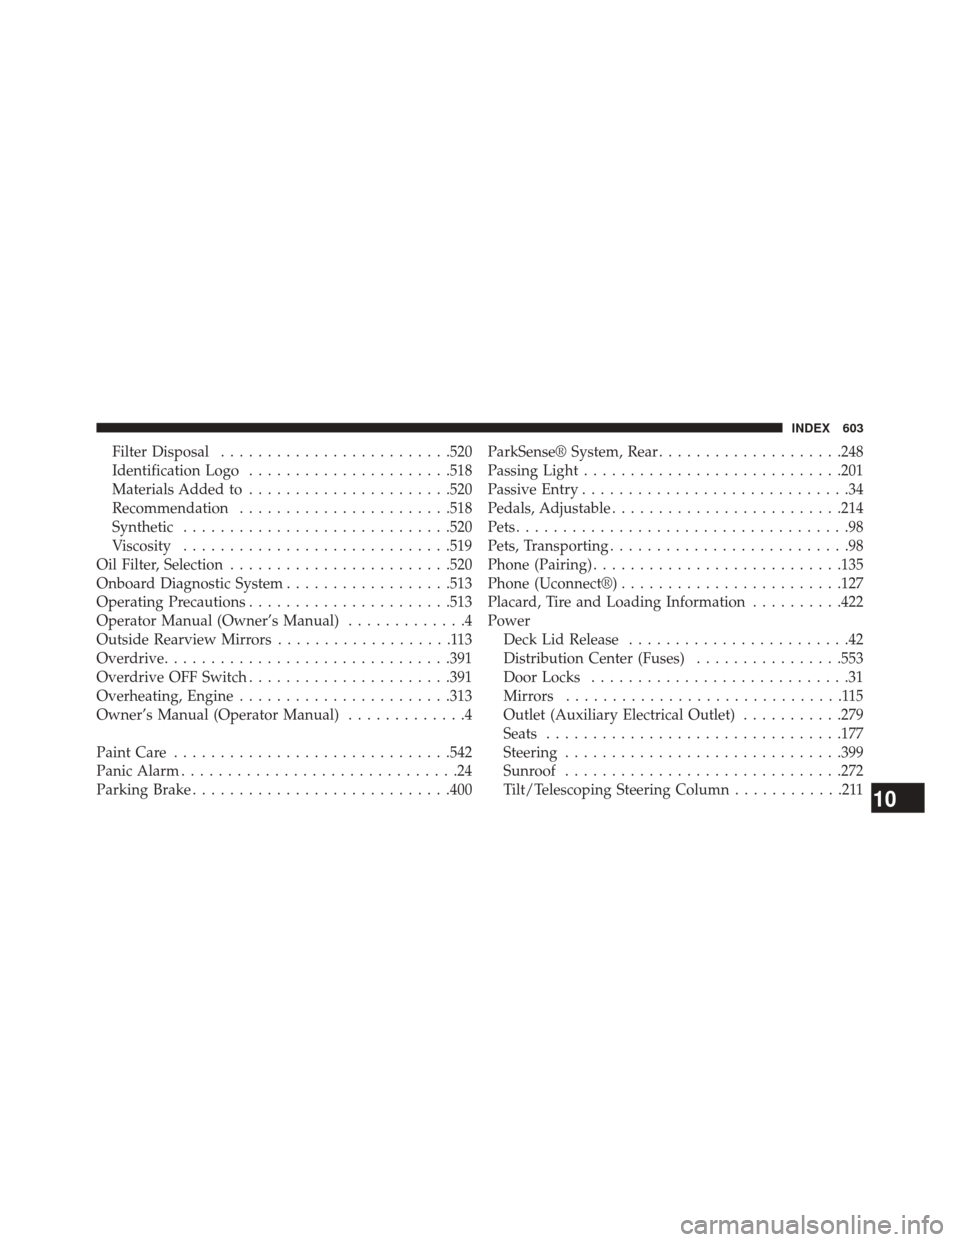
Filter Disposal........................ .520
Identification Logo ..................... .518
Materials Added to ..................... .520
Recommendation ...................... .518
Synthetic ............................ .520
Viscosity ............................ .519
Oil Filter, Selection ....................... .520
Onboard Diagnostic System ..................513
Operating Precautions ..................... .513
Operator Manual (Owner’s Manual) .............4
Outside Rearview Mirrors ...................113
Overdrive .............................. .391
Overdrive OFF Switch ..................... .391
Overheating, Engine ...................... .313
Owner’s Manual (Operator Manual) .............4
Paint Care ............................. .542
Panic Alarm ..............................24
Parking Brake ........................... .400ParkSense® System, Rear
....................248
Passing Light ........................... .201
Passive Entry .............................34
Pedals, Adjustable ........................ .214
Pets ....................................98
Pets, Transporting ..........................98
Phone (Pairing) .......................... .135
Phone (Uconnect®) ....................... .127
Placard, Tire and Loading Information ..........422
Power Deck Lid Release ........................42
Distribution Center (Fuses) ................553
Door Locks ............................31
Mirrors ..............................115
Outlet (Auxiliary Electrical Outlet) ...........279
Seats ............................... .177
Steering ............................. .399
Sunroof ............................. .272
Tilt/Telescoping Steering Column ............211
10
INDEX 603
Page 608 of 615
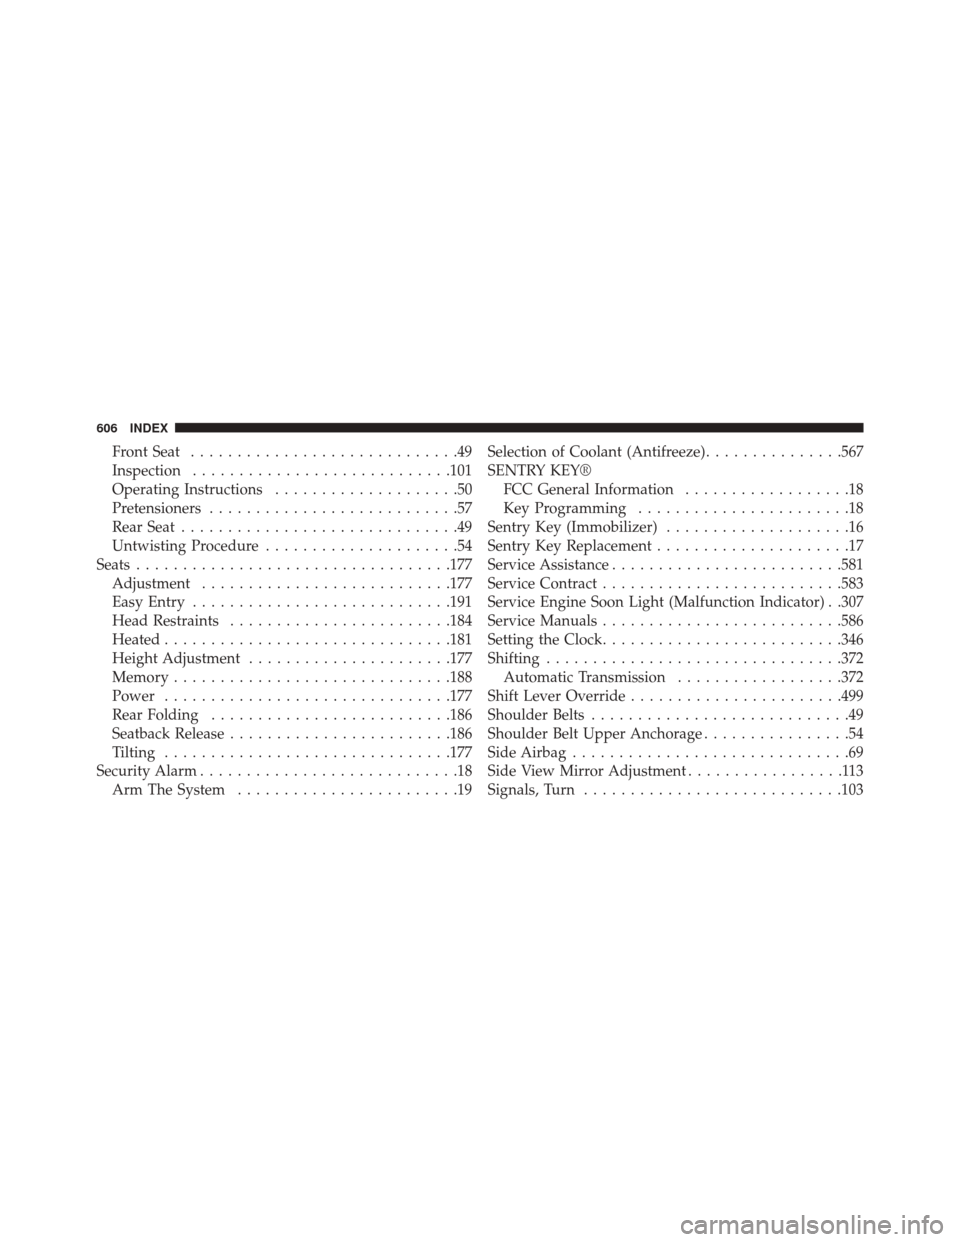
Front Seat.............................49
Inspection ........................... .101
Operating Instructions ....................50
Pretensioners ...........................57
Rear Seat ..............................49
Untwisting Procedure .....................54
Seats ................................. .177
Adjustment .......................... .177
Easy Entry ........................... .191
Head Restraints ....................... .184
Heated .............................. .181
Height Adjustment ..................... .177
Memory ............................. .188
Power .............................. .177
Rear Folding ......................... .186
Seatback Release ....................... .186
Tilting .............................. .177
Security Alarm ............................18
Arm The System ........................19 Selection of Coolant (Antifreeze)
...............567
SENTRY KEY® FCC General Information ..................18
Key Programming .......................18
Sentry Key (Immobilizer) ....................16
Sentry Key Replacement .....................17
Service Assistance ........................ .581
Service Contract ......................... .583
Service Engine Soon Light (Malfunction Indicator) . .307
Service Manuals ......................... .586
Setting the Clock ......................... .346
Shifting ............................... .372
Automatic Transmission ..................372
Shift Lever Override ...................... .499
Shoulder Belts ............................49
Shoulder Belt Upper Anchorage ................54
Side Airbag ..............................69
Side View Mirror Adjustment .................113
Signals, Turn ........................... .103
606 INDEX