Page 25 of 124
Front Fog Lights
• Turn on the parking lights or low beam headlights and pull out the end of the lever.
Turn Signals/Lane Change Assist
• Tap the lever up or down once and the turn signal (right or left) will flash three times andautomatically turn off.
WIPER/WASHER LEVER
Front Wipers
Intermittent, Low And High Operation
• Rotate the end of the lever to the first detent position for one of five intermittent settings, thesecond for low wiper operation and the third detent for high wiper operation.
Mist
• Pull down on the lever and release when a single wipe is desired.
NOTE:
The mist feature does not activate the washer pump; therefore, no washer fluid will be sprayed on the
windshield. The wash function must be activated in order to spray the windshield with washer fluid.
Washer Operation
• Pull the lever toward you and hold for as long as spray is desired.
OPERATING YOUR VEHICLE
23
Page 74 of 124

Before You Begin Programming HomeLink®
• Ensure that your vehicle is parked outside of the garage before you begin programming.
• For efficient programming and accurate transmission of the radio-frequency signal, it isrecommended that a new battery be placed in the hand-held transmitter of the device that is
being programmed to the HomeLink® system.
• Erase all channels before you begin programming. To erase the channels, place the ignition switch into the ON/RUN position, then press and hold the two outside HomeLink® buttons (I
and III) for up to 20 seconds or until the red indicator flashes.
NOTE:
Erasing all channels should only be performed when programming HomeLink® for the first time.
Do not erase channels when programming additional buttons.
• If you have any problems, or require assistance, please call toll-free 1–800–355–3515 or, on the Internet at www.HomeLink.com for information or assistance.
Programming A Rolling Code
• For programming Garage Door Openers that were manufactured after 1995. These GarageDoor Openers can be identified by the “LEARN” or “TRAIN” button located where the
hanging antenna is attached to the Garage Door Opener. It is NOT the button that is normally
used to open and close the door. The name and color of the button may vary by manufacturer.
1. Place the ignition switch into the ON/RUN position.
2. Place the hand-held transmitter 1 to 3 in (3 to 8 cm) away from the HomeLink® button you wish to program while keeping the HomeLink® indicator light in view.
3. Simultaneously press and hold both the HomeLink® button you want to program and the hand-held transmitter button.
4. Continue to hold both buttons and observe the indicator light. The HomeLink® indicator will flash slowly and then rapidly after HomeLink® has received the frequency signal from the
hand-held transmitter. Release both buttons after the indicator light changes from slow to
rapid.
5. At the garage door opener motor (in the garage), locate the “LEARN” or “TRAINING” button. This can usually be found where the hanging antenna wire is attached to the garage
door opener motor. Firmly press and release the “LEARN” or “TRAINING” button.
NOTE:
You have 30 seconds in which to initiate the next step after the LEARN button has been pressed.
6. Return to the vehicle and press the programmed HomeLink® button twice (holding the button for two seconds each time). If the device is plugged in and activates, programming is
complete.
ELECTRONICS
72
Page 113 of 124

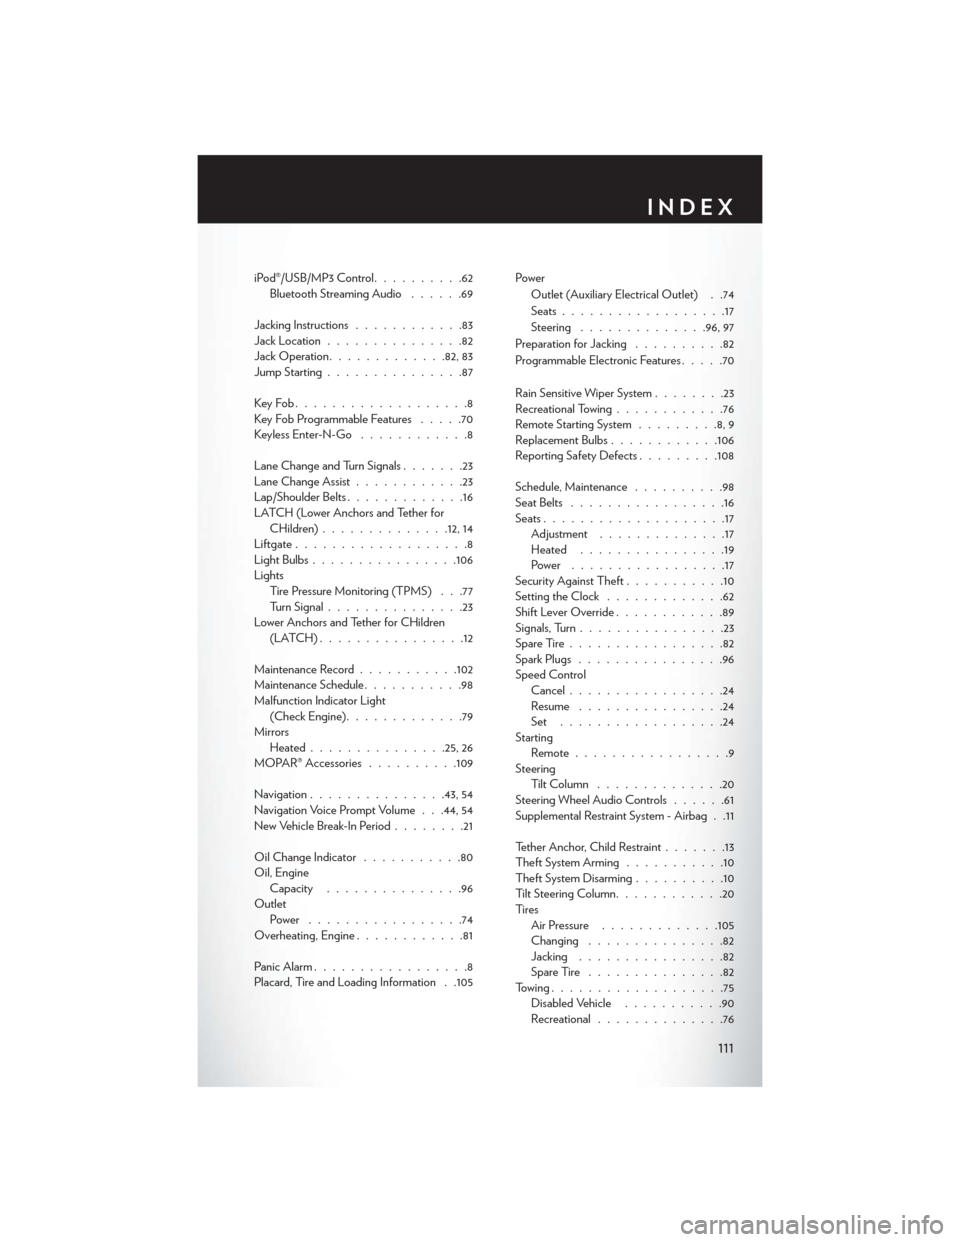
iPod®/USB/MP3 Control..........62
Bluetooth Streaming Audio ......69
Jacking Instructions ............83
Jack Location ...............82
Jack Operation ............ .82, 83
Jump Starting ...............87
KeyFob...................8
Key Fob Programmable Features .....70
Keyless Enter-N-Go ............8
Lane Change and Turn Signals .......23
Lane Change Assist ............23
Lap/Shoulder Belts .............16
LATCH (Lower Anchors and Tether for CHildren) ............. .12, 14
Liftgate ...................8
LightBulbs................106
Lights Tire Pressure Monitoring (TPMS) . . .77
Turn Signal ...............23
Lower Anchors and Tether for CHildren (LATCH)................12
Maintenance Record ...........102
Maintenance Schedule ...........98
Malfunction Indicator Light (Check Engine) .............79
Mirrors Heated .............. .25, 26
MOPAR® Accessories ..........109
Navigation ...............43,54
Navigation Voice Prompt Volume . . .44, 54
New Vehicle Break-In Period ........21
Oil Change Indicator ...........80
Oil, Engine Capacity ...............96
Outlet Power .................74
Overheating, Engine ............81
Panic Alarm .................8
Placard, Tire and Loading Information . .105 Power
Outlet (Auxiliary Electrical Outlet) . .74
Seats ..................17
Steering ............. .96, 97
Preparation for Jacking ..........82
Programmable Electronic Features .....70
Rain Sensitive Wiper System ........23
Recreational Towing ............76
Remote Starting System .........8,9
Replacement Bulbs ............106
Reporting Safety Defects .........108
Schedule, Maintenance ..........98
Seat Belts .................16
Seats ....................17
Adjustment ..............17
Heated ................19
Power .................17
Security Against Theft ...........10
Setting the Clock .............
62
Shift Lever Override ............89
Signals, Turn ................23
SpareTire.................82
Spark Plugs ................96
Speed Control Cancel .................24
Resume ................24
Set ..................24
Starting Remote.................9
Steering TiltColumn ..............20
Steering Wheel Audio Controls ......61
Supplemental Restraint System - Airbag . .11
Tether Anchor, Child Restraint .......13
Theft System Arming ...........10
Theft System Disarming ..........10
Tilt Steering Column ............20
Ti re s Air Pressure .............105
Changing ...............82
Jacking ................82
SpareTire ...............82
Towing...................75 Disabled Vehicle ...........90
Recreational ..............76
INDEX
111