2014 CHEVROLET SS run flat
[x] Cancel search: run flatPage 22 of 422

Black plate (18,1)Chevrolet SS Sedan Owner Manual (GMNA-Localizing-U.S.-6014851) - 2014 -
1st Edition - 8/22/13
1-18 In Brief
stop as soon as possible and inflate
the tires to the recommended
pressure shown on the Tire and
Loading Information label. See
Vehicle Load Limits on page 9-10.
The warning light will remain on until
the tire pressure is corrected.
The low tire pressure warning light
may come on in cool weather when
the vehicle is first started, and then
turn off as the vehicle is driven. This
may be an early indicator that the
tire pressures are getting low and
the tires need to be inflated to the
proper pressure.
The TPMS does not replace normal
monthly tire maintenance. Maintain
the correct tire pressures.
SeeTire Pressure Monitor System
on page 10-42.
Engine Oil Life System
The engine oil life system calculates
engine oil life based on vehicle use
and displays the CHANGE ENGINE
OIL SOON message when it is time
to change the engine oil and filter. The oil life system should be reset
to 100% only following an oil
change.
Resetting the Oil Life System
1. Display the REMAINING OIL
LIFE on the DIC. See Driver
Information Center (DIC) on
page 5-21.
2. Press and hold the SET/CLR button on the DIC while the Oil
Life display is active. The oil life
will change to 100%.
The oil life system can also be reset
as follows:
1. Turn the ignition to ON/RUN with the engine off.
2. Fully press and release the accelerator pedal three times
within five seconds.
See Engine Oil Life System on
page 10-8.
Driving for Better Fuel
Economy
Driving habits can affect fuel
mileage. Here are some driving tips
to get the best fuel economy
possible.
.Avoid fast starts and accelerate
smoothly.
.Brake gradually and avoid
abrupt stops.
.Avoid idling the engine for long
periods of time.
.When road and weather
conditions are appropriate, use
cruise control.
.Always follow posted speed
limits or drive more slowly when
conditions require.
.Keep vehicle tires properly
inflated.
.Combine several trips into a
single trip.
ProCarManuals.com
Page 103 of 422

Black plate (11,1)Chevrolet SS Sedan Owner Manual (GMNA-Localizing-U.S.-6014851) - 2014 -
1st Edition - 8/22/13
Instruments and Controls 5-11
Passenger Airbag Status
Indicator
This vehicle has a passenger
sensing system. SeePassenger
Sensing System on page 3-20 for
important safety information. The
rearview mirror has a passenger
airbag status indicator.
When the vehicle is started, the
passenger airbag status indicator
will light ON and OFF for several
seconds as a system check. Then,
after several more seconds, the
status indicator will light either ON
or OFF to let you know the status of
the front outboard passenger frontal
airbag and knee airbag. If the word ON is lit on the
passenger airbag status indicator, it
means that the front outboard
passenger frontal airbag and knee
airbag are allowed to inflate.
If the word OFF is lit on the
passenger airbag status indicator, it
means that the passenger sensing
system has turned off the front
outboard passenger frontal airbag
and knee airbag.
If, after several seconds, both status
indicator lights remain on, or if there
are no lights at all, there may be a
problem with the lights or the
passenger sensing system. See
your dealer for service.
{Warning
If the airbag readiness light ever
comes on and stays on, it means
that something may be wrong
with the airbag system. To help
avoid injury to yourself or others,
have the vehicle serviced right
(Continued)
Warning (Continued)
away. SeeAirbag Readiness
Light on page 5-10 for more
information, including important
safety information.
Charging System Light
The charging system light comes on
briefly when the ignition is turned
on, but the engine is not running, as
a check to show the light is working.
The light turns off when the engine
is started. If it does not, have the
vehicle serviced by your dealer.
If the light stays on, or comes on
while driving, there could be a
problem with the electrical charging
ProCarManuals.com
Page 316 of 422

Black plate (34,1)Chevrolet SS Sedan Owner Manual (GMNA-Localizing-U.S.-6014851) - 2014 -
1st Edition - 8/22/13
10-34 Vehicle Care
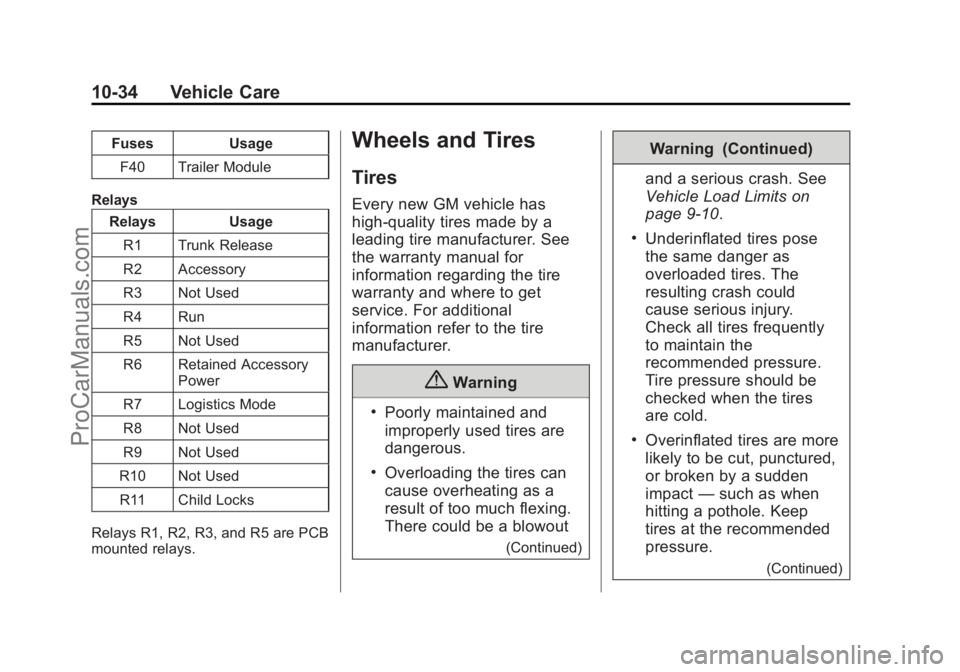
FusesUsage
F40 Trailer Module
Relays Relays Usage
R1 Trunk Release
R2 Accessory
R3 Not Used
R4 Run
R5 Not Used
R6 Retained Accessory Power
R7 Logistics Mode
R8 Not Used
R9 Not Used
R10 Not Used
R11 Child Locks
Relays R1, R2, R3, and R5 are PCB
mounted relays.Wheels and Tires
Tires
Every new GM vehicle has
high-quality tires made by a
leading tire manufacturer. See
the warranty manual for
information regarding the tire
warranty and where to get
service. For additional
information refer to the tire
manufacturer.
{Warning
.Poorly maintained and
improperly used tires are
dangerous.
.Overloading the tires can
cause overheating as a
result of too much flexing.
There could be a blowout
(Continued)
Warning (Continued)
and a serious crash. See
Vehicle Load Limits on
page 9-10.
.Underinflated tires pose
the same danger as
overloaded tires. The
resulting crash could
cause serious injury.
Check all tires frequently
to maintain the
recommended pressure.
Tire pressure should be
checked when the tires
are cold.
.Overinflated tires are more
likely to be cut, punctured,
or broken by a sudden
impact —such as when
hitting a pothole. Keep
tires at the recommended
pressure.
(Continued)
ProCarManuals.com
Page 338 of 422

Black plate (56,1)Chevrolet SS Sedan Owner Manual (GMNA-Localizing-U.S.-6014851) - 2014 -
1st Edition - 8/22/13
10-56 Vehicle Care
Tire Sealant and
Compressor Kit
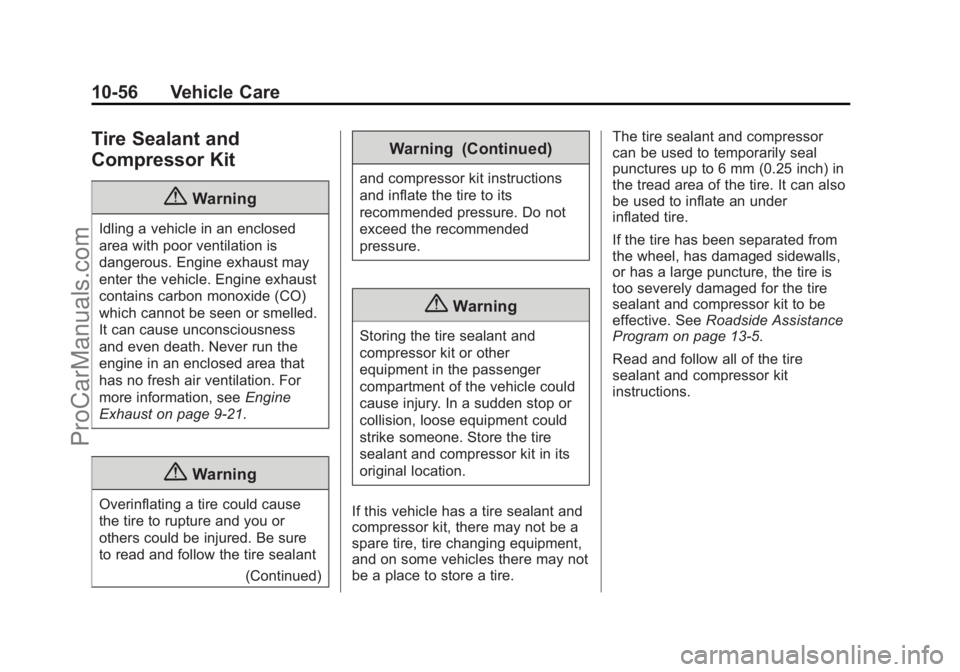
{Warning
Idling a vehicle in an enclosed
area with poor ventilation is
dangerous. Engine exhaust may
enter the vehicle. Engine exhaust
contains carbon monoxide (CO)
which cannot be seen or smelled.
It can cause unconsciousness
and even death. Never run the
engine in an enclosed area that
has no fresh air ventilation. For
more information, seeEngine
Exhaust on page 9-21.
{Warning
Overinflating a tire could cause
the tire to rupture and you or
others could be injured. Be sure
to read and follow the tire sealant
(Continued)
Warning (Continued)
and compressor kit instructions
and inflate the tire to its
recommended pressure. Do not
exceed the recommended
pressure.
{Warning
Storing the tire sealant and
compressor kit or other
equipment in the passenger
compartment of the vehicle could
cause injury. In a sudden stop or
collision, loose equipment could
strike someone. Store the tire
sealant and compressor kit in its
original location.
If this vehicle has a tire sealant and
compressor kit, there may not be a
spare tire, tire changing equipment,
and on some vehicles there may not
be a place to store a tire. The tire sealant and compressor
can be used to temporarily seal
punctures up to 6 mm (0.25 inch) in
the tread area of the tire. It can also
be used to inflate an under
inflated tire.
If the tire has been separated from
the wheel, has damaged sidewalls,
or has a large puncture, the tire is
too severely damaged for the tire
sealant and compressor kit to be
effective. See
Roadside Assistance
Program on page 13-5.
Read and follow all of the tire
sealant and compressor kit
instructions.
ProCarManuals.com
Page 340 of 422

Black plate (58,1)Chevrolet SS Sedan Owner Manual (GMNA-Localizing-U.S.-6014851) - 2014 -
1st Edition - 8/22/13
10-58 Vehicle Care
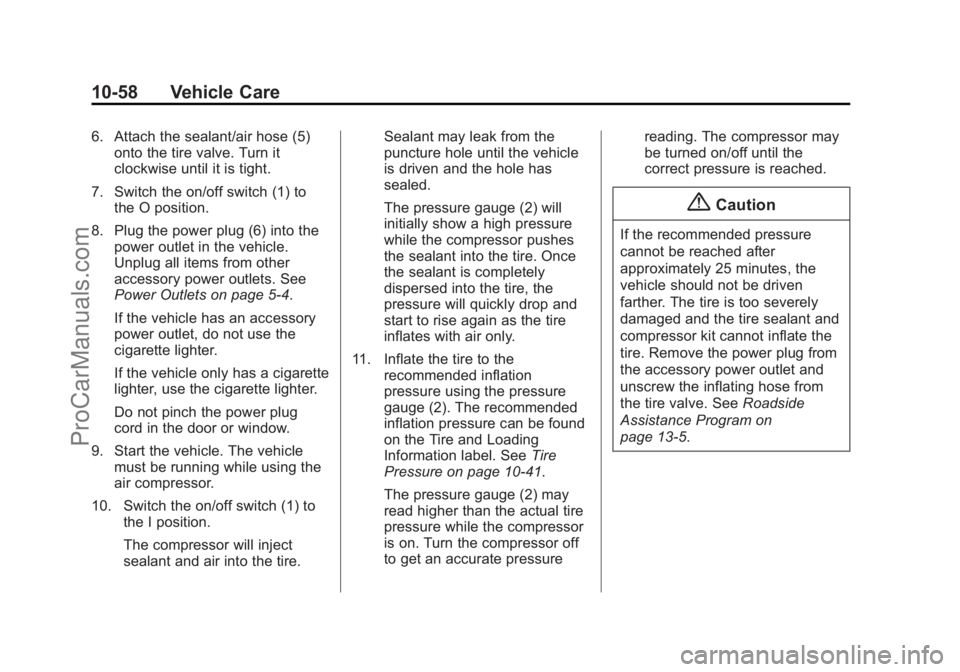
6. Attach the sealant/air hose (5)onto the tire valve. Turn it
clockwise until it is tight.
7. Switch the on/off switch (1) to the O position.
8. Plug the power plug (6) into the power outlet in the vehicle.
Unplug all items from other
accessory power outlets. See
Power Outlets on page 5-4.
If the vehicle has an accessory
power outlet, do not use the
cigarette lighter.
If the vehicle only has a cigarette
lighter, use the cigarette lighter.
Do not pinch the power plug
cord in the door or window.
9. Start the vehicle. The vehicle must be running while using the
air compressor.
10. Switch the on/off switch (1) to the I position.
The compressor will inject
sealant and air into the tire. Sealant may leak from the
puncture hole until the vehicle
is driven and the hole has
sealed.
The pressure gauge (2) will
initially show a high pressure
while the compressor pushes
the sealant into the tire. Once
the sealant is completely
dispersed into the tire, the
pressure will quickly drop and
start to rise again as the tire
inflates with air only.
11. Inflate the tire to the recommended inflation
pressure using the pressure
gauge (2). The recommended
inflation pressure can be found
on the Tire and Loading
Information label. See Tire
Pressure on page 10-41.
The pressure gauge (2) may
read higher than the actual tire
pressure while the compressor
is on. Turn the compressor off
to get an accurate pressure reading. The compressor may
be turned on/off until the
correct pressure is reached.
{Caution
If the recommended pressure
cannot be reached after
approximately 25 minutes, the
vehicle should not be driven
farther. The tire is too severely
damaged and the tire sealant and
compressor kit cannot inflate the
tire. Remove the power plug from
the accessory power outlet and
unscrew the inflating hose from
the tire valve. See
Roadside
Assistance Program on
page 13-5.
ProCarManuals.com
Page 343 of 422

Black plate (61,1)Chevrolet SS Sedan Owner Manual (GMNA-Localizing-U.S.-6014851) - 2014 -
1st Edition - 8/22/13
Vehicle Care 10-61
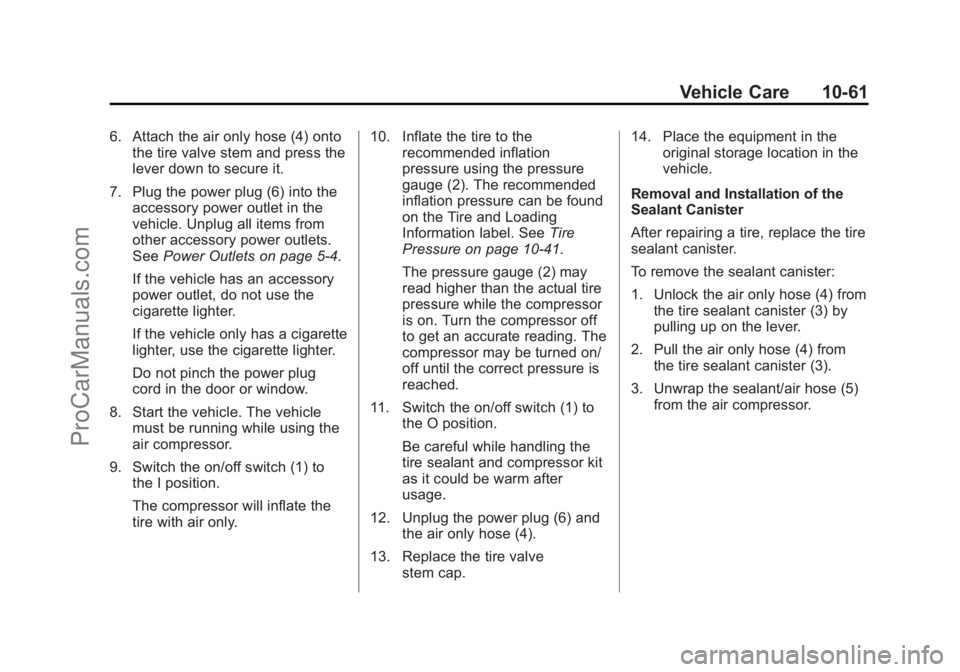
6. Attach the air only hose (4) ontothe tire valve stem and press the
lever down to secure it.
7. Plug the power plug (6) into the accessory power outlet in the
vehicle. Unplug all items from
other accessory power outlets.
See Power Outlets on page 5-4.
If the vehicle has an accessory
power outlet, do not use the
cigarette lighter.
If the vehicle only has a cigarette
lighter, use the cigarette lighter.
Do not pinch the power plug
cord in the door or window.
8. Start the vehicle. The vehicle must be running while using the
air compressor.
9. Switch the on/off switch (1) to the I position.
The compressor will inflate the
tire with air only. 10. Inflate the tire to the
recommended inflation
pressure using the pressure
gauge (2). The recommended
inflation pressure can be found
on the Tire and Loading
Information label. See Tire
Pressure on page 10-41.
The pressure gauge (2) may
read higher than the actual tire
pressure while the compressor
is on. Turn the compressor off
to get an accurate reading. The
compressor may be turned on/
off until the correct pressure is
reached.
11. Switch the on/off switch (1) to the O position.
Be careful while handling the
tire sealant and compressor kit
as it could be warm after
usage.
12. Unplug the power plug (6) and the air only hose (4).
13. Replace the tire valve stem cap. 14. Place the equipment in the
original storage location in the
vehicle.
Removal and Installation of the
Sealant Canister
After repairing a tire, replace the tire
sealant canister.
To remove the sealant canister:
1. Unlock the air only hose (4) from the tire sealant canister (3) by
pulling up on the lever.
2. Pull the air only hose (4) from the tire sealant canister (3).
3. Unwrap the sealant/air hose (5) from the air compressor.
ProCarManuals.com
Page 350 of 422

Black plate (68,1)Chevrolet SS Sedan Owner Manual (GMNA-Localizing-U.S.-6014851) - 2014 -
1st Edition - 8/22/13
10-68 Vehicle Care
Storing a Flat or Spare Tire
and Tools
{Warning
Storing a jack, a tire, or other
equipment in the passenger
compartment of the vehicle could
cause injury. In a sudden stop or
collision, loose equipment could
strike someone. Store all these in
the proper place.
Replace the jack, tools, container
and flat tire in the trunk by reversing
the steps used to remove them.
Full-Size Spare Tire
If this vehicle came with a full-size
spare tire, it was fully inflated when
new, however, it can lose air over
time. Check the inflation pressure
regularly. See Tire Pressure on
page 10-41 andVehicle Load Limits
on page 9-10 for information
regarding proper tire inflation and
loading the vehicle. For instructions on how to remove, install, or store a
spare tire, see
Tire Changing on
page 10-63.
After installing the spare tire on the
vehicle, stop as soon as possible
and check that the spare is correctly
inflated. The spare tire is made to
perform well at speeds up to
112 km/h (70 mph) at the
recommended inflation pressure, so
you can finish your trip.
The full-size spare includes a TPMS
sensor. The TPMS will not monitor
or display the spare tire air pressure
until the tire/wheel is installed at one
of the four tire/wheel positions on
the vehicle and matched to the new
position. See Tire Pressure Monitor
Operation on page 10-43 for
information about matching the
spare tire to the TPMS.
Have the damaged or flat road tire
repaired or replaced and installed
back onto the vehicle as soon as
possible so the spare tire will be
available in case it is needed again. Do not mix tires and wheels of
different sizes, because they will not
fit. Keep the spare tire and its wheel
together.
ProCarManuals.com
Page 353 of 422

Black plate (71,1)Chevrolet SS Sedan Owner Manual (GMNA-Localizing-U.S.-6014851) - 2014 -
1st Edition - 8/22/13
Vehicle Care 10-71
6. Connect the other end of the redpositive (+) cable to the
positive (+) terminal of the good
battery.
7. Connect one end of the black negative (–) cable to the
negative (–) terminal of the good
battery.
8. Connect the other end of the black negative (–) cable to the
remote negative (–) post (2).
9. Start the engine in the vehicle with the good battery and run
the engine at idle speed for at
least four minutes.
10. Try to start the vehicle that had the dead battery. If it will not
start after a few tries, it
probably needs service.{Caution
If the jumper cables are
connected or removed in the
wrong order, electrical shorting
may occur and damage the
vehicle. The repairs would not be
covered by the vehicle warranty.
Always connect and remove the
jumper cables in the correct order,
making sure that the cables do
not touch each other or other
metal.
Jumper Cable Removal
Reverse the sequence exactly when
removing the jumper cables
Towing the Vehicle
{Caution
Incorrectly towing a disabled
vehicle may cause damage. The
damage would not be covered by
the vehicle warranty. Do not lash
or hook to the chassis
components —including the front
and rear subframes, suspension
control arms, and links —during
towing and recovery of a disabled
vehicle, or when securing the
vehicle. Use the proper nylon
strap harnesses around the tires
to secure the vehicle.
Have the vehicle towed on a flatbed
car carrier. A wheel lift tow truck
could damage the vehicle.
Consult your dealer or a
professional towing service if the
disabled vehicle must be towed.
ProCarManuals.com