2014 CHEVROLET MALIBU ignition
[x] Cancel search: ignitionPage 113 of 428
Black plate (3,1)Chevrolet Malibu Owner Manual (GMNA-Localizing-U.S./Canada/Mexico-
6081487) - 2014 - CRC - 11/19/13
Instruments and Controls 5-3
b/g(Push to Talk):For vehicles
with an OnStar, Bluetooth,
or navigation system, press to
interact with those systems. See
Bluetooth (Overview) on page 7-21
or Bluetooth (Infotainment Controls)
on page 7-23 orBluetooth (Voice
Recognition) on page 7-26 and
OnStar Overview on page 14-1.
$/i(Mute/End Call): Press to
silence the vehicle speakers only.
Press again to turn the sound on.
For vehicles with OnStar or
Bluetooth systems, press to reject
an incoming call, or to end a
current call.
_SRC^(Thumbwheel Control):
Use this control to select a radio
band or audio source.
Use
_or^to select the next or
previous favorite radio station, CD
track or MP3 track.
Press SRC to change between
radio and CD. Press and hold SRC to interact with
the navigation system, if equipped.
+
x−
(Volume): Press + to
increase the volume; press −to
decrease the volume.
Horn
Pressaon the steering wheel pad
to sound the horn.
Windshield Wiper/Washer
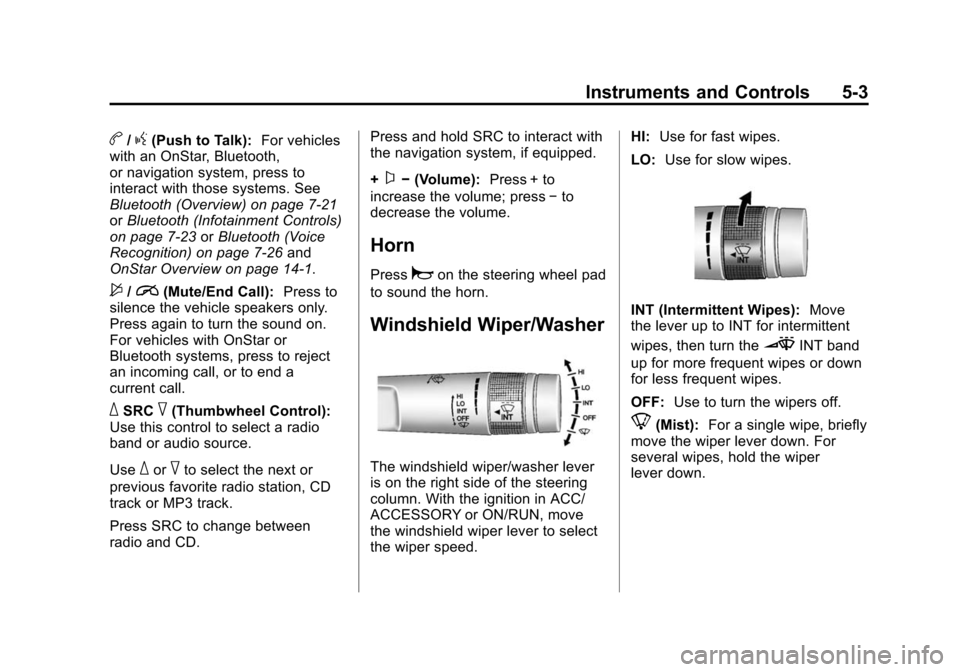
The windshield wiper/washer lever
is on the right side of the steering
column. With the ignition in ACC/
ACCESSORY or ON/RUN, move
the windshield wiper lever to select
the wiper speed. HI:
Use for fast wipes.
LO: Use for slow wipes.
INT (Intermittent Wipes): Move
the lever up to INT for intermittent
wipes, then turn the
3INT band
up for more frequent wipes or down
for less frequent wipes.
OFF: Use to turn the wipers off.
8(Mist): For a single wipe, briefly
move the wiper lever down. For
several wipes, hold the wiper
lever down.
Page 114 of 428
Black plate (4,1)Chevrolet Malibu Owner Manual (GMNA-Localizing-U.S./Canada/Mexico-
6081487) - 2014 - CRC - 11/19/13
5-4 Instruments and Controls
nL(Windshield Washer): Pull
the windshield wiper lever toward
you to spray windshield washer fluid
and activate the wipers. The wipers
will continue until the lever is
released or the maximum wash time
is reached. When the windshield
wiper lever is released, additional
wipes may occur depending on how
long the windshield washer had
been activated. For more
information on filling the windshield
washer fluid reservoir, see Washer
Fluid on page 10-21.
{Warning
In freezing weather, do not use
the washer until the windshield is
warmed. Otherwise the washer
fluid can form ice on the
windshield, blocking your vision.
Clear snow and ice from the wiper
blades and windshield before using
them. If frozen to the windshield,
carefully loosen or thaw them. Damaged blades should be
replaced. See
Wiper Blade
Replacement on page 10-27.
Heavy snow or ice can overload the
wiper motor.
Wipe Parking
If the ignition is turned to LOCK/
OFF while the wipers are on LO, HI,
or INT, they will immediately stop.
If the windshield wiper lever is then
moved to off before the driver door
is opened or within 10 minutes, the
wipers will restart and move to the
base of the windshield.
If the ignition is turned to LOCK/
OFF while the wipers are performing
wipes due to windshield washing,
the wipers continue to run until they
reach the base of the windshield.
Compass
The vehicle may have a compass
display on the center stack. The
compass receives its heading and
other information from the Global Positioning System (GPS) antenna,
StabiliTrak
®, and vehicle speed
information.
The compass system is designed to
operate for a certain number of
miles or degrees of turn before
needing a signal from the GPS
satellites. When the compass
display shows CAL, drive the
vehicle for a short distance in an
open area where it can receive a
GPS signal. The compass system
will automatically determine when a
GPS signal is restored and provide
a heading again. See Compass
Messages on page 5-28 for the
messages that may be displayed for
the compass.
Clock
The infotainment system controls
are used to access the time and
date settings through the menu
system. The clock menu can only
be used with the radio on while in
ON/RUN or ACC/ACCESSORY.
See Overview on page 7-3 for
Page 115 of 428
Black plate (5,1)Chevrolet Malibu Owner Manual (GMNA-Localizing-U.S./Canada/Mexico-
6081487) - 2014 - CRC - 11/19/13
Instruments and Controls 5-5
information about how to use the
menu system. For vehicles with a
navigation system, see the
navigation manual.
Setting the Clock (Radio
with CD)
To set the time:
1. Press the CONFIG button andselect Time Settings.
2. Select Set Time.
3. Turn the TUNE/MENU knob to adjust the highlighted number.
4. Press the TUNE/MENU knob to select the next number.
5. To save the time and return to the Time Settings menu, press
the BACK
/button at any time
or press the TUNE/MENU knob
after adjusting the minutes.
Setting the 12/24 Hour Format
1. Press the CONFIG button and select Time Settings.
2. Highlight 12/24 Hour Format. 3. Press the TUNE/MENU knob to
select the 12 hour or 24 hour
display format.
Setting the Clock (Radios with
Touchscreen)
To set the time:
1. Press the CONFIG button to
enter the menu options. Turn the
TUNE/MENU knob to scroll
through the available setup
features. Press the TUNE/MENU
knob or press the Time screen
button to display other options
within that feature.
2. Press + or −to increase or
decrease the Hours and Minutes
displayed on the clock.
To turn Auto Set on and off, press
the Auto Set button.
If auto timing is set, the time
displayed on the clock may not
update immediately when driving
into a new time zone. 12/24 HR Format:
Press the 12 HR
screen button for standard time;
press the 24 HR screen button for
military time.
Day + or Day −:Press the Day +
or Day −display buttons to increase
or decrease the day.
Display: Press Display to turn the
display of the time on the screen on
or off.
Power Outlets
The accessory power outlets can be
used to plug in electrical equipment,
such as a cell phone or MP3 player.
There are two accessory power
outlets: one on the center stack
below the climate control system,
and one under the armrest inside
the center console storage.
The outlet is powered when the
ignition is in ON/RUN or ACC/
ACCESSORY, or until the driver
door is opened within 10 minutes of
Page 116 of 428
Black plate (6,1)Chevrolet Malibu Owner Manual (GMNA-Localizing-U.S./Canada/Mexico-
6081487) - 2014 - CRC - 11/19/13
5-6 Instruments and Controls
turning off the vehicle. SeeRetained
Accessory Power (RAP) on
page 9-23.
Open the protective cover to use the
accessory power outlet.
Certain electrical accessories may
not be compatible with the
accessory power outlets and could
overload vehicle or adapter fuses.
If there is a problem, see your
dealer.
When adding electrical equipment,
be sure to follow the installation
instructions included with the
equipment. See Add-On Electrical
Equipment on page 9-58.
{Caution
Hanging heavy equipment from
the power outlet can cause
damage not covered by the
vehicle warranty. The power
outlets are designed for
accessory power plugs only, such
as cell phone charge cords.
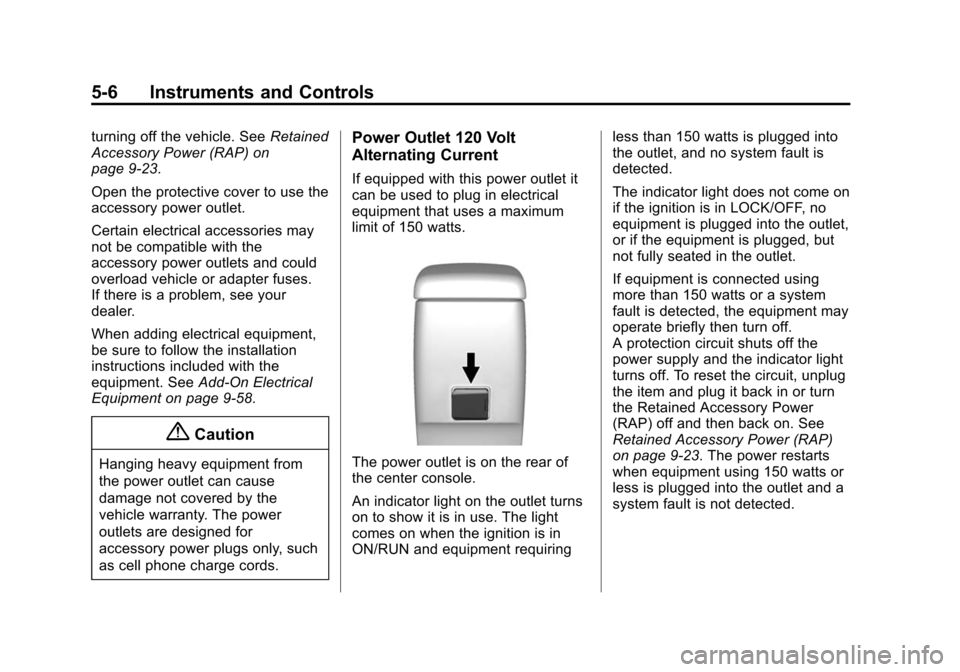
Power Outlet 120 Volt
Alternating Current
If equipped with this power outlet it
can be used to plug in electrical
equipment that uses a maximum
limit of 150 watts.
The power outlet is on the rear of
the center console.
An indicator light on the outlet turns
on to show it is in use. The light
comes on when the ignition is in
ON/RUN and equipment requiring less than 150 watts is plugged into
the outlet, and no system fault is
detected.
The indicator light does not come on
if the ignition is in LOCK/OFF, no
equipment is plugged into the outlet,
or if the equipment is plugged, but
not fully seated in the outlet.
If equipment is connected using
more than 150 watts or a system
fault is detected, the equipment may
operate briefly then turn off.
A protection circuit shuts off the
power supply and the indicator light
turns off. To reset the circuit, unplug
the item and plug it back in or turn
the Retained Accessory Power
(RAP) off and then back on. See
Retained Accessory Power (RAP)
on page 9-23. The power restarts
when equipment using 150 watts or
less is plugged into the outlet and a
system fault is not detected.
Page 120 of 428
Black plate (10,1)Chevrolet Malibu Owner Manual (GMNA-Localizing-U.S./Canada/Mexico-
6081487) - 2014 - CRC - 11/19/13
5-10 Instruments and Controls
Speedometer
The speedometer shows the
vehicle's speed in either kilometers
per hour (km/h) or miles per
hour (mph).
Odometer
The odometer shows how far the
vehicle has been driven, in either
kilometers or miles.
This vehicle has a tamper‐resistant
odometer. The digital odometer will
read 999,999 if it is turned back.
If the vehicle needs a new odometer
installed, it must be set to the
mileage total of the old odometer.
If that is not possible, then it must
be set at zero and a label must be
put on the driver door to show the
old mileage reading when the new
odometer was installed.
Trip Odometer
The trip odometer can show how far
the vehicle has been driven since
the trip odometer was last reset.The trip odometer is accessed and
reset through the Driver Information
Center (DIC). See
Driver
Information Center (DIC) on
page 5-24.
Tachometer
The tachometer displays the engine
speed in revolutions per
minute (rpm).
For eAssist vehicles, when the
ignition is in ON/RUN, the
tachometer indicates the vehicle
status. When pointing to AUTO
STOP, the engine is off but the
vehicle is on and can move. The
engine could auto start at any time.
When the indicator points to OFF,
the vehicle is off.
When the engine is on, the
tachometer will indicate the engine’s
revolutions per minute (rpm). The
tachometer may vary by several
hundred rpm’s, during auto stop
mode, when the engine is shutting
off and restarting. A slight bump may be felt when the
transmission is determining the
most fuel efficient operating range.
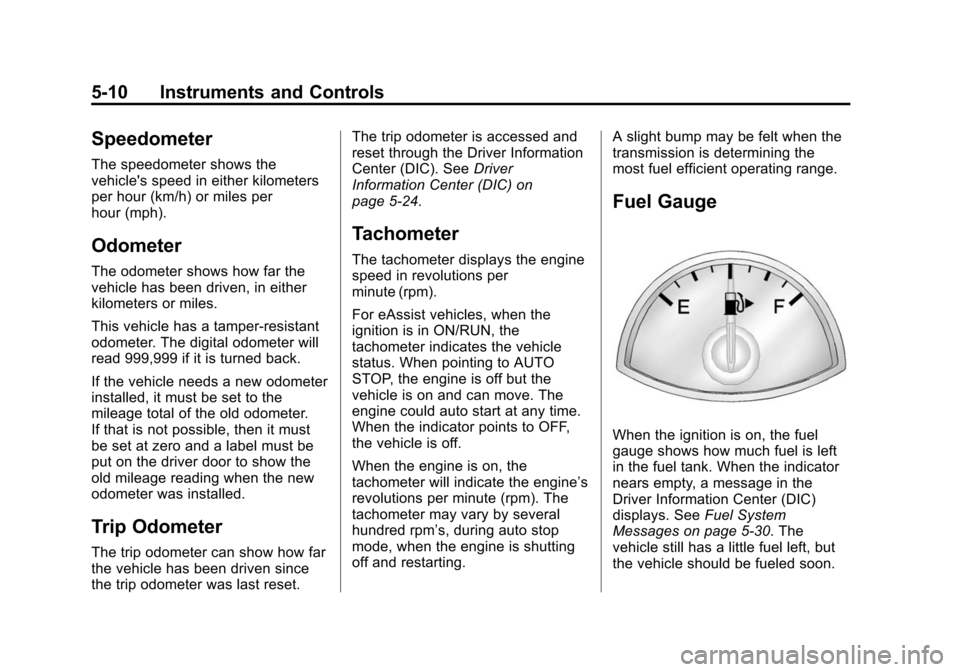
Fuel Gauge
When the ignition is on, the fuel
gauge shows how much fuel is left
in the fuel tank. When the indicator
nears empty, a message in the
Driver Information Center (DIC)
displays. See
Fuel System
Messages on page 5-30. The
vehicle still has a little fuel left, but
the vehicle should be fueled soon.
Page 121 of 428
Black plate (11,1)Chevrolet Malibu Owner Manual (GMNA-Localizing-U.S./Canada/Mexico-
6081487) - 2014 - CRC - 11/19/13
Instruments and Controls 5-11
An arrow on the fuel gauge
indicates the side of the vehicle the
fuel door is on.
Here are four things that some
owners ask about. These are
normal and do not indicate a
problem with the fuel gauge:
.At the service station, the gas
pump shuts off before the gauge
reads full.
.It takes a little more or less fuel
to fill up than the gauge
indicated. For example, the
gauge may have indicated the
fuel tank was half full, but it
actually took a little more or less
than half the fuel tank's capacity
to fill it.
.The indicator moves a little while
turning a corner or speeding up.
.The gauge goes back to empty
when the ignition is turned off.
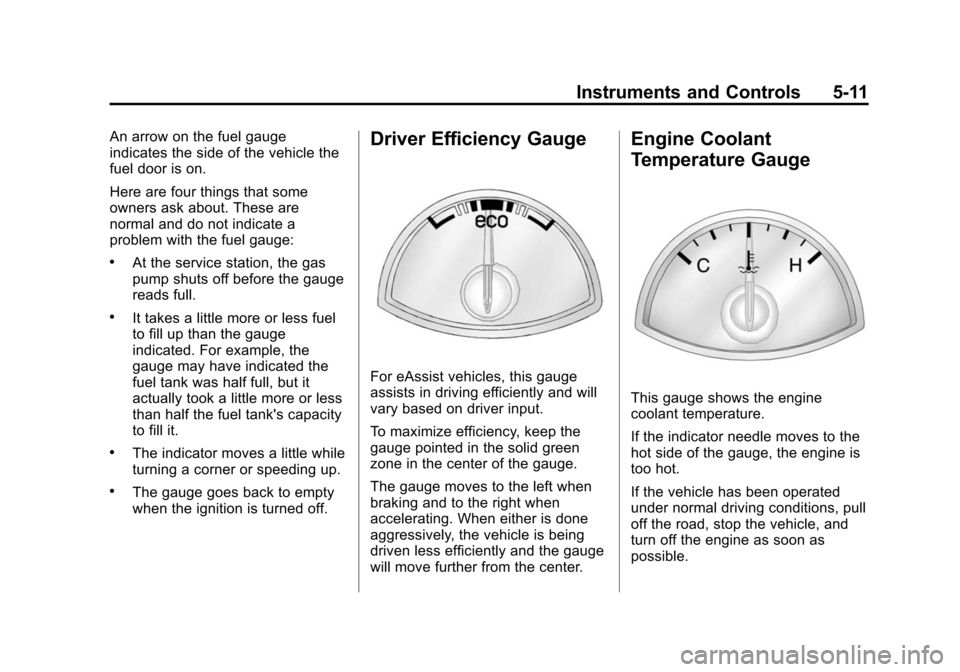
Driver Efficiency Gauge
For eAssist vehicles, this gauge
assists in driving efficiently and will
vary based on driver input.
To maximize efficiency, keep the
gauge pointed in the solid green
zone in the center of the gauge.
The gauge moves to the left when
braking and to the right when
accelerating. When either is done
aggressively, the vehicle is being
driven less efficiently and the gauge
will move further from the center.
Engine Coolant
Temperature Gauge
This gauge shows the engine
coolant temperature.
If the indicator needle moves to the
hot side of the gauge, the engine is
too hot.
If the vehicle has been operated
under normal driving conditions, pull
off the road, stop the vehicle, and
turn off the engine as soon as
possible.
Page 124 of 428
Black plate (14,1)Chevrolet Malibu Owner Manual (GMNA-Localizing-U.S./Canada/Mexico-
6081487) - 2014 - CRC - 11/19/13
5-14 Instruments and Controls
{Warning
If the airbag readiness light ever
comes on and stays on, it means
that something may be wrong
with the airbag system. To help
avoid injury to yourself or others,
have the vehicle serviced right
away. SeeAirbag Readiness
Light on page 5-12 for more
information, including important
safety information.
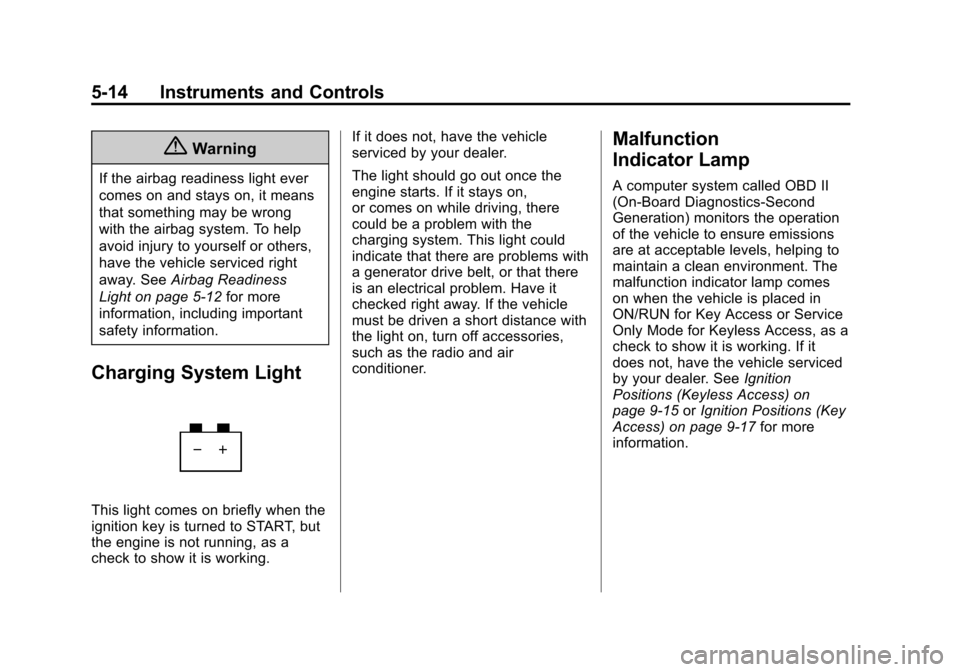
Charging System Light
This light comes on briefly when the
ignition key is turned to START, but
the engine is not running, as a
check to show it is working. If it does not, have the vehicle
serviced by your dealer.
The light should go out once the
engine starts. If it stays on,
or comes on while driving, there
could be a problem with the
charging system. This light could
indicate that there are problems with
a generator drive belt, or that there
is an electrical problem. Have it
checked right away. If the vehicle
must be driven a short distance with
the light on, turn off accessories,
such as the radio and air
conditioner.
Malfunction
Indicator Lamp
A computer system called OBD II
(On-Board Diagnostics-Second
Generation) monitors the operation
of the vehicle to ensure emissions
are at acceptable levels, helping to
maintain a clean environment. The
malfunction indicator lamp comes
on when the vehicle is placed in
ON/RUN for Key Access or Service
Only Mode for Keyless Access, as a
check to show it is working. If it
does not, have the vehicle serviced
by your dealer. See
Ignition
Positions (Keyless Access) on
page 9-15 orIgnition Positions (Key
Access) on page 9-17 for more
information.
Page 128 of 428
Black plate (18,1)Chevrolet Malibu Owner Manual (GMNA-Localizing-U.S./Canada/Mexico-
6081487) - 2014 - CRC - 11/19/13
5-18 Instruments and Controls
If it does not, have the vehicle
serviced by your dealer. If the
system is working normally, the
indicator light then goes off.
If the ABS light stays on, turn the
ignition off. If the light comes on
while driving, stop as soon as it is
safely possible and turn the ignition
off. Then start the engine again to
reset the system. If the ABS light
stays on, or comes on again while
driving, the vehicle needs service.
If the regular brake system warning
light is not on, the vehicle still has
brakes, but not antilock brakes.
If the regular brake system warning
light is also on, the vehicle does not
have antilock brakes and there is a
problem with the regular brakes.
SeeBrake System Warning Light on
page 5-17.
For vehicles with a Driver
Information Center (DIC), see Brake
System Messages on page 5-28 for
all brake-related DIC messages.Lane Departure Warning
(LDW) Light
If equipped, this light briefly comes
on while starting the vehicle.
If it does not, have the vehicle
serviced by your dealer. If the
system is working normally, the
indicator light then turns off.
This light comes on green when the
system is on and ready to operate.
When the system determines that
the vehicle is leaving its lane
without using the turn signal, this
light will change to amber and flash.
See Lane Departure Warning (LDW)
on page 9-46.
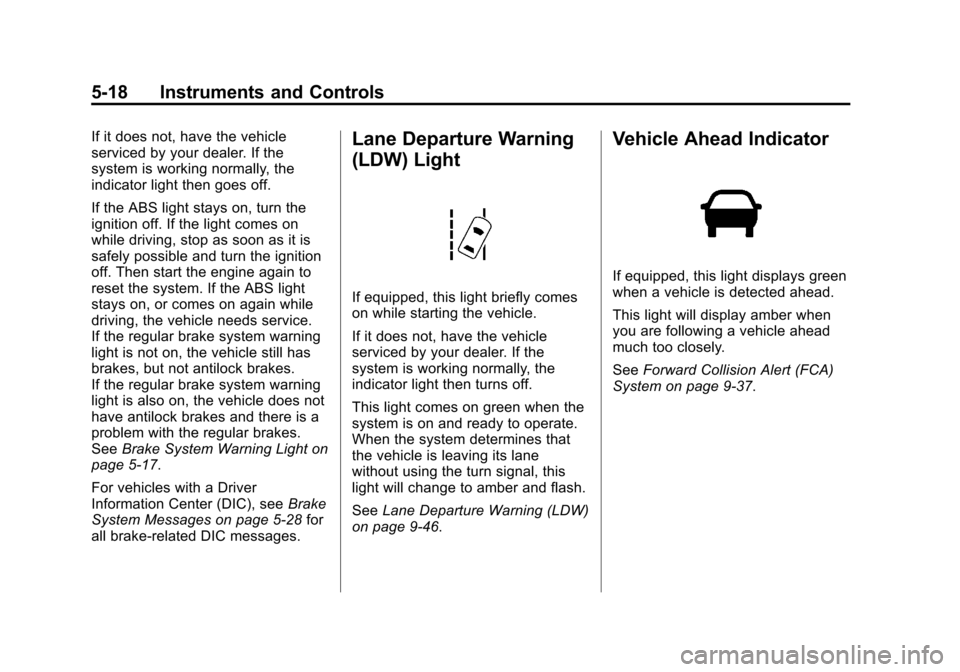
Vehicle Ahead Indicator
If equipped, this light displays green
when a vehicle is detected ahead.
This light will display amber when
you are following a vehicle ahead
much too closely.
See Forward Collision Alert (FCA)
System on page 9-37.