2014 BMW X3 XDRIVE 35I buttons
[x] Cancel search: buttonsPage 34 of 208
The current profile is selected.3.Open "Options".4."Rename current profile"
Resetting profilesThe settings of the active profile are reset to
their default values.
1."Settings"2."Profiles"
The current profile is selected.3.Open "Options".4."Reset current profile"
Importing profiles
Existing settings and contacts are overwritten
with the imported profile.
1."Settings"2."Profiles"3."Import profile"4.BMW Online: "BMW Online"
USB interface: "USB device"
Exporting profiles Most settings of the active profile and the
saved contacts can be exported.
This can be helpful for securing and retrieving
personal settings, before delivering the vehicle
to a workshop for example.
1."Settings"2."Profiles"3."Export profile"4.BMW Online: "BMW Online"
USB interface: "USB device"
Using the guest profile
The guest profile can be used to make individ‐
ual settings without affecting the three Per‐
sonal Profiles.
This can be useful for drivers who are using
the vehicle temporarily and do not have their
own profile.1."Settings"2."Profiles"
The current profile is selected.3.Open "Guest".4.Create the settings.
Note: the guest profile cannot be renamed.
Display profile list during start
The profile list can be displayed during each
start for selecting the desired profile.
1."Settings"2."Profiles"3.Open "Options".4."Display user list at startup"
Personal Profile settings
The following functions and settings can be
stored in a profile.
▷Collision warning: warning time.▷Exterior mirror position.▷CD/Multimedia: audio source listened to
last.▷Unlocking/locking of the vehicle: settings.▷Driving Dynamics Control: sport program▷Driver's seat position: automatically re‐
trieved after unlocking.▷Programmable memory buttons: assign‐
ment.▷Head-up Display: selection, brightness,
position and rotation of the display.▷Headlamp courtesy delay feature: time set‐
ting.▷Tone: tone settings.▷Automatic climate control/Automatic cli‐
mate control with enhanced features: set‐
tings.Seite 34ControlsOpening and closing34
Online Edition for Part no. 01 40 2 911 041 - VI/13
Page 38 of 208
Opening and closing: from
the inside
Locking and unlocking
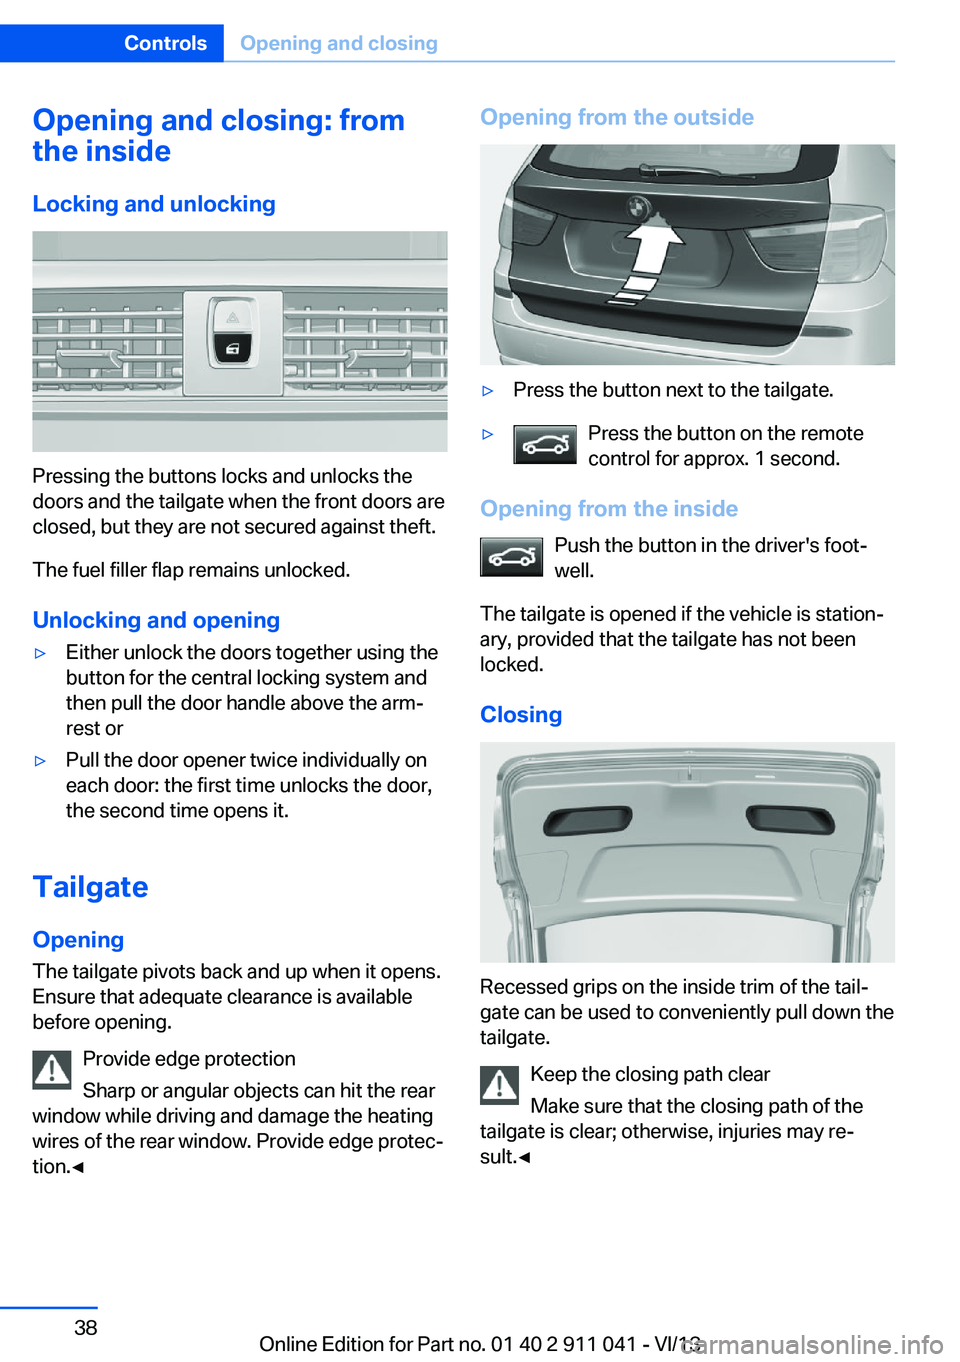
Pressing the buttons locks and unlocks the
doors and the tailgate when the front doors are
closed, but they are not secured against theft.
The fuel filler flap remains unlocked.
Unlocking and opening
▷Either unlock the doors together using the
button for the central locking system and
then pull the door handle above the arm‐
rest or▷Pull the door opener twice individually on
each door: the first time unlocks the door,
the second time opens it.
Tailgate
Opening
The tailgate pivots back and up when it opens.
Ensure that adequate clearance is available
before opening.
Provide edge protection
Sharp or angular objects can hit the rear
window while driving and damage the heating
wires of the rear window. Provide edge protec‐
tion.◀
Opening from the outside▷Press the button next to the tailgate.▷Press the button on the remote
control for approx. 1 second.
Opening from the inside
Push the button in the driver's foot‐
well.
The tailgate is opened if the vehicle is station‐
ary, provided that the tailgate has not been
locked.
Closing
Recessed grips on the inside trim of the tail‐
gate can be used to conveniently pull down the
tailgate.
Keep the closing path clear
Make sure that the closing path of the
tailgate is clear; otherwise, injuries may re‐
sult.◀
Seite 38ControlsOpening and closing38
Online Edition for Part no. 01 40 2 911 041 - VI/13
Page 41 of 208
Comfort AccessThe concept
The vehicle can be accessed without activat‐
ing the remote control.
All you need to do is to have the remote con‐
trol with you, e.g., in your jacket pocket.
The vehicle automatically detects the remote
control when it is nearby or in the passenger
compartment.
Comfort Access supports the following func‐
tions:▷Unlocking/locking of the vehicle.▷Convenient closing.▷Unlocking of the tailgate separately.▷Start the engine.
Functional requirements
▷There are no external sources of interfer‐
ence nearby.▷To lock the vehicle, the remote control
must be located outside of the vehicle.▷The next unlocking and locking cycle is not
possible until after approx. 2 seconds.▷The engine can only be started if the re‐
mote control is inside the vehicle.
Comparison with ordinary remote
control
The functions can be controlled by pressing the buttons of the remote control or Comfort
Access.
Unlocking
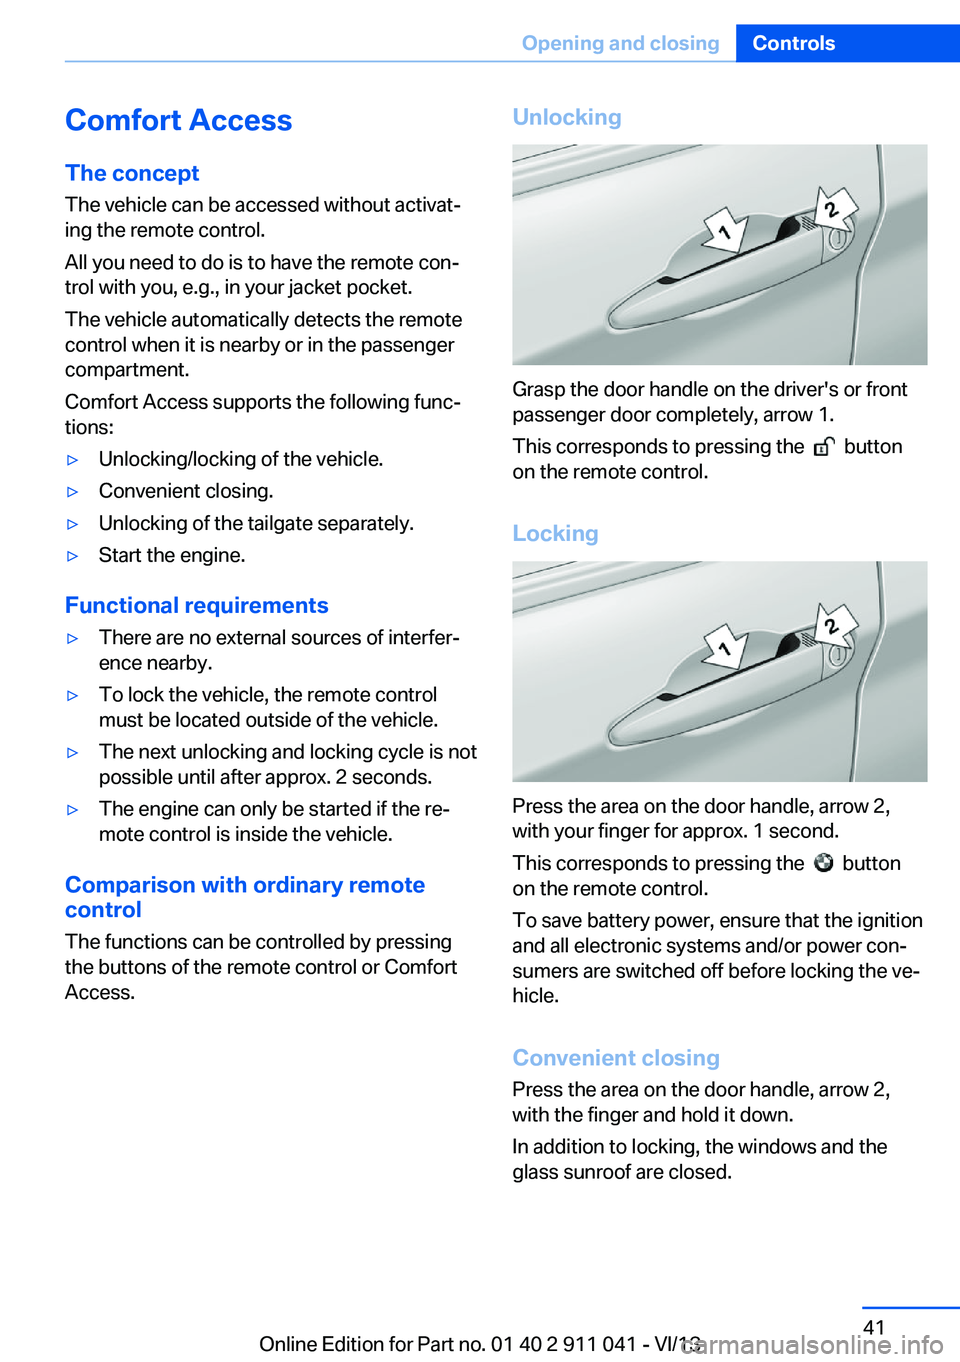
Grasp the door handle on the driver's or front
passenger door completely, arrow 1.
This corresponds to pressing the
button
on the remote control.
Locking
Press the area on the door handle, arrow 2,
with your finger for approx. 1 second.
This corresponds to pressing the
button
on the remote control.
To save battery power, ensure that the ignition
and all electronic systems and/or power con‐
sumers are switched off before locking the ve‐
hicle.
Convenient closing Press the area on the door handle, arrow 2,
with the finger and hold it down.
In addition to locking, the windows and the
glass sunroof are closed.
Seite 41Opening and closingControls41
Online Edition for Part no. 01 40 2 911 041 - VI/13
Page 42 of 208
Monitor the closing process
Monitor the closing process to ensure
that no one becomes trapped.◀
Unlocking the tailgate separately
Press the button on the exterior of the tailgate.
This corresponds to pressing the
but‐
ton on the remote control.
Do not place the remote control in the
cargo area
Take the remote control with you and do not
leave it in the cargo area; otherwise, the re‐
mote control is locked inside the vehicle when
the tailgate is closed.◀
Malfunction
Comfort Access may not function properly if it
experiences interference from external sour‐
ces such as mobile phones, metal objects,
overhead power lines, transmission towers,
etc.
In this case, open or close the vehicle using the
buttons on the remote control or use the
integrated key in the door lock.
Adjusting
Unlocking The setting is stored for the remote control
currently in use.
1."Settings"2."Doors/key"3. Select symbol or "Unlock button:".4.Select the desired function:▷"Driver's door only"
Only the driver's door and the fuel filler
flap are unlocked. Pressing again un‐
locks the entire vehicle.▷"All doors"
The entire vehicle is unlocked.Depending on how the vehicle is equipped
or the country-specific variant, you can set
whether the doors are also unlocked with
the
button on the remote control.
Confirmation signals from the vehicle
1."Settings"2."Doors/key"3.Deactivate or activate the desired confir‐
mation signals.▷"Acoustic sig. lock/unlock"▷"Flash when lock/unlock"
Automatic locking
The setting is stored for the remote control
currently in use.
1."Settings"2."Doors/key"3.Select the desired function:▷"Lock if no door opened"
The vehicle locks automatically after a
short period of time if a door is not
opened.▷"Lock after start driving"
The vehicle locks automatically after
you drive away.
Retrieving the seat and mirror settings
The driver's seat and exterior mirror positions
used last are stored for the remote control cur‐
rently in use.
When the vehicle is unlocked, these positions
are automatically retrieved if this function was
activated.
Pinch hazard when moving back the seat
If this function is used, first make sure
that the footwell behind the driver's seat is
empty. Otherwise, people can be injured or ob‐
jects damaged when the seat is moved back.◀
The adjustment procedure is interrupted:
Seite 42ControlsOpening and closing42
Online Edition for Part no. 01 40 2 911 041 - VI/13
Page 54 of 208
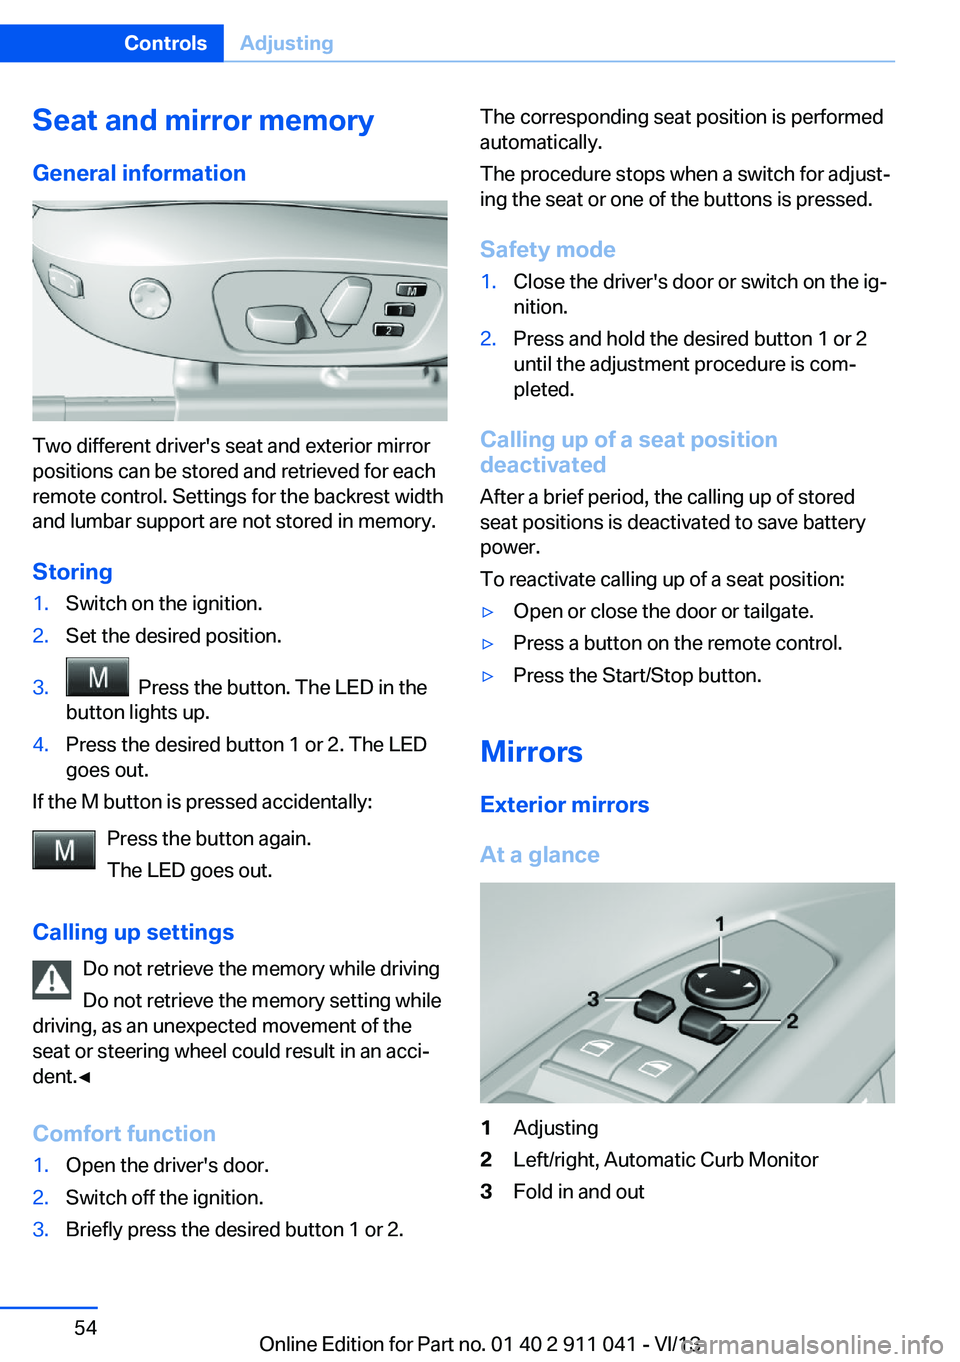
Seat and mirror memory
General information
Two different driver's seat and exterior mirror
positions can be stored and retrieved for each
remote control. Settings for the backrest width
and lumbar support are not stored in memory.
Storing
1.Switch on the ignition.2.Set the desired position.3. Press the button. The LED in the
button lights up.4.Press the desired button 1 or 2. The LED
goes out.
If the M button is pressed accidentally:
Press the button again.
The LED goes out.
Calling up settings Do not retrieve the memory while driving
Do not retrieve the memory setting while
driving, as an unexpected movement of the
seat or steering wheel could result in an acci‐
dent.◀
Comfort function
1.Open the driver's door.2.Switch off the ignition.3.Briefly press the desired button 1 or 2.The corresponding seat position is performed
automatically.
The procedure stops when a switch for adjust‐
ing the seat or one of the buttons is pressed.
Safety mode1.Close the driver's door or switch on the ig‐
nition.2.Press and hold the desired button 1 or 2
until the adjustment procedure is com‐
pleted.
Calling up of a seat position
deactivated
After a brief period, the calling up of stored
seat positions is deactivated to save battery
power.
To reactivate calling up of a seat position:
▷Open or close the door or tailgate.▷Press a button on the remote control.▷Press the Start/Stop button.
Mirrors
Exterior mirrors
At a glance
1Adjusting2Left/right, Automatic Curb Monitor3Fold in and outSeite 54ControlsAdjusting54
Online Edition for Part no. 01 40 2 911 041 - VI/13
Page 110 of 208
SPORT+Consistently sporty control of the shock ab‐
sorbers for greater driving agility when driving
with limited driving stabilization.
COMFORT/ECO PRO
Balanced control of the vehicle.
Variable sport steering The variable sport steering increases the
steering angle of the front wheels at large
steering wheel angles, e.g., in tight curves or
when parking. Steering becomes more direct.
It also varies the force required to turn the
wheels in accordance with the vehicle speed.
This results in a sporty steering response. In
addition, it becomes easier to steer during
parking and maneuvering.
Driving Dynamics Control
The concept The Driving Dynamics Control can be used to
adjust the certain characteristics of the vehicle.
Various programs can be selected for this pur‐ pose. The Driving Dynamics Control and the
DSC OFF buttons can each be used to activate
a program.
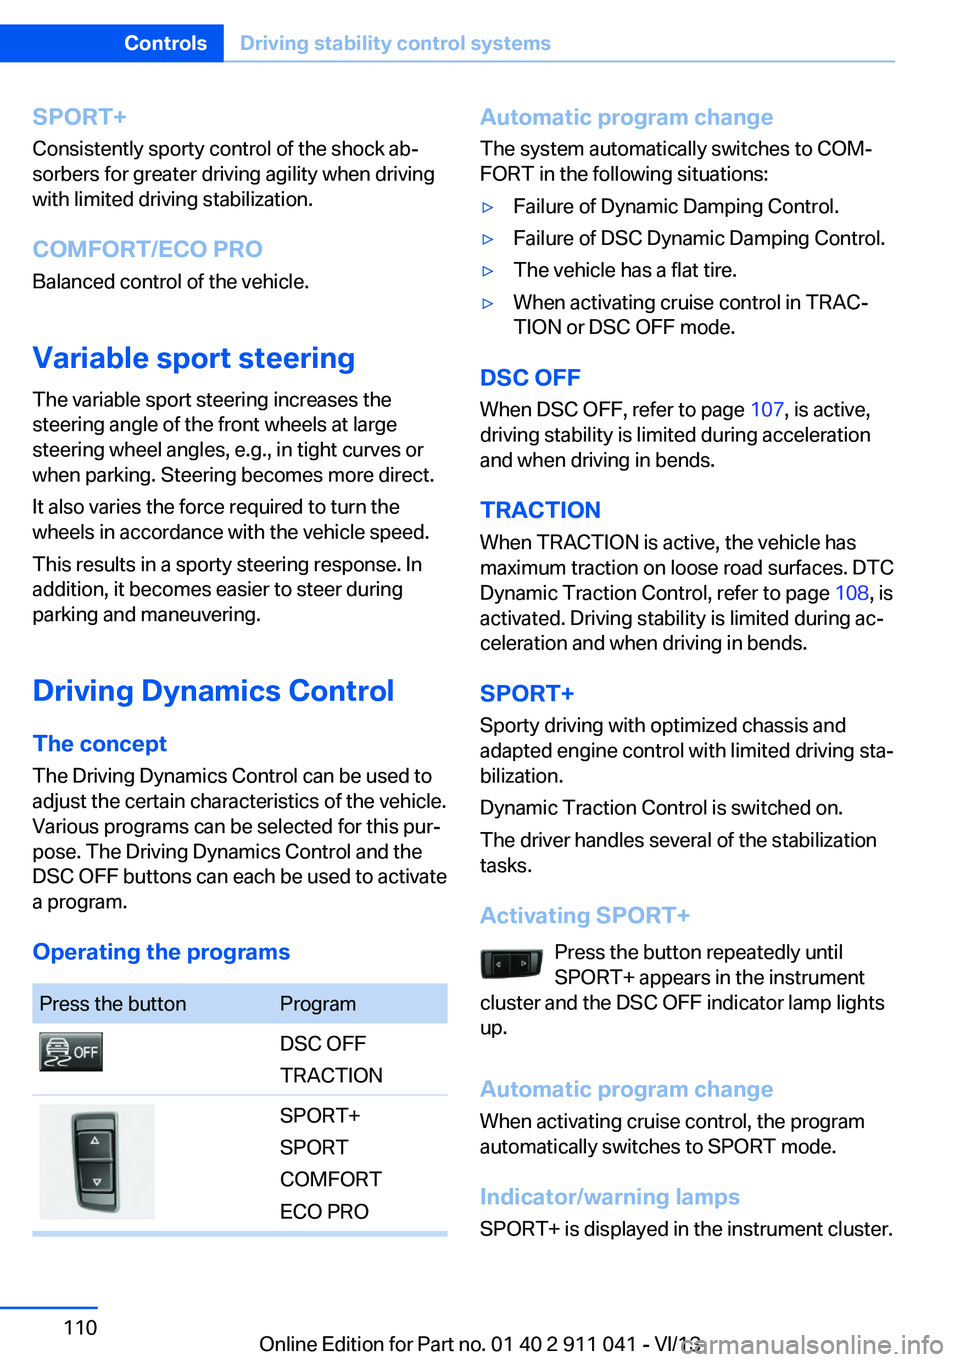
Operating the programsPress the buttonProgramDSC OFF
TRACTIONSPORT+
SPORT
COMFORT
ECO PROAutomatic program change
The system automatically switches to COM‐
FORT in the following situations:▷Failure of Dynamic Damping Control.▷Failure of DSC Dynamic Damping Control.▷The vehicle has a flat tire.▷When activating cruise control in TRAC‐
TION or DSC OFF mode.
DSC OFF
When DSC OFF, refer to page 107, is active,
driving stability is limited during acceleration
and when driving in bends.
TRACTION When TRACTION is active, the vehicle has
maximum traction on loose road surfaces. DTC
Dynamic Traction Control, refer to page 108, is
activated. Driving stability is limited during ac‐
celeration and when driving in bends.
SPORT+
Sporty driving with optimized chassis and
adapted engine control with limited driving sta‐
bilization.
Dynamic Traction Control is switched on.
The driver handles several of the stabilization
tasks.
Activating SPORT+ Press the button repeatedly until
SPORT+ appears in the instrument
cluster and the DSC OFF indicator lamp lights
up.
Automatic program change When activating cruise control, the program
automatically switches to SPORT mode.
Indicator/warning lamps
SPORT+ is displayed in the instrument cluster.
Seite 110ControlsDriving stability control systems110
Online Edition for Part no. 01 40 2 911 041 - VI/13
Page 124 of 208

Climate controlVehicle equipment
All standard, country-specific and optional
equipment that is offered in the model series is
described in this chapter. Therefore, equip‐ment is also described that is not available in a
vehicle, e. g., because of the selected optional
equipment or country variant. This also applies
for safety-related functions and systems.
Automatic climate control
1Vent settings2Air flow3AUTO program4Interior temperature sensor — always keep
clear5Recirculated-air mode6Temperature7Defrosting windows and removing conden‐
sation8Cooling function9Rear window defroster10Seat heating 51Climate control functions in detail
Manual air distribution
Press the buttons repeatedly to select a pro‐
gram:▷Windows.▷Upper body region.▷Footwell.Seite 124ControlsClimate control124
Online Edition for Part no. 01 40 2 911 041 - VI/13
Page 127 of 208

8Automatic recirculated-air control/recircu‐
lated-air mode9ALL program10Temperature, right11Defrosting windows and removing conden‐
sation12Cooling function13Rear window defroster14Seat heating 51Climate control functions in detail
Manual air distribution
Press the buttons repeatedly to select a pro‐
gram:▷Windows.▷Upper body region.▷Footwell.
The programs can be combined as necessary.
Temperature Turn the wheel to set the de‐
sired temperature.
The automatic climate control reaches this
temperature as quickly as possible, if neces‐
sary by increasing the cooling or heating out‐
put, and then keeps it constant.
Avoid rapidly switching between different tem‐
perature settings. Otherwise, the automatic cli‐
mate control will not have sufficient time to ad‐
just the set temperature.
Maximum cooling Press the button.
The system is set to the lowest tem‐
perature, maximum air flow and air circulation
mode.
Air flows out of the vents for the upper body
region. The vents need to be open for this.
The air is cooled fastest when the engine is
running.
The air volume can be adjusted when the pro‐
gram is active.
AUTO program Press the button.
Air volume, air distribution, and tem‐
perature are controlled automatically.
Depending on the selected temperature, the
AUTO intensity, and outside influences, the air
is directed to the windshield, side windows,
upper body, and into the footwell.
The cooling function, refer to page 128, is
switched on automatically with the AUTO pro‐
gram.
At the same time, a condensation sensor con‐
trols the program so as to prevent window
condensation as much as possible.
To switch off the program: press the button
again or manually adjust the air distribution.
Intensity of the AUTO program
With the AUTO program switched on, auto‐
matic control of the air flow and air distribution
can be adjusted.
Press the left or right side of the but‐
ton: decrease or increase the inten‐
sity.
The selected intensity is shown on the display
of the automatic climate control.Seite 127Climate controlControls127
Online Edition for Part no. 01 40 2 911 041 - VI/13