2014 BMW X3 XDRIVE 28I engine
[x] Cancel search: enginePage 108 of 208

Indicator/warning lamps
When DSC is deactivated, DSC OFF is dis‐
played in the instrument cluster.
The indicator lamp lights up: DSC is
deactivated.
DTC Dynamic Traction
Control
The concept The DTC system is a version of the DSC in
which forward momentum is optimized.
The system ensures maximum forward mo‐
mentum on special road conditions, e.g., unp‐
lowed snowy roads, but driving stability is lim‐
ited.
It is therefore necessary to drive with appropri‐
ate caution.
You may find it useful to briefly activate DTC
under the following special circumstances:▷When driving in slush or on uncleared,
snow-covered roads.▷When rocking the vehicle or driving off in
deep snow or on loose surfaces.▷When driving with snow chains.
Deactivating/activating DTC Dynamic
Traction Control
Activating the Dynamic Traction Control DTC
provides maximum traction on loose ground.
Driving stability is limited during acceleration
and when driving in bends.
Activating DTC Press the button.
TRACTION is displayed in the instru‐
ment cluster and the indicator lamp for DSC
OFF lights up.
Deactivating DTC
Press the button again.
TRACTION and the DSC OFF indica‐
tor lamp go out.
Performance Control Performance Control enhances the agility of
your vehicle.
To enhance performance during sporty driving,
the rear wheel on the inside of the curve is
braked while the resulting braking effect is
largely compensated by engine intervention.
xDrive
xDrive is the all-wheel-drive system of your ve‐
hicle. Concerted action by the xDrive and DSC
further optimize traction and driving dynamics. The xDrive all-wheel-drive system variably dis‐
tributes the drive forces to the front and rear
axles as demanded by the driving situation and
road surface.
HDC Hill Descent Control
The concept HDC is a downhill driving assistant that auto‐
matically controls vehicle speed on steep
downhill gradients. Without applying the
brakes, the vehicle moves at slightly more than
walking speed.
Hill Descent Control can be activated at
speeds below approx. 22 mph/35 km/h. When
driving downhill, the vehicle reduces its speed
to approx. walking speed and then keeps its
speed constant.
As long as there is active braking, the system
is on standby. The system does not brake the
vehicle during this time.Seite 108ControlsDriving stability control systems108
Online Edition for Part no. 01 40 2 911 041 - VI/13
Page 110 of 208

SPORT+Consistently sporty control of the shock ab‐
sorbers for greater driving agility when driving
with limited driving stabilization.
COMFORT/ECO PRO
Balanced control of the vehicle.
Variable sport steering The variable sport steering increases the
steering angle of the front wheels at large
steering wheel angles, e.g., in tight curves or
when parking. Steering becomes more direct.
It also varies the force required to turn the
wheels in accordance with the vehicle speed.
This results in a sporty steering response. In
addition, it becomes easier to steer during
parking and maneuvering.
Driving Dynamics Control
The concept The Driving Dynamics Control can be used to
adjust the certain characteristics of the vehicle.
Various programs can be selected for this pur‐ pose. The Driving Dynamics Control and the
DSC OFF buttons can each be used to activate
a program.
Operating the programsPress the buttonProgramDSC OFF
TRACTIONSPORT+
SPORT
COMFORT
ECO PROAutomatic program change
The system automatically switches to COM‐
FORT in the following situations:▷Failure of Dynamic Damping Control.▷Failure of DSC Dynamic Damping Control.▷The vehicle has a flat tire.▷When activating cruise control in TRAC‐
TION or DSC OFF mode.
DSC OFF
When DSC OFF, refer to page 107, is active,
driving stability is limited during acceleration
and when driving in bends.
TRACTION When TRACTION is active, the vehicle has
maximum traction on loose road surfaces. DTC
Dynamic Traction Control, refer to page 108, is
activated. Driving stability is limited during ac‐
celeration and when driving in bends.
SPORT+
Sporty driving with optimized chassis and
adapted engine control with limited driving sta‐
bilization.
Dynamic Traction Control is switched on.
The driver handles several of the stabilization
tasks.
Activating SPORT+ Press the button repeatedly until
SPORT+ appears in the instrument
cluster and the DSC OFF indicator lamp lights
up.
Automatic program change When activating cruise control, the program
automatically switches to SPORT mode.
Indicator/warning lamps
SPORT+ is displayed in the instrument cluster.
Seite 110ControlsDriving stability control systems110
Online Edition for Part no. 01 40 2 911 041 - VI/13
Page 111 of 208

The DSC OFF indicator lamp lights up:
Dynamic Traction Control is activated.
SPORT Consistently sporty tuning of the suspension
and engine control for greater driving agility
with maximum driving stabilization.
The program can be configured to individual
specifications. The configuration is stored for
the remote control currently in use.
Activating SPORT Press button repeatedly until SPORT
is displayed in the instrument cluster.
Configuring SPORT When the display is activated on the ControlDisplay, refer to page 112, the SPORT driving
mode can be set to individual specifications.▷Activating SPORT.▷"Configure SPORT"▷Configuring the SPORT driving mode.
SPORT can also be configured before it is acti‐
vated:
1."Settings"2."SPORT mode"3.Configure driving mode.
This configuration is retrieved when the
SPORT driving mode is activated.
COMFORT For a balanced tuning with maximum driving
stabilization.
Activating COMFORT Press button repeatedly until COM‐
FORT is displayed in the instrument
cluster.
In certain situations, the system automatically
changes to the NORMAL program, automatic
program change, refer to page 110.
ECO PRO ECO PRO, refer to page 151, provides consis‐
tent tuning to minimize fuel consumption for
maximum range with maximum driving stabili‐
zation.
Comfort functions and the engine controller
are adjusted.
The program can be configured to individual
specifications.
Activating ECO PRO Press button repeatedly until ECO
PRO is displayed in the instrument
cluster.
Configuring ECO PRO1.Activate ECO PRO.2."Configure ECO PRO"
Make the desired settings.
Displays
Program selection Pressing the button displays a
list of the selectable programs.
Selected program The selected program is dis‐
played in the instrument cluster.
Seite 111Driving stability control systemsControls111
Online Edition for Part no. 01 40 2 911 041 - VI/13
Page 116 of 208

Switching on/off
Switching on automatically Select transmission position R with the engine
running.
Automatic deactivation during forward travel
The system switches off when a certain driving
distance or speed is exceeded.
Switch the system back on if necessary.
Switching on/off manually Press the button.▷On: the LED lights up.▷Off: the LED goes out.
In addition to the PDC Park Distance Control,
the rearview camera, refer to page 117, can be
switched on.
Switching on the rearview camera viathe iDrive
With PDC activated or Top View switched on:
"Rear view camera"
The rearview camera image is displayed. The
setting is stored for the remote control cur‐
rently in use.
Display
Signal tones When approaching an object, an intermittent
tone is sounded that indicates the position of
the object. For example, if an object is de‐
tected to the left rear of the vehicle, a signal
tone sounds from the left rear speaker.
The shorter the distance to the object be‐
comes, the shorter the intervals.
If the distance to a detected object is less than
approx. 12 in/30 cm, a continuous tone is
sounded.
If objects are located both in front of and be‐
hind the vehicle, an alternating continuous sig‐
nal is sounded.
The intermittent tone is interrupted after ap‐
prox. 3 seconds:▷If the vehicle stops in front of an object that
is detected by only one of the corner sen‐
sors.▷If moving parallel to a wall.
The signal tone is switched off:
▷When the vehicle moves away from an ob‐
ject by more than approx. 4 in/10 cm.▷When transmission position P is engaged.
Volume
The volume of the PDC signal can be adjusted,
refer to user's manual for Navigation, Enter‐
tainment, Communication.
The setting is stored for the remote control
currently in use.
Visual warning
The approach of the vehicle to an object can
be shown on the Control Display. Objects that
are farther away are displayed on the Control
Display before a signal tone sounds.
A display appears as soon as Park Distance
Control (PDC) is activated.
The range of the sensors is represented in the
colors red, green and yellow.
If the rearview camera image was selected last,
it again appears on the display. To switch to
PDC:
1. "Rear view camera" Select the symbol
on the Control Display.2.Press the controller.
The setting is stored for the remote control
currently in use.
Seite 116ControlsDriving comfort116
Online Edition for Part no. 01 40 2 911 041 - VI/13
Page 118 of 208

Camera
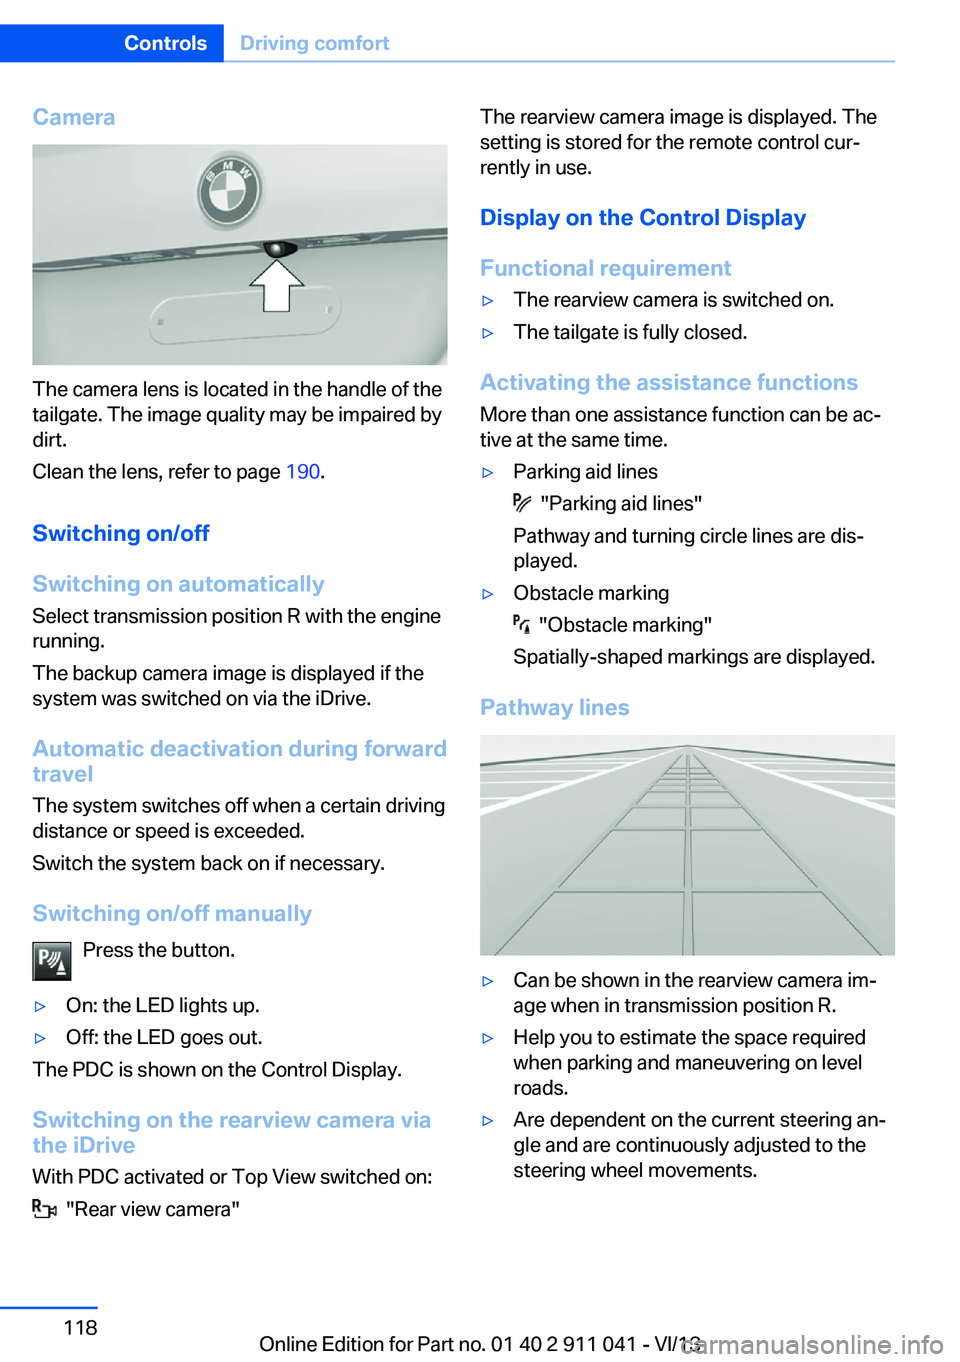
The camera lens is located in the handle of the
tailgate. The image quality may be impaired by
dirt.
Clean the lens, refer to page 190.
Switching on/off
Switching on automatically Select transmission position R with the engine
running.
The backup camera image is displayed if the
system was switched on via the iDrive.
Automatic deactivation during forward
travel
The system switches off when a certain driving
distance or speed is exceeded.
Switch the system back on if necessary.
Switching on/off manually Press the button.
▷On: the LED lights up.▷Off: the LED goes out.
The PDC is shown on the Control Display.
Switching on the rearview camera via
the iDrive
With PDC activated or Top View switched on:
"Rear view camera"
The rearview camera image is displayed. The
setting is stored for the remote control cur‐
rently in use.
Display on the Control Display
Functional requirement▷The rearview camera is switched on.▷The tailgate is fully closed.
Activating the assistance functions
More than one assistance function can be ac‐
tive at the same time.
▷Parking aid lines
"Parking aid lines"
Pathway and turning circle lines are dis‐
played.
▷Obstacle marking
"Obstacle marking"
Spatially-shaped markings are displayed.
Pathway lines
▷Can be shown in the rearview camera im‐
age when in transmission position R.▷Help you to estimate the space required
when parking and maneuvering on level
roads.▷Are dependent on the current steering an‐
gle and are continuously adjusted to the
steering wheel movements.Seite 118ControlsDriving comfort118
Online Edition for Part no. 01 40 2 911 041 - VI/13
Page 120 of 208

System limits
Detection of objects
High, protruding objects such as ledges may
not be detected by the rearview camera.
Top View The concept
Top View assists you in parking and maneu‐
vering. The area around the doors and the road
area around the vehicle are shown on the Con‐
trol Display for this purpose.
General information
The image is captured by two cameras
integrated in the exterior mirrors and by the
backup camera.
The range is approx. 7 ft/2 m to the side and
rear.
In this way, obstacles up to the height of the
exterior mirrors are detected early.
Notes Check the traffic situation as well
Check the traffic situation around the ve‐
hicle with your own eyes. Otherwise, an acci‐
dent could result from road users or objects lo‐
cated outside the picture area of the
cameras.◀At a glance
Button in the vehicle
Top View
Cameras
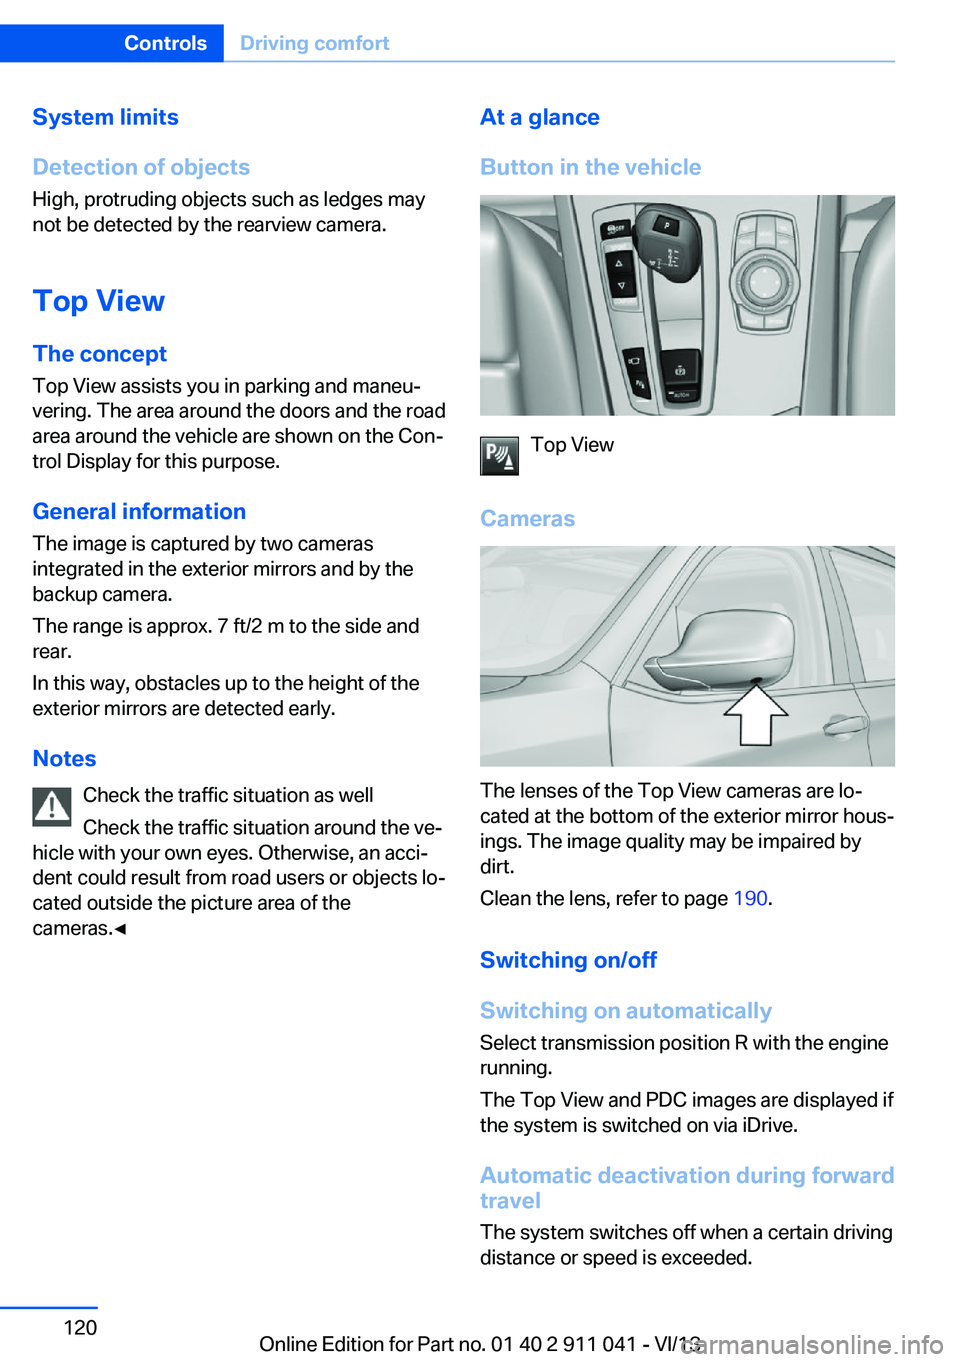
The lenses of the Top View cameras are lo‐
cated at the bottom of the exterior mirror hous‐
ings. The image quality may be impaired by
dirt.
Clean the lens, refer to page 190.
Switching on/off
Switching on automatically Select transmission position R with the engine
running.
The Top View and PDC images are displayed if
the system is switched on via iDrive.
Automatic deactivation during forward
travel
The system switches off when a certain driving
distance or speed is exceeded.
Seite 120ControlsDriving comfort120
Online Edition for Part no. 01 40 2 911 041 - VI/13
Page 125 of 208

The programs can be combined as necessary.
Air flow, manual Turn the wheel to set the de‐
sired air volume.
The higher the rate, the more ef‐
fective the heating or cooling
will be.
The air flow of the automatic climate control
may be reduced automatically to save battery
power.
AUTO program Press the button.
Air flow, air distribution, and tempera‐
ture are controlled automatically.
Depending on the selected temperature and
outside influences, the air is directed to the
windshield, side windows, upper body, and
into the footwell.
The cooling function, refer to page 125, is
switched on automatically with the AUTO pro‐
gram.
Recirculated-air mode You can respond to unpleasant odors or pollu‐
tants in the immediate environment by tempo‐
rarily suspending the supply of outside air. The
system then recirculates the air currently
within the vehicle.
Press the button repeatedly to select
an operating mode:▷LED off: outside air flows in continuously.▷LED on, recirculated-air mode: the supply
of outside air into the vehicle is perma‐
nently blocked.
If the windows fog over, switch off recircu‐
lated-air mode and increase the air volume, if
necessary.
Continuous recirculated-air mode
The recirculated-air mode should not be
used for an extended period of time, as the air
quality inside the vehicle deteriorates stead‐
ily.◀
Temperature Turn the wheel to set the de‐sired temperature.
The automatic climate control reaches this
temperature as quickly as possible, if neces‐
sary by increasing the cooling or heating out‐
put, and then keeps it constant.
Avoid rapidly switching between different tem‐
perature settings. Otherwise, the automatic cli‐
mate control will not have sufficient time to ad‐
just the set temperature.
Defrosting windows and removing
condensation
Press the button.
Ice and condensation are quickly re‐
moved from the windshield and the front side
windows.
The air volume can be adjusted when the pro‐
gram is active.
If the windows fog over, also switch on the
cooling function.
Cooling functionThe passenger compartment can only be
cooled with the engine running.
Press the button.
The air is cooled and dehumidified
and, depending on the temperature setting,
warmed again.
Depending on the weather, the windshield may
fog up briefly when the engine is started.Seite 125Climate controlControls125
Online Edition for Part no. 01 40 2 911 041 - VI/13
Page 127 of 208

8Automatic recirculated-air control/recircu‐
lated-air mode9ALL program10Temperature, right11Defrosting windows and removing conden‐
sation12Cooling function13Rear window defroster14Seat heating 51Climate control functions in detail
Manual air distribution
Press the buttons repeatedly to select a pro‐
gram:▷Windows.▷Upper body region.▷Footwell.
The programs can be combined as necessary.
Temperature Turn the wheel to set the de‐
sired temperature.
The automatic climate control reaches this
temperature as quickly as possible, if neces‐
sary by increasing the cooling or heating out‐
put, and then keeps it constant.
Avoid rapidly switching between different tem‐
perature settings. Otherwise, the automatic cli‐
mate control will not have sufficient time to ad‐
just the set temperature.
Maximum cooling Press the button.
The system is set to the lowest tem‐
perature, maximum air flow and air circulation
mode.
Air flows out of the vents for the upper body
region. The vents need to be open for this.
The air is cooled fastest when the engine is
running.
The air volume can be adjusted when the pro‐
gram is active.
AUTO program Press the button.
Air volume, air distribution, and tem‐
perature are controlled automatically.
Depending on the selected temperature, the
AUTO intensity, and outside influences, the air
is directed to the windshield, side windows,
upper body, and into the footwell.
The cooling function, refer to page 128, is
switched on automatically with the AUTO pro‐
gram.
At the same time, a condensation sensor con‐
trols the program so as to prevent window
condensation as much as possible.
To switch off the program: press the button
again or manually adjust the air distribution.
Intensity of the AUTO program
With the AUTO program switched on, auto‐
matic control of the air flow and air distribution
can be adjusted.
Press the left or right side of the but‐
ton: decrease or increase the inten‐
sity.
The selected intensity is shown on the display
of the automatic climate control.Seite 127Climate controlControls127
Online Edition for Part no. 01 40 2 911 041 - VI/13