2014 BMW X1 SDRIVE28I brake
[x] Cancel search: brakePage 132 of 295
Ensure that the floor mats are securely fas‐
tened again when they are returned after being
removed, such as for cleaning.◀
Driving in wet conditions
When roads are wet or there is heavy rain,
briefly exert gentle pressure on the brake pedal
every few miles.
Ensure that this action does not endanger
other road users.
The heat generated in this process helps dry
the brake discs and pads.
In this way braking efficiency will be available
when you need it.
Hills
Drive long or steep downhill gradients in the
gear in which the least braking is required.
Otherwise, the brake system may overheat, re‐
sulting in a reduction in the brake system effi‐
ciency.
You can increase the engine's braking effect
by shifting down, going all the way to first gear,
if necessary.
Downshifting in manual mode of the automatic
transmission, refer to page 66.
Avoid load on the brakes
Avoid placing excessive load on the
brake system. Light but consistent brake pres‐
sure can lead to high temperatures, brake wear
and possibly even brake failure.◀
Do not drive in neutral
Do not drive in neutral or with the engine
stopped, as doing so disables engine braking.
In addition, steering and brake assist is un‐
available with the engine stopped.◀
Brake disc corrosion
Corrosion on the brake discs and contamina‐
tion on the brake pads are furthered by:▷Low mileage.▷Extended periods when the vehicle is not
used at all.▷Infrequent use of the brakes.
Corrosion occurs when the minimum pressure
that must be exerted by the pads during brake
applications to clean the discs is not reached.
Should corrosion form on the brake discs, the
brakes will tend to respond with a pulsating ef‐
fect that generally cannot be corrected.
Condensation under the parked
vehicle
When using the automatic climate control,
condensation water develops that exits under‐
neath the vehicle.
Therefore, traces of condensed water under
the vehicle are normal.
Driving on poor roads BMW X1 combines an all-wheel drive system
with the advantages of a normal passenger car.
Do not drive on unpaved terrain
Do not drive on unpaved terrain, as oth‐
erwise the vehicle may be damaged.◀
For your own safety and the safety of passen‐
gers and the vehicle, adhere to the following
points:
▷Familiarize yourself with the vehicle before
driving; never take risks.▷Adjust speeds according to road condi‐
tions. The steeper and rougher the road
surface is, the lower the speed should be.▷When driving on steep uphill and downhill
grades: the engine oil and coolant should
be filled nearly to the MAX mark.▷Use Hill Descent Control HDC, refer to
page 99, on steep downhill grades.▷Watch for stones, holes, and other obsta‐
cles and drive around these where possi‐
ble.Seite 132Driving tipsThings to remember when driving132
Online Edition for Part no. 01 40 2 911 269 - VI/13
Page 133 of 295
▷On bumps and rough roads, avoid contact
between the vehicle body and the ground.
The maximum ground clearance is 8 in‐
ches/20 cm and may vary with the loaded
cargo.▷When driving through water, do not exceed
the maximum water height of 12 in‐
ches/30 cm and drive at walking speed.▷After driving through water, press on the
brake pedal several times at low speeds to
dry the brakes.▷Depending on the prevailing terrain, acti‐
vate Dynamic Traction Control DTC, refer
to page 98, briefly.▷When the wheels spin, accelerate to ena‐
ble the driving stability control systems to
distribute the drive force to the individual
wheels.
After driving on poor roads
Adhere to the following points to ensure vehi‐
cle safety:
▷Remove excessive accumulations of dirt
and mud from the vehicle body.▷Clear mud, snow, ice, etc., from the wheels
and tires and check for damage.Seite 133Things to remember when drivingDriving tips133
Online Edition for Part no. 01 40 2 911 269 - VI/13
Page 139 of 295
ECO PRO bonus rangeThe vehicle's cruising range can be extended
by adjusting your driving style.
This extended range can be displayed as a bo‐
nus range in the instrument cluster.
The bonus range is indicated in the range dis‐
play.
The bonus range is automatically reset after
refueling.
Driving style
ECO PRO displays the efficiency of the current
driving style in the instrument cluster.▷ECO PRO not highlighted: efficient driving
style.▷ECO PRO highlighted: adjust your driving
style, for example by accelerating less
quickly.
To drive efficiently:
▷Accelerate less quickly.▷Brake in advance.▷Reduce speed to the ECO PRO speed of
80 mph/130 km/h.▷Automatic transmission: shift from S to D,
or avoid shifting manually.
ECO PRO tip
Situation-related tips that indicate measures to
achieve optimum fuel economy can be dis‐
played.
A reminder is displayed when the ECO PRO
speed of 80 mph/130 km/h is exceeded.
Displaying the ECO PRO tip
1."Vehicle Info"2."ECO PRO Tips"
ECO PRO climate control
Climate control is adjusted for optimum fuel
economy.
To achieve better fuel economy, the actual
temperature may vary slightly from the set
temperature and the passenger compartment
may be heated or cooled more slowly.
Deactivating ECO PRO Press the button again.
The LED above the button and the
ECO PRO display in the instrument cluster go
out.Seite 139Saving fuelDriving tips139
Online Edition for Part no. 01 40 2 911 269 - VI/13
Page 176 of 295
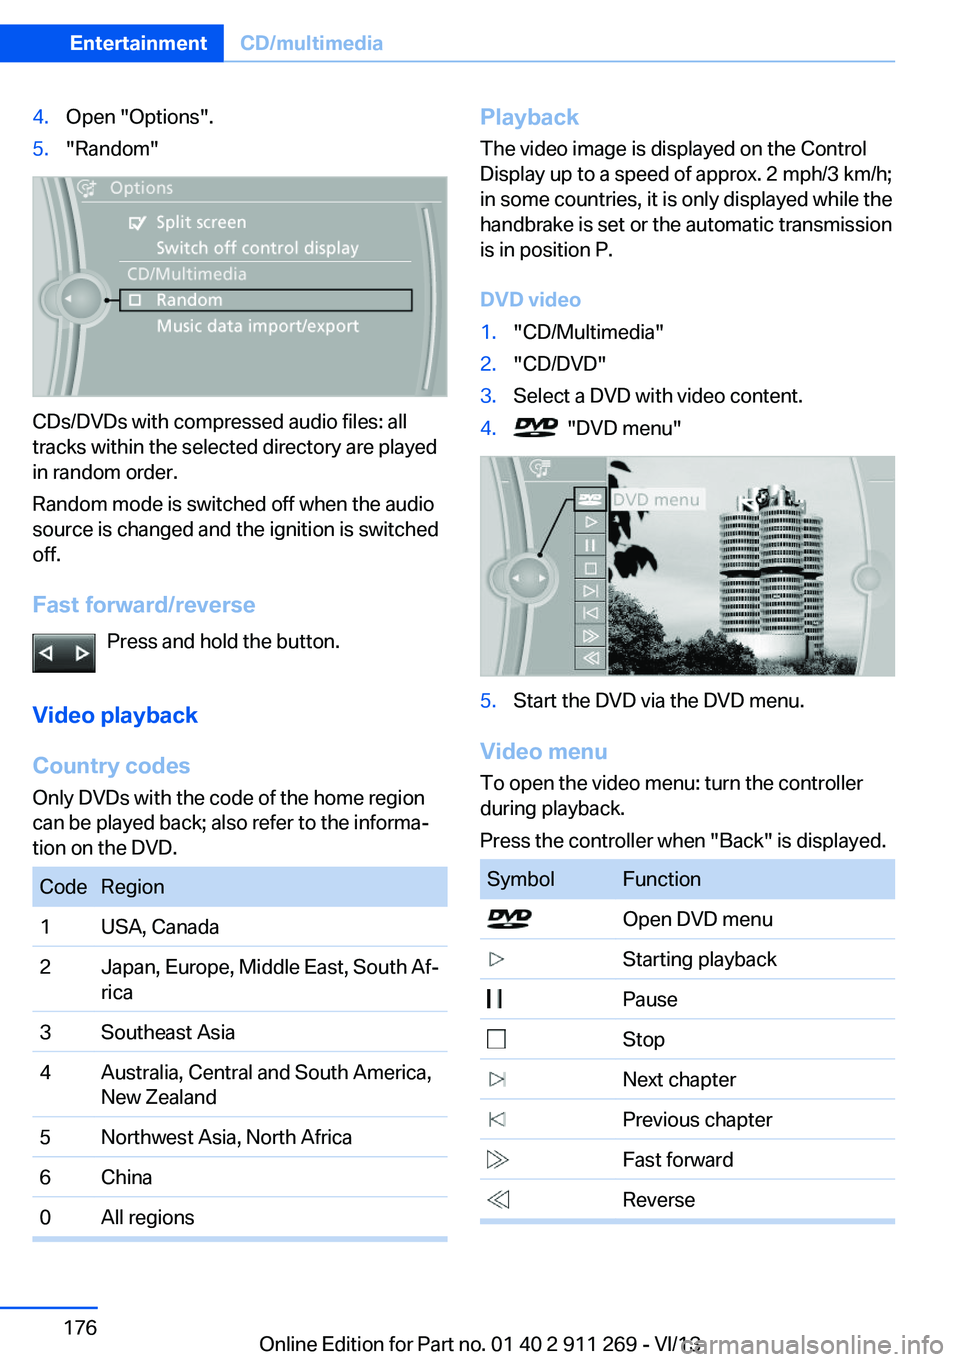
4.Open "Options".5."Random"
CDs/DVDs with compressed audio files: all
tracks within the selected directory are played
in random order.
Random mode is switched off when the audio
source is changed and the ignition is switched
off.
Fast forward/reverse Press and hold the button.
Video playback
Country codes
Only DVDs with the code of the home region
can be played back; also refer to the informa‐
tion on the DVD.
CodeRegion1USA, Canada2Japan, Europe, Middle East, South Af‐
rica3Southeast Asia4Australia, Central and South America,
New Zealand5Northwest Asia, North Africa6China0All regionsPlayback
The video image is displayed on the Control
Display up to a speed of approx. 2 mph/3 km/h;
in some countries, it is only displayed while the
handbrake is set or the automatic transmission
is in position P.
DVD video1."CD/Multimedia"2."CD/DVD"3.Select a DVD with video content.4. "DVD menu"5.Start the DVD via the DVD menu.
Video menu
To open the video menu: turn the controller
during playback.
Press the controller when "Back" is displayed.
SymbolFunction Open DVD menu Starting playback Pause Stop Next chapter Previous chapter Fast forward ReverseSeite 176EntertainmentCD/multimedia176
Online Edition for Part no. 01 40 2 911 269 - VI/13
Page 247 of 295

MaintenanceVehicle equipment
This chapter describes all series equipment as
well as country-specific and special equipment
offered for this model series.Therefore, it also
describes equipment that may not be found in
your vehicle, for instance due to the selected
special equipment or the country version. This
also applies to safety-related functions and
systems.
BMW Maintenance System
The maintenance system provides information
on required maintenance measures and thus
provides support in maintaining road safety
and the operational reliability of the vehicle.
Condition Based Service
CBS
Sensors and special algorithms take into ac‐
count the driving conditions of your vehicle.
Based on this, Condition Based Service deter‐
mines the maintenance requirements.
The system makes it possible to adapt the
amount of maintenance you need to your user
profile.
Details on the service requirements, refer to
page 78, can be displayed on the Control Dis‐
play.
On the Control Display, the remaining distan‐
ces and times for selected maintenance re‐
quirements and any legally required deadlines
can be displayed individually, refer to page 78.
Service data in the remote control Information on the required maintenance is
continuously stored in the remote control. Your service center will read out this data and
suggest the right array of service procedures
for your vehicle.
Therefore, hand your service specialist the re‐
mote control that you used most recently.
Setting the correct date
Make sure the date is set correctly, refer
to page 76; otherwise, the effectiveness of
CBS Condition Based Service is not ensured.◀
Storage periods Storage periods during which the vehicle bat‐
tery was disconnected are not taken into ac‐
count.
If this occurs, have a service center update the
time-dependent maintenance procedures,
such as checking brake fluid and, if necessary,
changing the engine oil and the microfilter/
activated-charcoal filter.
Service and Warranty
Information Booklet for US
models and Warranty and
Service Guide Booklet for Canadian models
Please consult your Service and Warranty In‐
formation Booklet for US models and Warranty
and Service Guide Booklet for Canadian mod‐
els for additional information on service re‐
quirements.Seite 247MaintenanceMobility247
Online Edition for Part no. 01 40 2 911 269 - VI/13
Page 253 of 295
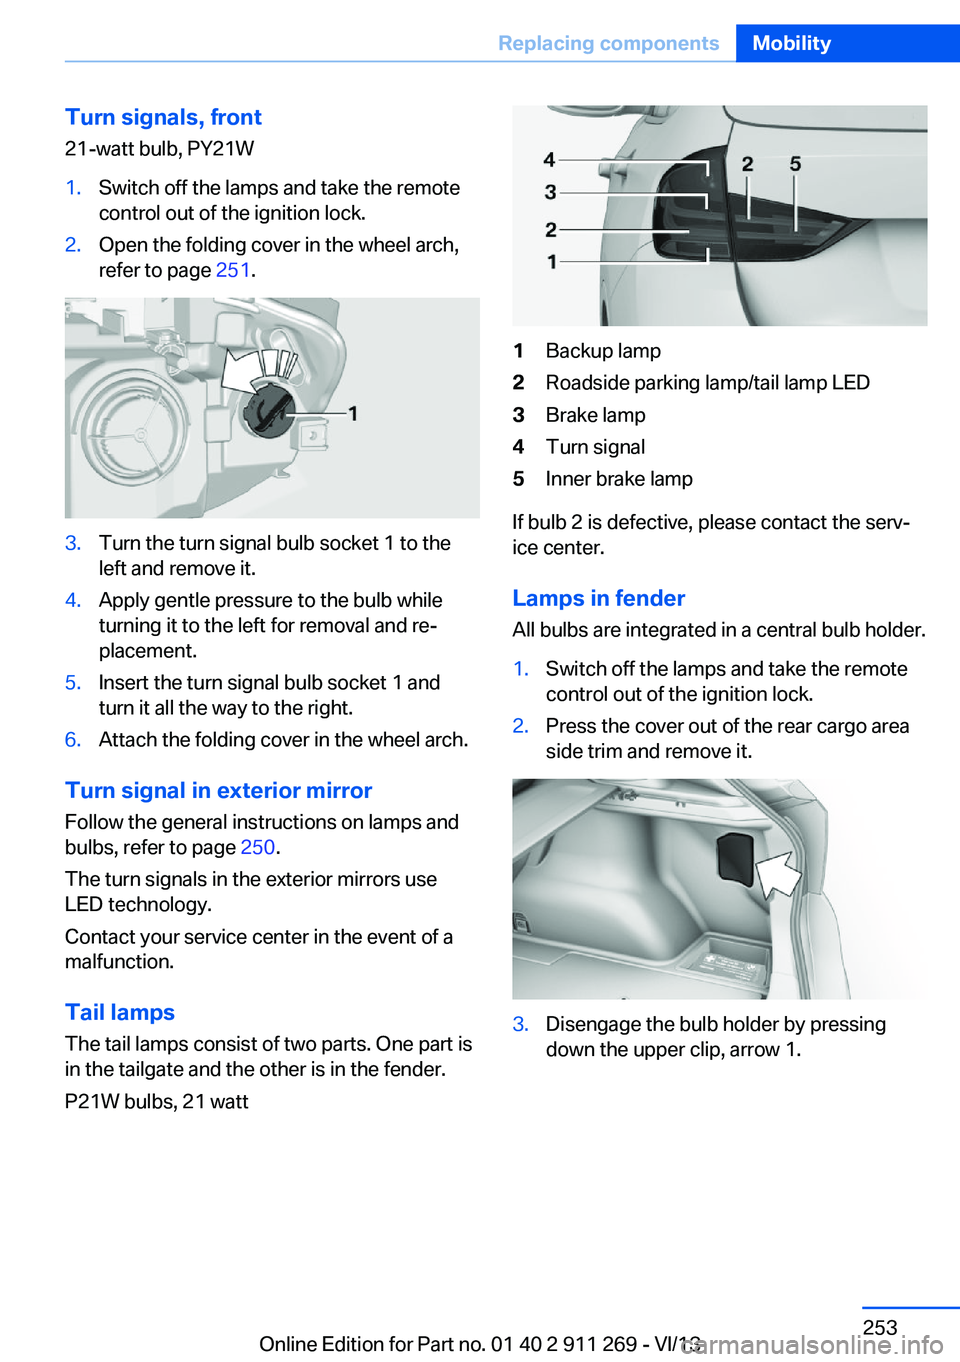
Turn signals, front21-watt bulb, PY21W1.Switch off the lamps and take the remote
control out of the ignition lock.2.Open the folding cover in the wheel arch,
refer to page 251.3.Turn the turn signal bulb socket 1 to the
left and remove it.4.Apply gentle pressure to the bulb while
turning it to the left for removal and re‐
placement.5.Insert the turn signal bulb socket 1 and
turn it all the way to the right.6.Attach the folding cover in the wheel arch.
Turn signal in exterior mirror
Follow the general instructions on lamps and
bulbs, refer to page 250.
The turn signals in the exterior mirrors use
LED technology.
Contact your service center in the event of a
malfunction.
Tail lamps
The tail lamps consist of two parts. One part is
in the tailgate and the other is in the fender.
P21W bulbs, 21 watt
1Backup lamp2Roadside parking lamp/tail lamp LED3Brake lamp4Turn signal5Inner brake lamp
If bulb 2 is defective, please contact the serv‐
ice center.
Lamps in fender
All bulbs are integrated in a central bulb holder.
1.Switch off the lamps and take the remote
control out of the ignition lock.2.Press the cover out of the rear cargo area
side trim and remove it.3.Disengage the bulb holder by pressing
down the upper clip, arrow 1.Seite 253Replacing componentsMobility253
Online Edition for Part no. 01 40 2 911 269 - VI/13
Page 254 of 295
On the right side, take the button with the
fuel pump symbol out of the holder toward
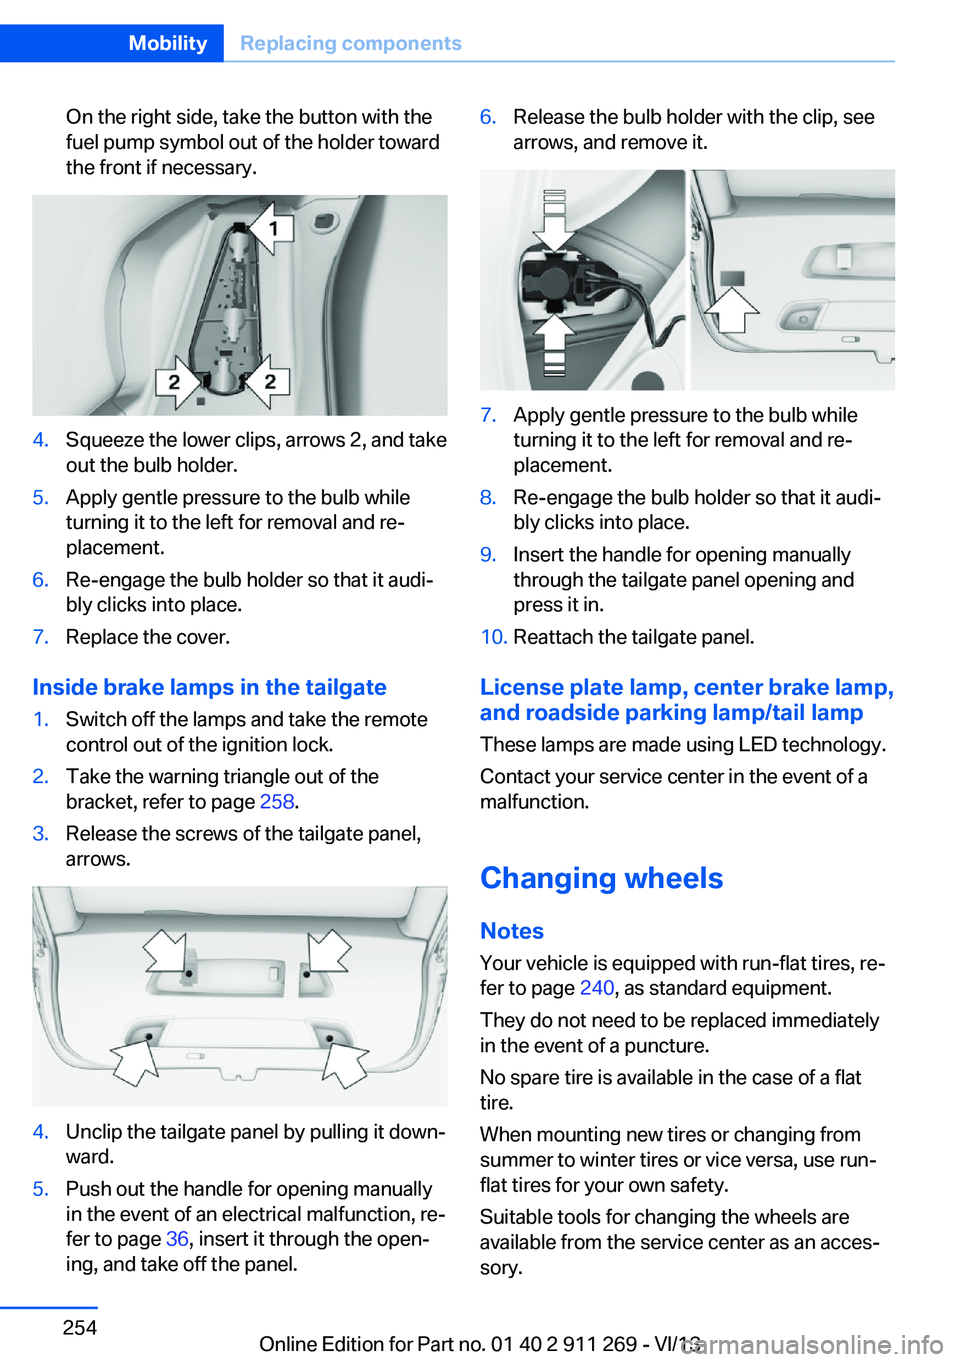
the front if necessary.4.Squeeze the lower clips, arrows 2, and take
out the bulb holder.5.Apply gentle pressure to the bulb while
turning it to the left for removal and re‐
placement.6.Re-engage the bulb holder so that it audi‐
bly clicks into place.7.Replace the cover.
Inside brake lamps in the tailgate
1.Switch off the lamps and take the remote
control out of the ignition lock.2.Take the warning triangle out of the
bracket, refer to page 258.3.Release the screws of the tailgate panel,
arrows.4.Unclip the tailgate panel by pulling it down‐
ward.5.Push out the handle for opening manually
in the event of an electrical malfunction, re‐
fer to page 36, insert it through the open‐
ing, and take off the panel.6.Release the bulb holder with the clip, see
arrows, and remove it.7.Apply gentle pressure to the bulb while
turning it to the left for removal and re‐
placement.8.Re-engage the bulb holder so that it audi‐
bly clicks into place.9.Insert the handle for opening manually
through the tailgate panel opening and
press it in.10.Reattach the tailgate panel.
License plate lamp, center brake lamp, and roadside parking lamp/tail lamp
These lamps are made using LED technology.
Contact your service center in the event of a
malfunction.
Changing wheels
Notes
Your vehicle is equipped with run-flat tires, re‐
fer to page 240, as standard equipment.
They do not need to be replaced immediately
in the event of a puncture.
No spare tire is available in the case of a flat
tire.
When mounting new tires or changing from
summer to winter tires or vice versa, use run-
flat tires for your own safety.
Suitable tools for changing the wheels are
available from the service center as an acces‐
sory.
Seite 254MobilityReplacing components254
Online Edition for Part no. 01 40 2 911 269 - VI/13
Page 263 of 295

CareVehicle equipmentThis chapter describes all series equipment as
well as country-specific and special equipment
offered for this model series.Therefore, it also
describes equipment that may not be found in
your vehicle, for instance due to the selected
special equipment or the country version. This
also applies to safety-related functions and
systems.
Car washes
Notes Steam jets or high-pressure washers
When using steam jets or high-pressure
washers, hold them a sufficient distance away
and use a maximum temperature of
140 ℉/60 ℃.
Holding them too close or using excessively
high pressures or temperatures can cause
damage or preliminary damage that may then lead to long-term damage.
Follow the operating instructions for the high-
pressure washer.◀
Do not direct steam or high-pressure washers toward the decorative labels applied by themanufacturer; otherwise, damage may result.
Cleaning sensors/cameras with high-
pressure washers
When using high-pressure washers, do not
spray the exterior sensors and cameras, for
Park Distance Control or the backup camera,
for instance, for extended periods of time and
only from a distance of at least 12 in/30 cm.◀
Regularly remove foreign bodies, such as
leaves, from the area below the windshield
when the hood is open.Wash your vehicle frequently, particularly in
winter.
Intense soiling and road salt can damage the
vehicle.
Washing in automatic car washes Give preference to cloth car washes or those
that use soft brushes in order to avoid paint damage.
Notes Note the following:▷Make sure that the wheels and tires are not
damaged by the transport mechanisms.▷Fold in the exterior mirrors; otherwise, they
may be damaged, depending on the width
of the vehicle.▷Deactivate the rain sensor, refer to
page 63, to avoid unintentional wiper acti‐
vation.▷Move the rear window wiper to its resting
position, deactivate it, and protect it
against damage. Ask the car wash operator
about any necessary protective measures.▷Remove additional attachments, for in‐
stance a spoiler or telephone antenna, if
there is a risk that these may be damaged.
Guide rails in car washes
Avoid car washes with guide rails higher
than 4 in/10 cm; otherwise, the vehicle body
could be damaged.◀
Before driving into a car wash The vehicle is able to roll if the following steps
are taken.
Automatic transmission
1.Release the handbrake, refer to page 61.2.Drive into the car wash.Seite 263CareMobility263
Online Edition for Part no. 01 40 2 911 269 - VI/13