2014 BMW 750I XDRIVE instrument cluster
[x] Cancel search: instrument clusterPage 136 of 251
If active, the displayed speed is stored and the
vehicle reaches the stored speed if the road is
clear.▷Each time the rocker switch is pressed to
the point of resistance, the desired speed
increases or decreases by approx.
1 mph/1 km/h.▷Each time the rocker switch is pressed
past the point of resistance, the desired
speed increases or decreases by a maxi‐
mum of 5 mph/10 km/h.
Hold the rocker switch in position to repeat the
action.
Distance Selecting a distance
Adjust the distance according to the traf‐
fic and weather conditions; otherwise, there is
the danger of an accident occurring. Maintain
the prescribed safety distance.◀
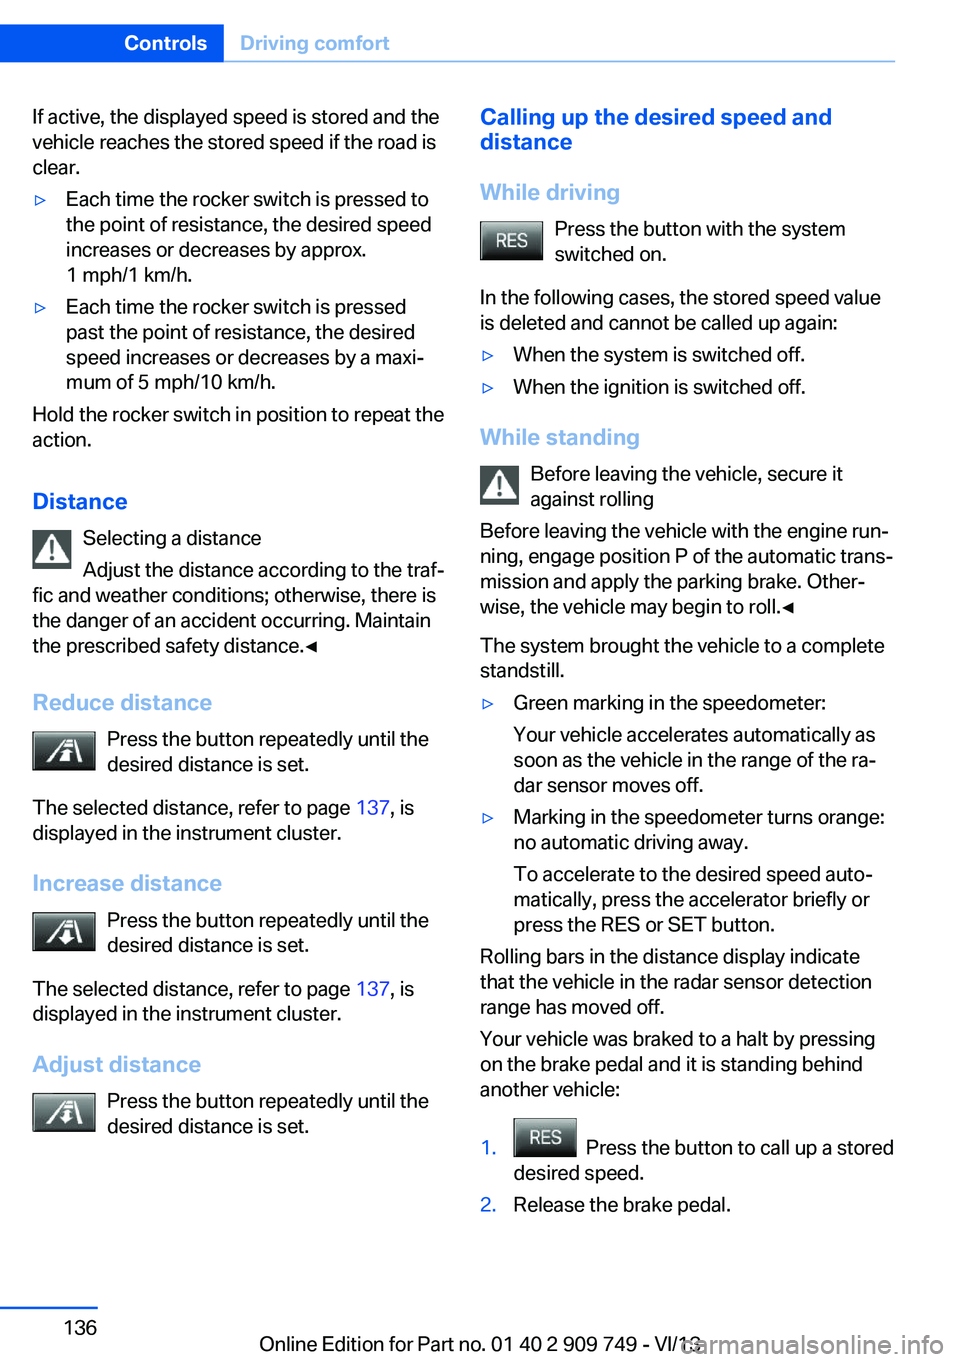
Reduce distance Press the button repeatedly until the
desired distance is set.
The selected distance, refer to page 137, is
displayed in the instrument cluster.
Increase distance Press the button repeatedly until the
desired distance is set.
The selected distance, refer to page 137, is
displayed in the instrument cluster.
Adjust distance Press the button repeatedly until the
desired distance is set.
Calling up the desired speed and
distance
While driving Press the button with the system
switched on.
In the following cases, the stored speed value
is deleted and cannot be called up again:▷When the system is switched off.▷When the ignition is switched off.
While standing
Before leaving the vehicle, secure it
against rolling
Before leaving the vehicle with the engine run‐
ning, engage position P of the automatic trans‐
mission and apply the parking brake. Other‐
wise, the vehicle may begin to roll.◀
The system brought the vehicle to a complete
standstill.
▷Green marking in the speedometer:
Your vehicle accelerates automatically as
soon as the vehicle in the range of the ra‐
dar sensor moves off.▷Marking in the speedometer turns orange:
no automatic driving away.
To accelerate to the desired speed auto‐
matically, press the accelerator briefly or
press the RES or SET button.
Rolling bars in the distance display indicate
that the vehicle in the radar sensor detection
range has moved off.
Your vehicle was braked to a halt by pressing
on the brake pedal and it is standing behind
another vehicle:
1. Press the button to call up a stored
desired speed.2.Release the brake pedal.Seite 136ControlsDriving comfort136
Online Edition for Part no. 01 40 2 909 749 - VI/13
Page 137 of 251
3.Press on the accelerator briefly, or press
the RES button or the rocker switch when
the vehicle ahead of you drives away.
Displays in the instrument cluster
Desired speed
▷The marking lights up green:
the system is active.▷The marking lights up or‐
ange: the system has been
interrupted.▷The marking does not light up: the system
is switched off.
With instrument display: the symbol is
displayed in the speedometer similarly
to the mark for the desired speed.
Brief status display Selected desired speed.
If --- appears briefly on the display for Check
Control messages, it is possible that the sys‐
tem requirements for operation are currently
not met.
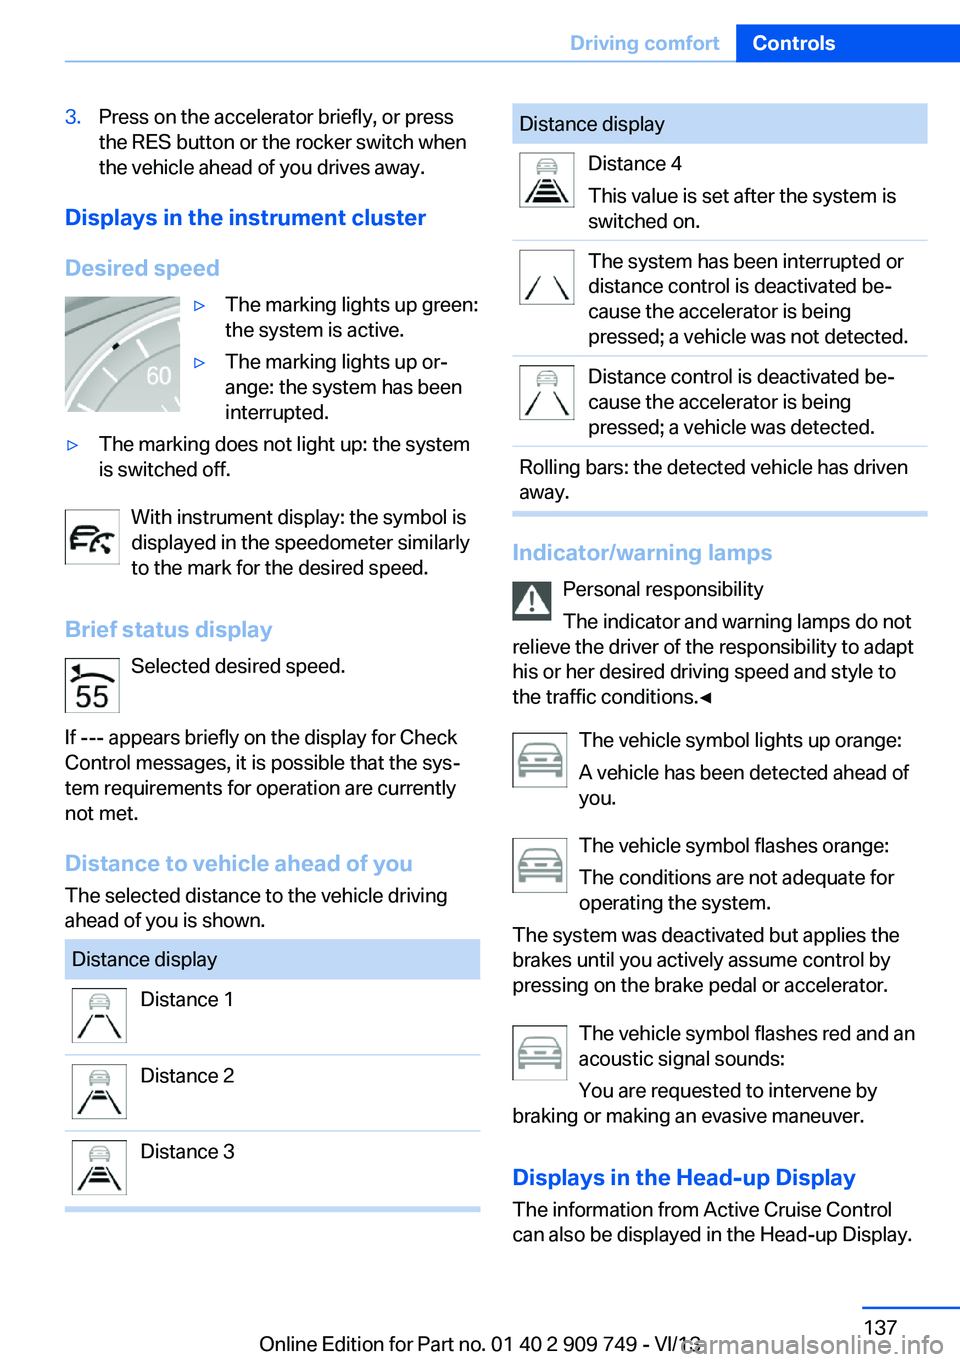
Distance to vehicle ahead of you
The selected distance to the vehicle driving
ahead of you is shown.
Distance displayDistance 1Distance 2Distance 3Distance displayDistance 4
This value is set after the system is
switched on.The system has been interrupted or
distance control is deactivated be‐
cause the accelerator is being
pressed; a vehicle was not detected.Distance control is deactivated be‐
cause the accelerator is being
pressed; a vehicle was detected.Rolling bars: the detected vehicle has driven
away.
Indicator/warning lamps
Personal responsibility
The indicator and warning lamps do not
relieve the driver of the responsibility to adapt
his or her desired driving speed and style to
the traffic conditions.◀
The vehicle symbol lights up orange:
A vehicle has been detected ahead of
you.
The vehicle symbol flashes orange:
The conditions are not adequate for
operating the system.
The system was deactivated but applies the
brakes until you actively assume control by
pressing on the brake pedal or accelerator.
The vehicle symbol flashes red and an
acoustic signal sounds:
You are requested to intervene by
braking or making an evasive maneuver.
Displays in the Head-up Display The information from Active Cruise Control
can also be displayed in the Head-up Display.
Seite 137Driving comfortControls137
Online Edition for Part no. 01 40 2 909 749 - VI/13
Page 141 of 251
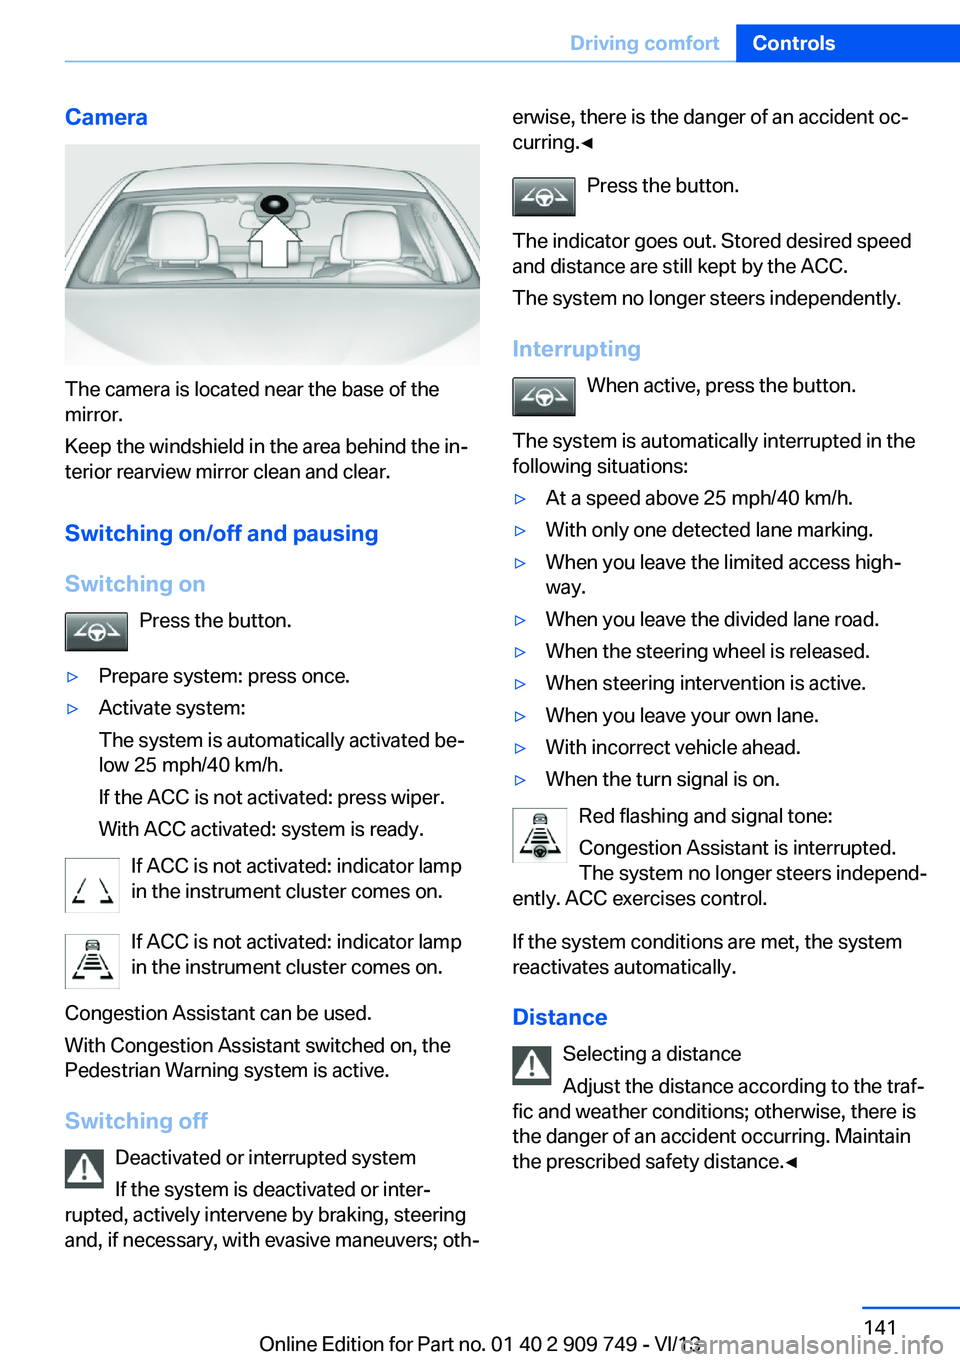
Camera
The camera is located near the base of the
mirror.
Keep the windshield in the area behind the in‐
terior rearview mirror clean and clear.
Switching on/off and pausingSwitching on Press the button.
▷Prepare system: press once.▷Activate system:
The system is automatically activated be‐
low 25 mph/40 km/h.
If the ACC is not activated: press wiper.
With ACC activated: system is ready.
If ACC is not activated: indicator lamp
in the instrument cluster comes on.
If ACC is not activated: indicator lamp
in the instrument cluster comes on.
Congestion Assistant can be used.
With Congestion Assistant switched on, the
Pedestrian Warning system is active.
Switching off Deactivated or interrupted system
If the system is deactivated or inter‐
rupted, actively intervene by braking, steering
and, if necessary, with evasive maneuvers; oth‐
erwise, there is the danger of an accident oc‐
curring.◀
Press the button.
The indicator goes out. Stored desired speed
and distance are still kept by the ACC.
The system no longer steers independently.
Interrupting When active, press the button.
The system is automatically interrupted in the
following situations:▷At a speed above 25 mph/40 km/h.▷With only one detected lane marking.▷When you leave the limited access high‐
way.▷When you leave the divided lane road.▷When the steering wheel is released.▷When steering intervention is active.▷When you leave your own lane.▷With incorrect vehicle ahead.▷When the turn signal is on.
Red flashing and signal tone:
Congestion Assistant is interrupted.
The system no longer steers independ‐
ently. ACC exercises control.
If the system conditions are met, the system
reactivates automatically.
Distance Selecting a distance
Adjust the distance according to the traf‐
fic and weather conditions; otherwise, there is
the danger of an accident occurring. Maintain
the prescribed safety distance.◀
Seite 141Driving comfortControls141
Online Edition for Part no. 01 40 2 909 749 - VI/13
Page 142 of 251
Adjust distancePress the button repeatedly until the
desired distance is set.
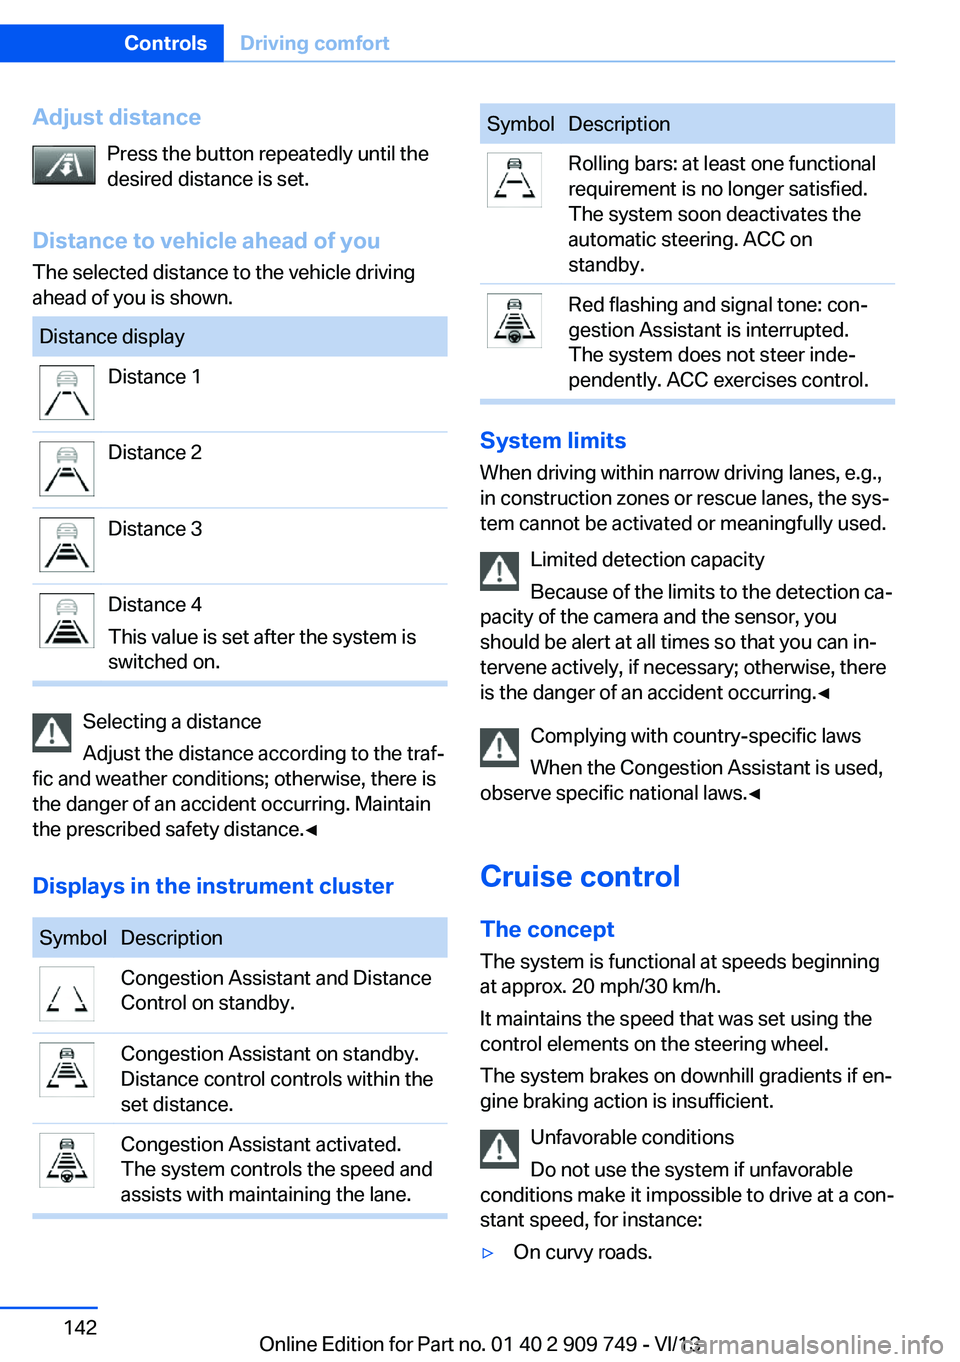
Distance to vehicle ahead of you The selected distance to the vehicle driving
ahead of you is shown.Distance displayDistance 1Distance 2Distance 3Distance 4
This value is set after the system is
switched on.
Selecting a distance
Adjust the distance according to the traf‐
fic and weather conditions; otherwise, there is
the danger of an accident occurring. Maintain
the prescribed safety distance.◀
Displays in the instrument cluster
SymbolDescriptionCongestion Assistant and Distance
Control on standby.Congestion Assistant on standby.
Distance control controls within the
set distance.Congestion Assistant activated.
The system controls the speed and
assists with maintaining the lane.SymbolDescriptionRolling bars: at least one functional
requirement is no longer satisfied.
The system soon deactivates the
automatic steering. ACC on
standby.Red flashing and signal tone: con‐
gestion Assistant is interrupted.
The system does not steer inde‐
pendently. ACC exercises control.
System limits
When driving within narrow driving lanes, e.g.,
in construction zones or rescue lanes, the sys‐
tem cannot be activated or meaningfully used.
Limited detection capacity
Because of the limits to the detection ca‐
pacity of the camera and the sensor, you
should be alert at all times so that you can in‐
tervene actively, if necessary; otherwise, there
is the danger of an accident occurring.◀
Complying with country-specific laws
When the Congestion Assistant is used,
observe specific national laws.◀
Cruise control
The concept The system is functional at speeds beginning
at approx. 20 mph/30 km/h.
It maintains the speed that was set using the
control elements on the steering wheel.
The system brakes on downhill gradients if en‐
gine braking action is insufficient.
Unfavorable conditions
Do not use the system if unfavorable
conditions make it impossible to drive at a con‐
stant speed, for instance:
▷On curvy roads.Seite 142ControlsDriving comfort142
Online Edition for Part no. 01 40 2 909 749 - VI/13
Page 144 of 251
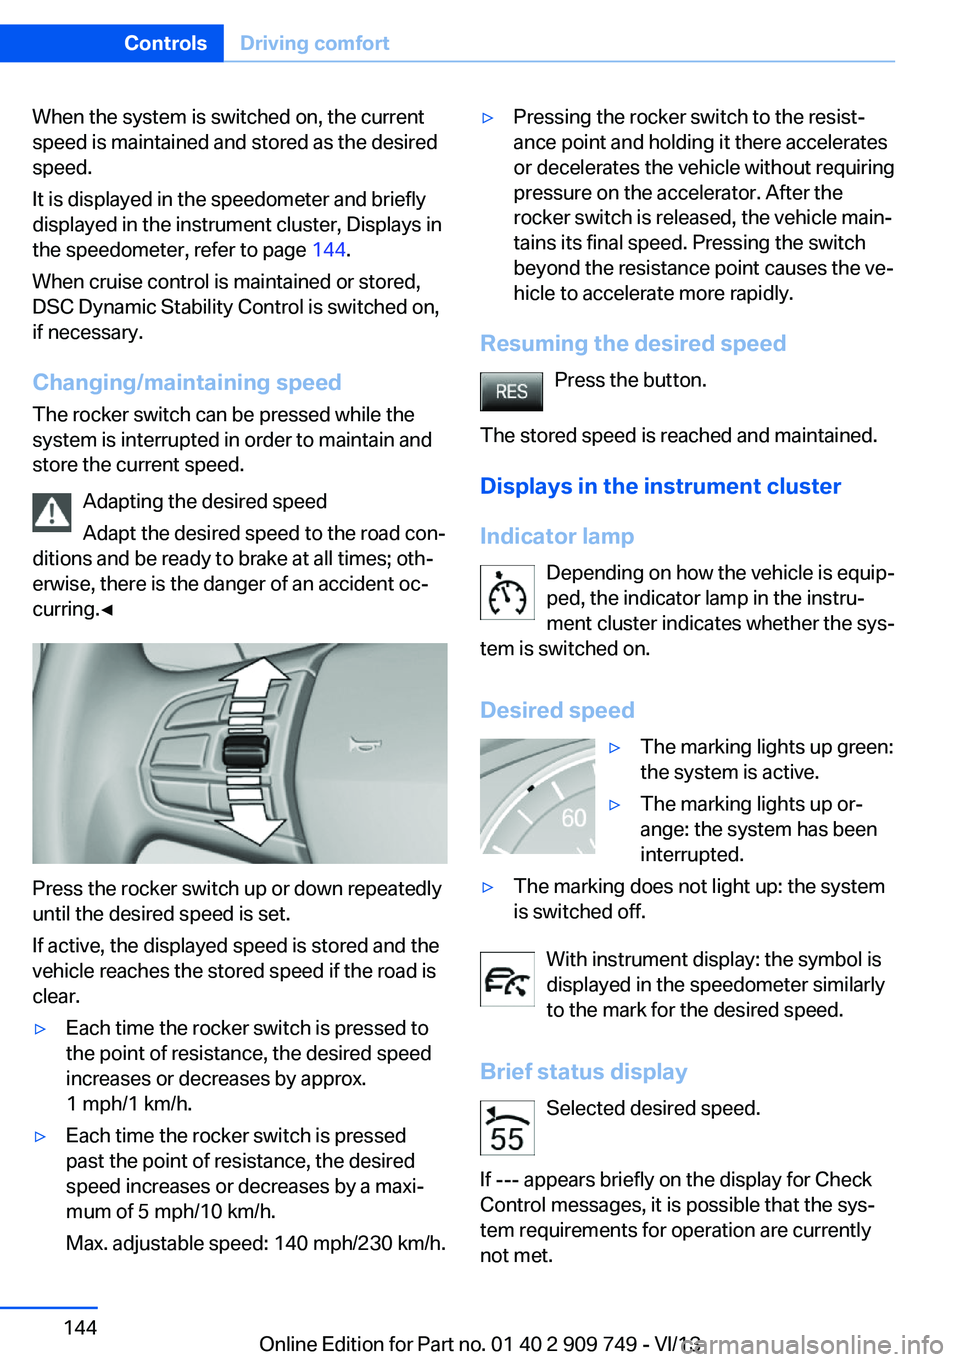
When the system is switched on, the current
speed is maintained and stored as the desired
speed.
It is displayed in the speedometer and briefly
displayed in the instrument cluster, Displays in
the speedometer, refer to page 144.
When cruise control is maintained or stored,
DSC Dynamic Stability Control is switched on,
if necessary.
Changing/maintaining speed The rocker switch can be pressed while the
system is interrupted in order to maintain and
store the current speed.
Adapting the desired speed
Adapt the desired speed to the road con‐
ditions and be ready to brake at all times; oth‐
erwise, there is the danger of an accident oc‐
curring.◀
Press the rocker switch up or down repeatedly
until the desired speed is set.
If active, the displayed speed is stored and the
vehicle reaches the stored speed if the road is
clear.
▷Each time the rocker switch is pressed to
the point of resistance, the desired speed
increases or decreases by approx.
1 mph/1 km/h.▷Each time the rocker switch is pressed
past the point of resistance, the desired
speed increases or decreases by a maxi‐
mum of 5 mph/10 km/h.
Max. adjustable speed: 140 mph/230 km/h.▷Pressing the rocker switch to the resist‐
ance point and holding it there accelerates
or decelerates the vehicle without requiring
pressure on the accelerator. After the
rocker switch is released, the vehicle main‐
tains its final speed. Pressing the switch
beyond the resistance point causes the ve‐
hicle to accelerate more rapidly.
Resuming the desired speed
Press the button.
The stored speed is reached and maintained. Displays in the instrument cluster
Indicator lamp Depending on how the vehicle is equip‐
ped, the indicator lamp in the instru‐
ment cluster indicates whether the sys‐
tem is switched on.
Desired speed
▷The marking lights up green:
the system is active.▷The marking lights up or‐
ange: the system has been
interrupted.▷The marking does not light up: the system
is switched off.
With instrument display: the symbol is
displayed in the speedometer similarly
to the mark for the desired speed.
Brief status display Selected desired speed.
If --- appears briefly on the display for Check
Control messages, it is possible that the sys‐
tem requirements for operation are currently
not met.
Seite 144ControlsDriving comfort144
Online Edition for Part no. 01 40 2 909 749 - VI/13
Page 157 of 251
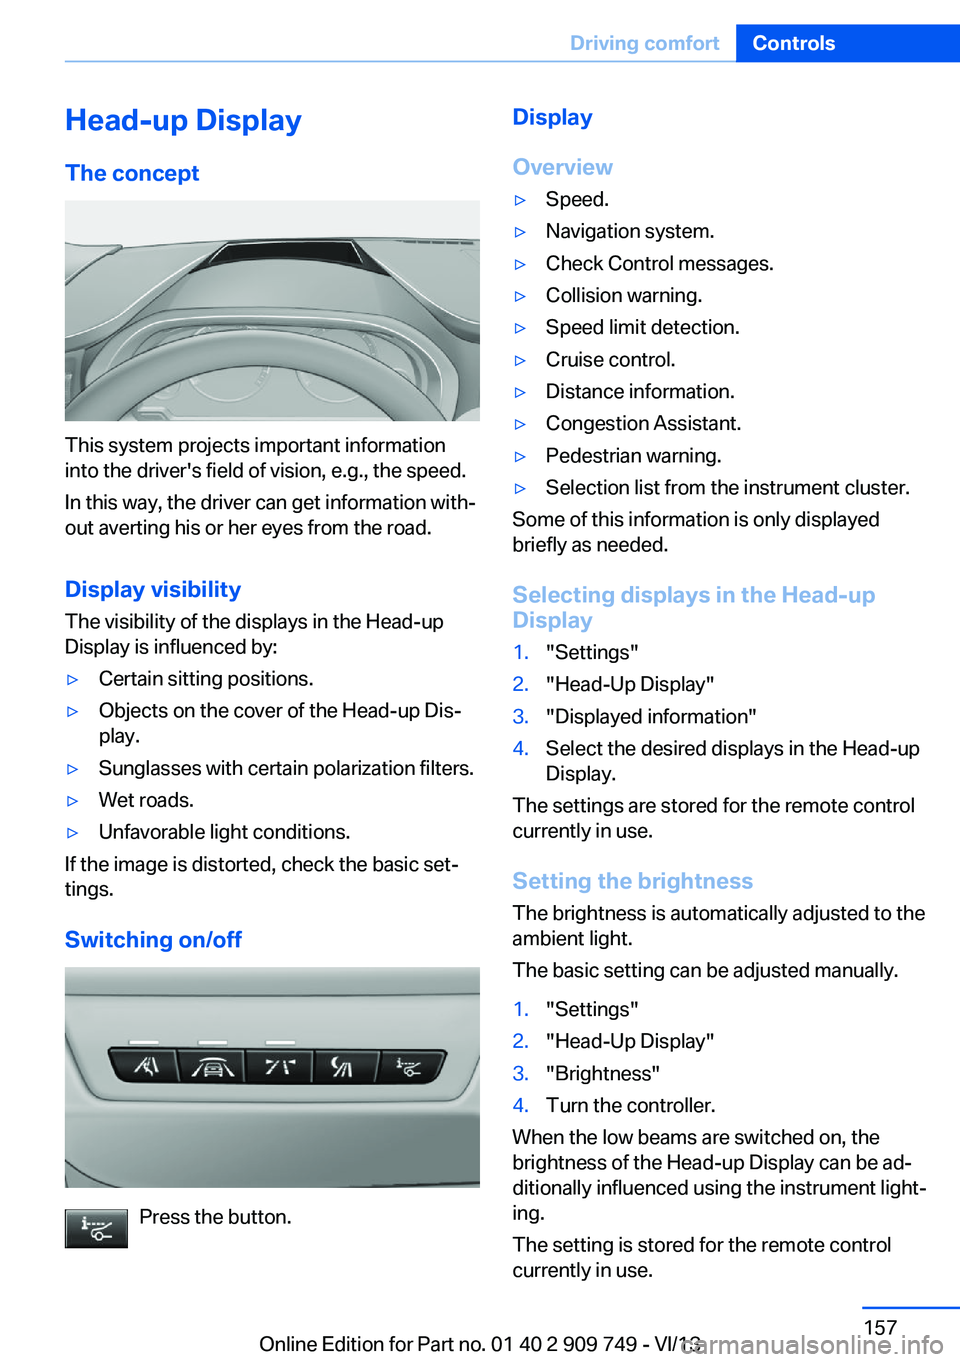
Head-up Display
The concept
This system projects important information
into the driver's field of vision, e.g., the speed.
In this way, the driver can get information with‐
out averting his or her eyes from the road.
Display visibility The visibility of the displays in the Head-up
Display is influenced by:
▷Certain sitting positions.▷Objects on the cover of the Head-up Dis‐
play.▷Sunglasses with certain polarization filters.▷Wet roads.▷Unfavorable light conditions.
If the image is distorted, check the basic set‐
tings.
Switching on/off
Press the button.
Display
Overview▷Speed.▷Navigation system.▷Check Control messages.▷Collision warning.▷Speed limit detection.▷Cruise control.▷Distance information.▷Congestion Assistant.▷Pedestrian warning.▷Selection list from the instrument cluster.
Some of this information is only displayed
briefly as needed.
Selecting displays in the Head-up
Display
1."Settings"2."Head-Up Display"3."Displayed information"4.Select the desired displays in the Head-up
Display.
The settings are stored for the remote control
currently in use.
Setting the brightness
The brightness is automatically adjusted to the
ambient light.
The basic setting can be adjusted manually.
1."Settings"2."Head-Up Display"3."Brightness"4.Turn the controller.
When the low beams are switched on, the
brightness of the Head-up Display can be ad‐
ditionally influenced using the instrument light‐
ing.
The setting is stored for the remote control
currently in use.
Seite 157Driving comfortControls157
Online Edition for Part no. 01 40 2 909 749 - VI/13
Page 189 of 251
Use coasting conditions
When approaching a red light, take your foot
off the accelerator and let the vehicle coast to
a halt.
On a downhill gradient, take your foot off the
accelerator and let the vehicle roll.
The flow of fuel is interrupted while coasting.
Switch off the engine during longer stops
Switch off the engine during longer stops, e.g.,
at traffic lights, railroad crossings or in traffic
congestion.
Automatic Engine Start/Stop Function The Auto Start/Stop function of your vehicle
automatically switches off the engine during a
stop.
If the engine is switched off and then restarted
rather than leaving the engine running con‐
stantly, fuel consumption and emissions are
reduced. Savings can begin within a few sec‐
onds of switching off the engine.
Using this system can cause certain compo‐
nents of the vehicle to become worn prema‐
turely.
In addition, fuel consumption is also deter‐
mined by other factors, such as driving style,
road conditions, maintenance or environmental
factors.
Switch off any functions that
are not currently needed
Functions such as seat heating and the rear
window defroster require a lot of energy and
consume additional fuel, especially in city and
stop-and-go traffic.
Therefore, switch off these functions if they
are not actually needed.Have maintenance carried
out
Have vehicles maintained regularly to achieve
optimal vehicle economy and operating life.
Have the maintenance carried out by your
service center.
Please also note the BMW Maintenance Sys‐
tem, refer to page 216.
ECO PRO
The concept ECO PRO supports a driving style that saves
on fuel consumption. For this purpose, the en‐
gine control and comfort functions, e. g. the
climate control output, are adjusted.
Under certain conditions the engine is auto‐
matically decoupled from the transmission
when transmission position D is engaged. The
vehicle continues traveling with the engine
idling to reduce fuel consumption. Transmis‐
sion position D remains engaged.
In addition, context-sensitive instructions can
be displayed that assist in driving in a manner
that optimizes fuel consumption.
The extension of the range that is achieved as
a result can be displayed in the instrument
cluster.
At a glance
The system includes the following
EfficientDynamics functions and displays:▷ECO PRO bonus range, refer to page 190.▷ECO PRO tips driving instruction, refer to
page 191▷ECO PRO climate control, refer to
page 190.▷ECO PRO coasting driving status, refer to
page 192.Seite 189Saving fuelDriving tips189
Online Edition for Part no. 01 40 2 909 749 - VI/13
Page 190 of 251
Activating ECO PROPress button repeatedly until ECO
PRO is displayed in the instrument
cluster.
Configuring ECO PRO
Via the Driving Dynamics Control1.Activate ECO PRO.2."Configure ECO PRO"3.Configure the program.
Via the iDrive
1."Settings"2."ECO PRO mode"
Or
1."Settings"2."Driving mode"3."Configure ECO PRO"
Configure the program.
ECO PRO Tip
▷"Tip at:":
Set ECO Pro speed at which an ECO PRO
Tip is to be displayed.▷"ECO PRO speed warning":
A reminder is displayed if the set ECO PRO
speed is exceeded.
Coasting
Fuel-efficiency can be optimized by disengag‐
ing the engine and Coasting, refer to
page 192, with the engine idling.
This function is only available in ECO PRO
mode.
ECO PRO climate control
"ECO PRO climate control"
The climate control is adjusted to be fuel-effi‐
cient.
By making a slight change to the set tempera‐
ture, or slowly adjusting the rate of heating or
cooling of the passenger compartment, fuel
consumption can be economized.
The outputs of the seat heater and the exterior
mirror heating are also reduced.
The exterior mirror heating is made available
when outside temperatures are very cold.
ECO PRO potential
The percentage of potential savings that can
be achieved with the current configuration is
displayed.
Display in the instrument cluster
Display in the instrument display
When ECO PRO mode is activated, the display
switches to a special configuration.
Some of the displays may differ from the dis‐
play in the instrument cluster.
ECO PRO bonus range An extension of the range can
be achieved by an adjusted driv‐
ing style.
This may be displayed as the
bonus range in the instrument
cluster.
The bonus range is shown in the range display.
The bonus range is automatically reset every
time the vehicle is refueled.Seite 190Driving tipsSaving fuel190
Online Edition for Part no. 01 40 2 909 749 - VI/13