2014 BMW 740LI XDRIVE phone
[x] Cancel search: phonePage 35 of 251
Do not place the remote control in the
cargo area
Take the remote control with you and do not
leave it in the cargo area; otherwise, the re‐
mote control is locked inside the vehicle when
the trunk lid is closed.◀
The trunk lid is locked again as soon as it is
pushed closed.
Malfunction
If the vehicle can no longer be locked or un‐
locked with the remote control, the battery
may be discharged or there may be interfer‐
ence from external sources such as mobile
phones, metal objects, overhead power lines,
transmission towers, etc.
If this occurs, lock or unlock the driver's door at
the door lock using the integrated key.
For US owners only
The transmitter and receiver units comply with
part 15 of the FCC/Federal Communication
Commission regulations. Operation is gov‐
erned by the following:
FCC ID:▷LX8766S.▷LX8766E.▷LX8CAS.▷LX8CAS2.▷MYTCAS4.
Compliance statement:
This device complies with part 15 of the FCC
Rules. Operation is subject to the following
two conditions:
▷This device may not cause harmful inter‐
ference, and▷this device must accept any interference
received, including interference that may
cause undesired operation.
Any unauthorized modifications or changes to
these devices could void the user's authority to
operate this equipment.
Using the door lock
General information
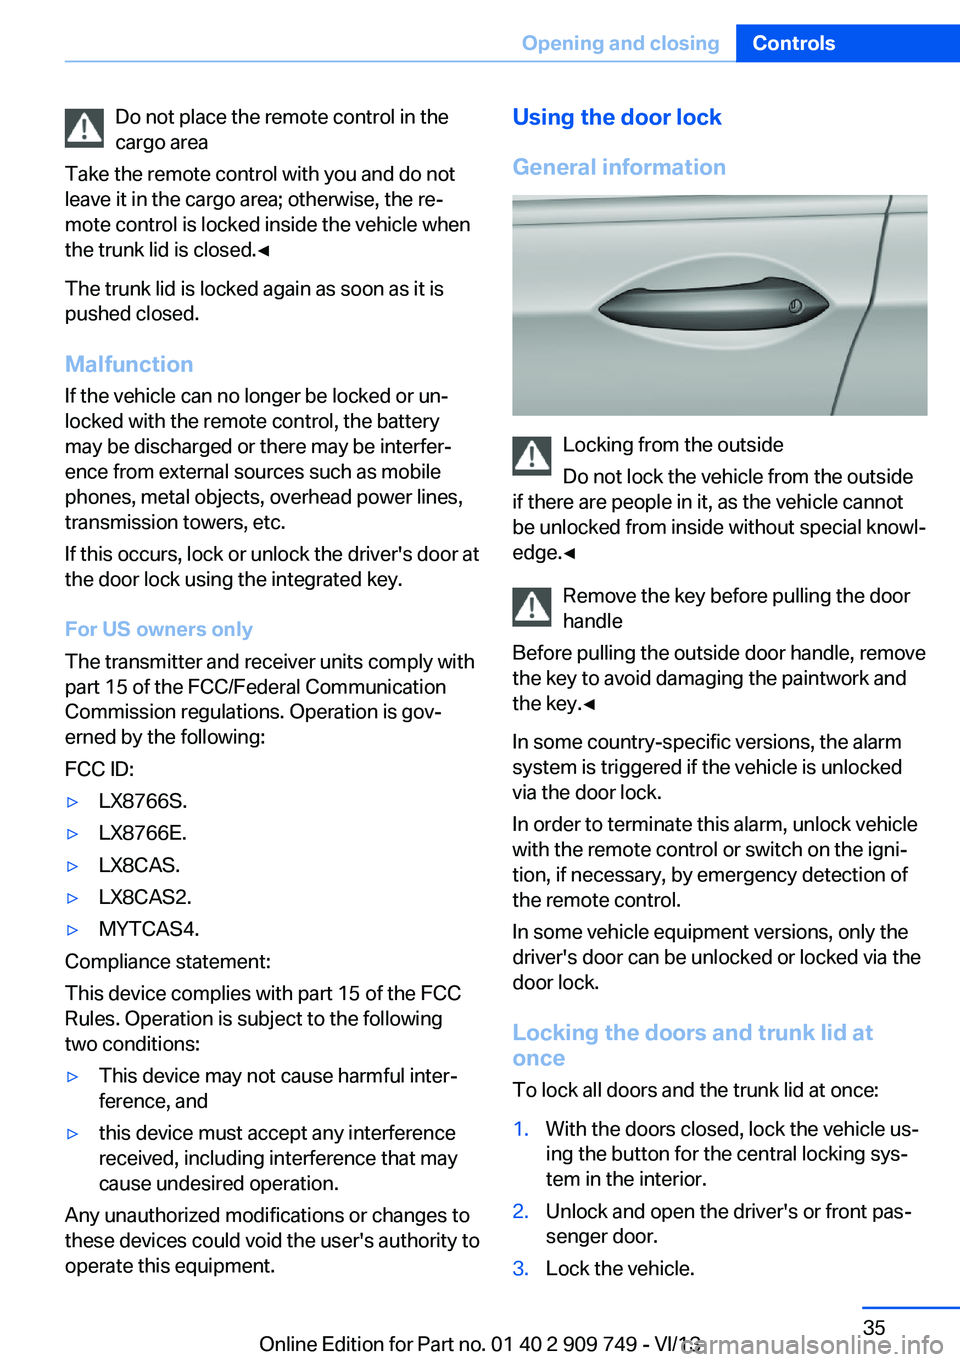
Locking from the outside
Do not lock the vehicle from the outside
if there are people in it, as the vehicle cannot
be unlocked from inside without special knowl‐
edge.◀
Remove the key before pulling the door
handle
Before pulling the outside door handle, remove
the key to avoid damaging the paintwork and
the key.◀
In some country-specific versions, the alarm
system is triggered if the vehicle is unlocked
via the door lock.
In order to terminate this alarm, unlock vehicle
with the remote control or switch on the igni‐
tion, if necessary, by emergency detection of
the remote control.
In some vehicle equipment versions, only the
driver's door can be unlocked or locked via the
door lock.
Locking the doors and trunk lid at
once
To lock all doors and the trunk lid at once:
1.With the doors closed, lock the vehicle us‐
ing the button for the central locking sys‐
tem in the interior.2.Unlock and open the driver's or front pas‐
senger door.3.Lock the vehicle.Seite 35Opening and closingControls35
Online Edition for Part no. 01 40 2 909 749 - VI/13
Page 41 of 251

2.Move foot in the direction of travel under‐
neath the bumper and immediately back.
Opening
The trunk lid opens, regardless of whether it
was previously locked or unlocked.
During opening, the trunk lid pivots back and
up. Ensure that adequate clearance is available
before opening.
Before the opening, the hazard warning sys‐
tem flashes.
Preventing inadvertent opening
In situations where the trunk lid should is
not to be opened with no-touch activation, en‐
sure that the remote control is located beyond
the range of the sensor, at least 5 ft/1.50 m
from the rear of the car.
Otherwise, the trunk lid may be opened inad‐
vertently, for example by an unintentional or
misinterpreted movement of the foot.◀
ClosingThe hazard warning system flashes on and an
acoustic signal sounds before the trunk lid
closes.
During closing, the trunk lid pivots back and
down.
The closing of the trunk lid has no effect on the
locking of the vehicle.
Another foot movement can interrupt the clos‐
ing operation.
Keep the closing path clear
Make sure that the closing path of the
trunk lid is clear; otherwise, injuries may re‐
sult.◀
Do not place the remote control in the
cargo area
Take the remote control with you and do not
leave it in the cargo area; otherwise, the re‐
mote control is locked inside the vehicle when
the trunk lid is closed.◀
Malfunction
Comfort Access may not function properly if it
experiences interference from external sour‐
ces such as mobile phones, metal objects,
overhead power lines, transmission towers,
etc.
In this case, open or close the vehicle using the
buttons on the remote control or use the
integrated key in the door lock.
If there is a malfunction, open the trunk lid with
the remote control button or with the button on
the trunk lid.
Adjusting
Unlocking The setting is stored for the remote control
currently in use.1."Settings"2."Doors/key"3. Select symbol or "Unlock button:"4.Select the desired function:▷"Driver's door only"
Only the driver's door and the fuel filler
flap are unlocked. Pressing again un‐
locks the entire vehicle.▷"All doors"
The entire vehicle is unlocked.Seite 41Opening and closingControls41
Online Edition for Part no. 01 40 2 909 749 - VI/13
Page 90 of 251
Speed limit detection can also be displayed in
the Head-up Display.
No Passing Information▷Start of No Passing zone.▷End of No Passing zone.▷No Passing Information not
available.
No Passing Information can also be displayed
in the Head-up Display.
System limits
The system may not be fully functional and
may provide incorrect information in the fol‐ lowing situations:
▷In heavy fog, rain or snowfall.▷When signs are concealed by objects.▷When driving very close to the vehicle in
front of you.▷When driving toward bright lights.▷When the windshield behind the interior
rearview mirror is fogged over, dirty or cov‐
ered by a sticker, etc.▷In the event of incorrect detection by the
camera.▷If the speed limits stored in the navigation
system are incorrect.▷In areas not covered by the navigation sys‐
tem.▷When roads differ from the navigation,
such as due to changes in the road net‐
work.▷When passing buses or trucks with a
speed sticker.▷If the traffic signs are non-conforming.▷During calibration of the camera immedi‐
ately after vehicle shipment.Selection lists in the
instrument cluster
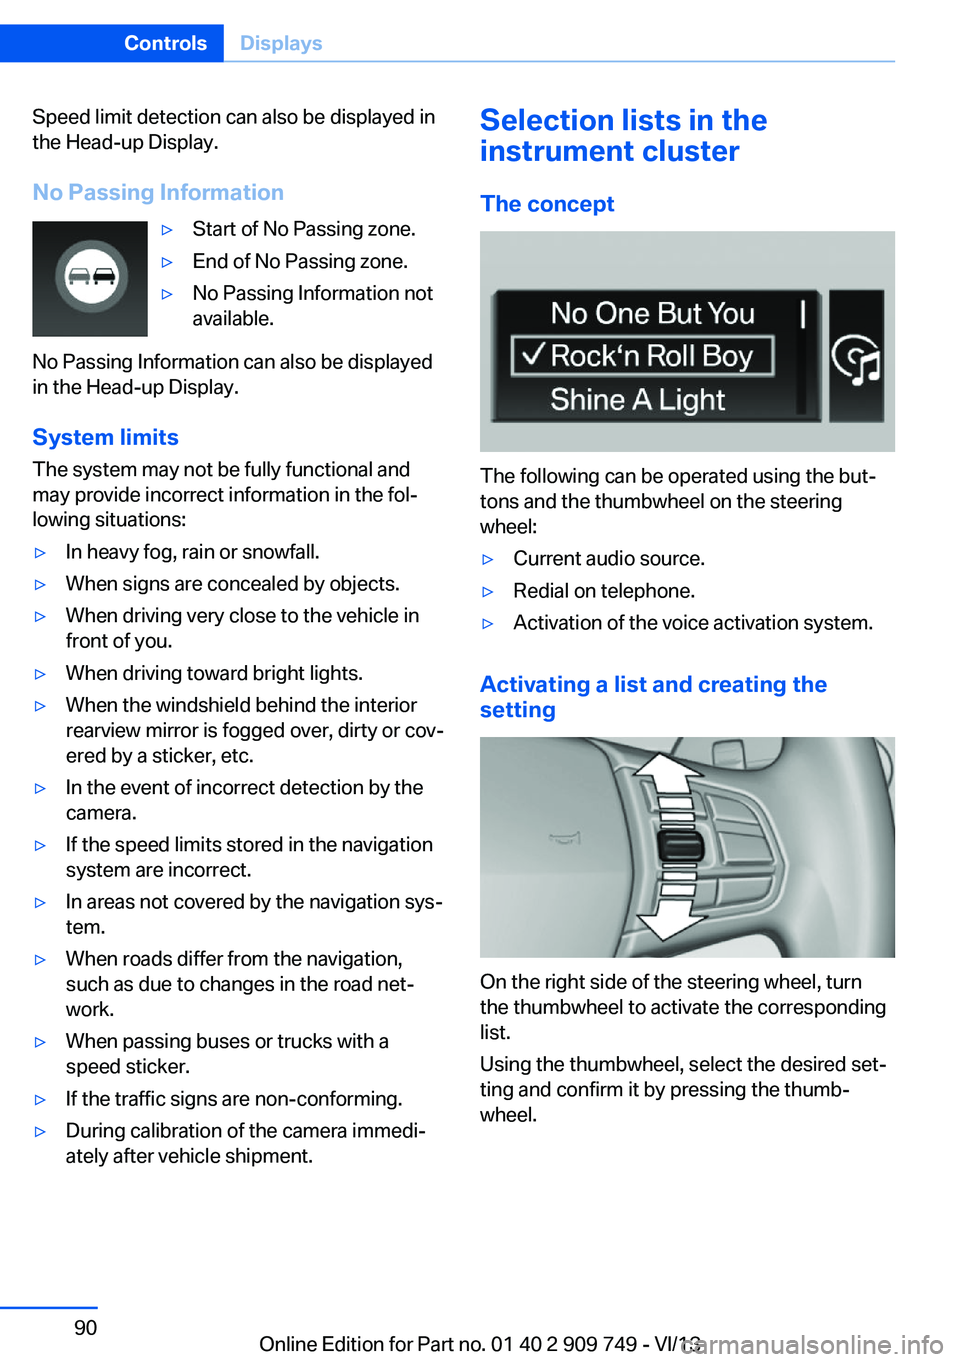
The concept
The following can be operated using the but‐
tons and the thumbwheel on the steering
wheel:
▷Current audio source.▷Redial on telephone.▷Activation of the voice activation system.
Activating a list and creating the
setting
On the right side of the steering wheel, turn
the thumbwheel to activate the corresponding
list.
Using the thumbwheel, select the desired set‐
ting and confirm it by pressing the thumb‐
wheel.
Seite 90ControlsDisplays90
Online Edition for Part no. 01 40 2 909 749 - VI/13
Page 101 of 251
Protective action
Airbags are not triggered in every impact situa‐
tion, e.g., in less severe accidents or rear-end
collisions.
Information on how to ensure the optimal
protective effect of the airbags▷Keep at a distance from the airbags.▷Always grasp the steering wheel on the
steering wheel rim, holding your hands at
the 3 o'clock and 9 o'clock positions, to
keep the danger of injury to your hands or
arms as low as possible if the airbag is trig‐
gered.▷There should be no people, animals, or ob‐
jects between an airbag and a person.▷Do not use the cover of the front airbag on
the front passenger side as a storage area.▷Keep the dashboard and window on the
front passenger side clear, i.e., do not
cover with adhesive labels or coverings,
and do not attach holders such as for navi‐
gation instruments and mobile phones.▷Make sure that the front passenger is sit‐
ting correctly, i.e., keeps his or her feet and
legs in the footwell; otherwise, leg injuries
can occur if the front airbag is triggered.▷Do not place slip covers, seat cushions or
other objects on the front passenger seat
that are not approved specifically for seats
with integrated side airbags.▷Do not hang pieces of clothing, such as
jackets, over the backrests.▷Make sure that occupants keep their heads
away from the side airbag and do not rest
against the head airbag; otherwise, injuries
can occur if the airbags are triggered.▷Do not remove the airbag restraint system.▷Do not remove the steering wheel.▷Do not apply adhesive materials to the air‐
bag cover panels, cover them or modify
them in any way.▷Never modify either the individual compo‐
nents or the wiring in the airbag system.
This also applies to steering wheel covers,
the dashboard, the seats, the roof pillars
and the sides of the headliner.◀
Even when all instructions are followed closely,
injury from contact with the airbags cannot be
ruled out in certain situations.
The ignition and inflation noise may lead to
short-term and, in most cases, temporary
hearing impairment in sensitive individuals.
In the case of a malfunction, deactivation
and after triggering of the airbags
Do not touch the individual components imme‐
diately after the system has been triggered;
otherwise, there is the danger of burns.
Only have the airbags checked, repaired or dis‐
mantled and the airbag generator scrapped by
your service center or a workshop that has the
necessary authorization for handling explo‐
sives.
Non-professional attempts to service the sys‐
tem could lead to failure in an emergency or
undesired triggering of the airbag, either of
which could result in injury.◀
Warnings and information on the airbags are
also found on the sun visors.
Functional readiness of the airbag
system
When the ignition is switch on, the
warning lamp in the instrument cluster
lights up briefly and thereby indicates
the operational readiness of the entire airbag
system and the belt tensioner.
Airbag system malfunctioning
▷Warning lamp does not come on when the
ignition is turned on.▷The warning lamp lights up continuously.Seite 101SafetyControls101
Online Edition for Part no. 01 40 2 909 749 - VI/13
Page 183 of 251
sition mode, or when parked. Such contact
could lead to a fire, and with it the risk of seri‐
ous personal injury as well as property dam‐
age.
Do not touch hot exhaust pipes; otherwise,
there is the danger of getting burned.◀
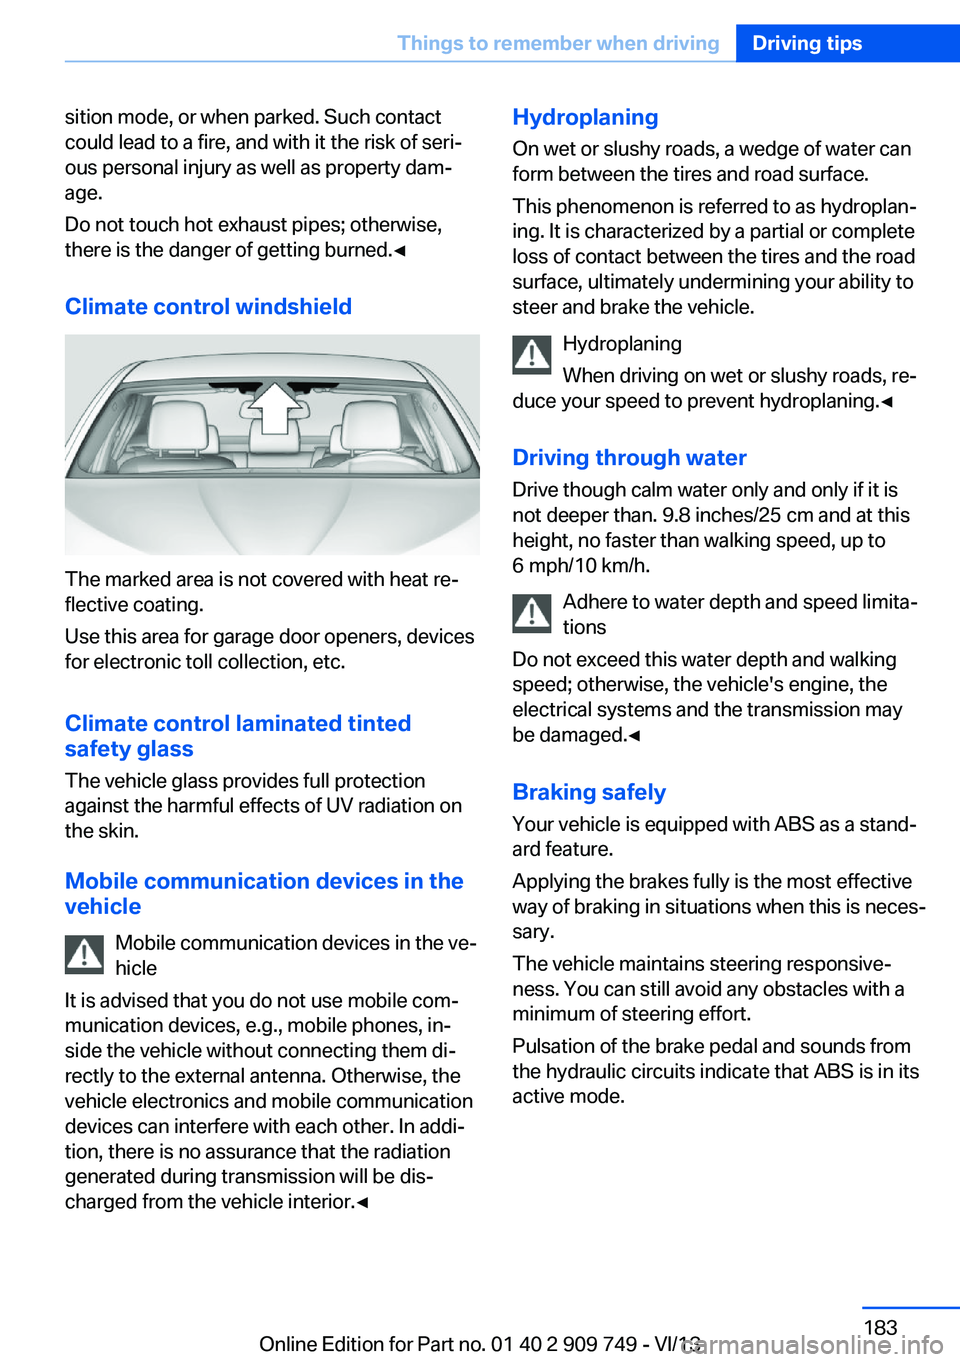
Climate control windshield
The marked area is not covered with heat re‐
flective coating.
Use this area for garage door openers, devices
for electronic toll collection, etc.
Climate control laminated tinted
safety glass
The vehicle glass provides full protection
against the harmful effects of UV radiation on
the skin.
Mobile communication devices in thevehicle
Mobile communication devices in the ve‐
hicle
It is advised that you do not use mobile com‐
munication devices, e.g., mobile phones, in‐
side the vehicle without connecting them di‐
rectly to the external antenna. Otherwise, the
vehicle electronics and mobile communication
devices can interfere with each other. In addi‐
tion, there is no assurance that the radiation
generated during transmission will be dis‐
charged from the vehicle interior.◀
Hydroplaning
On wet or slushy roads, a wedge of water can
form between the tires and road surface.
This phenomenon is referred to as hydroplan‐
ing. It is characterized by a partial or complete
loss of contact between the tires and the road
surface, ultimately undermining your ability to
steer and brake the vehicle.
Hydroplaning
When driving on wet or slushy roads, re‐
duce your speed to prevent hydroplaning.◀
Driving through water Drive though calm water only and only if it is
not deeper than. 9.8 inches/25 cm and at this
height, no faster than walking speed, up to 6 mph/10 km/h.
Adhere to water depth and speed limita‐
tions
Do not exceed this water depth and walking
speed; otherwise, the vehicle's engine, the
electrical systems and the transmission may
be damaged.◀
Braking safely
Your vehicle is equipped with ABS as a stand‐
ard feature.
Applying the brakes fully is the most effective
way of braking in situations when this is neces‐
sary.
The vehicle maintains steering responsive‐
ness. You can still avoid any obstacles with a
minimum of steering effort.
Pulsation of the brake pedal and sounds from
the hydraulic circuits indicate that ABS is in its
active mode.Seite 183Things to remember when drivingDriving tips183
Online Edition for Part no. 01 40 2 909 749 - VI/13
Page 226 of 251
if it can be established, are transmitted to
the BMW Response Center.▷If the LED is flashing, but the BMW Re‐
sponse Center can no longer be heard via
the speaker, you can nevertheless still be
heard for the BMW Response Center.
Initiating an Emergency Request
automatically
Under certain conditions, an Emergency Re‐
quest is automatically initiated immediately af‐
ter a severe accident. Automatic Collision Noti‐
fication is not affected by pressing the SOS
button.
Warning triangle
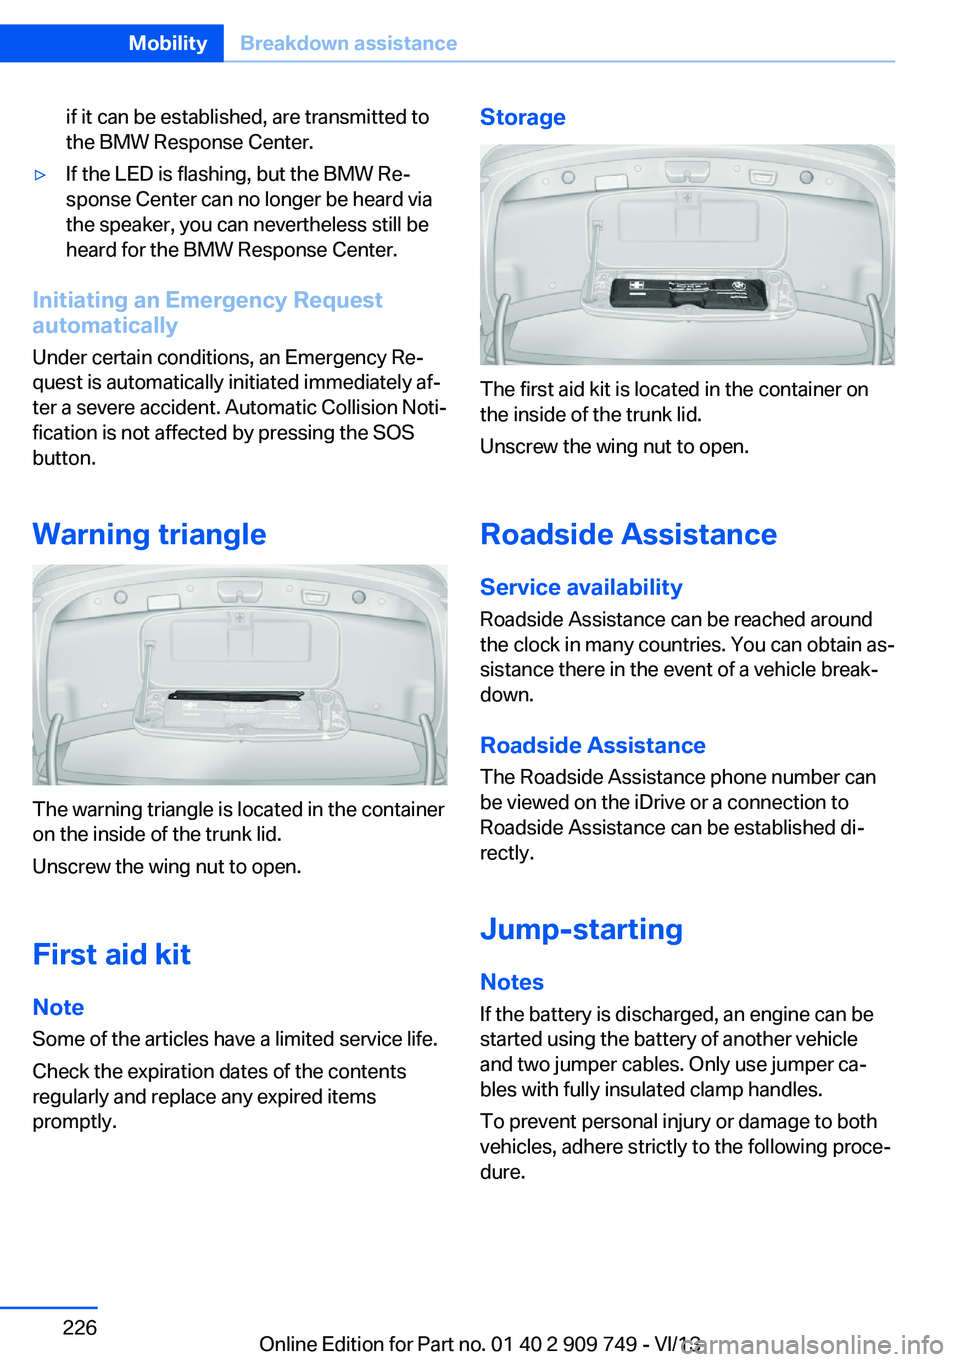
The warning triangle is located in the container
on the inside of the trunk lid.
Unscrew the wing nut to open.
First aid kit
Note Some of the articles have a limited service life.
Check the expiration dates of the contents
regularly and replace any expired items
promptly.
Storage
The first aid kit is located in the container on
the inside of the trunk lid.
Unscrew the wing nut to open.
Roadside Assistance
Service availability
Roadside Assistance can be reached around
the clock in many countries. You can obtain as‐
sistance there in the event of a vehicle break‐
down.
Roadside Assistance The Roadside Assistance phone number can
be viewed on the iDrive or a connection to
Roadside Assistance can be established di‐
rectly.
Jump-starting
Notes If the battery is discharged, an engine can be
started using the battery of another vehicle
and two jumper cables. Only use jumper ca‐
bles with fully insulated clamp handles.
To prevent personal injury or damage to both
vehicles, adhere strictly to the following proce‐
dure.
Seite 226MobilityBreakdown assistance226
Online Edition for Part no. 01 40 2 909 749 - VI/13
Page 248 of 251
Steering, Integral ActiveSteering 129
Steering wheel, adjusting 60
Steering wheel heating 61
Steering wheel memory 57
Steptronic, automatic trans‐ mission 76
Stopping the engine 67
Storage compartments 176
Storage compartments, loca‐ tions 176
Storage, tires 208
Storing the vehicle 233
Summer tires, tread 206
Supplementary text mes‐ sage 84
Surround View 147
Suspension settings 130
Switch for Dynamic Driving Control 130
Switch, refer to Cockpit 12
Symbols 6
SYNC program, automatic cli‐ mate control 162
T Tachometer 85
Tail and brake lamps 221
Tailgate 36
Tailgate, automatic 37
Tailgate opening/closing with no-touch activation 40
Tailgate via remote con‐ trol 34
Tail lamps 221
Tail lamps, bulb replace‐ ment 221
Technical changes, refer to Safety 7
Technical data 236
Telephone, see user's manual for Navigation, Entertain‐
ment and Communication
Temperature, automatic cli‐ mate control 161 Temperature display, external
temperature 86
Temperature, engine oil 85
Tempomat, refer to Active Cruise Control 133
Terminal, starting aid 227
Text message, supplemen‐ tary 84
Theft alarm system, refer to Alarm system 42
Theft protection, lug bolts 222
Theft protection, refer to Central locking system 33
Thermal camera, refer to Night Vision 116
Tilt alarm sensor 43
Time of arrival 92
Tire damage 206
Tire identification marks 204
Tire inflation pressure 199
Tire inflation pressure moni‐ tor, refer to FTM 103
Tire Pressure Monitor TPM 105
Tires, changing 206
Tires, everything on wheels and tires 199
Tires, run-flat tires 208
Tire tread 206
Tone, see user's manual for Navigation, Entertainment
and Communication
Tools 218
Top View 151
Total vehicle weight 237
Touchpad 18
Tow fitting 229
Towing 228
Tow-starting 228
TPM Tire Pressure Moni‐ tor 105
Traction control 126
TRACTION program, Dy‐ namic Driving Control 130
Transmission, automatic 76 Transporting children
safely 62
Tread, tires 206
Trip computer 92
Triple turn signal activa‐ tion 74
Trip odometer 86
Trunk lid 36
Trunk lid, automatic 37
Trunk lid, emergency unlock‐ ing 39
Trunk lid, hotel function 39
Trunk lid, manual opera‐ tion 37
Trunk lid opening/closing with no-touch activation 40
Trunk lid via remote con‐ trol 34
Turning circle 237
Turning circle lines, rearview camera 148
Turn signals, operation 73
Turn signals, rear, bulb re‐ placement 221
U
Unintentional alarm 44
Units of measure 93
Universal remote control 168
Unlock button, automatic transmission 77
Unlocking/locking from in‐ side 36
Unlocking/locking via door lock 35
Unlocking/locking with re‐ mote control 34
Unlocking, settings 41
Updates made after the edito‐ rial deadline 7
Upholstery care 232
USB interface 172 Seite 248ReferenceEverything from A to Z248
Online Edition for Part no. 01 40 2 909 749 - VI/13