2014 BMW 650I CONVERTIBLE reset
[x] Cancel search: resetPage 32 of 243
Renaming profiles1."Settings"2."Profiles"
The current profile is selected.3.Open "Options".4."Rename current profile"
Resetting profiles The settings of the active profile are reset to
their default values.
1."Settings"2."Profiles"
The current profile is selected.3.Open "Options".4."Reset current profile"
Importing profiles
Existing settings and contacts are overwritten
with the imported profile.
1."Settings"2."Profiles"3."Import profile"4.BMW Online: "BMW Online"
USB interface, refer to page 169: "USB
device"
Exporting profiles
Most settings of the active profile and the
saved contacts can be exported.
This can be helpful for securing and retrieving
personal settings, before delivering the vehicle
to a workshop for example.
1."Settings"2."Profiles"3."Export profile"4.BMW Online: "BMW Online"
USB interface, refer to page 169: "USB
device"Using the guest profile
The guest profile can be used to make individ‐
ual settings without affecting the three Per‐
sonal Profiles.
This can be useful for drivers who are using
the vehicle temporarily and do not have their
own profile.1."Settings"2."Profiles"
The current profile is selected.3.Open "Guest".4.Create the settings.
Note: the guest profile cannot be renamed.
Display profile list during start
The profile list can be displayed during each
start for selecting the desired profile.
1."Settings"2."Profiles"3.Open "Options".4."Display user list at startup"
Personal Profile settings
The following functions and settings can be
stored in a profile.
▷Collision warning: warning time.▷Exterior mirror position.▷CD/Multimedia: audio source listened to
last.▷Unlocking/locking of the vehicle: settings.▷Driving Dynamics Control: sport program.▷Driver's seat position: automatic retrieval
after unlocking.▷Programmable memory buttons: assign‐
ment.▷Head-up Display: selection, brightness,
position and rotation of the display.▷Headlamp courtesy delay feature: time set‐
ting.Seite 32ControlsOpening and closing32
Online Edition for Part no. 01 40 2 910 721 - VI/13
Page 76 of 243
DisplaysVehicle equipmentAll standard, country-specific and optional
equipment that is offered in the model series is
described in this chapter. Therefore, equip‐ment is also described that is not available in a
vehicle, e. g., because of the selected optional
equipment or country variant. This also applies
for safety-related functions and systems.
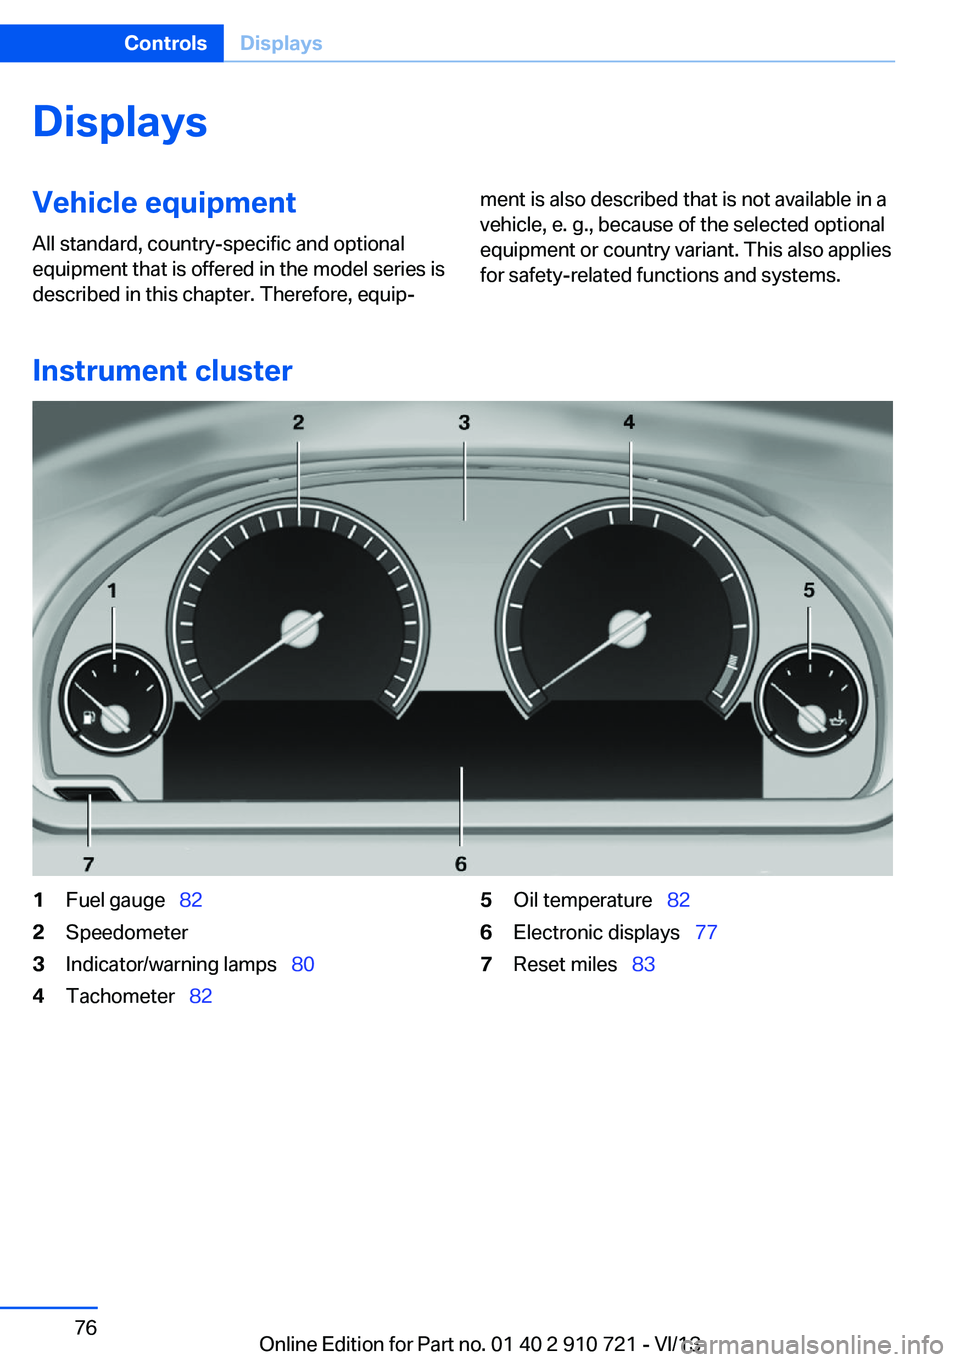
Instrument cluster
1Fuel gauge 822Speedometer3Indicator/warning lamps 804Tachometer 825Oil temperature 826Electronic displays 777Reset miles 83Seite 76ControlsDisplays76
Online Edition for Part no. 01 40 2 910 721 - VI/13
Page 78 of 243
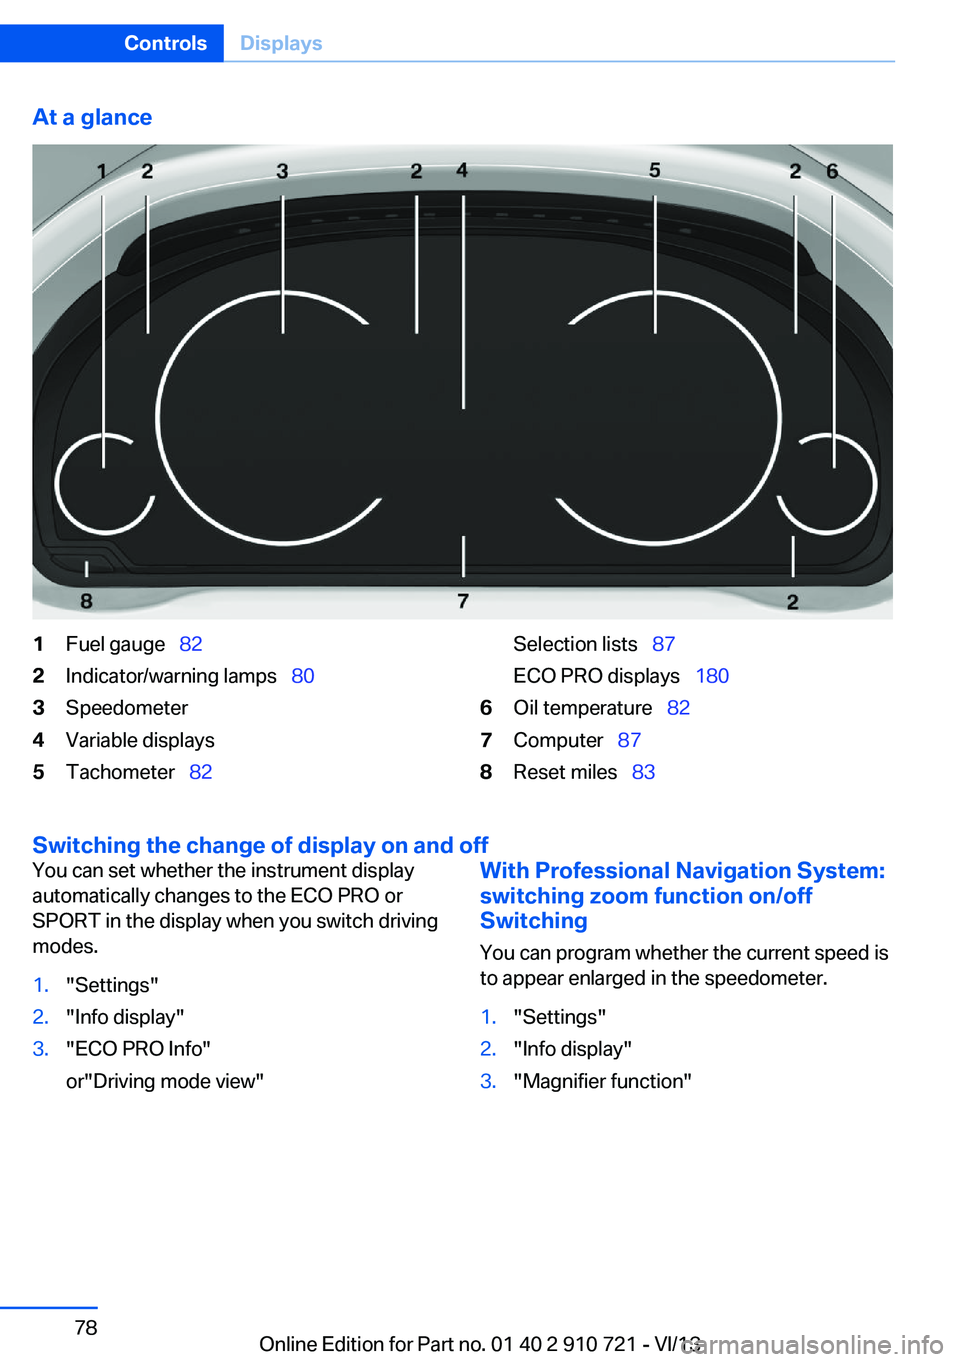
At a glance1Fuel gauge 822Indicator/warning lamps 803Speedometer4Variable displays5Tachometer 82Selection lists 87
ECO PRO displays 1806Oil temperature 827Computer 878Reset miles 83
Switching the change of display on and off
You can set whether the instrument display
automatically changes to the ECO PRO or
SPORT in the display when you switch driving
modes.1."Settings"2."Info display"3."ECO PRO Info"
or"Driving mode view"With Professional Navigation System:
switching zoom function on/off
Switching
You can program whether the current speed is
to appear enlarged in the speedometer.1."Settings"2."Info display"3."Magnifier function"Seite 78ControlsDisplays78
Online Edition for Part no. 01 40 2 910 721 - VI/13
Page 83 of 243
Coolant temperatureIf the coolant along with the engine becomes
too hot, a Check Control message is displayed.
Check the coolant level, refer to page 207.
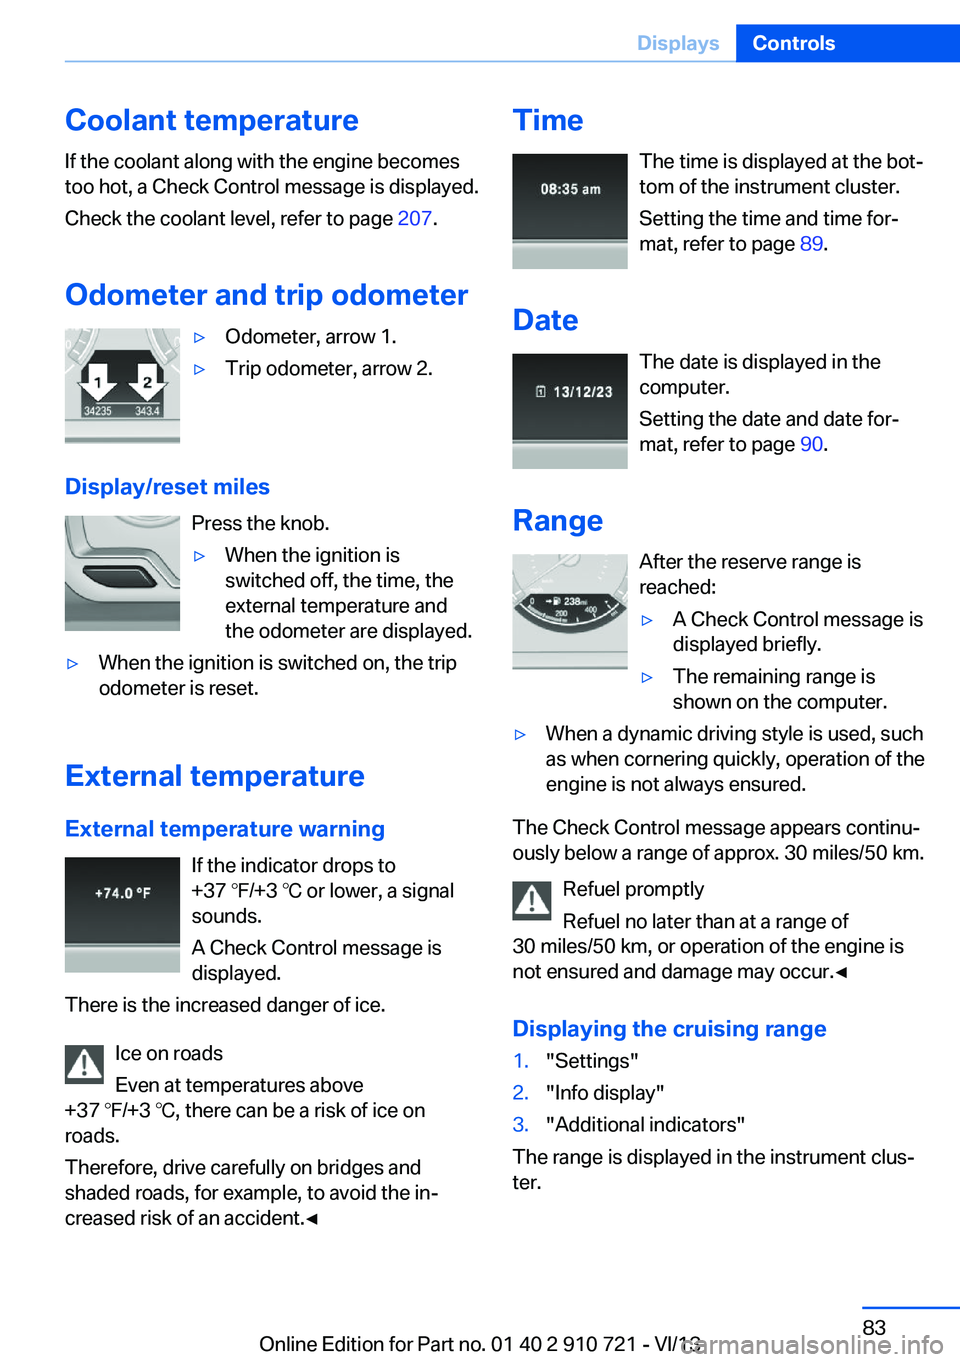
Odometer and trip odometer▷Odometer, arrow 1.▷Trip odometer, arrow 2.
Display/reset miles Press the knob.
▷When the ignition is
switched off, the time, the
external temperature and
the odometer are displayed.▷When the ignition is switched on, the trip
odometer is reset.
External temperature
External temperature warning If the indicator drops to
+37 ℉/+3 ℃ or lower, a signal
sounds.
A Check Control message is displayed.
There is the increased danger of ice.
Ice on roads
Even at temperatures above
+37 ℉/+3 ℃, there can be a risk of ice on
roads.
Therefore, drive carefully on bridges and
shaded roads, for example, to avoid the in‐
creased risk of an accident.◀
Time
The time is displayed at the bot‐
tom of the instrument cluster.
Setting the time and time for‐
mat, refer to page 89.
Date The date is displayed in the
computer.
Setting the date and date for‐
mat, refer to page 90.
Range After the reserve range isreached:▷A Check Control message is
displayed briefly.▷The remaining range is
shown on the computer.▷When a dynamic driving style is used, such
as when cornering quickly, operation of the
engine is not always ensured.
The Check Control message appears continu‐
ously below a range of approx. 30 miles/50 km.
Refuel promptly
Refuel no later than at a range of
30 miles/50 km, or operation of the engine is
not ensured and damage may occur.◀
Displaying the cruising range
1."Settings"2."Info display"3."Additional indicators"
The range is displayed in the instrument clus‐
ter.
Seite 83DisplaysControls83
Online Edition for Part no. 01 40 2 910 721 - VI/13
Page 88 of 243
Information at a glanceRepeatedly pressing the button on the turn
signal lever calls up the following information
on the info display:▷Range.▷Average fuel consumption.▷Average speed.▷Date.▷Speed limit detection.▷Time of arrival.
When destination guidance is activated in
the navigation system.▷Distance to destination.
When destination guidance is activated in
the navigation system.▷Arrow view of navigation system.
When destination guidance is activated in
the navigation system.
When the arrow view in the Head-up Dis‐
play is inactive.▷ECO PRO bonus range.
Adjusting the info display
You can select what information from the on‐
board computer is to be displayed on the info
display of the instrument cluster.
1."Settings"2."Info display"3.Select the desired displays.
Information in detail
Range
Displays the estimated cruising range available
with the remaining fuel.
It is calculated based on your driving style over
the last 20 miles/30 km. If there is only enough
fuel left for less than 45 miles/80 km, the color
of the display changes.
Average fuel consumption
The average fuel consumption is calculated for
the period during which the engine is running.
The average fuel consumption is calculated for
the distance traveled since the last reset by the
onboard computer.
Average speed
Periods in which the vehicle is parked with the
engine manually stopped do not enter into the
calculation of the average speed.
Resetting average values
Press and hold the computer button on the
turn signal lever.
Distance to destination
The distance remaining to the destination is
displayed if a destination is entered in the navi‐
gation system before the trip is started.
The distance to the destination is adopted au‐
tomatically.
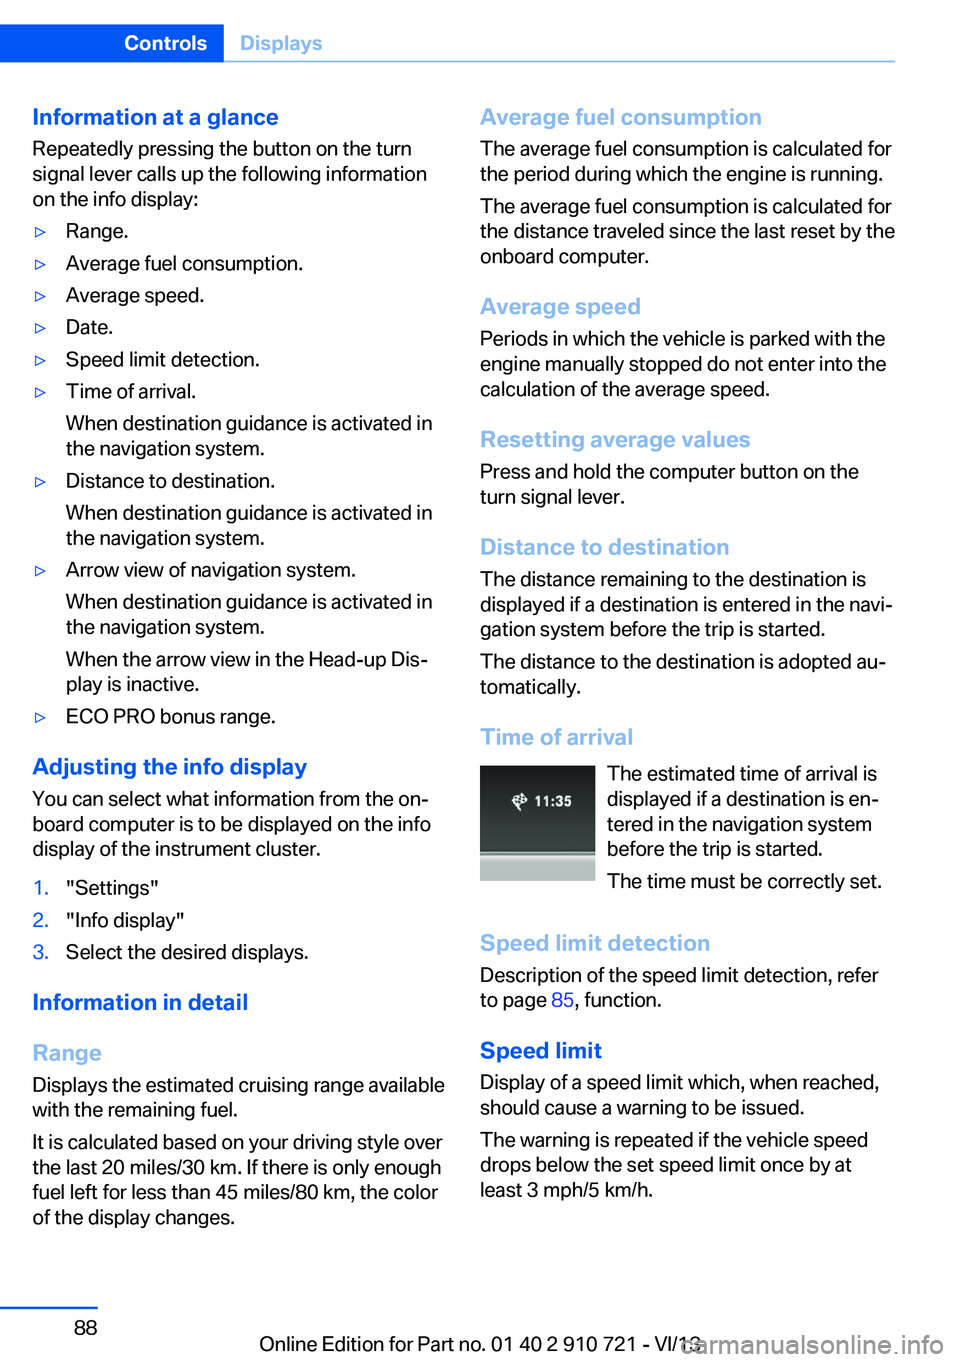
Time of arrival The estimated time of arrival is
displayed if a destination is en‐
tered in the navigation system
before the trip is started.
The time must be correctly set.
Speed limit detection
Description of the speed limit detection, refer
to page 85, function.
Speed limit Display of a speed limit which, when reached,
should cause a warning to be issued.
The warning is repeated if the vehicle speed
drops below the set speed limit once by at
least 3 mph/5 km/h.Seite 88ControlsDisplays88
Online Edition for Part no. 01 40 2 910 721 - VI/13
Page 89 of 243
Displaying, setting or changing the
limit1."Settings"2."Speed"3."Warning at:"4.Turn the controller until the desired limit is
displayed.5.Press the controller.
The speed limit is stored.
Activating/deactivating the limit
1."Settings"2."Speed"3."Warning"4.Press the controller.
Setting your current speed as the limit
1."Settings"2."Speed"3."Select current speed"4.Press the controller.
The current vehicle speed is stored as the
limit.
Trip computer
The vehicle features two types of computer.
▷"Onboard info": the values can be reset as
often as necessary.▷"Trip computer": the values provide an
overview of the current trip.
Resetting the trip computer
1."Vehicle Info"2."Trip computer"3."Reset": all values are reset.
"Automatically reset": all values are reset
approx. 4 hours after the vehicle comes to
a standstill.Display on the Control Display
Display the onboard computer or trip computer
on the Control Display.1."Vehicle Info"2."Onboard info" or "Trip computer"
Resetting the fuel consumption or
speed
1."Vehicle Info"2."Onboard info"3."Consumpt." or "Speed"4."Yes"
Settings on the Control
Display
Time
Setting the time zone
1."Settings"2."Time/Date"3."Time zone"4.Select the desired time zone.
The time zone is stored.
Setting the time
1."Settings"2."Time/Date"3."Time:"4.Turn the controller until the desired hours
are displayed.5.Press the controller.6.Turn the controller until the desired mi‐
nutes are displayed.7.Press the controller.
The time is stored.
Seite 89DisplaysControls89
Online Edition for Part no. 01 40 2 910 721 - VI/13
Page 100 of 243
5.Proceed likewise with the second safety
frame.6.Close the convertible top
In the event of malfunctions, deactivation
or after deployment
Only have the airbags checked, repaired or dis‐
mantled and the system scrapped by your
service center. Non-professional attempts to
service the system could lead to failure in an
emergency or undesired triggering of the air‐
bag, either of which could result in injury.◀
Malfunction A Check Control message is displayed
when there is a malfunction.
Tire Pressure Monitor TPM
The concept The system monitors tire pressure in the four
mounted tires. The system warns you if there
is a significant loss of pressure in one or more
tires. For this purpose, sensors in the tire
valves measure the tire pressure and tire tem‐
perature.
Hints Tire damage due to external factors
Sudden tire damage caused by external
influences cannot be indicated in advance.◀
Pay attention to the other information and indi‐
cations under Tire inflation pressure, refer to
page 191, as well when using the system.
Functional requirements
The system must have been reset with the
correct tire inflation pressure; otherwise, relia‐
ble signaling of tire pressure loss is not en‐
sured.
Reset the system again after each correction
of the tire inflation pressure and after every tire
or wheel change.
Always use wheels with TPM electronics to
ensure that the system will operate properly.
Status display
The current status of the Tire Pressure Moni‐
tor TPM can be displayed on the Control Dis‐
play, e.g., whether or not the TPM is active.1."Vehicle Info"2."Vehicle status"3. "Tire Pressure Monitor"
The status is displayed.
Status display The tire and system status is indicated by the
color of the wheels and a text message on the
Control Display.
All wheels green System is active and will issue a warning rela‐
tive to the tire inflation pressures stored during
the last reset.
One wheel is yellow A flat tire or major drop in inflation pressure in
the indicated tire.
All wheels are yellow
A flat tire or major drop in inflation pressure in
several tires.
Wheels, grayThe system cannot detect a flat tire. Reasons
for this may be:
▷The system is being reset.▷Malfunction.
Additional information
The status display additionally shows the cur‐
rent tire inflation pressures and tire tempera‐
tures. The values shown are current measure‐
ment values and may vary depending on
driving style or weather conditions.
Seite 100ControlsSafety100
Online Edition for Part no. 01 40 2 910 721 - VI/13
Page 101 of 243
Carry out resetReset the system after each correction of the
tire inflation pressure and after every tire or
wheel change.1."Vehicle Info"2."Vehicle status"3. "Perform reset"4.Start the engine - do not drive away.5.Carry out the reset with "Perform reset".6.Drive away.
The tires are shown in gray and the status is
displayed.
After driving faster than 19 mph/30 km/h for a
short period, the tire inflation pressures set are
accepted as reference values. The reset is
completed automatically during driving.
After a successfully completed Reset, the
wheels on the Control Display are shown in
green and "Tire Pressure Monitor (TPM)
active" is displayed.
The trip can be interrupted at any time. If you
drive away again, the reset resumes automati‐
cally.
Low tire pressure message The yellow warning lamp lights up. A
Check Control message is displayed.
▷There is a flat tire or a major loss in
tire inflation pressure.▷No reset was performed for the system.
The system therefore issues a warning
based on the tire pressures before the last
reset.1.Reduce your speed and stop cautiously.
Avoid sudden braking and steering maneu‐
vers.2.Check whether the vehicle is fitted with
regular tires or run-flat tires.
Run-flat tires, refer to page 201, are la‐
beled with a circular symbol containing the
letters RSC marked on the tire sidewall.Do not continue driving without run-flat
tires
Do not continue driving if the vehicle is not
equipped with run-flat tires; continued driving
may result in serious accidents.◀
When a low inflation pressure is indicated,
DSC Dynamic Stability Control is switched on
if necessary.
Actions in the event of a flat tire
Normal tires1.Identify the damaged tire.
Do this by checking the air pressure in all
four tires.
If the tire inflation pressure in all four tires
is correct, it is possible that a reset was not
carried out for the Tire Pressure Monitor. In
that case, carry out a reset.
If an identification is not possible, please
contact the service center.2.Rectify the flat tire.
Use of tire sealant, e.g., the Mobility Sys‐
tem, may damage the TPM wheel elec‐
tronics. In this case, have the electronics
checked at the next opportunity and have
them replaced if necessary.
Run-flat tires
Maximum speed
You can continue driving with a damaged tire
at speeds up to 50 mph/80 km/h.
Continued driving with a flat tire
If continuing to drive with a damaged tire:
1.Avoid sudden braking and steering maneu‐
vers.2.Do not exceed a speed of 50 mph/80 km/h.3.Check the air pressure in all four tires at
the next opportunity.Seite 101SafetyControls101
Online Edition for Part no. 01 40 2 910 721 - VI/13