2014 BMW 640I COUPE change wheel
[x] Cancel search: change wheelPage 125 of 237
Press the
buttonFunctionRocker switch:
Change/maintain speed, refer
to page 126Congestion Assistant ON/OFF,
Pause, refer to page 130
The arrangement of the buttons varies accord‐
ing to the how the vehicle is equipped or coun‐
try-specific variants.
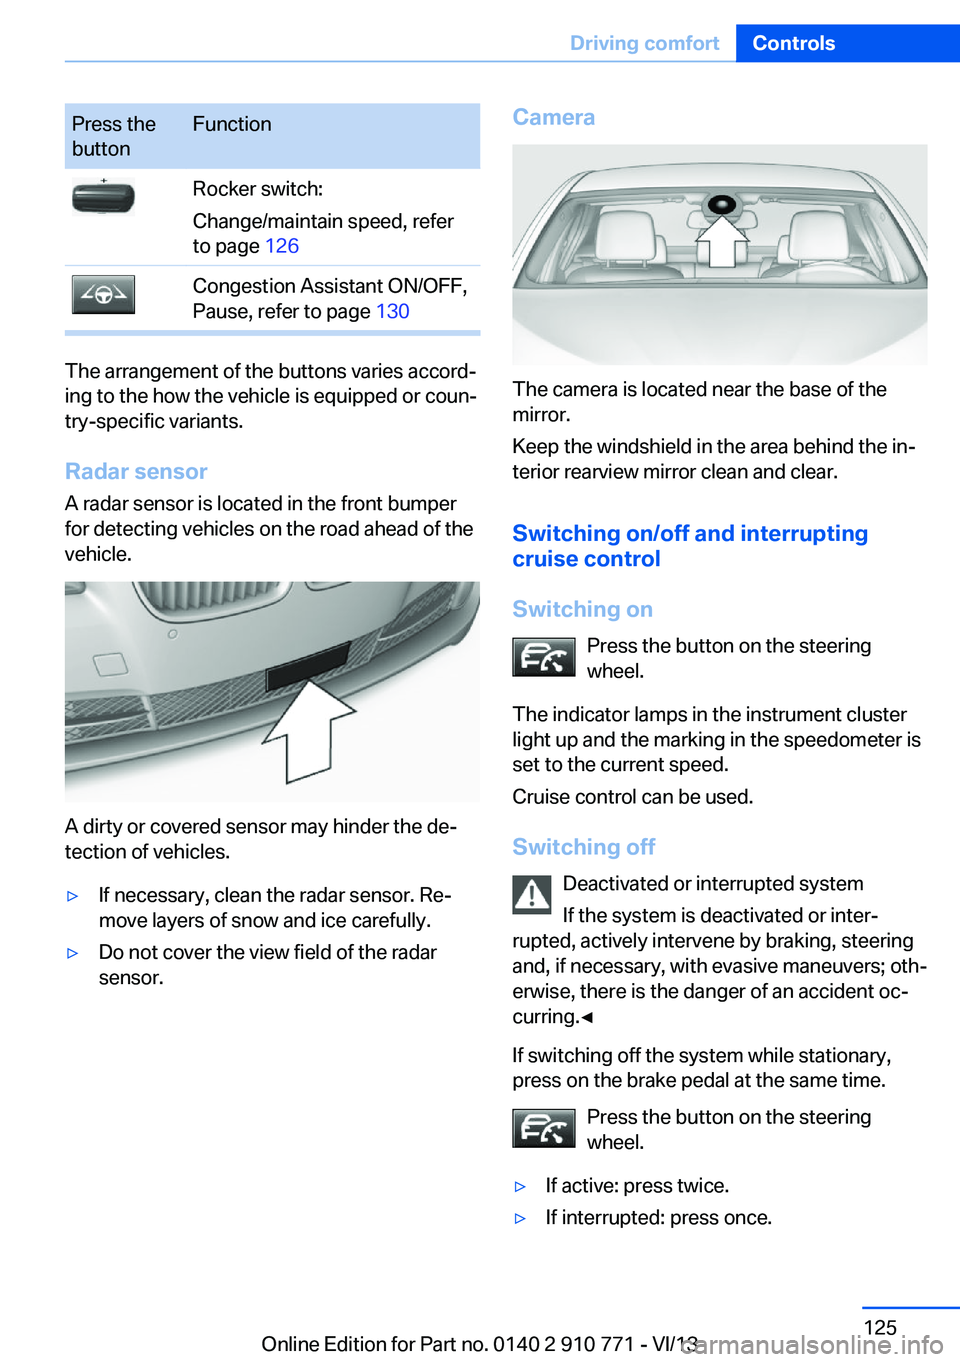
Radar sensor
A radar sensor is located in the front bumper
for detecting vehicles on the road ahead of the
vehicle.
A dirty or covered sensor may hinder the de‐
tection of vehicles.
▷If necessary, clean the radar sensor. Re‐
move layers of snow and ice carefully.▷Do not cover the view field of the radar
sensor.Camera
The camera is located near the base of the
mirror.
Keep the windshield in the area behind the in‐
terior rearview mirror clean and clear.
Switching on/off and interrupting
cruise control
Switching on Press the button on the steering
wheel.
The indicator lamps in the instrument cluster
light up and the marking in the speedometer is
set to the current speed.
Cruise control can be used.
Switching off Deactivated or interrupted system
If the system is deactivated or inter‐
rupted, actively intervene by braking, steering
and, if necessary, with evasive maneuvers; oth‐
erwise, there is the danger of an accident oc‐
curring.◀
If switching off the system while stationary,
press on the brake pedal at the same time.
Press the button on the steering
wheel.
▷If active: press twice.▷If interrupted: press once.Seite 125Driving comfortControls125
Online Edition for Part no. 0140 2 910 771 - VI/13
Page 131 of 237
General information
The congestion assistant determines speed
and distance from the vehicle in front via a ra‐
dar sensor and the position of the lane marking
via a camera.
Sensors on the steering wheel detect whether
the steering wheel is being touched.
The system is deactivated as soon as contact
with the steering wheel is no longer detected.
In order to be able to use the Congestion As‐
sistant, place your hands around the steering
wheel.
When driving with gloves or with protective
covers, contact with the steering wheel cannot
be detected by the sensors. The system in this
case cannot be used.
Notes Personal responsibility
The system does not relieve the driver of
the responsibility to adapt his or her speed,
distance and driving style to the traffic condi‐
tions. Drive attentively, and react to the current
traffic events. Intervene actively when neces‐
sary, e.g., by braking, steering or making an
evasive maneuver, otherwise, there is danger
of an accident.◀
Functional requirements▷Drive on approved road type. The data on
this are stored in the navigation system.▷Driving on the limited access highway or
divided lane roads.▷Sufficient lane width.▷Lane marking is detected.▷Vehicle driving ahead is detected.▷Speed below 25 mph/40 km/h.▷Both hands on the steering wheel rim.At a glance
Buttons on the steering wheelPress the
buttonFunctionCongestion Assistant ON/OFF,
Pause, refer to page 132.Rocker switch:
Store, change/maintain speed,
refer to page 126.Maintain, store speed, refer to
page 126.Resume speed, refer to
page 127.Adjust distance, refer to
page 127.
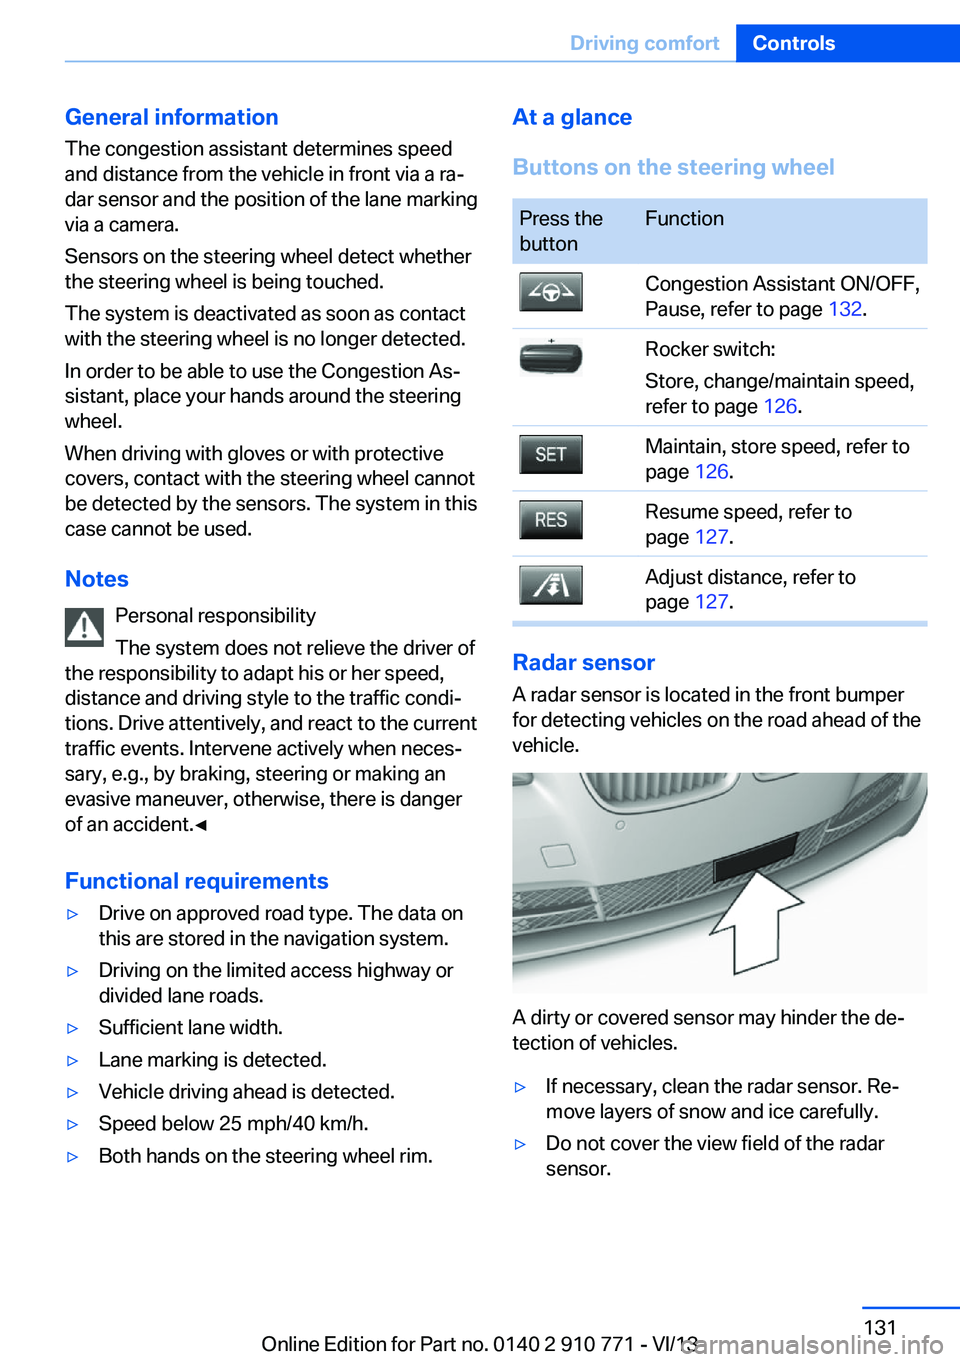
Radar sensor
A radar sensor is located in the front bumper
for detecting vehicles on the road ahead of the
vehicle.
A dirty or covered sensor may hinder the de‐
tection of vehicles.
▷If necessary, clean the radar sensor. Re‐
move layers of snow and ice carefully.▷Do not cover the view field of the radar
sensor.Seite 131Driving comfortControls131
Online Edition for Part no. 0140 2 910 771 - VI/13
Page 134 of 237
▷In heavy traffic.▷On slippery roads, in fog, snow or rain, or
on a loose road surface.
Otherwise, you could lose control of the vehi‐
cle and cause an accident.◀
General information
When ECO PRO is activated, cruise control is
also set to a driving style that saves on fuel
consumption.
Controls
At a glance
Press the
buttonFunctionCruise control on/off, interrupt‐
ing, refer to page 134Store/maintain speed, refer to
page 134Resume speed, refer to
page 135Rocker switch:
Change/maintain speed, refer
to page 135
The arrangement of the buttons varies accord‐
ing to the how the vehicle is equipped or coun‐
try-specific variants.
Switching on Press the button on the steering
wheel.
The marking in the speedometer is set to the
current speed.
The cruise control can be used.
Switching off
Deactivated or interrupted system
If the system is deactivated or inter‐
rupted, actively intervene by braking and, if
necessary, with evasive maneuvers; otherwise,
there is the danger of an accident occurring.◀
Press the button on the steering
wheel.▷If active: press twice.▷If interrupted: press once.
The displays go out. The stored desired speed
is deleted.
Interrupting When active, press the button.
The system is automatically interrupted if:
▷The brakes are applied.▷The transmission position D is disengaged.▷DTC Dynamic Traction Control is activated
or DSC is deactivated.▷DSC is actively controlling stability.▷HDC is activated.
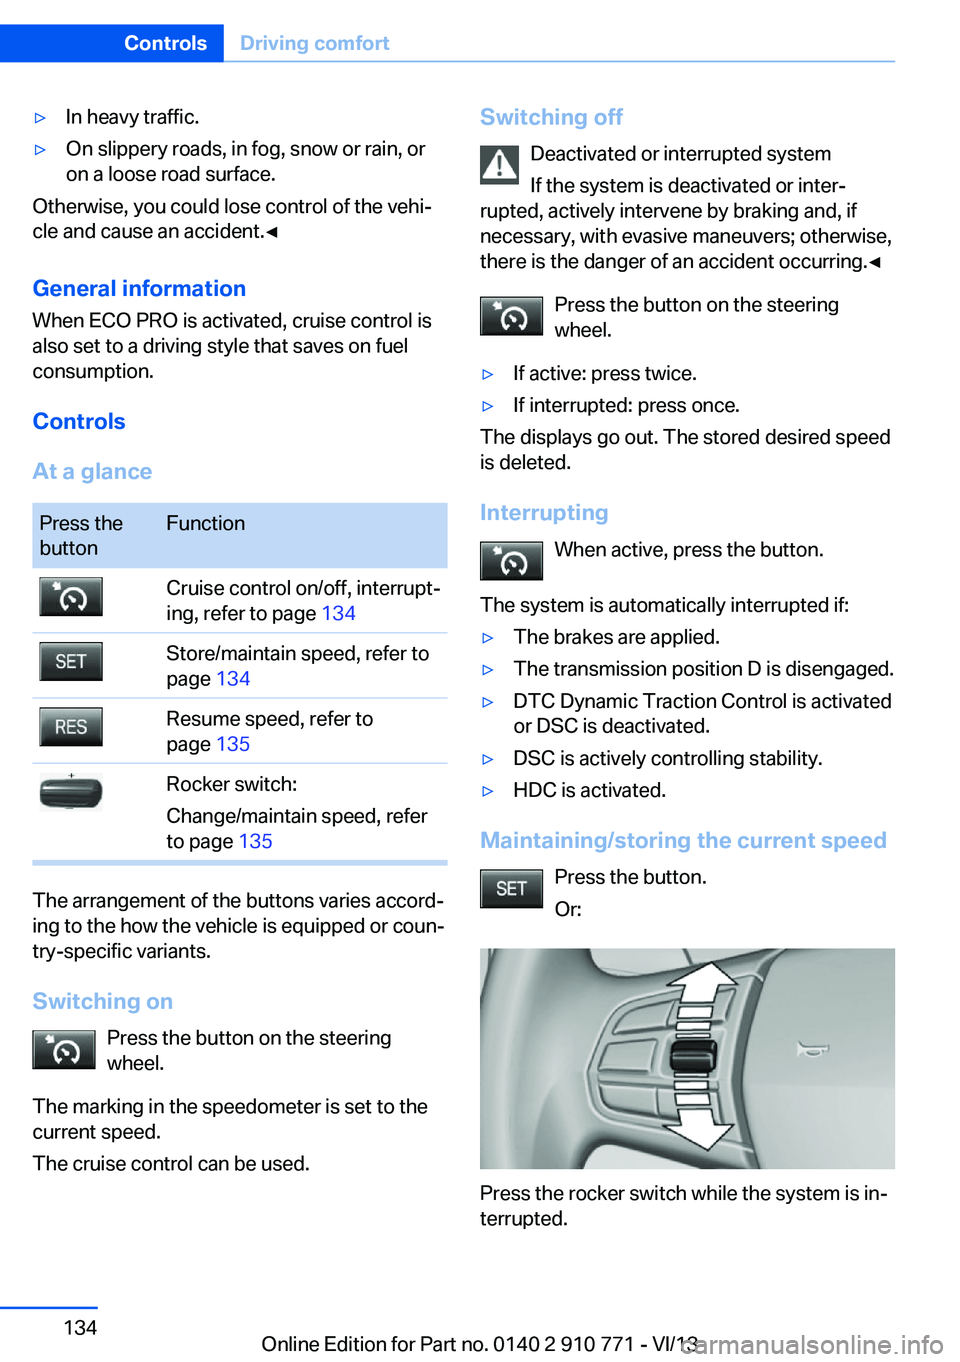
Maintaining/storing the current speed
Press the button.
Or:
Press the rocker switch while the system is in‐
terrupted.
Seite 134ControlsDriving comfort134
Online Edition for Part no. 0140 2 910 771 - VI/13
Page 144 of 237
System limits
The cameras capture a maximum range of
330 ft/100 m.
Parking assistantThe concept
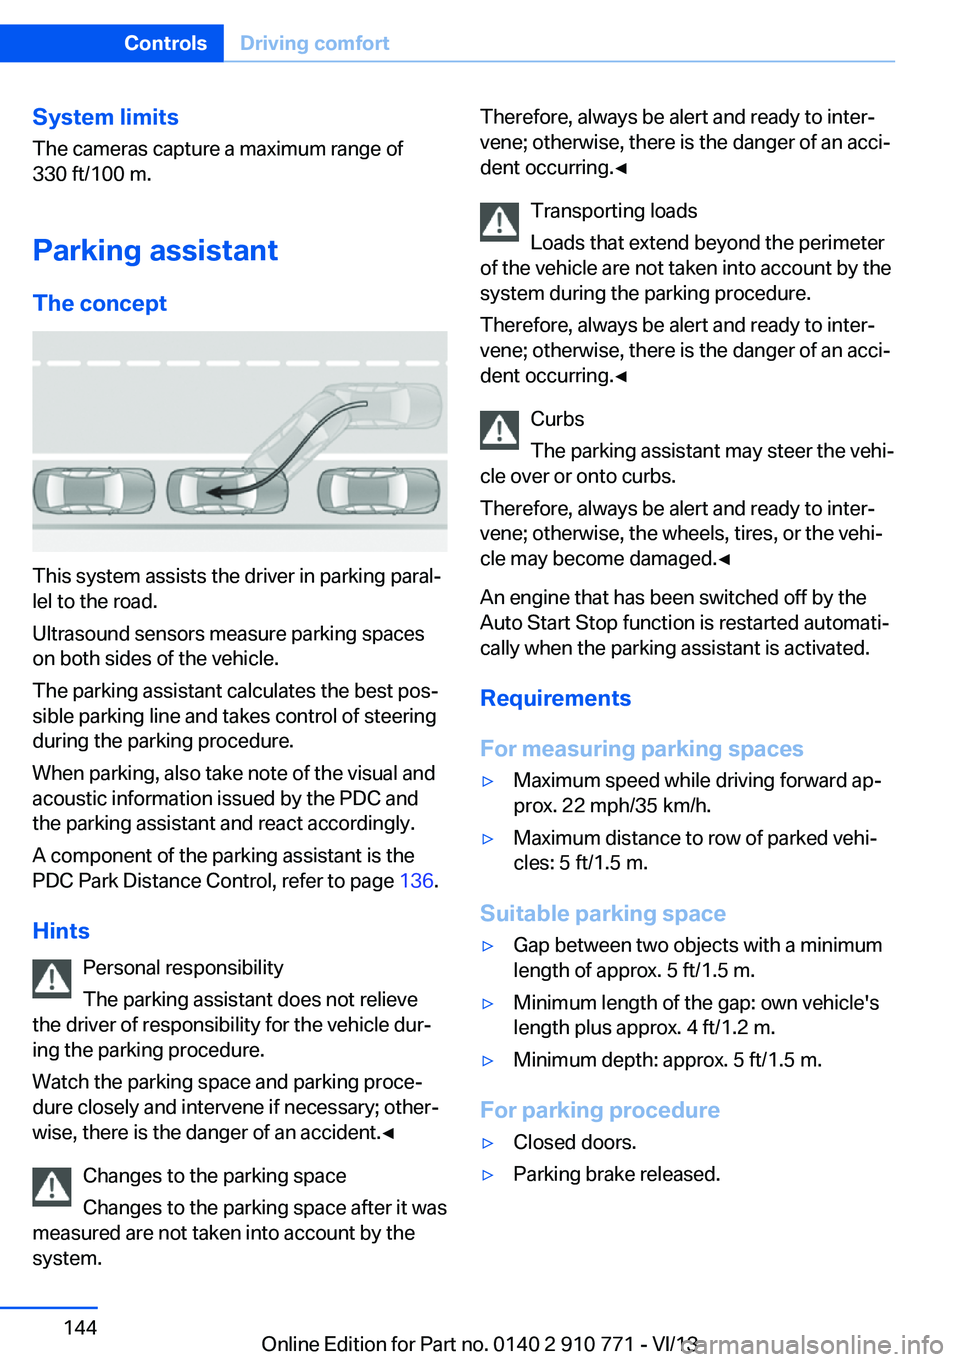
This system assists the driver in parking paral‐
lel to the road.
Ultrasound sensors measure parking spaces
on both sides of the vehicle.
The parking assistant calculates the best pos‐
sible parking line and takes control of steering
during the parking procedure.
When parking, also take note of the visual and
acoustic information issued by the PDC and
the parking assistant and react accordingly.
A component of the parking assistant is the
PDC Park Distance Control, refer to page 136.
Hints Personal responsibility
The parking assistant does not relieve
the driver of responsibility for the vehicle dur‐
ing the parking procedure.
Watch the parking space and parking proce‐
dure closely and intervene if necessary; other‐
wise, there is the danger of an accident.◀
Changes to the parking space
Changes to the parking space after it was
measured are not taken into account by the
system.
Therefore, always be alert and ready to inter‐
vene; otherwise, there is the danger of an acci‐
dent occurring.◀
Transporting loads
Loads that extend beyond the perimeter
of the vehicle are not taken into account by the
system during the parking procedure.
Therefore, always be alert and ready to inter‐
vene; otherwise, there is the danger of an acci‐
dent occurring.◀
Curbs
The parking assistant may steer the vehi‐
cle over or onto curbs.
Therefore, always be alert and ready to inter‐
vene; otherwise, the wheels, tires, or the vehi‐
cle may become damaged.◀
An engine that has been switched off by the
Auto Start Stop function is restarted automati‐
cally when the parking assistant is activated.
Requirements
For measuring parking spaces▷Maximum speed while driving forward ap‐
prox. 22 mph/35 km/h.▷Maximum distance to row of parked vehi‐
cles: 5 ft/1.5 m.
Suitable parking space
▷Gap between two objects with a minimum
length of approx. 5 ft/1.5 m.▷Minimum length of the gap: own vehicle's
length plus approx. 4 ft/1.2 m.▷Minimum depth: approx. 5 ft/1.5 m.
For parking procedure
▷Closed doors.▷Parking brake released.Seite 144ControlsDriving comfort144
Online Edition for Part no. 0140 2 910 771 - VI/13
Page 146 of 237
The parking procedure is active.
Steering control has been
seized.
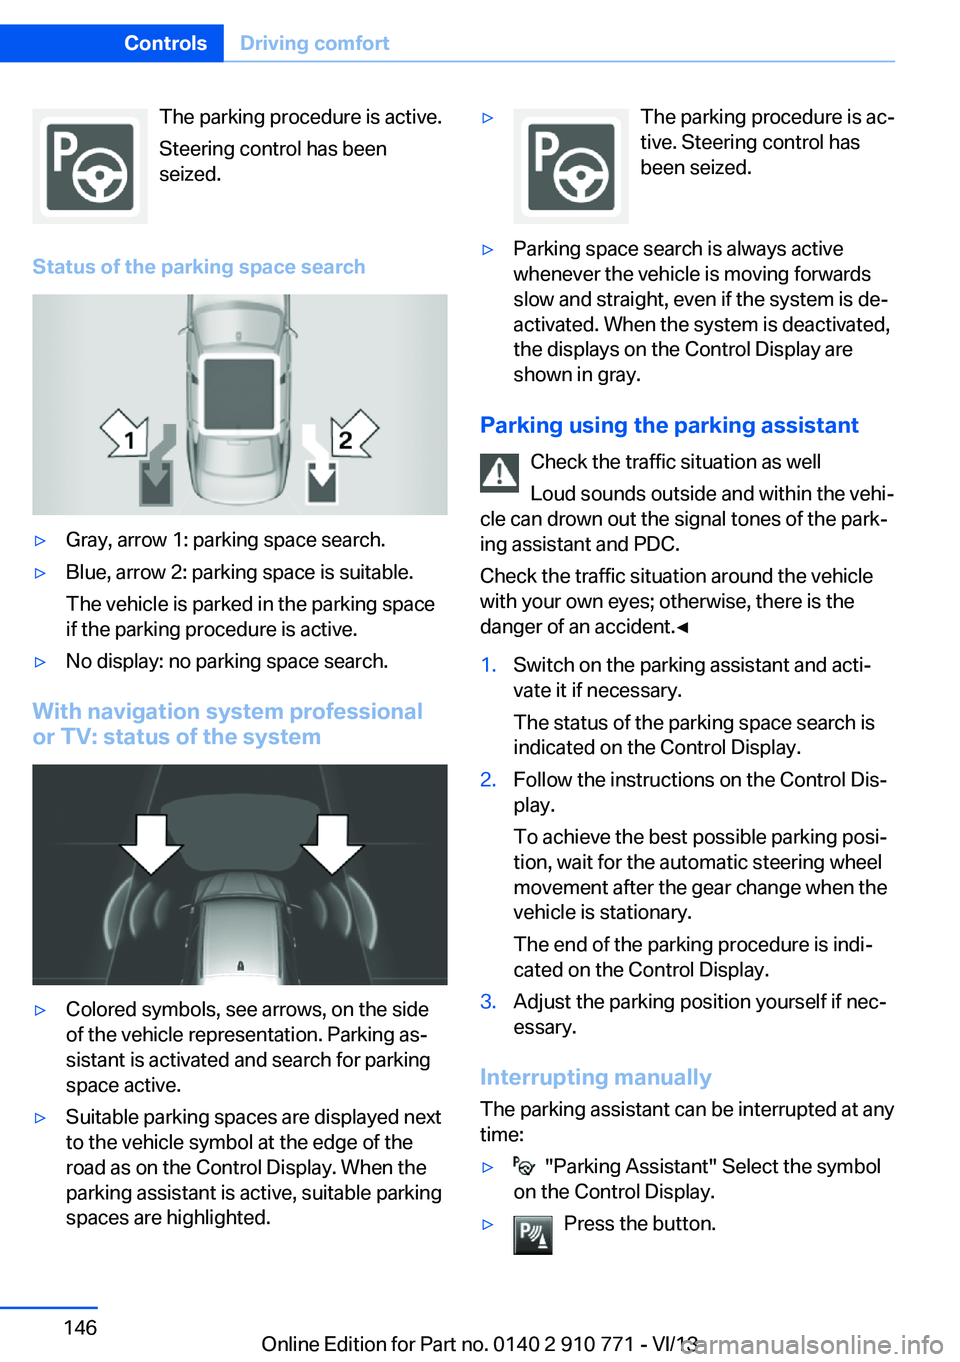
Status of the parking space search▷Gray, arrow 1: parking space search.▷Blue, arrow 2: parking space is suitable.
The vehicle is parked in the parking space
if the parking procedure is active.▷No display: no parking space search.
With navigation system professional
or TV: status of the system
▷Colored symbols, see arrows, on the side
of the vehicle representation. Parking as‐
sistant is activated and search for parking
space active.▷Suitable parking spaces are displayed next
to the vehicle symbol at the edge of the
road as on the Control Display. When the
parking assistant is active, suitable parking
spaces are highlighted.▷The parking procedure is ac‐
tive. Steering control has
been seized.▷Parking space search is always active
whenever the vehicle is moving forwards
slow and straight, even if the system is de‐
activated. When the system is deactivated,
the displays on the Control Display are
shown in gray.
Parking using the parking assistant
Check the traffic situation as well
Loud sounds outside and within the vehi‐
cle can drown out the signal tones of the park‐
ing assistant and PDC.
Check the traffic situation around the vehicle
with your own eyes; otherwise, there is the
danger of an accident.◀
1.Switch on the parking assistant and acti‐
vate it if necessary.
The status of the parking space search is
indicated on the Control Display.2.Follow the instructions on the Control Dis‐
play.
To achieve the best possible parking posi‐
tion, wait for the automatic steering wheel
movement after the gear change when the
vehicle is stationary.
The end of the parking procedure is indi‐
cated on the Control Display.3.Adjust the parking position yourself if nec‐
essary.
Interrupting manually
The parking assistant can be interrupted at any
time:
▷ "Parking Assistant" Select the symbol
on the Control Display.▷Press the button.Seite 146ControlsDriving comfort146
Online Edition for Part no. 0140 2 910 771 - VI/13
Page 207 of 237

These lights feature LED technology.
Contact your service center in the event of a
malfunction.
Lamps in the trunk lidAccess to the lamps
If necessary, remove the fasteners using the
screwdriver from the onboard vehicle tool kit
and fold away the cover.
Inside brake lamp
Follow the general instructions on Lamps and
bulbs, refer to page 204.
24-watt bulb, HP24W
1.Squeeze the bulb holder and pull it out.2.Pull off the connector.3.Replace the bulb.4.Mount the bulb holder and the cover of the
trunk lid in reverse order.
Reversing lamp
Follow the general instructions on Lamps and
bulbs, refer to page 204.
16-watt bulb, W16W1.Unscrew the bulb holder counterclockwise.2.Pull out the bulb and replace it.3.Mount the bulb holder and the cover of the
trunk lid in reverse order.
Changing wheels
Hints
The vehicle equipment does not include a
spare tire.
When using run-flat tires or tire sealants, a tire
does not need to be changed immediately in
the event of pressure loss due to a flat tire.
The tools for changing wheels are available as
accessories from your service center.
Jacking points for the vehicle jack
The jacking points for the vehicle jack are lo‐
cated at the positions shown.
Seite 207Replacing componentsMobility207
Online Edition for Part no. 0140 2 910 771 - VI/13
Page 227 of 237

tertainment and Communi‐
cation
BMW Homepage 6
BMW Internet page 6
BMW maintenance sys‐ tem 202
Bonus range, ECO PRO 175
Bottle holder, refer to Cu‐ pholder 164
Brake assistant 116
Brake assistant, adaptive 116
Brake discs, breaking in 168
Brake force display 113
Brake lamps, brake force dis‐ play 113
Brake lamps, bulb replace‐ ment 206
Brake lights, adaptive 113
Brake pads, breaking in 168
Braking, hints 169
Breakdown assis‐ tance 210, 211
Breaking in 168
Brightness of Control Dis‐ play 85
Bulb replacement, front 204
Bulb replacement, rear 206
Button, RES 127
Button, Start/Stop 58
Bypassing, refer to Jump- starting 212
C
California Proposition 65 Warning 7
Calling up mirror adjust‐ ment 39
Calling up seat adjust‐ ment 39
Calling up steering wheel ad‐ justment 39
Camera, backup camera 138
Camera, care 218
Camera, Side View 143
Camera, Top View 141 Can holder, refer to Cu‐
pholder 164
Car battery 208
Car care products 216
Care, displays 218
Care, vehicle 216
Cargo 171
Cargo area lid 36
Cargo area, storage compart‐ ments 164
Cargo, securing 172
Cargo straps, securing cargo 172
Car key, refer to Remote con‐ trol 30
Carpet, care 218
Car wash 215
Catalytic converter, refer to Hot exhaust system 168
CBS Condition Based Serv‐ ice 202
CD/Multimedia, see user's manual for Navigation, En‐
tertainment and Communi‐
cation
Center console 14
Center-Lock, see button for central locking 33
Central locking system 33
Central screen, refer to Con‐ trol Display 16
Changes, technical, refer to Safety 7
Changing parts 204
Changing wheels 207
Changing wheels/tires 193
Check Control 75
Checking the oil level elec‐ tronically 199
Children, seating position 54
Children, transporting safely 54
Child restraint fixing sys‐ tem 54
Child restraint fixing system LATCH 55 Child restraint fixing systems,
mounting 54
Child seat, mounting 54
Child seats 54
Chrome parts, care 217
Cigarette lighter 159
Cleaning, displays 218
Climate control 151
Climate control laminated tinted safety glass 169
Climate control wind‐ shield 169
Clock 78
Closing/opening from in‐ side 36
Closing/opening via door lock 35
Closing/opening with remote control 34
Clothes hooks 164
Coasting 177
Coasting with engine decou‐ pled, coasting 177
Coasting with idling en‐ gine 177
Collision warning with braking function 100
Collision warning with City Braking function 103
Combination switch, refer to Turn signals 64
Combination switch, refer to Wiper system 65
COMFORT+ program, Driving Dynamics Control 122
Comfort Access 37
COMFORT program, Driving Dynamics Control 122
Computer 82
Condensation on win‐ dows 152
Condensation under the vehi‐ cle 170
Condition Based Service CBS 202
Configure driving mode 122 Seite 227Everything from A to ZReference227
Online Edition for Part no. 0140 2 910 771 - VI/13
Page 229 of 237

Engine oil change 200
Engine oil filler neck 200
Engine oil temperature 77
Engine oil types, alterna‐ tive 200
Engine oil types, ap‐ proved 200
Engine start during malfunc‐ tion 31
Engine start, jump-start‐ ing 212
Engine start, refer to Starting the engine 59
Engine stop 59
Engine temperature 77
Entering/exiting vehicle, as‐ sistance, steering wheel 53
Entering a car wash 215
Equipment, interior 157
ESP Electronic Stability Pro‐ gram, refer to DSC 116
Exchanging wheels/tires 193
Exhaust system 168
Exterior mirror, automatic dimming feature 52
Exterior mirrors 51
External start 212
External temperature dis‐ play 78
External temperature warn‐ ing 78
Eyes for securing cargo 172
F
Failure message, refer to Check Control 75
False alarm, refer to Uninten‐ tional alarm 41
Fan, refer to Air flow 152
Fault displays, refer to Check Control 75
Filler neck for engine oil 200
Fine wood, care 217
First aid kit 211 Fitting for towing, refer to
Tow fitting 214
Flat tire, changing wheels 207
Flat Tire Monitor FTM 97
Flat tire, Tire Pressure Moni‐ tor TPM 94
Flat tire, warning lamp 95, 98
Flooding 169
Floor carpet, care 218
Floor mats, care 218
Fold-out position, windshield wipers 66
Foot brake 169
For the headliner, refer to All around the interior rearview
mirror 15
Front airbags 91
Front center armrest 163
Front fog lamps 89
Front lamps 204
Front passenger airbags, au‐ tomatic deactivation 93
Front passenger airbags, indi‐ cator lamp 93
Front seats 45
Front turn signals, refer to Light-emitting diodes,
LEDs 206
FTM Flat Tire Monitor 97
Fuel 184
Fuel cap 182
Fuel consumption, current 79
Fuel consumption, refer to Average fuel consump‐
tion 83
Fuel filler flap 182
Fuel gauge 77
Fuel quality 184
Fuel recommendation 184
Fuel, tank capacity 224
Fuse 208 G
Garage door opener, refer to Integrated universal remote
control 157
Gasoline 184
Gasoline quality 184
Gear change, automatic transmission 68
Gear shift indicator 80
General driving notes 168
Glass sunroof, powered with tilt function 42
Glove compartment 162
Gross vehicle weight, ap‐ proved 223
Gross weight, permissible for trailer towing 223
H
Handbrake, refer to Parking brake 62
Hand-held transmitter, alter‐ nating code 158
Hazard warning flashers 210
HDC Hill Descent Con‐ trol 118
Head airbags 91
Headlamp control, auto‐ matic 87
Headlamp courtesy delay fea‐ ture 86
Headlamp courtesy delay fea‐ ture via remote control 34
Headlamp flasher 65
Headlamp glass 205
Headlamps 204
Headlamps, care 216
Headlamp washer system 65
Head restraints 45
Head restraints, front 49
Head-Up Display 148
Head-up Display, care 218
Heating, refer to Parked-car heating 154 Seite 229Everything from A to ZReference229
Online Edition for Part no. 0140 2 910 771 - VI/13