2014 BMW 640I CONVERTIBLE steering wheel
[x] Cancel search: steering wheelPage 148 of 243
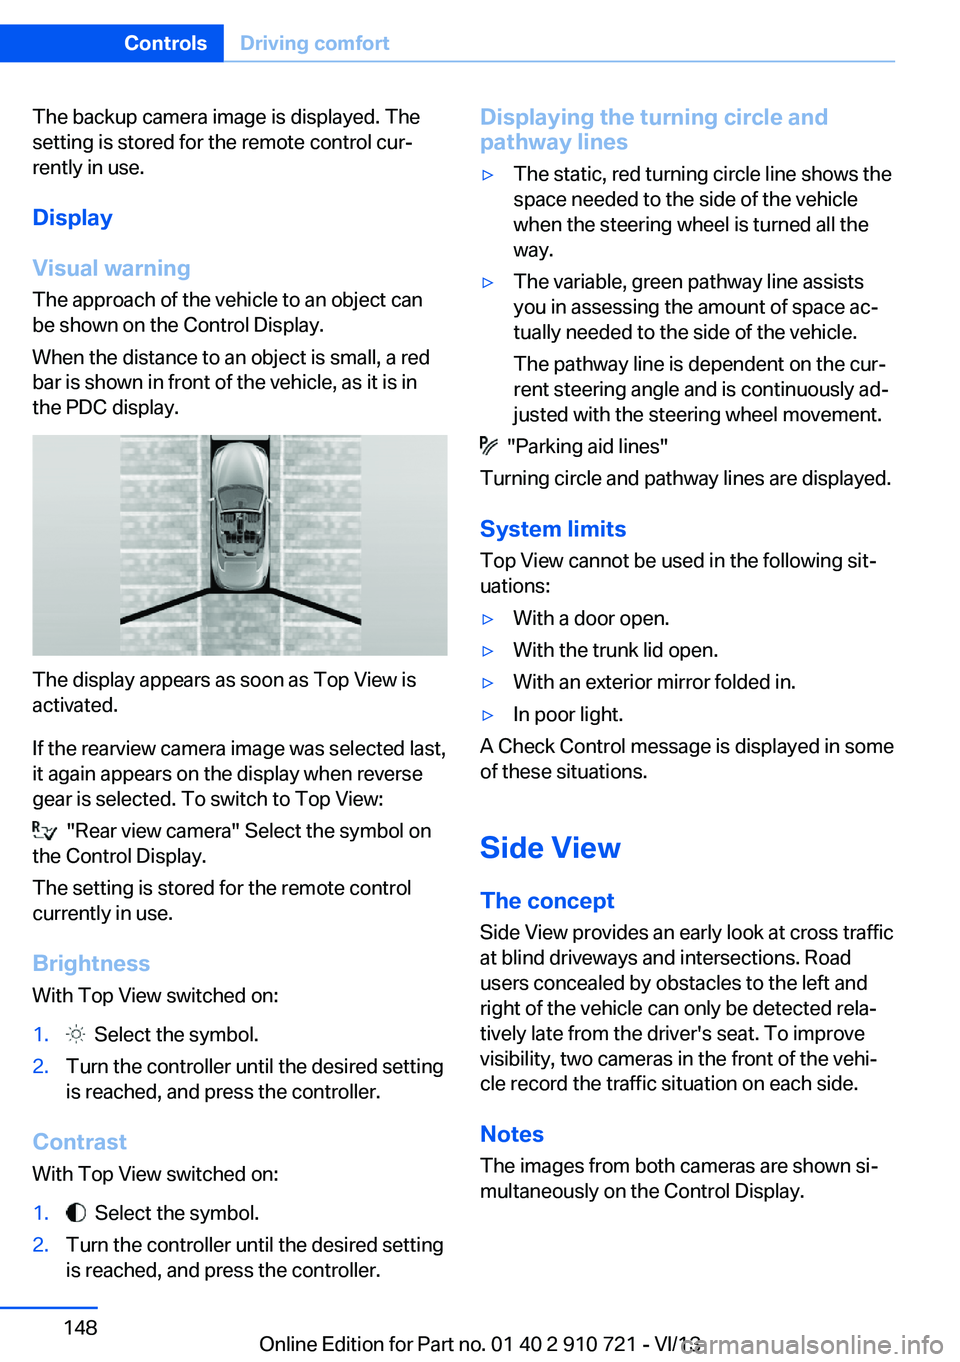
The backup camera image is displayed. The
setting is stored for the remote control cur‐
rently in use.
Display
Visual warning The approach of the vehicle to an object can
be shown on the Control Display.
When the distance to an object is small, a red
bar is shown in front of the vehicle, as it is in
the PDC display.
The display appears as soon as Top View is
activated.
If the rearview camera image was selected last,
it again appears on the display when reverse
gear is selected. To switch to Top View:
"Rear view camera" Select the symbol on
the Control Display.
The setting is stored for the remote control
currently in use.
Brightness
With Top View switched on:
1. Select the symbol.2.Turn the controller until the desired setting
is reached, and press the controller.
Contrast
With Top View switched on:
1. Select the symbol.2.Turn the controller until the desired setting
is reached, and press the controller.Displaying the turning circle and
pathway lines▷The static, red turning circle line shows the
space needed to the side of the vehicle
when the steering wheel is turned all the
way.▷The variable, green pathway line assists
you in assessing the amount of space ac‐
tually needed to the side of the vehicle.
The pathway line is dependent on the cur‐
rent steering angle and is continuously ad‐
justed with the steering wheel movement.
"Parking aid lines"
Turning circle and pathway lines are displayed.
System limits
Top View cannot be used in the following sit‐
uations:
▷With a door open.▷With the trunk lid open.▷With an exterior mirror folded in.▷In poor light.
A Check Control message is displayed in some
of these situations.
Side View The concept Side View provides an early look at cross traffic
at blind driveways and intersections. Road
users concealed by obstacles to the left and
right of the vehicle can only be detected rela‐
tively late from the driver's seat. To improve
visibility, two cameras in the front of the vehi‐
cle record the traffic situation on each side.
Notes
The images from both cameras are shown si‐
multaneously on the Control Display.
Seite 148ControlsDriving comfort148
Online Edition for Part no. 01 40 2 910 721 - VI/13
Page 150 of 243

System limits
The cameras capture a maximum range of
330 ft/100 m.
Parking assistantThe concept
This system assists the driver in parking paral‐
lel to the road.
Ultrasound sensors measure parking spaces
on both sides of the vehicle.
The parking assistant calculates the best pos‐
sible parking line and takes control of steering
during the parking procedure.
When parking, also take note of the visual and
acoustic information issued by the PDC and
the parking assistant and react accordingly.
A component of the parking assistant is the
PDC Park Distance Control, refer to page 142.
Hints Personal responsibility
The parking assistant does not relieve
the driver of responsibility for the vehicle dur‐
ing the parking procedure.
Watch the parking space and parking proce‐
dure closely and intervene if necessary; other‐
wise, there is the danger of an accident.◀
Changes to the parking space
Changes to the parking space after it was
measured are not taken into account by the
system.
Therefore, always be alert and ready to inter‐
vene; otherwise, there is the danger of an acci‐
dent occurring.◀
Transporting loads
Loads that extend beyond the perimeter
of the vehicle are not taken into account by the
system during the parking procedure.
Therefore, always be alert and ready to inter‐
vene; otherwise, there is the danger of an acci‐
dent occurring.◀
Curbs
The parking assistant may steer the vehi‐
cle over or onto curbs.
Therefore, always be alert and ready to inter‐
vene; otherwise, the wheels, tires, or the vehi‐
cle may become damaged.◀
An engine that has been switched off by the
Auto Start Stop function is restarted automati‐
cally when the parking assistant is activated.
Requirements
For measuring parking spaces▷Maximum speed while driving forward ap‐
prox. 22 mph/35 km/h.▷Maximum distance to row of parked vehi‐
cles: 5 ft/1.5 m.
Suitable parking space
▷Gap between two objects with a minimum
length of approx. 5 ft/1.5 m.▷Minimum length of the gap: own vehicle's
length plus approx. 4 ft/1.2 m.▷Minimum depth: approx. 5 ft/1.5 m.
For parking procedure
▷Closed doors.▷Parking brake released.Seite 150ControlsDriving comfort150
Online Edition for Part no. 01 40 2 910 721 - VI/13
Page 152 of 243
The parking procedure is active.
Steering control has been
seized.
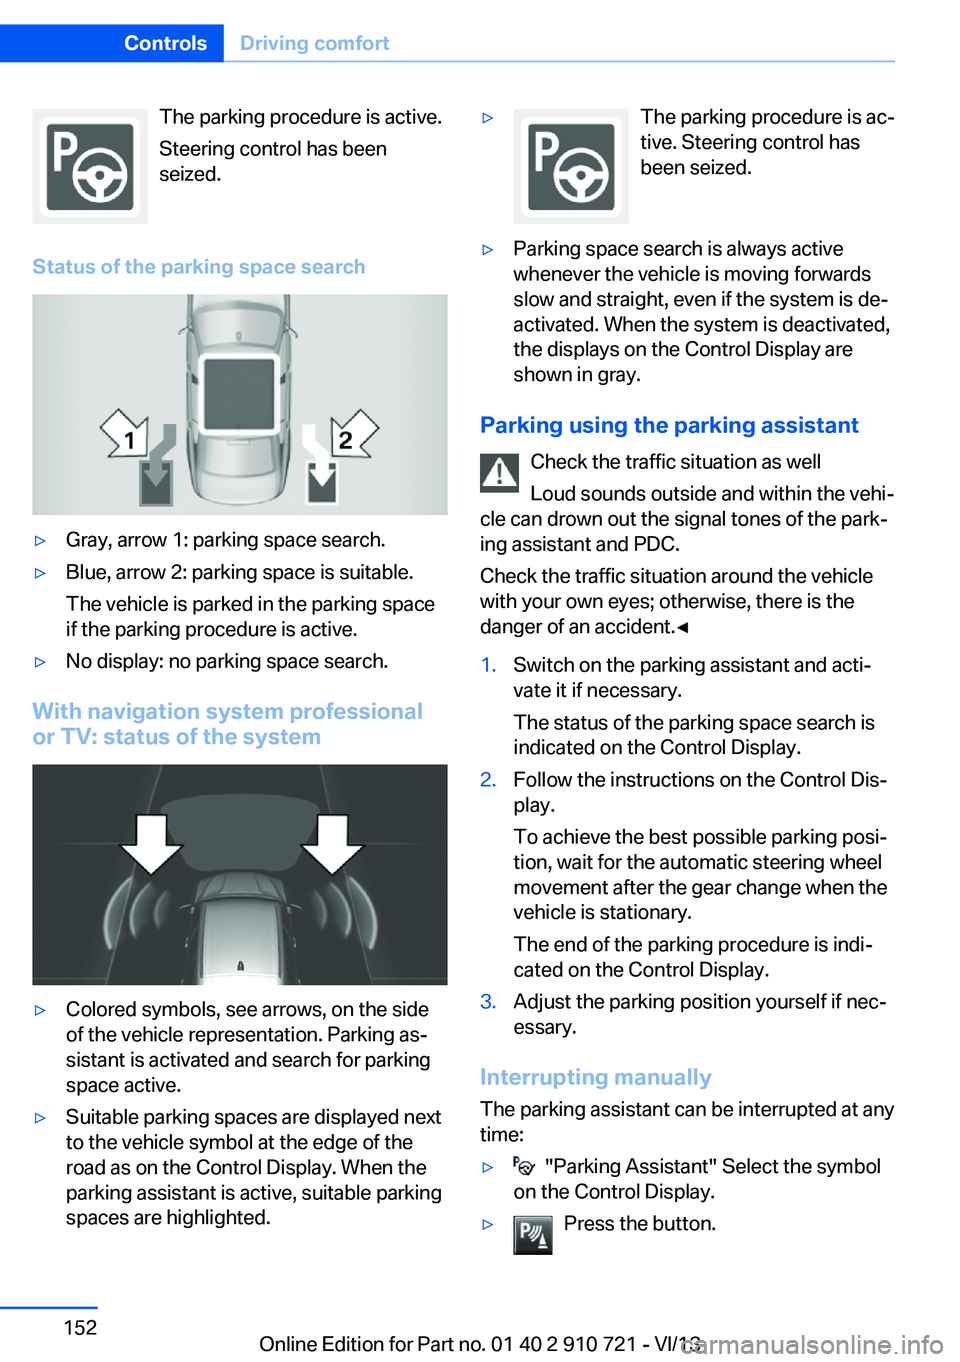
Status of the parking space search▷Gray, arrow 1: parking space search.▷Blue, arrow 2: parking space is suitable.
The vehicle is parked in the parking space
if the parking procedure is active.▷No display: no parking space search.
With navigation system professional
or TV: status of the system
▷Colored symbols, see arrows, on the side
of the vehicle representation. Parking as‐
sistant is activated and search for parking
space active.▷Suitable parking spaces are displayed next
to the vehicle symbol at the edge of the
road as on the Control Display. When the
parking assistant is active, suitable parking
spaces are highlighted.▷The parking procedure is ac‐
tive. Steering control has
been seized.▷Parking space search is always active
whenever the vehicle is moving forwards
slow and straight, even if the system is de‐
activated. When the system is deactivated,
the displays on the Control Display are
shown in gray.
Parking using the parking assistant
Check the traffic situation as well
Loud sounds outside and within the vehi‐
cle can drown out the signal tones of the park‐
ing assistant and PDC.
Check the traffic situation around the vehicle
with your own eyes; otherwise, there is the
danger of an accident.◀
1.Switch on the parking assistant and acti‐
vate it if necessary.
The status of the parking space search is
indicated on the Control Display.2.Follow the instructions on the Control Dis‐
play.
To achieve the best possible parking posi‐
tion, wait for the automatic steering wheel
movement after the gear change when the
vehicle is stationary.
The end of the parking procedure is indi‐
cated on the Control Display.3.Adjust the parking position yourself if nec‐
essary.
Interrupting manually
The parking assistant can be interrupted at any
time:
▷ "Parking Assistant" Select the symbol
on the Control Display.▷Press the button.Seite 152ControlsDriving comfort152
Online Edition for Part no. 01 40 2 910 721 - VI/13
Page 153 of 243

Interrupting automaticallyThe system is interrupted automatically in the
following situations:▷If the driver grasps the steering wheel or if
he takes over steering.▷If a gear is selected that does not match
the instruction on the Control Display.▷If a turn signal is activated in the opposite
direction to the desired side for parking.▷If the vehicle speed exceeds approx.
6 mph/10 km/h.▷On snow-covered or slippery road surfaces
if necessary.▷If doors are open.▷When there are obstacles that are hard to
overcome, such as curbs.▷When there are obstacles that suddenly
arise.▷If a maximum number of parking attempts
or the time taken for parking is exceeded.
A Check Control message is displayed.
Continuing
An interrupted parking procedure can be con‐
tinued if necessary.
Follow the instructions on the Control Display
to do this.
System limits
No parking assistance The parking assistant does not offer assis‐
tance in the following situations:
▷In tight curves.
Functional limitations
The system may not be fully functional in the
following situations:
▷When sensors are dirty or iced over.▷In heavy fog, rain or snowfall.▷On bumpy road surfaces such as gravel
roads.▷On slippery ground.▷On steep uphill or downhill grades.▷When leaves or snow has collected in the
parking space.
Limits of ultrasonic measurement
The detection of objects can reach the physi‐
cal limits of ultrasonic measurement, e.g., in
the following circumstances:
▷With tow bars and trailer hitches.▷With thin or wedge-shaped objects.▷With elevated, protruding objects such as
ledges or cargo.▷With objects with corners and sharp edges.▷With objects with a fine surface structure,
such as fences.
Low objects already displayed, e.g., curbs, can
move into the blind area of the sensors before
or after a continuous tone sounds.
High, protruding objects such as ledges may
not be detected.
The parking assistant may identify parking
spaces that are not suitable for parking.
Malfunction
A Check Control message is displayed.
The parking assistant failed. Have the system
checked.
Seite 153Driving comfortControls153
Online Edition for Part no. 01 40 2 910 721 - VI/13
Page 202 of 243
Snow chain detection
The concept When using snow chains, settings should bemade via the iDrive for the snow chains being
applied.
The snow chain detection system supports
you by automatically showing the detected
state on the Control Display.
When snow chains are in use, the rear axle
steering of the Integral Active Steering is deac‐
tivated automatically.
At speeds above the maximum permitted
speed with snow chains of 30 mph/50 km/h,
the rear axle steering is activated again auto‐
matically.
Activating the status1."Settings"2."Tire chains"3."Tire chains installed"
Automatic detection If functioning properly:
▷Snow chains are mounted. The setting is
not activated
.
After you drive a short distance, a Check
Control message is shown and the state is
activated automatically.
Confirm the automatic activation.
▷Snow chains are not mounted. The setting
is activated
.
At speeds above 30 mph/50 km/h, a Check
Control message is displayed. Deactivate
the status manually.
If not functioning properly:
▷Snow chains are mounted. The setting is
not activated
.
A Check Control message is not displayed.
The automatic detection system is mal‐
functioning. Activate the status manually.
Activating/deactivating rear axle
steering
If the status indicating that snow chains are in
use is activated, the rear axle steering is deac‐
tivated automatically.
At speeds above 30 mph/50 km/h, the rear axle
steering is activated again, even though snow
chains are in use.Seite 202MobilityWheels and tires202
Online Edition for Part no. 01 40 2 910 721 - VI/13
Page 214 of 243
Vehicle batteryMaintenance
The battery is maintenance-free, i.e., the elec‐ trolyte will last for the life of the battery.
Your service center will be glad to advise you
on questions regarding the battery.
Battery replacement Use approved vehicle batteries only
Only use vehicle batteries that have been
approved for your vehicle by the manufacturer; otherwise, the vehicle could be damaged and
systems or functions may not be fully availa‐
ble.◀
After a battery replacement, have the battery registered on the vehicle by your service cen‐
ter to ensure that all comfort functions are fully
available and that any Check Control mes‐
sages of these comfort functions are no longer
displayed.
Charging the battery
Note Do not plug chargers into the socket
Do not connect battery chargers to the
factory-installed sockets in the vehicle as this
may damage the battery.◀
General information
Make sure that the battery is always suffi‐
ciently charged to guarantee that the battery
remains usable for its full service life.
The battery may need to be charged in the fol‐
lowing cases:▷When making frequent short-distance
drives.▷If the vehicle is not used for prolonged pe‐
riods, longer than a month.Starting aid terminals
In the vehicle, only charge the battery via the
starting aid terminals, refer to page 218, in the
engine compartment with the engine off.
Power failure After a temporary power loss, some equipment
needs to be reinitialized.
Individual settings need to be reprogrammed:▷Seat, mirror, and steering wheel memory:
store the positions again.▷Time: update.▷Date: update.▷Radio station: saving new, see user's
manual for Navigation, Entertainment and
Communication.▷Navigation system: wait for the operability
of the navigation.
Disposing of old batteries
Have old batteries disposed of by your
service center or bring them to a recy‐
cling center.
Maintain the battery in an upright position for
transport and storage. Secure the battery so
that it does not tip over during transport.
Fuses Notes Replacing fuses
Never attempt to repair a blown fuse and
do not replace a defective fuse with a substi‐
tute of another color or amperage rating; this could lead to a circuit overload, ultimately re‐
sulting in a fire in the vehicle.◀
Plastic tweezers and information on the fuse
types and locations are stored in the fuse box
in the cargo area.
Seite 214MobilityReplacing components214
Online Edition for Part no. 01 40 2 910 721 - VI/13
Page 232 of 243
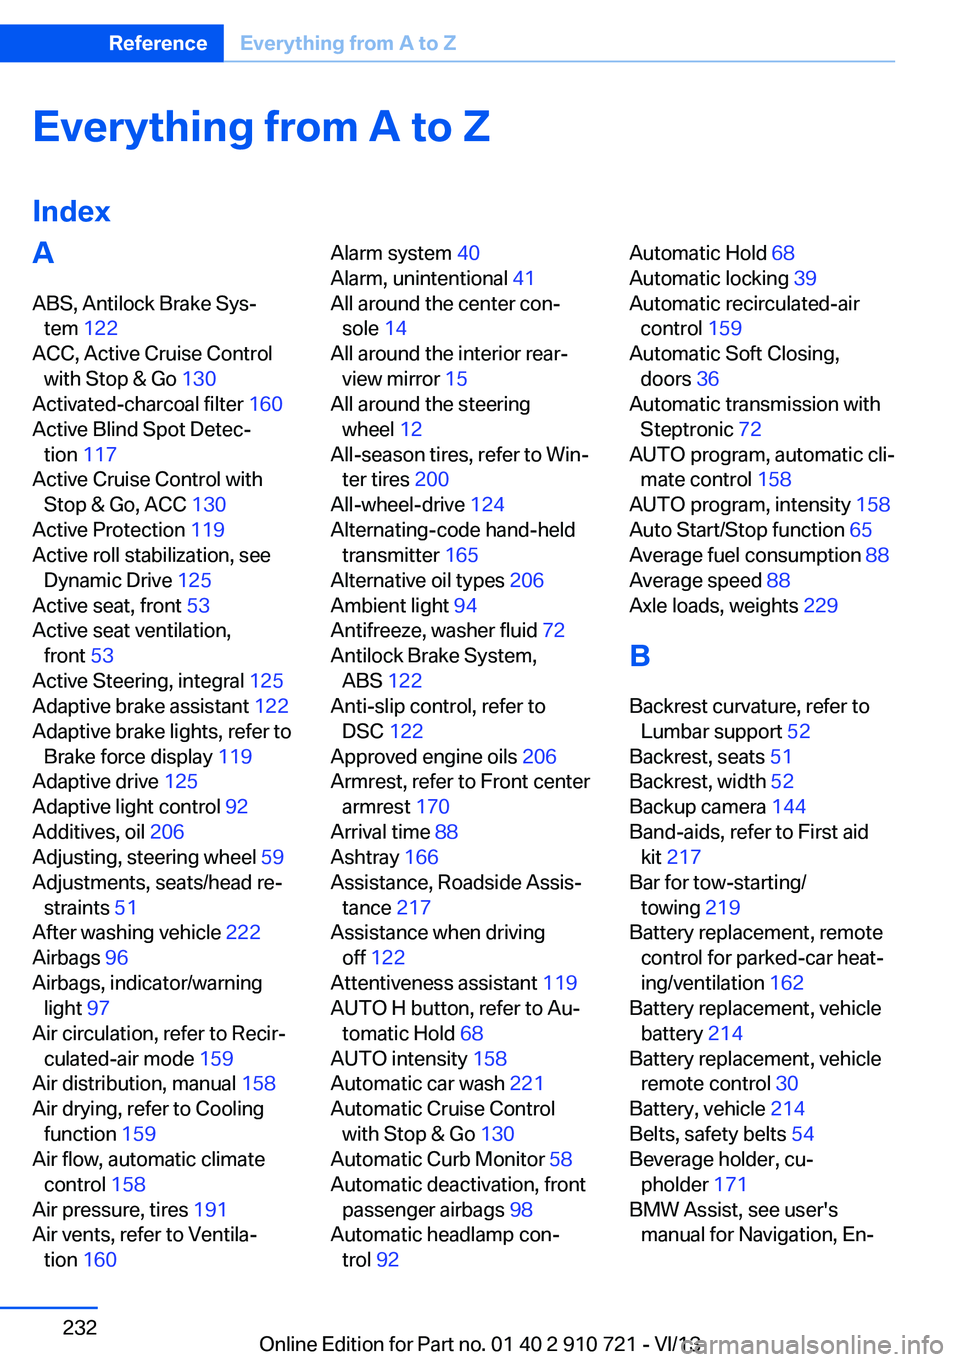
Everything from A to Z
IndexA ABS, Antilock Brake Sys‐ tem 122
ACC, Active Cruise Control with Stop & Go 130
Activated-charcoal filter 160
Active Blind Spot Detec‐ tion 117
Active Cruise Control with Stop & Go, ACC 130
Active Protection 119
Active roll stabilization, see Dynamic Drive 125
Active seat, front 53
Active seat ventilation, front 53
Active Steering, integral 125
Adaptive brake assistant 122
Adaptive brake lights, refer to Brake force display 119
Adaptive drive 125
Adaptive light control 92
Additives, oil 206
Adjusting, steering wheel 59
Adjustments, seats/head re‐ straints 51
After washing vehicle 222
Airbags 96
Airbags, indicator/warning light 97
Air circulation, refer to Recir‐ culated-air mode 159
Air distribution, manual 158
Air drying, refer to Cooling function 159
Air flow, automatic climate control 158
Air pressure, tires 191
Air vents, refer to Ventila‐ tion 160 Alarm system 40
Alarm, unintentional 41
All around the center con‐ sole 14
All around the interior rear‐ view mirror 15
All around the steering wheel 12
All-season tires, refer to Win‐ ter tires 200
All-wheel-drive 124
Alternating-code hand-held transmitter 165
Alternative oil types 206
Ambient light 94
Antifreeze, washer fluid 72
Antilock Brake System, ABS 122
Anti-slip control, refer to DSC 122
Approved engine oils 206
Armrest, refer to Front center armrest 170
Arrival time 88
Ashtray 166
Assistance, Roadside Assis‐ tance 217
Assistance when driving off 122
Attentiveness assistant 119
AUTO H button, refer to Au‐ tomatic Hold 68
AUTO intensity 158
Automatic car wash 221
Automatic Cruise Control with Stop & Go 130
Automatic Curb Monitor 58
Automatic deactivation, front passenger airbags 98
Automatic headlamp con‐ trol 92 Automatic Hold 68
Automatic locking 39
Automatic recirculated-air control 159
Automatic Soft Closing, doors 36
Automatic transmission with Steptronic 72
AUTO program, automatic cli‐ mate control 158
AUTO program, intensity 158
Auto Start/Stop function 65
Average fuel consumption 88
Average speed 88
Axle loads, weights 229
B Backrest curvature, refer to Lumbar support 52
Backrest, seats 51
Backrest, width 52
Backup camera 144
Band-aids, refer to First aid kit 217
Bar for tow-starting/ towing 219
Battery replacement, remote control for parked-car heat‐
ing/ventilation 162
Battery replacement, vehicle battery 214
Battery replacement, vehicle remote control 30
Battery, vehicle 214
Belts, safety belts 54
Beverage holder, cu‐ pholder 171
BMW Assist, see user's manual for Navigation, En‐Seite 232ReferenceEverything from A to Z232
Online Edition for Part no. 01 40 2 910 721 - VI/13
Page 233 of 243
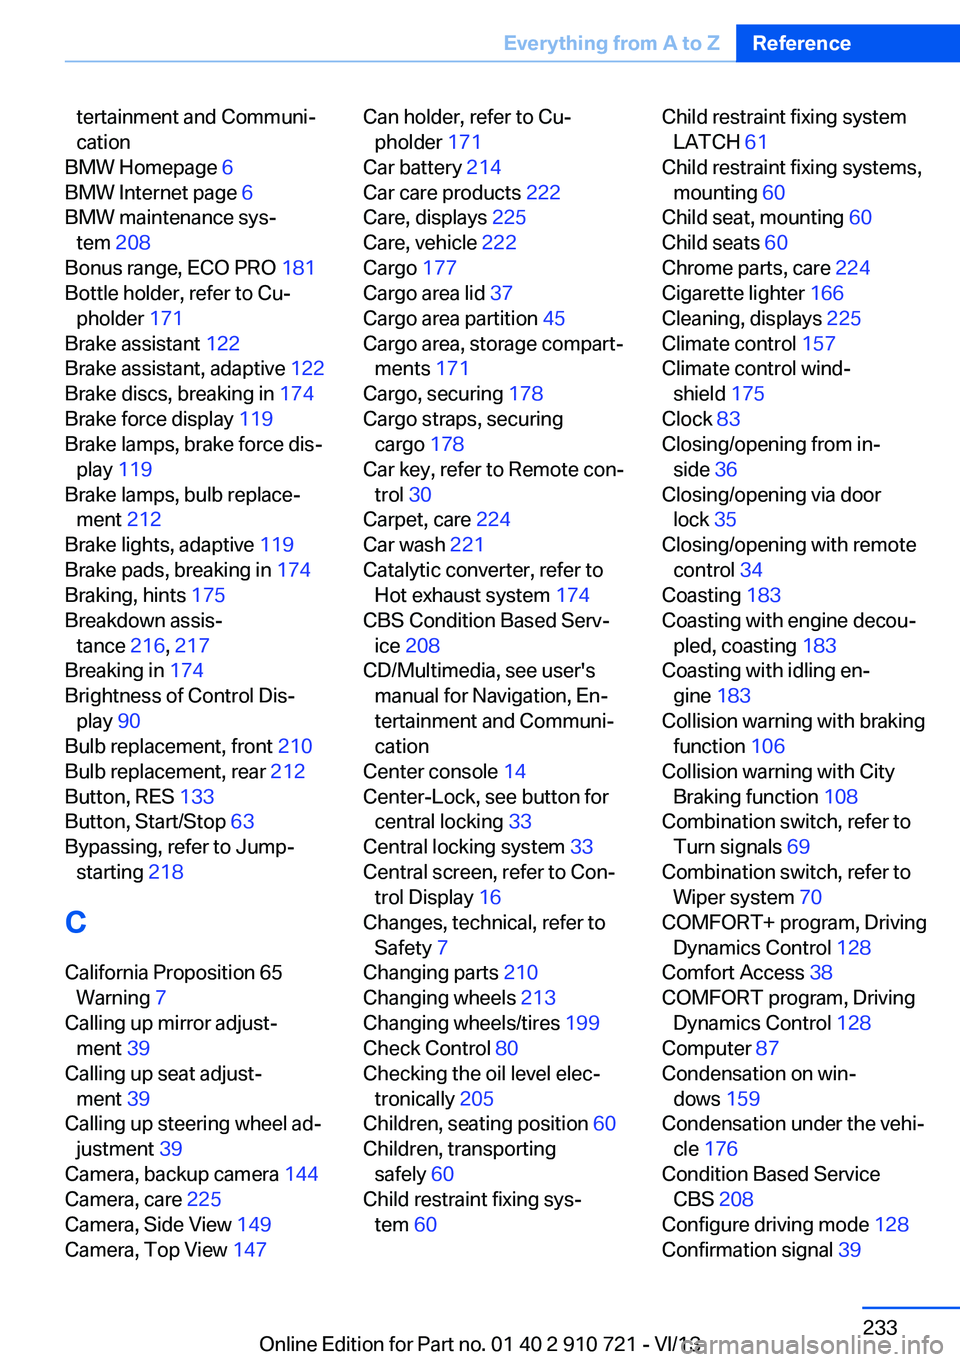
tertainment and Communi‐
cation
BMW Homepage 6
BMW Internet page 6
BMW maintenance sys‐ tem 208
Bonus range, ECO PRO 181
Bottle holder, refer to Cu‐ pholder 171
Brake assistant 122
Brake assistant, adaptive 122
Brake discs, breaking in 174
Brake force display 119
Brake lamps, brake force dis‐ play 119
Brake lamps, bulb replace‐ ment 212
Brake lights, adaptive 119
Brake pads, breaking in 174
Braking, hints 175
Breakdown assis‐ tance 216, 217
Breaking in 174
Brightness of Control Dis‐ play 90
Bulb replacement, front 210
Bulb replacement, rear 212
Button, RES 133
Button, Start/Stop 63
Bypassing, refer to Jump- starting 218
C
California Proposition 65 Warning 7
Calling up mirror adjust‐ ment 39
Calling up seat adjust‐ ment 39
Calling up steering wheel ad‐ justment 39
Camera, backup camera 144
Camera, care 225
Camera, Side View 149
Camera, Top View 147 Can holder, refer to Cu‐
pholder 171
Car battery 214
Car care products 222
Care, displays 225
Care, vehicle 222
Cargo 177
Cargo area lid 37
Cargo area partition 45
Cargo area, storage compart‐ ments 171
Cargo, securing 178
Cargo straps, securing cargo 178
Car key, refer to Remote con‐ trol 30
Carpet, care 224
Car wash 221
Catalytic converter, refer to Hot exhaust system 174
CBS Condition Based Serv‐ ice 208
CD/Multimedia, see user's manual for Navigation, En‐
tertainment and Communi‐
cation
Center console 14
Center-Lock, see button for central locking 33
Central locking system 33
Central screen, refer to Con‐ trol Display 16
Changes, technical, refer to Safety 7
Changing parts 210
Changing wheels 213
Changing wheels/tires 199
Check Control 80
Checking the oil level elec‐ tronically 205
Children, seating position 60
Children, transporting safely 60
Child restraint fixing sys‐ tem 60 Child restraint fixing system
LATCH 61
Child restraint fixing systems, mounting 60
Child seat, mounting 60
Child seats 60
Chrome parts, care 224
Cigarette lighter 166
Cleaning, displays 225
Climate control 157
Climate control wind‐ shield 175
Clock 83
Closing/opening from in‐ side 36
Closing/opening via door lock 35
Closing/opening with remote control 34
Coasting 183
Coasting with engine decou‐ pled, coasting 183
Coasting with idling en‐ gine 183
Collision warning with braking function 106
Collision warning with City Braking function 108
Combination switch, refer to Turn signals 69
Combination switch, refer to Wiper system 70
COMFORT+ program, Driving Dynamics Control 128
Comfort Access 38
COMFORT program, Driving Dynamics Control 128
Computer 87
Condensation on win‐ dows 159
Condensation under the vehi‐ cle 176
Condition Based Service CBS 208
Configure driving mode 128
Confirmation signal 39 Seite 233Everything from A to ZReference233
Online Edition for Part no. 01 40 2 910 721 - VI/13